manuals.online logo
Brands
  1. Home
  2. •
  3. Brands
  4. •
  5. spaceslide
  6. •
  7. Indoor Furnishing
  8. •
  9. spaceslide BEDSIDE UNIT & DRAWER BOX User manual

spaceslide BEDSIDE UNIT & DRAWER BOX User manual

Call: 0800 9803499 SS_INSTRUC_BU_10.2018_V2.1
www.spaceslide.co.uk/diy-installation-and-information
Page 1 of 4
BEDSIDE UNIT & DRAWER BOX
(450mm wide)
Assembly Instructions
CONTENTS:
A1x Top panel
B 1x Back panel
C1x Side panel (right)
D 1x Side panel (left)
E1x Drawer inll panel
F1x Base
G4x Soft close drawer runners
(2x left, 2x right)
H 1x Metal inll strip
I 2x Drawer backs
J2x Drawer sides (left)
K 2x Drawer sides (right)
L2x Drawer fronts
M2x Drawer bases
N4x Legs (Bedside unit only)
16x
Wooden
dowels
20x
Wooden
dowels
12x
Euro
screws
16x
Wood screws*
4x
Leg brackets*
*Wood screws and leg brackets
are used on the bedside unit only.
Legs required for the
bedside unit only.
Pozi screwdriver
RECOMMENDED TOOLS:
4x
Cams
14x
Cams 14x
Dowels
4x
Dowels
We recommend assembling on a
soft surface (e.g a carpet). If this
isn’t possible, use a protective cover
on your hard surface oor.
BEDSIDE UNIT / DRAWER BOX PACK
DRAWER PACK
V2.1
Call: 0800 9803499 SS_INSTRUC_BU_10.2018_V2.1
www.spaceslide.co.uk/diy-installation-and-information
PRELIMINARY DRAWING
ISSUED BY: A.SIMMONS
ISSUE DATE:18/06/12
QUOTATION PURPOSES ONLY
ISSUED DRAWING
ISSUED BY: A.SIMMONS
ISSUE DATE:18/06/12
ISSUED TO: SUPPLIER
PRELIMINARY DRAWING
ISSUED BY: A.SIMMONS
ISSUE DATE:18/06/12
QUOTATION PURPOSES ONLY
ISSUED DRAWING
ISSUED BY: A.SIMMONS
ISSUE DATE:18/06/12
ISSUED TO: SUPPLIER
PRELIMINARY DRAWING
ISSUED BY: A.SIMMONS
ISSUE DATE:18/06/12
QUOTATION PURPOSES ONLY
ISSUED DRAWING
ISSUED BY: A.SIMMONS
ISSUE DATE:18/06/12
ISSUED TO: SUPPLIER
Page 2 of 4
1 2 3
4Apply to both panels (D&C).
1 - Insert the dowels and cams into the drawer inll (E).
2 - On the metal strip (H) remove the plastic backing from the
double-sided tape then stick the metal strip to the inll (E).
Apply to both panels (A&F).
x4
x8
x4
x3
x1
x4
PRELIMINARY DRAWING
ISSUED BY: A.SIMMONS
ISSUE DATE:18/06/12
QUOTATION PURPOSES ONLY
ISSUED DRAWING
ISSUED BY: A.SIMMONS
ISSUE DATE:18/06/12
ISSUED TO: SUPPLIER
PRELIMINARY DRAWING
ISSUED BY: A.SIMMONS
ISSUE DATE:18/06/12
QUOTATION PURPOSES ONLY
ISSUED DRAWING
ISSUED BY: A.SIMMONS
ISSUE DATE:18/06/12
ISSUED TO: SUPPLIER
6
C
D
DC
x2 x2 1
2
Slot inll (E)
onto the sticky
side of the tape
on the metal
strip (H).
5Lay panel (D) on a at surface. (Shown from the side).
D
Back
panel
Call: 0800 9803499 SS_INSTRUC_BU_10.2018_V2.1
www.spaceslide.co.uk/diy-installation-and-information
Page 3 of 4
10 (Repeat on all drawer sides). (Repeat on all drawer fronts).
10 11
MAKING THE DRAWERS
x1
x4
x2
7 8
Base
Shown from underneath:Top panel
Top panel
Back panel
Back
panel
Cams
Cams
C
C
D
D
If the top panel (A) won’t locate, loosen the cams in the
back panel (B).
If the base panel (F) won’t locate, loosen the cams in the back
panel (B). Once in place, tighten the cams.
Insert the screws into the holes shown on both sides (D & C).
Left-hand runner shown above. Repeat on both sides.
5
x2
9
x3
FIX THROUGH THESE HOLES HIGHLIGHTED
123
Call: 0800 9803499 SS_INSTRUC_BU_10.2018_V2.1
www.spaceslide.co.uk/diy-installation-and-information
Page 4 of 4
1 2 3
Drawer back
Drawer back
Drawer shown from
underneath.
Drawer base
Drawer base
Drawer front
Drawer side
Drawer side
1 – Lay drawer side (J) on a at surface, insert the base (M) into the
groove then hold the back panel (I) in place.
2 – Place the other drawer side (K) over the base and fasten the
back panel (I).
3 – Turn the drawer around and add the drawer front (L) .
(Repeat on all drawers).
12
13
Turn to
adjust height
Locking button
Pull the sliding part of the lower
drawers out rst and hold in place.
1 - Pull the sliding part of the lower drawer runners out and sit the
drawer on top. Whilst holding the runners in place, slide the drawer
back until the drawer clicks into place.
2 - Use the locking button to secure the drawer. Repeat for all
drawers. To remove a drawer, reverse the operation.
1 2
14
ATTACHING THE FEET (BEDSIDE UNIT ONLY)
Fix the brackets in place using the wood screws, repeat on all
four corners. Screw the feet in place by turning them clockwise.
x4
Turn the
feet clockwise
to attach
Ensure the
bracket slopes
towards
the corners.
Turn the unit
on its side to
attach the feet.

Other spaceslide Indoor Furnishing manuals
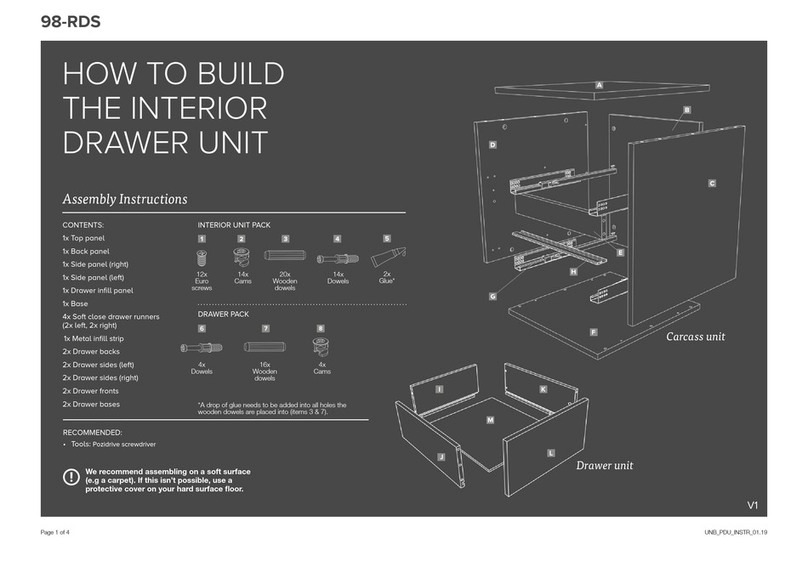
spaceslide INTERIOR DRAWER UNIT User manual
spaceslide

spaceslide INTERIOR DRAWER UNIT User manual

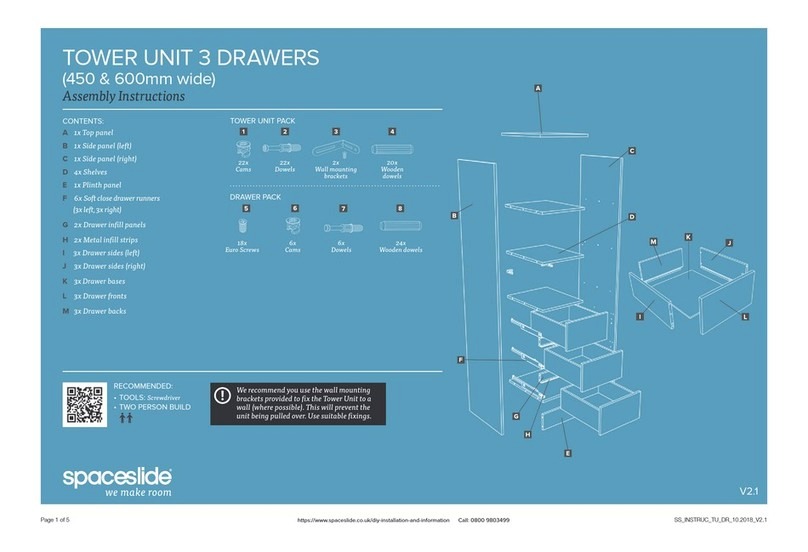
spaceslide TOWER UNIT 3 DRAWERS 450mm User manual
spaceslide

spaceslide TOWER UNIT 3 DRAWERS 450mm User manual

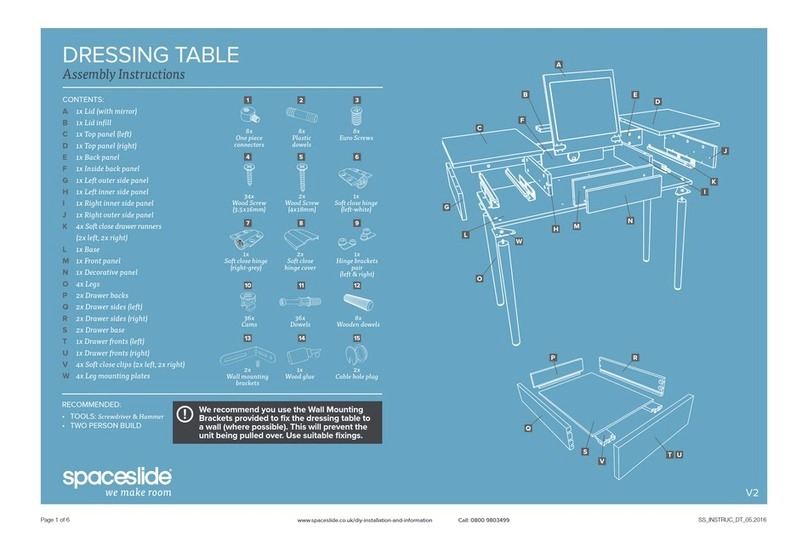
spaceslide Dressing Table User manual

spaceslide

spaceslide Dressing Table User manual
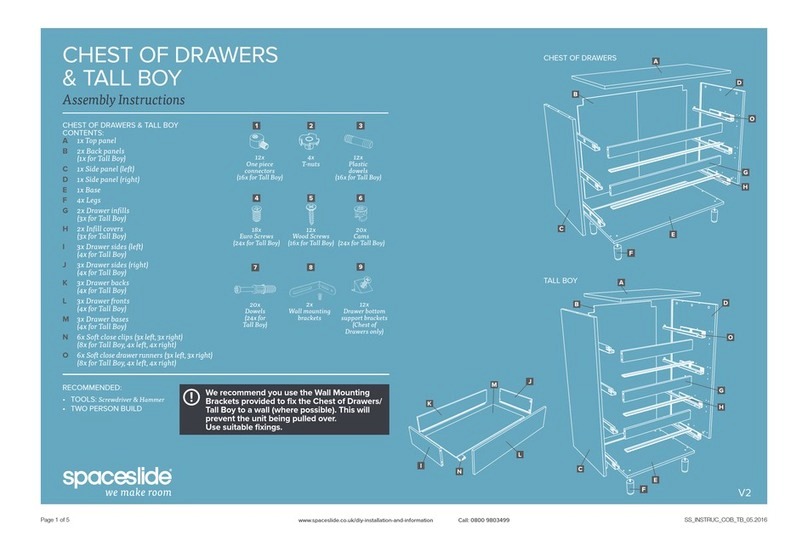
spaceslide CHEST OF DRAWERS User manual
spaceslide

spaceslide CHEST OF DRAWERS User manual

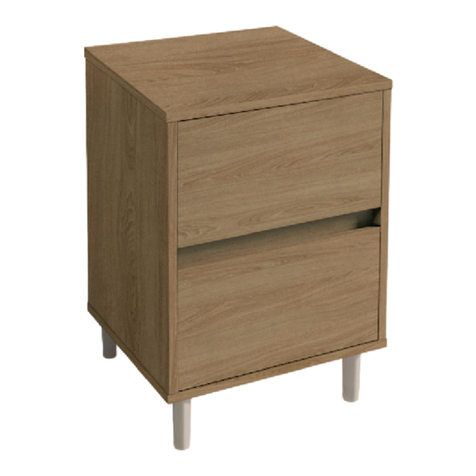
spaceslide BEDSIDE UNIT User manual

spaceslide

spaceslide BEDSIDE UNIT User manual
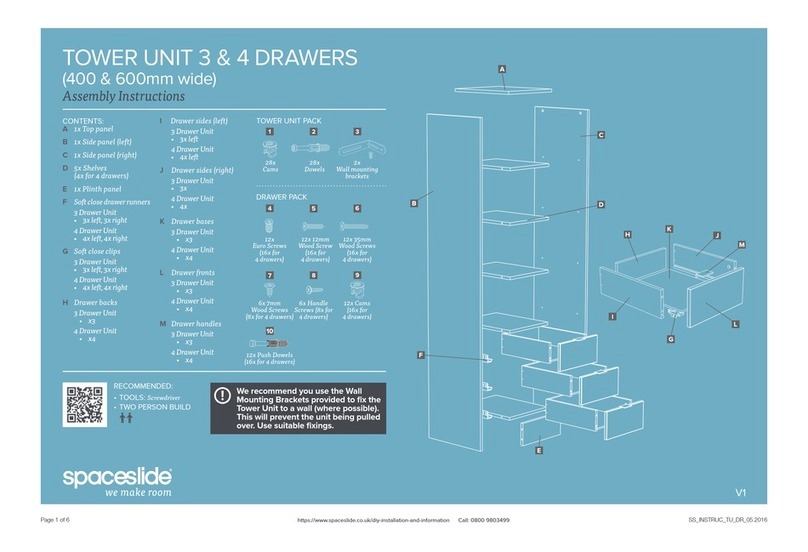
spaceslide Tower Unit User manual

spaceslide

spaceslide Tower Unit User manual
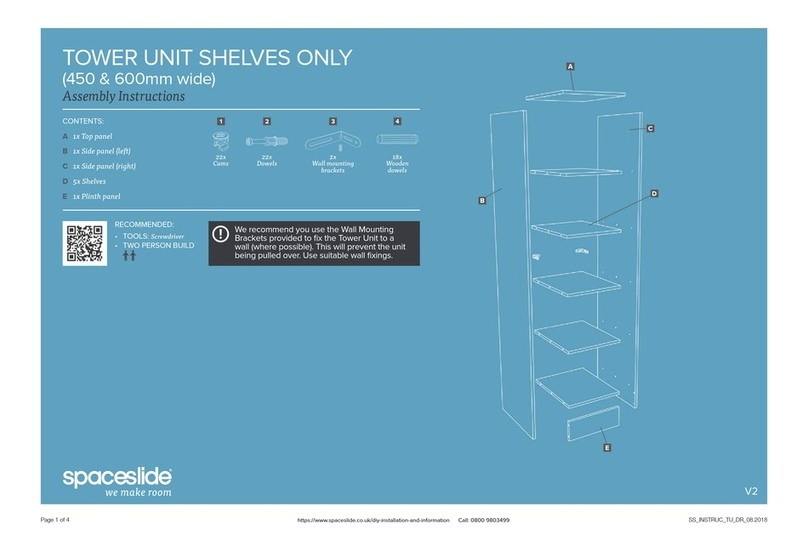
spaceslide TOWER UNIT SHELVES ONLY 450mm User manual
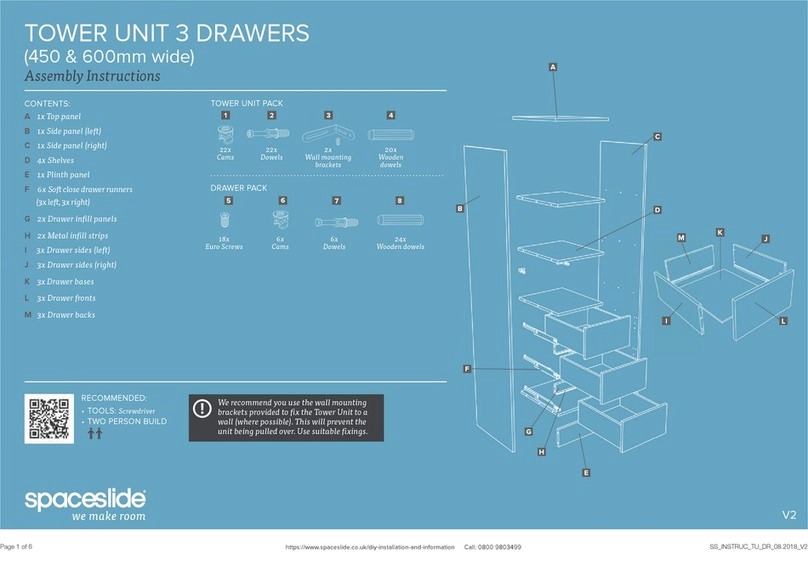
spaceslide

spaceslide TOWER UNIT SHELVES ONLY 450mm User manual

spaceslide TOWER UNIT 3 DRAWERS 450mm User manual

spaceslide

spaceslide TOWER UNIT 3 DRAWERS 450mm User manual

Popular Indoor Furnishing manuals by other brands

aspenhome I631-9140 Assembly instructions

aspenhome

aspenhome I631-9140 Assembly instructions

Habitat NEL quick start guide

Habitat

Habitat NEL quick start guide
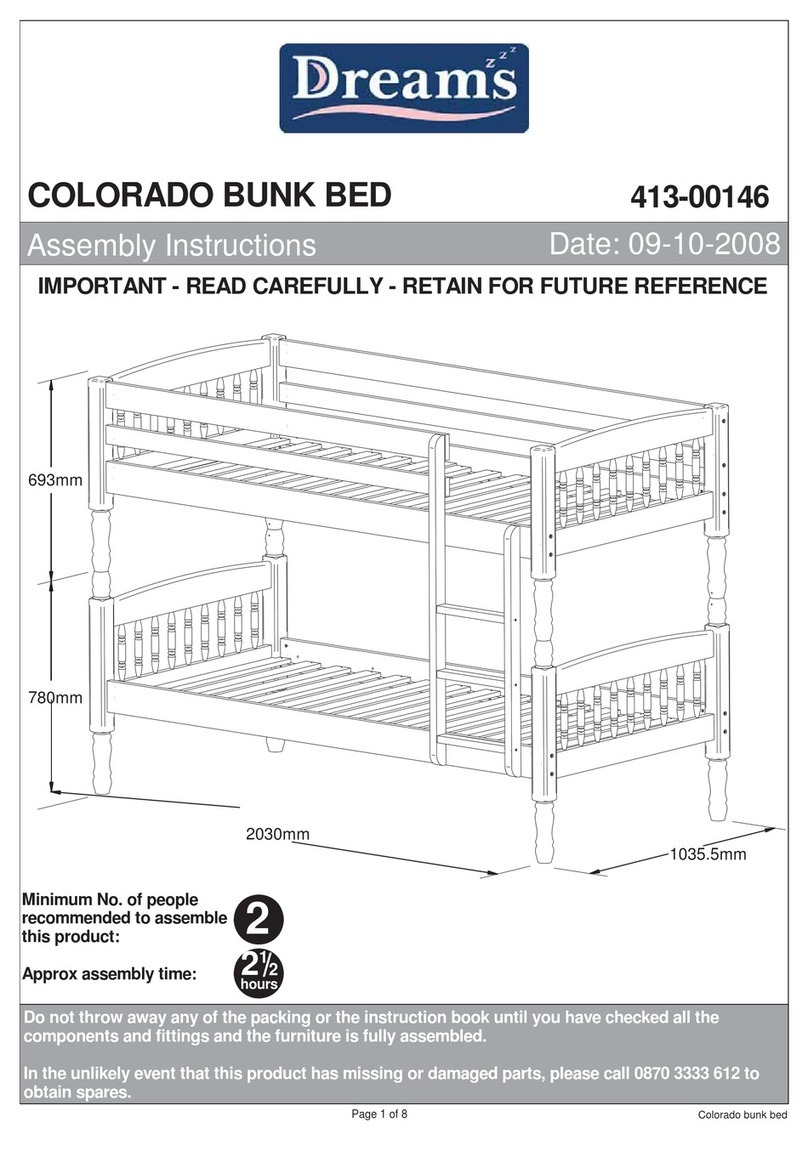
DREAMS 413-00146 Assembly instructions
DREAMS

DREAMS 413-00146 Assembly instructions

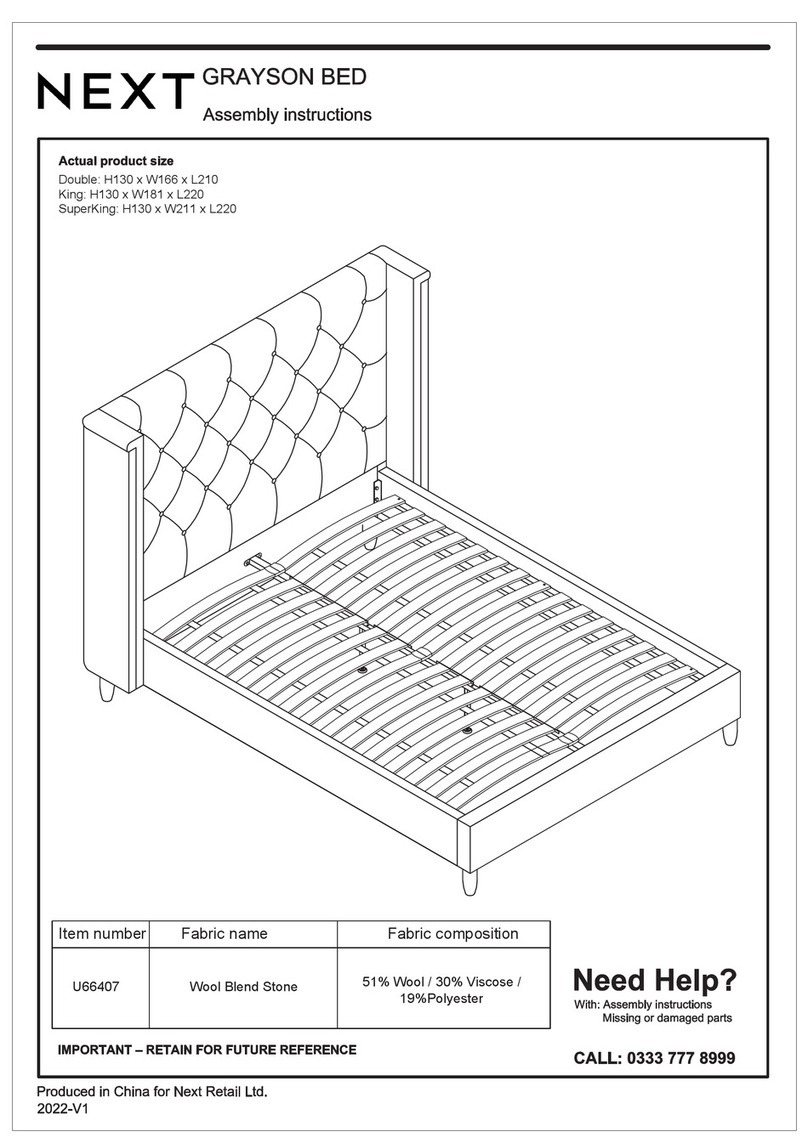
Next GRAYSON U66407 Assembly instructions

Next

Next GRAYSON U66407 Assembly instructions

Night & Day Furniture Scribbles Twin Bunk Bed Assembly instructions

Night & Day Furniture

Night & Day Furniture Scribbles Twin Bunk Bed Assembly instructions

Furniture of America YNJ-1461 Assembly instructions

Furniture of America

Furniture of America YNJ-1461 Assembly instructions

Julian Bowen Limited NEW201 Assembly instructions

Julian Bowen Limited

Julian Bowen Limited NEW201 Assembly instructions

Kvik OU844 manual

Kvik

Kvik OU844 manual

Pro-Line II 39200 operating instructions

Pro-Line II

Pro-Line II 39200 operating instructions

Wilson & Fisher MONTERRA quick start guide

Wilson & Fisher

Wilson & Fisher MONTERRA quick start guide

DS Produkte Z 06442 instruction manual

DS Produkte

DS Produkte Z 06442 instruction manual

Cooper Lighting PD7 specification

Cooper Lighting

Cooper Lighting PD7 specification

Flair Matrix 2226 Assembly instruction

Flair

Flair Matrix 2226 Assembly instruction

Floyd Jarvis manual

Floyd

Floyd Jarvis manual

Forever Redwood MAYNARD WOOD SHOWER BENCH Assembly instructions

Forever Redwood

Forever Redwood MAYNARD WOOD SHOWER BENCH Assembly instructions

Trinity EcoStorage THA-3328 owner's manual

Trinity

Trinity EcoStorage THA-3328 owner's manual

Homewell 174643 Assembly instructions

Homewell

Homewell 174643 Assembly instructions

Bonaldo Hulahoop Assembly instruction

Bonaldo

Bonaldo Hulahoop Assembly instruction

manuals.online logo
manuals.online logoBrands
  • About & Mission
  • Contact us
  • Privacy Policy
  • Terms and Conditions

Copyright 2025 Manuals.Online. All Rights Reserved.