manuals.online logo
Brands
  1. Home
  2. •
  3. Brands
  4. •
  5. spaceslide
  6. •
  7. Indoor Furnishing
  8. •
  9. spaceslide Tower Unit User manual

spaceslide Tower Unit User manual

https://www.spaceslide.co.uk/diy-installation-and-information Call: 0800 9803499 SS_INSTRUC_TU_DR_05.2016Page 1 of 6
TOWER UNIT 3 & 4 DRAWERS
(400 & 600mm wide)
Assembly Instructions
V1
CONTENTS:
A1x Top panel
B 1x Side panel (left)
C 1x Side panel (right)
D5x Shelves
(4x for 4 drawers)
E 1x Plinth panel
FSoft close drawer runners
3 Drawer Unit
• 3x left, 3x right
4 Drawer Unit
• 4x left, 4x right
GSoft close clips
3 Drawer Unit
• 3x left, 3x right
4 Drawer Unit
• 4x left, 4x right
HDrawer backs
3 Drawer Unit
• x3
4 Drawer Unit
• x4
12x 12mm
Wood Screw
(16x for
4 drawers)
12x
Euro Screws
(16x for
4 drawers)
12x 35mm
Wood Screws
(16x for
4 drawers)
6x 7mm
Wood Screws
(8x for 4 drawers)
6x Handle
Screws (8x for
4 drawers)
28x
Cams
12x Cams
(16x for
4 drawers)
28x
Dowels 2x
Wall mounting
brackets
12x Push Dowels
(16x for 4 drawers)
We recommend you use the Wall
Mounting Brackets provided to fix the
Tower Unit to a wall (where possible).
This will prevent the unit being pulled
over. Use suitable fixings.
• TOOLS: Screwdriver
• TWO PERSON BUILD
RECOMMENDED:
IDrawer sides (left)
3 Drawer Unit
• 3x left
4 Drawer Unit
• 4x left
JDrawer sides (right)
3 Drawer Unit
• 3x
4 Drawer Unit
• 4x
KDrawer bases
3 Drawer Unit
• x3
4 Drawer Unit
• x4
LDrawer fronts
3 Drawer Unit
• x3
4 Drawer Unit
• x4
M Drawer handles
3 Drawer Unit
• x3
4 Drawer Unit
• x4
TOWER UNIT PACK
DRAWER PACK
https://www.spaceslide.co.uk/diy-installation-and-information Call: 0800 9803499 SS_INSTRUC_TU_DR_05.2016
1 2
34
Apply to all panels (x5 – 3 drawers, x4 – 4 drawers).
Lay panels (B &C) on a at surface. Fit cams & dowels to both panels.
Note: B panel shown
PLEASE NOTE THE 3 AND 4 DRAWER TOWER UNIT ARE THE SAME IN CONSTRUCTION. WE HAVE USED THE 3 DRAWER TOWER UNIT AS AN EXAMPLE.
Page 2 of 6
x4
x4
x12
x4
x2
Screw through holes shown on both sides.
Note: 6x for 3 drawers, 8x for 4 drawers.
5
x6
https://www.spaceslide.co.uk/diy-installation-and-information Call: 0800 9803499 SS_INSTRUC_TU_DR_05.2016
PLEASE NOTE THE 3 AND 4 DRAWER TOWER UNIT ARE THE SAME IN CONSTRUCTION. WE HAVE USED THE 3 DRAWER TOWER UNIT AS AN EXAMPLE.
6 7
Page 3 of 6
Ensure cams are facing inwards.
8 9
https://www.spaceslide.co.uk/diy-installation-and-information Call: 0800 9803499 SS_INSTRUC_TU_DR_05.2016
(Repeat on all drawer sides). (Repeat on all drawer fronts).
PLEASE NOTE THE 3 AND 4 DRAWER TOWER UNIT ARE THE SAME IN CONSTRUCTION. WE HAVE USED THE 3 DRAWER TOWER UNIT AS AN EXAMPLE.
10 11
Page 4 of 6
x2
x4
1 2 3
1– Lay drawer side (J) on a at surface, insert the base (K) into the groove then hold the back panel (H) in-place. 2– Place the other drawer side (I) over the base and screw into the back panel (H).
3– Turn the drawer around and screw in panel (J) . (Repeat on all drawers).
12
Drawer back Drawer back
Drawer base
Drawer base
Drawer side
Drawer side
Drawer side
x2
x2
MAKING THE DRAWERS
https://www.spaceslide.co.uk/diy-installation-and-information Call: 0800 9803499 SS_INSTRUC_TU_DR_05.2016
Screw soft close clip into place.
Drawer shown from underneath. (Repeat on all drawers).
(Repeat on all drawers). (Repeat on all drawers).
PLEASE NOTE THE 3 AND 4 DRAWER TOWER UNIT ARE THE SAME IN CONSTRUCTION. WE HAVE USED THE 3 DRAWER TOWER UNIT AS AN EXAMPLE.
13 14 15
Page 5 of 6
x1
x2
x2
1
2
1 – Slide the drawers so that the prong goes into the hole in the back of the drawer.
2 – Pull the sliders forward, until you hear a click, repeat on both sides. Use two people to stand up right.
16
https://www.spaceslide.co.uk/diy-installation-and-information Call: 0800 9803499 SS_INSTRUC_TU_DR_05.2016
PLEASE NOTE THE 3 AND 4 DRAWER TOWER UNIT ARE THE SAME IN CONSTRUCTION. WE HAVE USED THE 3 DRAWER TOWER UNIT AS AN EXAMPLE.
Page 6 of 6
USE SUITABLE
WALL FIXINGS
We recommend you use
the Wall Mounting
Brackets provided to x the
Tower Unit to a wall (where
possible). This will prevent
the unit being pulled over.
Use suitable xings.
WALL MOUNTING
BRACKETS
Fix the Wall Mounting Bracket to both sides of the Tower Unit.
(Use suitable xings when attaching to the wall).
x2
www.spaceslide.co.uk/installation-and-technical-information Call: 0800 9803499 SS_INSTRUC_TOWER_09.2015Page 1 of 2
1 2
3 4
HOW TO FIT
TOWER UNIT
TOOLS REQUIRED:
Assembly Instructions
V1
Please check your opening for any
hidden electrical wires and water
pipes before / screwing.
Screws not supplied.
Use suitable screws
and plugs.
Place your tower unit into position (This can be left, centre
or right aligned).
Once in position, measure side A. (Tip: measure approximately
where the hanger will be placed).
Cutting around skirting boards (optional). Mark using a compass
then cut using a coping saw.
Measure and cut.
A
WIDTH (A) - 6mm
i.e: 1200 - 6mm = 1194mm
www.spaceslide.co.uk/installation-and-technical-information Call: 0800 9803499 SS_INSTRUC_TOWER_09.2015
Repeat 3-7 for remaining hanger bars.
65
7
Page 2 of 2
Mark the position of the hanger bar. By measuring in 225mm
to the centre of the tower unit.
Fix rst bracket through both holes.
(We recommend 16mm screws).
Fitting the secong hanger bar.
1- Place hanger bar into rst bracket and level up. 2-Make sure to mark position on the side wall 225mm from the back wall.
3-Then x into position.
225mm
225mm
Back wall
8
1 2 3

Other spaceslide Indoor Furnishing manuals
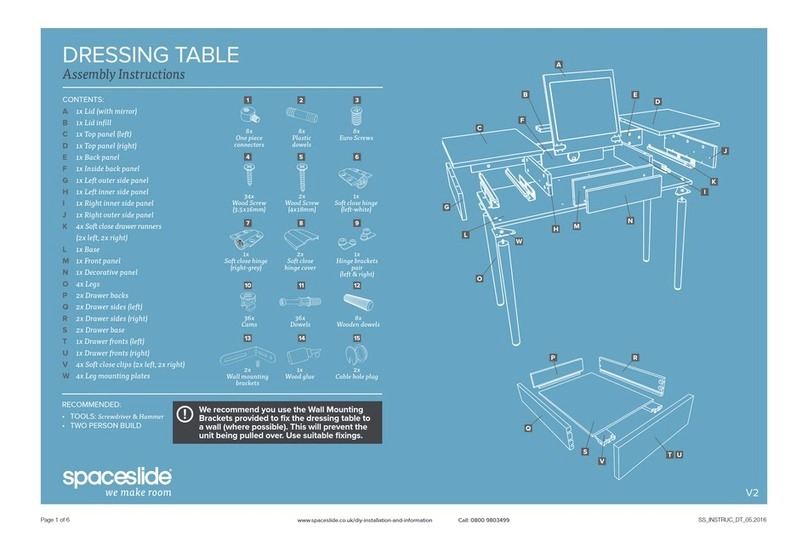
spaceslide Dressing Table User manual

spaceslide

spaceslide Dressing Table User manual
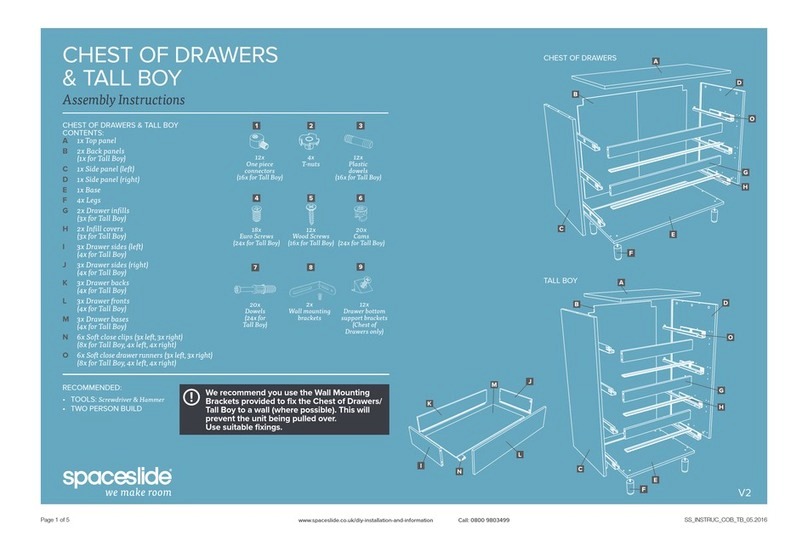
spaceslide CHEST OF DRAWERS User manual
spaceslide

spaceslide CHEST OF DRAWERS User manual

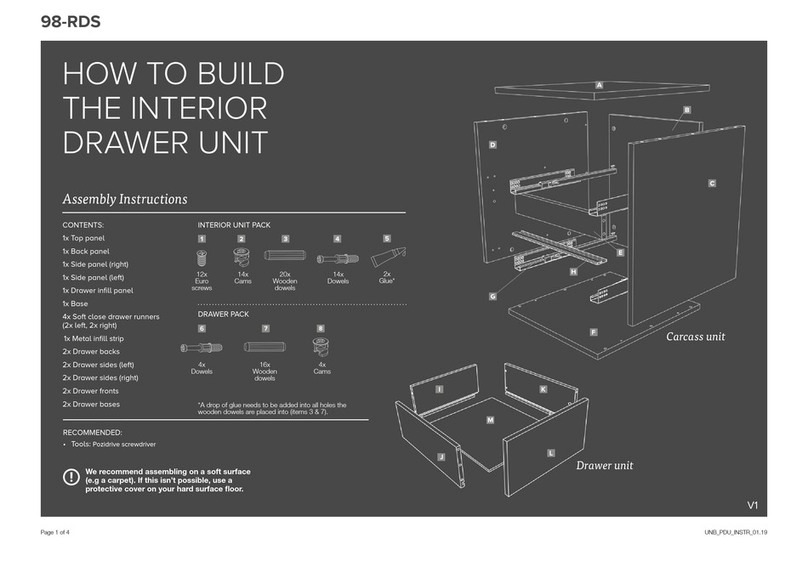
spaceslide INTERIOR DRAWER UNIT User manual
spaceslide

spaceslide INTERIOR DRAWER UNIT User manual

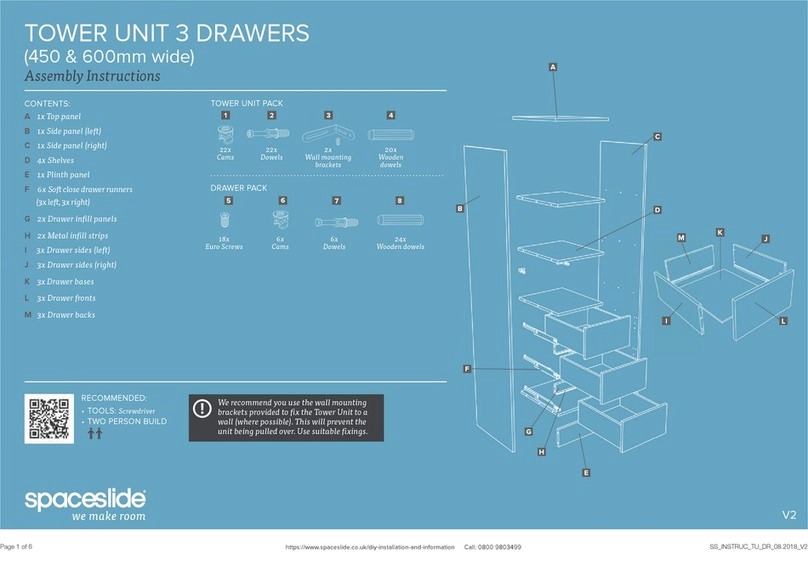
spaceslide TOWER UNIT 3 DRAWERS 450mm User manual
spaceslide

spaceslide TOWER UNIT 3 DRAWERS 450mm User manual

spaceslide BEDSIDE UNIT User manual

spaceslide

spaceslide BEDSIDE UNIT User manual
spaceslide TOWER UNIT SHELVES ONLY 450mm User manual
spaceslide

spaceslide TOWER UNIT SHELVES ONLY 450mm User manual

spaceslide BEDSIDE UNIT & DRAWER BOX User manual
spaceslide

spaceslide BEDSIDE UNIT & DRAWER BOX User manual

spaceslide TOWER UNIT 3 DRAWERS 450mm User manual

spaceslide

spaceslide TOWER UNIT 3 DRAWERS 450mm User manual

Popular Indoor Furnishing manuals by other brands

Forte ERXK232 Assembling Instruction

Forte

Forte ERXK232 Assembling Instruction

Costco MNY2884-9GP Care & assembly instructions

Costco

Costco MNY2884-9GP Care & assembly instructions

BED BATH & Beyond WF303092 Assembly instruction

BED BATH & Beyond

BED BATH & Beyond WF303092 Assembly instruction

bbf WC14360 quick start guide

bbf

bbf WC14360 quick start guide

SEI HZ1041 Assembly

SEI

SEI HZ1041 Assembly

Tech Craft HBL60 Assembly instruction

Tech Craft

Tech Craft HBL60 Assembly instruction

RH Baby&child LEYTON DRESSER TOPPER instructions
RH Baby&child

RH Baby&child LEYTON DRESSER TOPPER instructions

SAFAVIEH COUTURE Bartolili SFV5116A manual

SAFAVIEH COUTURE

SAFAVIEH COUTURE Bartolili SFV5116A manual

Bontempi Casa APPENDIABITI ALGA 07.56 Assembly instructions

Bontempi Casa

Bontempi Casa APPENDIABITI ALGA 07.56 Assembly instructions

homechoice Takara tri bunk Assembly instructions

homechoice

homechoice Takara tri bunk Assembly instructions

physa MATERA WHITE user manual

physa

physa MATERA WHITE user manual

OVE BOLTON 36 installation manual

OVE

OVE BOLTON 36 installation manual
The Land of Nod Oak Park Assembly instructions

The Land of Nod

The Land of Nod Oak Park Assembly instructions

Teknik 5412314 Assembly instructions

Teknik

Teknik 5412314 Assembly instructions

JWA KALUNDBORG 70446 Assembly instruction
JWA

JWA KALUNDBORG 70446 Assembly instruction

Twoey inside CS0740 quick start guide

Twoey inside

Twoey inside CS0740 quick start guide

Stokke Home Dresser user guide

Stokke

Stokke Home Dresser user guide

Elle Decor MARYA Assembly instructions and warranty information

Elle Decor

Elle Decor MARYA Assembly instructions and warranty information

manuals.online logo
manuals.online logoBrands
  • About & Mission
  • Contact us
  • Privacy Policy
  • Terms and Conditions

Copyright 2025 Manuals.Online. All Rights Reserved.