Spire SPw70 User manual

© 2016 Spire Payments Holdings S.a.r.l. All rights reserved. All information is subject to
change without notice and Spire Payments does not warrant the information’s accuracy
or correctness.
Spire Payments and the Spire Payments logo are trademarks,servicemarks or registered
trademarks or service marks of Spire Payments Holdings S.a.r.l. All other trademarks are the
property of their respective owners.
Any Spire Payments software described in this document is subject to a Software License
Agreement. Please refer to the Software License Agreement for information regarding
the terms of use.
Step 1. Terminal battery installation
• Place the terminal face down and remove the battery
cover by applying pressure on the ribbed oval and sliding
it in the direction shown. (fig. 1)
• If a SIM is not pre-fitted insert the supplied SIM into the
socket marked ‘SIM’.
• Remove the packaging and insert the battery into the
terminal. (fig. 2)
• Replace the cover. (fig. 3)
Step 2. Paper roll installation
• With the terminal facing up, gently pull upwards on the
lever located in the middle of the printer door. (fig. 4)
• Discard any packing material from the paper roll.
• Fit the roll as shown in the diagram. The correct
orientation of the paper is critical. (fig. 5)
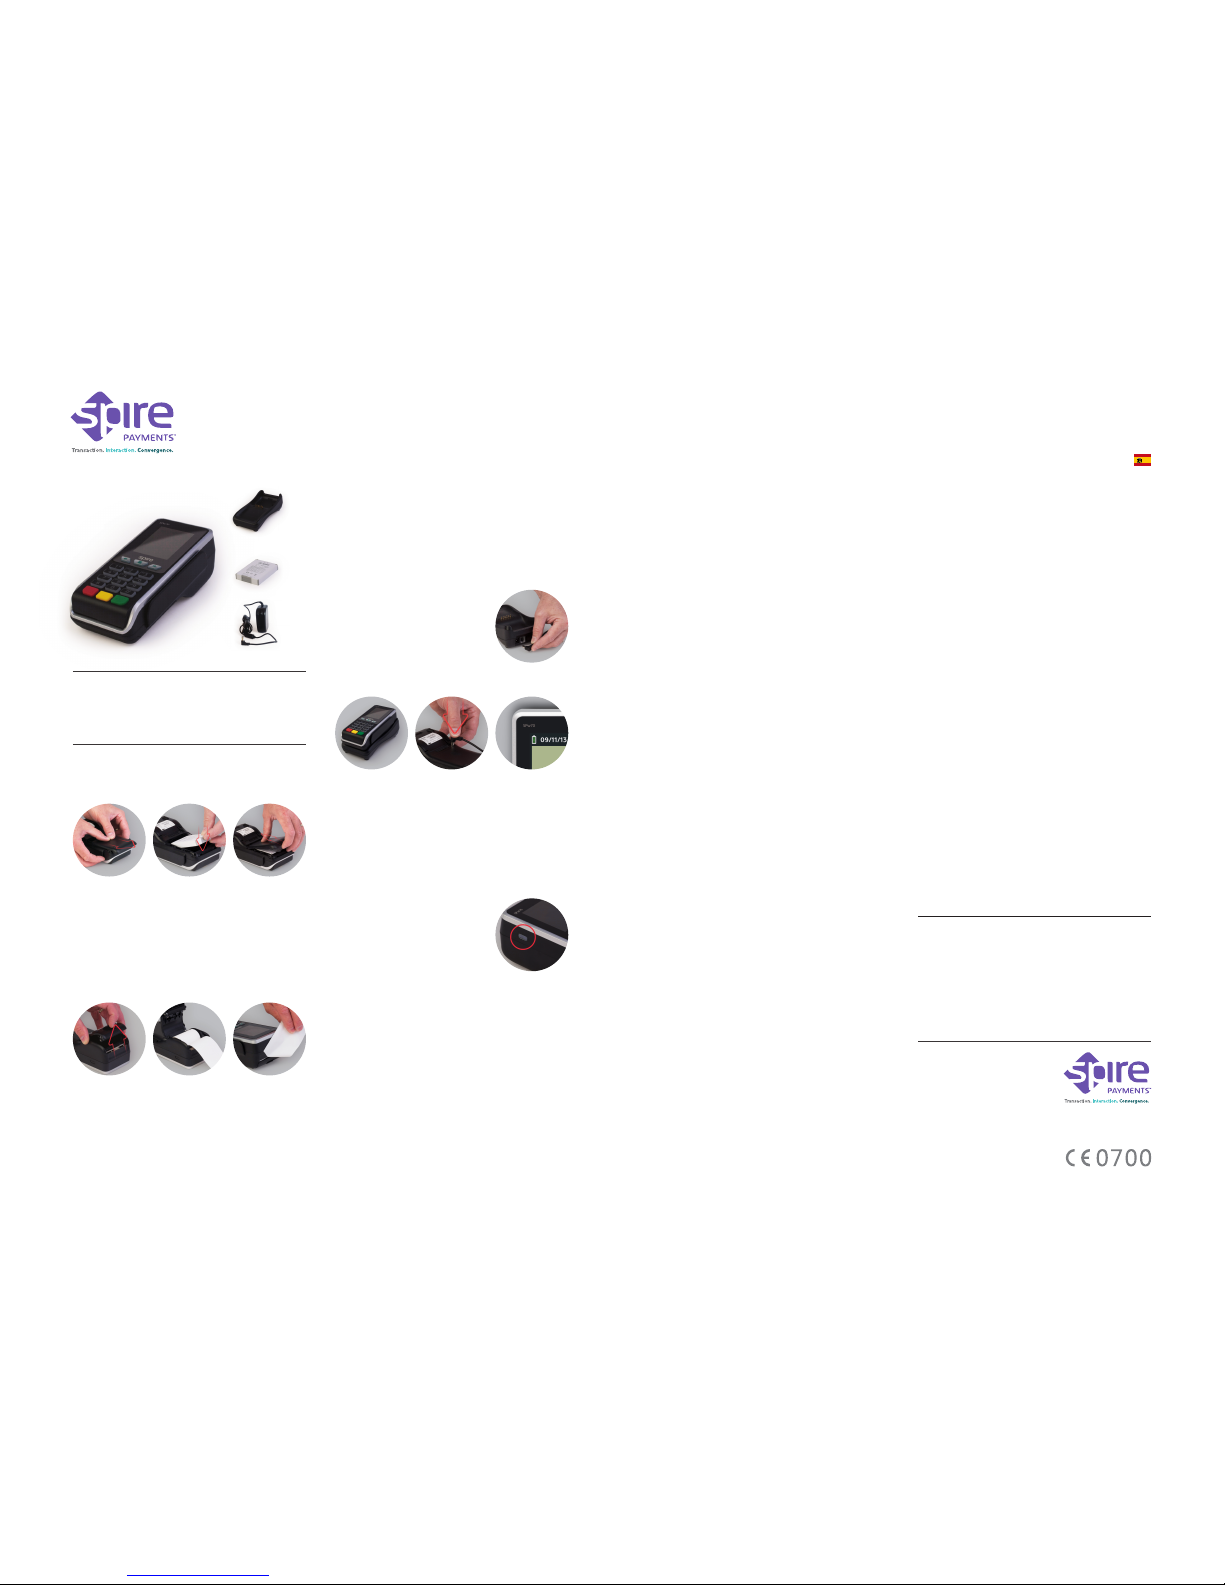
What you have received:
fig. 2fig. 1 fig. 3
• Pull 10 cm of paper until it protrudes from the top of the
terminal.
• Close the printer door until a‘click’ is heard.
• Turn the terminal over and remove the excess paper by
tearing along the serrated edge. (fig. 6)
Step 3. Charging stand connection (if suppied)
• Insert the small plug into the rear
of the charging stand and plug the
power supply into a nearby electrical
outlet. (fig. 7)
• A red light on the charging stand will
show power is present.
Step 4. Charging the terminal
• Place the terminal on the stand (if supplied) (fig. 8) or
insert the power supply plug directly into the rear of the
terminal. (fig. 9) Only then plug the power supply into the
electrical outlet.
• Charging of the battery will take between 2 and 4 hours.
• Battery condition is indicated in the top right hand corner
of the display when the terminal is switched on. (fig. 10)
• When not in use you may leave the terminal on the stand
(if supplied) or connected to the power supply to maintain
charge.
Step 5. Turning on the terminal
• Hold down the power button (located
on the right of the menu buttons)
until the display illuminates. (fig. 11)
• Remove the protective film from the
display if present.
• Your terminal may prompt you to
enter your MID as a security check.
Step 6. Performing a Chip Card sale transaction with PIN
• The terminal does not have to be
placed on the charging stand (if
supplied) to perform a transaction.
• Insert the customer’s Chip Card into
the slot at the foot of the terminal
with the chip facing upwards. (fig. 12)
• Enter the transaction amount when
prompted and pass the terminal to the customer for PIN
entry.
fig. 4 fig. 5 fig. 6
Terminal
(complete with
paper roll) Charging stand
(optional)
Battery
Power supply
(region specific)
fig. 11
fig. 12
fig. 7
fig. 8 fig. 9 fig. 10
Spire Payments Holdings S.à.r.l. Proprietary Information
www.spirepayments.com
English Language 180316-10
SPw70 Mobile Terminal
Quick Reference Guide
• The terminal will automatically contact the acquirer and
approve/decline the transaction.
• A merchant copy of the receipt will be printed. Tear off and
retain for your records.
• Confirm display prompt to print the customer’s receipt.
Once printed, tear off, remove card and pass both to the
customer.
Step 7. Other transaction types
• Please refer to the User Manual provided by your bank or
service provider for performing all transaction types and
reading card data by Swipe, Keyed and Contactless.
Step 8. End of day/shift change procedures
• It is essential to perform specific processes at the end of
a working day, and possibly between shifts for internal
records. Please refer to the User Manual provided by your
bank or payment service provider for more details.
Troubleshooting
In the unlikely event you experience issues with this
product, please follow the relevant procedure detailed
below. If this does not resolve the issue, please visit
www.spirepayments.com for further assistance.
No display
• Check the battery is fitted and no packing material is
interfering with the battery contacts.
• Place terminal on stand (if supplied) or insert power supply
into rear of terminal and confirm charging is in progress.
• Check power supply and all connections.
Poor battery life
• Refer to User Manual for expected battery life.
• Ensure the power is being supplied to the charging stand
(if supplied).
• Check battery charge indicator is at maximum.
• Charge for 2 to 4 hours to ensure a full charge.
Poor printing performance
• Check the printer door is closed fully.
• Ensure the paper roll is installed correctly.
• Refer to User Manual for additional printer setup options.
Communication problems
• Turn the terminal on and ensure the wireless signal is
strong.
• Reset the terminal by powering off and on.
Cannot read Cards
• Ensure the magnetic stripe card has swiped in the correct
orientation.
• Ensure the Chip Card has been inserted in the correct
orientation.
• Ensure the contactless card has been placed at a distance
of 0 to 4 cm from the terminal display.
• Test with another card of the same type.
Caution and Safety Instructions
• Do not attempt to disassemble, service or repair any part.
• Do not use if damaged or with signs of tampering.
• Only use the supplied power adapter with an electrical
outlet of the correct rating.
• To avoid the potential hazard of electrical shock do not use
in wet environments or during an electrical storm.
• Do not use in proximity of potentially flammable gases or
substances.
• Ensure cables used do not cause a trip hazard or risk the
device being dropped on to a hard surface.
• Do not expose to excessive heat or cold. Only operate
between 0 °C and 40°C.
• Only use a rechargeable battery supplied or specified by
Spire and follow caution instructions printed on it.
• Before cleaning, disconnect from the electrical outlet. Use
only a dry or dampened soft cloth.
• Do not immerse, use liquids, sprays or aerosol cleaners.
Clean all spillages quickly.
• This device is intended for handheld use only.
• Dispose any part in an environmentally sound manner and
in accordance with local laws.
• Spire Payments will not be held liable for any damage
resulting from user operation that does not comply with
the guidance stated.
Declaration of Conformity and Compliance
EU Compliance Statement:
Spire Payments Holdings S.à.r.l. hereby declares that this device is
in compliance with the essential requirements and other relevant
provisions of the R&TTE Directive and the Directive on the restriction
of the use of certain hazardous substances in electrical and electronic
equipment.
A copy of the EU Declaration of Conformity is available online at
www.spirepayments.com
PCI PTS • The PCI Notice and Installation Guidance is available online
at www.spirepayments.com
Paso 1. Instalación de la batería del terminal
• Con el terminal boca abajo, retire la tapa que cubre la
batería aplicando presión con el dedo en el óvalo de la
tapa y empujándola simultáneamente hacia atrás. (fig. 1)
• Retire el embalaje de la batería e inserte dicha batería en el
terminal. (fig. 2)
• Vuelva a colocar la tapa de la batería. (fig. 3)
Paso 2. Instalación del rollo de papel
• Con el terminal boca abajo, tire hacia arriba de la pestaña
de la tapa del rollo del papel. (fig. 4)
• Deseche el material de embalaje del rollo de papel.
• Sustituya el rollo cómo se indica en el diagrama. Es muy
importante que se oriente el papel de forma correcta.
(fig. 5)
Contenido de la Caja:
fig. 2fig. 1 fig. 3
• Tire del papel, hasta que sobresalga unos 10cm por la
parte superior del terminal.
• Cierre la tapa de la impresora, hasta que oiga un‘clic’.
• De la vuelta al terminal y tire del papel hacia arriba, para
cortarlo mediante el borde dentado. (fig. 6)
Paso 3. Conexión de la base cargadora (opcional)
• Inserte el conector en la parte trasera
de la fuente y conecte la misma.
(fig. 7)
• Al conectar la alimentación a la base
cargadora, se encenderá una luz roja
en la parte superior izquierda de
dicha base.
Paso 4. Proceso de carga del terminal
• Coloque el terminal en la base (opcional) (fig. 8) o inserte
la fuente de alimentación directamente en la parte trasera
del terminal. (fig. 9)
• El proceso de carga de la batería durará entre 2 y 4 horas .
• El estado de la batería se indicará en la esquina superior
izquierda de la pantalla del terminal. (fig. 10)
Paso 5. Encendido del terminal
• Pulse la tecla de encendido, situada
en el lado izquierdo del terminal,
hasta que se ilumine el display.
(fig. 11)
• Quite el film protector de la pantalla.
fig. 4 fig. 5 fig. 6
Terminal
(completo con
rollo de papel) Base cargadora
(opcional)
Bateria
Fuente de alimentación
fig. 11
fig. 7
fig. 8 fig. 9 fig. 10
© 2016 Spire Payments Holdings S.a.r.l. Todos los derechos reservados. Toda la infor-
mación esta sujeta a posibles cambios sin previo aviso y Spire Payments no garantiza
que la información sea exacta ni correcta.
Spire Payments y el logo de Spire Payments son marcas, marcas de servicio, marcas
registradas o marcas de servicio registradas del Spire Payments Holdings S.a.r.l. Todas
las restantes marcas son propiedad de sus respectivos dueños.
Cualquier software de Spire Payments descrito en este documento está sujeto a un
Acuerdo de Licencia de Software. Por favor remítase al Acuedo de Licencia de Soft-
ware para obtener información sobre las condiciones de utilización.
Spire Payments Holdings S.à.r.l. Proprietary Information
www.spirepayments.com
Spanish Language 180316-10
SPw70 Terminal Móvil
Manual de Instalación
Solución de problemas
En el caso de que se le presente algún problema con este
producto, por favor siga los procedimientos descritos a con-
tinuación. Si con ello no se resuelve el problema por favor
contacte con su proveedor.
No se visualiza ningún mensaje en
el display del terminala
• Compruebe que el terminal está encendido.
• Compruebe que la batería está bien conectada y que
ninguna parte de su material de empaquetado ha
quedado sobre los contactos de la batería en el terminal.
• Coloque el terminal en la base (opcional) o inserte la
fuente de alimentación directamente en la parte trasera
del terminal y compruebe que el proceso de carga está en
curso.
• Compruebe todas las conexiones.
Poca duración de la batería
• Asegure que la alimentación llega adecuadamente al
terminal.
• Confirme que el indicador de batería está al máximo.
• Cargue la batería durante un periodo de 2 a 4 horas para
asegurar que está al completo de su capacidad.
Mala Calidad de Impresión
• Compruebe que la tapa de la impresora está totalmente
cerrada.
• Asegúrese de que el rollo de papel está instalado
correctamente.
Problemas de comunicación
• Encienda el terminal y asegúrese de que existe suficiente
cobertura.
• Resetee el terminal apagándolo y volviéndolo a encender.
No puede leer tarjetas
• En el caso de tarjetas banda, asegúrese de pasar la tarjeta
en la posición adecuada.
• En el caso de una tarjeta chip, asegúrese que la tarjeta ha
sido correctamente insertada.
• En el caso de una tarjeta sin contactos, asegúrese de que
se ha presentado frente a la pantalla del terminal a una
distancia menor de 4 cm.
• Verifique si el problema se soluciona con una tarjeta
diferente para descartar un mal funcionamiento del
terminal.
Precaución e Instrucciones de Seguridad
• No intente desmontar o reparar ninguna de las partes o
componentes del producto.
• No utilice el terminal si detecta daños o signos de
manipulación en él.
• Utilice solamente la fuente de alimentación proporcionada
con el equipo con la toma especificada en dicha fuente.
• Para evitar el riesgo de descarga eléctrica, no utilice el
equipo en ambientes húmedos o durante tormentas
eléctricas.
• No utilizar el equipo cerca de sustancias o gases
potencialmente inflamables.
• Asegúrese de que la disposición de los cables no causará
algún tipo de riesgo de caída del equipo o personas.
• No exponga el equipo a calor o frío excesivo. Utilice el
equipo sólo a temperatura ambiente entre 0 a 40°C.
• Antes de limpiar el equipo, desconéctelo de la toma
de alimentación. Utilice únicamente un paño seco o
ligeramente humedecido.
• No introduzca el equipo en líquidos, ni utilice líquidos,
envases pulverizadores o aerosoles para su limpieza.
Limpie rápidamente cualquier líquido derramado sobre el
equipo.
• Este dispositivo está diseñado para utilizarse
exclusivamente como dispositivo portátil.
• Deseche cualquier parte de este dispositivo cumpliendo
con las leyes de medio ambiente.
• Spire Payments no será responsible de ningún daño
resultante de la utilización indebida del equipo.
Declaración de Conformidad EU
Spire Payments Holdings S.à.r.l. declara que este equipo cumple
con los requisitos esenciales y otras disposiciones relevantes
de la directiva R&TTE y de la directiva sobre restricciones a la
utilización de determinadas sustancias peligrosas en aparatos
eléctricos y electrónicos.
Una copia de la declaración de conformidad EU está disponible
en www.spirepayments.com.
PCI-PTS • La notificación PCI y la guía de instalación están dis-
ponibles en www.spirepayments.com.
Other manuals for SPw70
1
Table of contents
Languages:
Other Spire Payment Terminal manuals


