SPX 5093A User manual

Sheet
© 2006 SPX Corporation
Rev. A, September 29, 2006
Form No. 539815
Parts List and
Operating Instructions
for: 5093A
Air / Hydraulic
Long Reach Service Jack
Max. Capacity per Stage: 22 / 38.5 / 71.5 Ton
SPX Corporation
655 Eisenhower Drive
Owatonna, MN 55060-0995 USA
Phone: (507) 455-7000
Tech. Serv.: (800) 533-6127
Fax: (800) 955-8329
Order Entry: (800) 533-6127
Fax: (800) 283-8665
International Sales: (507) 455-7223
Fax: (507) 455-7063
1540019 Power Unit
2540020 Piston (71.5 ton)
3540021 Piston (38.5 ton)
4540022 Piston (22 ton)
5540023 Hydraulic Unit Seal Kit
6540024 Saddle
7540025 Valve Body
8540026 Air Pump
9540027 Regulator
10 540028 Air Reservoir
11 540029 Air Valve
12 540030 Release Valve
13 540031 Air Fitting
14 540032 Air Motor Seal Kit
15 540033 Regulator Seal Kit
16 540034 Hose Kit
17 540035 Handle
18 540036 Handle Grip
19 540037 Wheel / Axle Kit
20 540038 Extension
21 540039 Cover
Item Part
No. No. Description
1
2
3
4
5
5
5
5
6
Replacement Parts
7
8
9
10
11
12
13
14
14 14
14
14
14
15
15
15
16 (Blue)
16 (Blue)
16 (Black)
16 (Red)
16 (Blue)
17
18
19
19 19 19
20
21
15
97
8
1
1 of 2

Parts List & Operating Instructions Form No. 539815, sheet 1 of 2, back
Safety Precautions
WARNING: To prevent personal injury and/or equipment damage,
•Study, understand, and follow all instructions before operating this device. If the operator
cannotreadorunderstandtheseinstructions,theoperatinginstructionsandsafetyprecautions
must be read and discussed in the operator’s native language.
•Wear eye protection that meets OSHA and ANSI Z87.1 standards.
•Inspect the jack before each use; do not use the jack if it is damaged, altered, or in poor
condition. No alterations may be made to this product. Use only those attachments and/or
adapters supplied by the manufacturer.
•Lift only on areas of the vehicle as specified by the
vehicle manufacturer.
•Do not exceed rated capacity.
•Use only on a hard, level surface.
•Center the load on the jack saddle. Off-center loads can
damage seals and cause jack failure.
•
This is a lifting device only. Immediately after lifting,
support the vehicle with appropriate means.
•Stay clear of a lifted load.
•Do not use the jack to move or dolly a vehicle.
Setup
1. Remove the upper cover. See Figure 1.
2. Remove the metal rod, and connect the blue plastic tube (supplied).
3. Place the handle in Position 4 (Fig. 2), and insert the bolt and washer near
the bottom of the handle assembly. See Fig. 3.
Note: Remove the bolt and
washer to put the handle in Position 1 for storage.
4. Replace the cover.
Operating Instructions
1. Verify the control lever is in the OFF position. See Figure 4.
2. Connectshopairsupplytothejack.Recommendedairpressureis100–145
psi (7–10 BAR). Install an air filter / lubricator in the shop air line, because
water in the air line will damage the jack.
3. Move the control lever to UP to raise the saddle to the contact point. Move
the control lever to OFF.
4. Check the placement of the jack; the load must be centered on the jack
saddle. Avoid jack wheel obstructions such as gravel, tools, or uneven
expansion joints.
5. Move the control lever to UP finish lifting the vehicle.
6. Immediatelyplaceapprovedsupportstandsunderthe vehicle’sliftingpoints
(recommended by the vehicle manufacturer). SLOWLY and CAREFULLY
lower the vehicle onto the support stands by pushing the control lever to the
DOWN position.
Bleeding Air from the Jack
Aircanaccumulatewithinahydraulicsystemduringshipmentorafterprolonged
use. This entrapped air causes the jack to respond slowly or feel “spongy.” To
remove the air:
1. Move the control lever to DOWN, and hold it there for a few seconds.
2. Move the control lever to UP to complete a load-free lifting cycle.
3. Move the control lever to DOWN to retract the jack pistons. The pistons
should react in a smooth motion; if not, repeat Steps 1–3.
Figure 1
Upper Cover
Metal Rod
Figure 2
Disengage trigger lever to move handle to
one of four positions: 1) collapsed; 2) storage:
3) movement: and 4) horizontal.
1
2
3
4
Figure 3
Bolt &
Washer
Figure 4
Shop
Air
Control
Lever

Sheet
© 2006 SPX Corporation
Rev. A, September 29, 2006
Parts List & Operating Instructions Form No. 539815
Preventive Maintenance
IMPORTANT:Thegreatestsinglecauseoffailureinhydraulicunitsisdirt.Keeptheservicejackcleanandwelllubricatedtoprevent
foreign matter from entering the system. If the jack has been exposed to rain, snow, sand, or grit, it must be cleaned before it is used.
1. Store the jack, with pistons completely retracted, in a well-protected area where it will not be exposed to corrosive vapors, abrasive
dust, or any other harmful elements.
2. Use only replacement parts that are approved by the manufacturer. Disconnect the air supply before performing any maintenance
operation.
3. Regularly lubricate the moving parts in the wheels, arm, and handle using a high quality grease.
4. To check the oil level, completely lower the pistons. Remove the dipstick. The oil level should be between the two marks on the
dipstick. If necessary, add approved, anti-wear, hydraulic jack oil, and install the dipstick again. IMPORTANT: The use of alcohol,
hydraulicbrakefluid,ortransmissionoilcoulddamagethesealsandresultinjackfailure.UseonlyHLorHMtypehydraulic
oil with an ISO viscosity grade of 22 or SAE viscosity grade of SW.
Jack does not lift
Jack lifts only partially
Jack advances slowly
Jack lifts load,
but doesn’t hold
Jack leaks oil
Jack will not retract
Jack retracts slowly
1. Control valve in wrong position.
2. Low/no oil in reservoir.
3. Air-locked system.
4. Load is above capacity of jack.
5. Delivery valve and/or bypass valve not
working correctly.
6. Seals worn out or defective.
1. Move control valve to UP position.
2. Fill with oil and bleed system.
3. Bleed system.
4. Use correct equipment.
5. Clean to remove dirt or foreign matter.
Replace oil.
6. Install appropriate seal kit.
1. Too much or not enough oil.
1. Check oil level.
1. Pump not working correctly.
2. Leaking seals.
1. Install appropriate seal kit.
2. Install appropriate seal kit.
1. Cylinder packing is leaking.
2. Valve not working correctly (suction,
delivery, release, bypass).
3. Air-locked system.
1. Replace with seal kit No. 540023.
2. Inspect valves. Clean and repair seat
surfaces.
3. Bleed system.
1. Worn or damaged seals.
1. Replace with seal kit No. 540023.
1. Control valve in wrong position.
1.
Move control valve to DOWN position.
1. Cylinder damaged internally.
1. Send jack to OTC-authorized service
center. (Refer to OTC No. 104031.)
Troubleshooting Guide
CAUTION:Topreventpersonalinjury,allinspection,maintenance,andrepairproceduresmustbeperformed
when the jack is free of a load (not in use) and disconnected from the air supply. Repair procedures must be
performed in a dirt-free environment by qualified personnel who are familiar with this equipment.
Trouble Cause Solution
5. Replacetheoil in thereservoirat least onceperyear: Disconnect theair supply; remove the
cover and connecting tube (see Figure 5); and let the oil drain into an approved container.
Attachthe connecting tube;removethedipstick;addapproved,anti-wear, hydraulicjackoil;
check the oil level (between the two marks on the dipstick); install the dipstick and cover.
6. Inspect the jack before each use. Take corrective action if any of the following problems are found:
a. cracked, damaged housing c. leaking hydraulic fluid e.loose hardware
b. excessive wear, bending, other damage d. scored, damaged piston rod f. modified equipment
7. Keep warning labels and instructional decals clean and readable. Use a mild soap solution to wash external surfaces of the jack.
Connecting
Tube
Figure 5
2 of 2
Other SPX Jack manuals
Popular Jack manuals by other brands
Ultra-tow
Ultra-tow 603645 owner's manual

Chicago Pneumatic
Chicago Pneumatic CP9420 Instruction manual/safety instruction
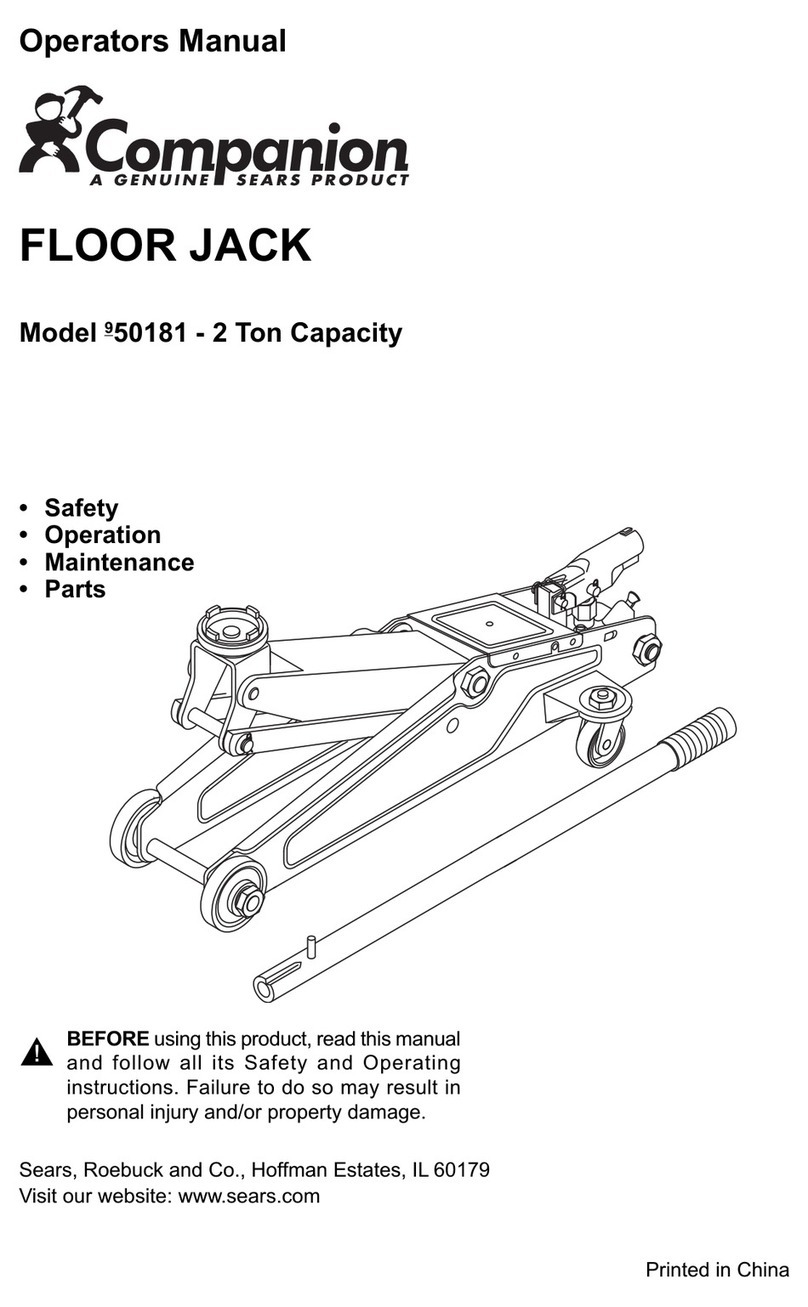
Sears
Sears Companion 50181 Operator's manual
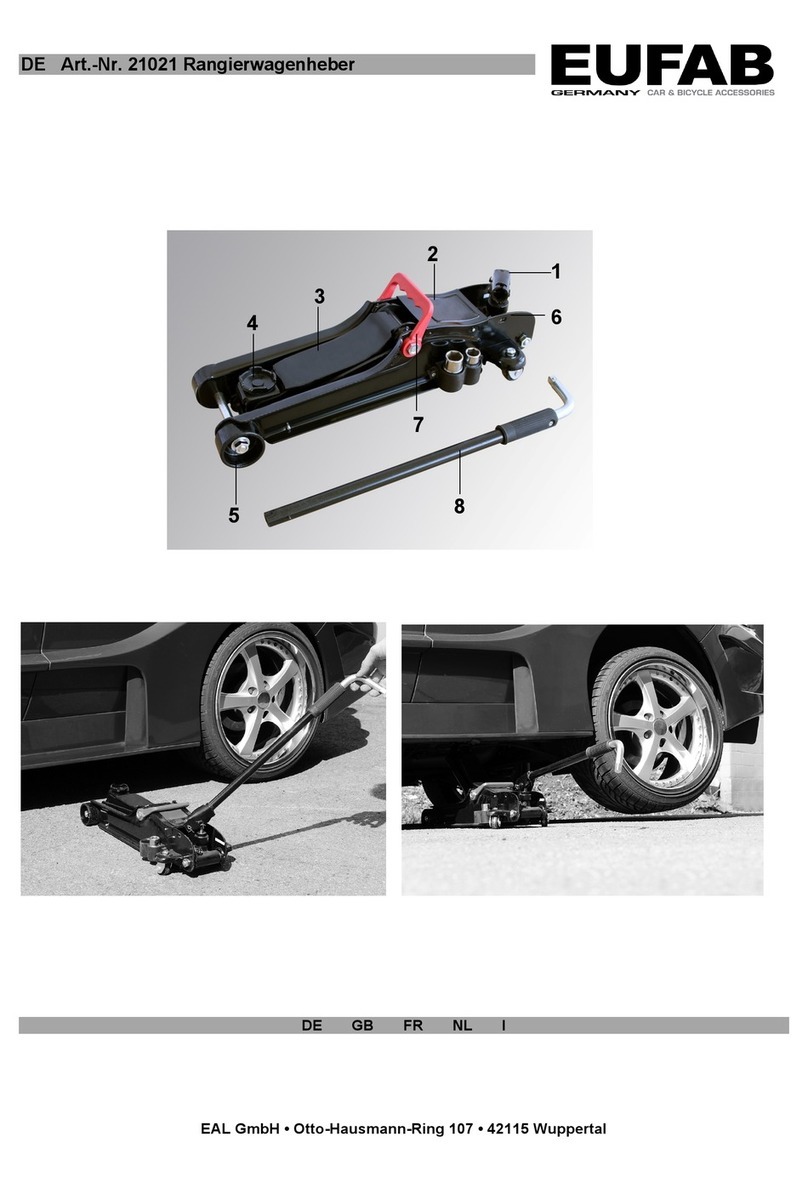
EUFAB
EUFAB 21021 operating instructions
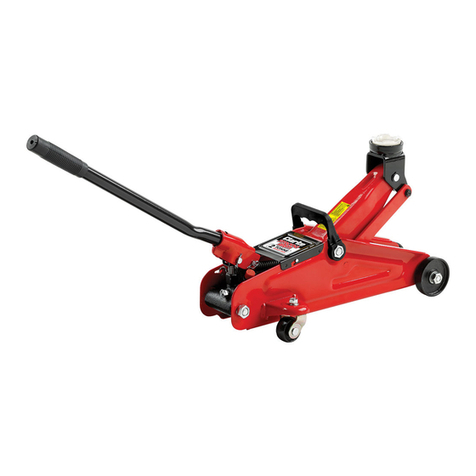
Clarke
Clarke Strong-Arm CTJ2CBB Operation & maintenance instructions

Napa
Napa 791-6620 E Operating manual & parts list
