User Guide
Fitting Instructions
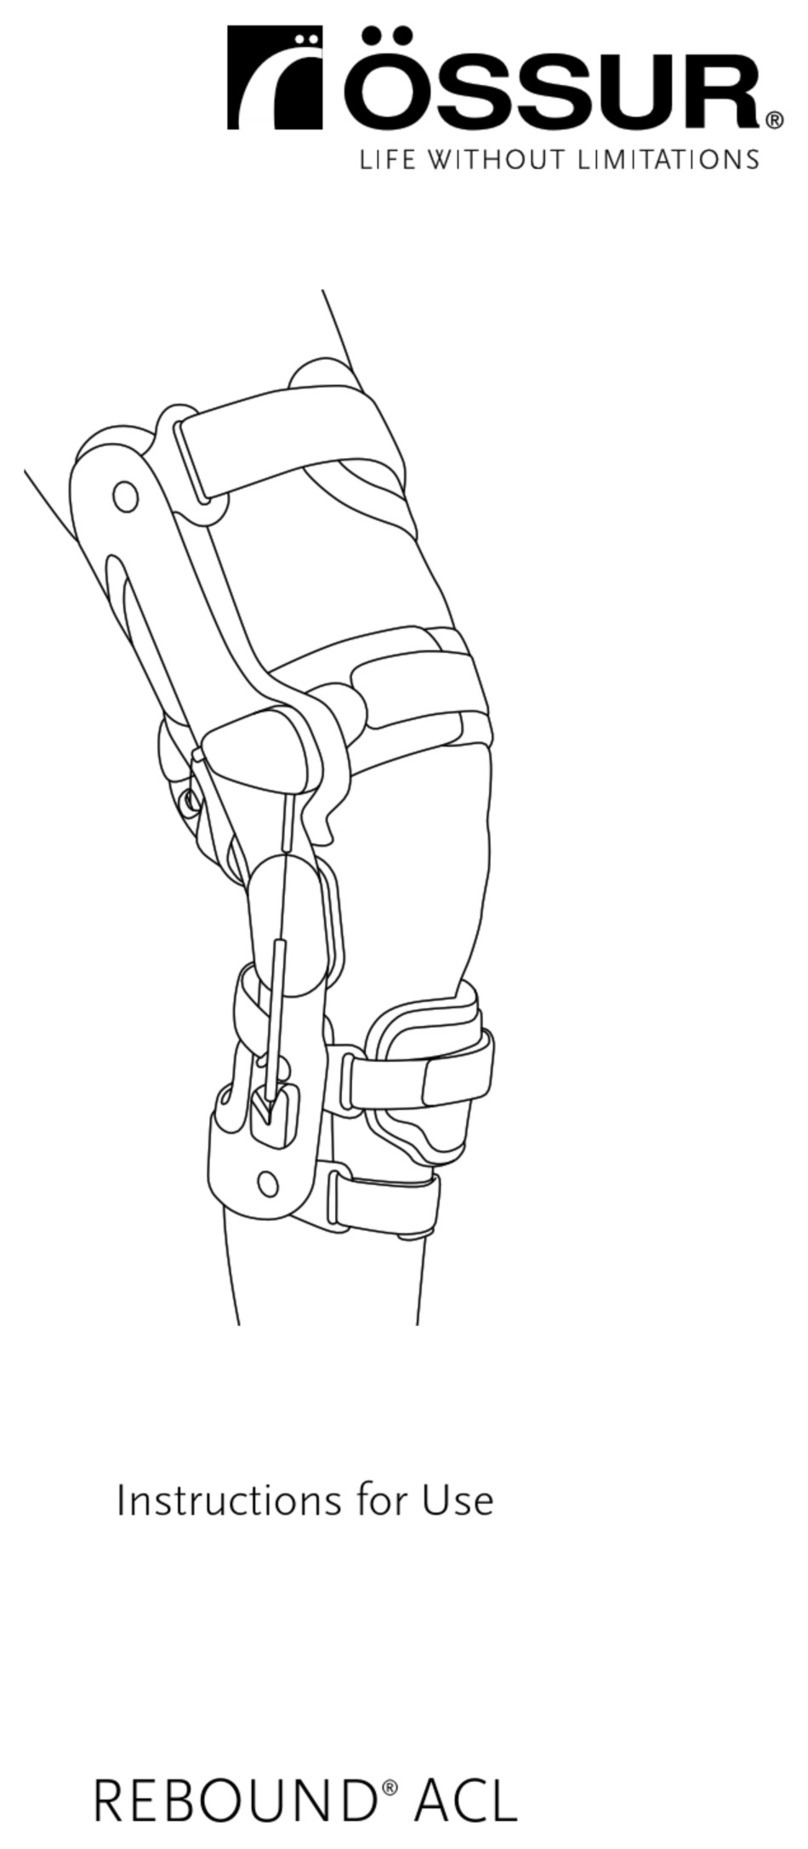
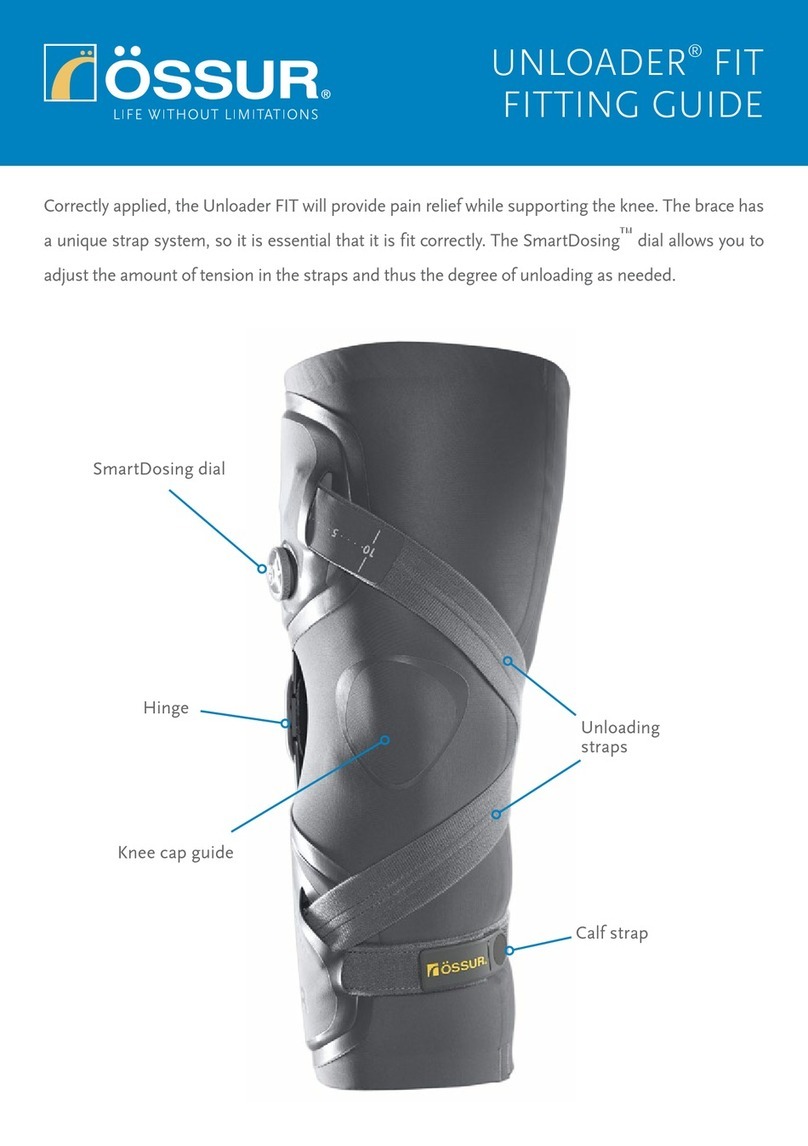
1. With knee slightly bent, place the
brace on your leg with the hinge
on the affected side of your knee.
Align the hinge so that the Ossur
logo is at the top of your kneecap
and the front of the hinge is at the
center of the side of your leg.
5. Close the lower buckle (blue
dot) first, followed by the top
buckle (yellow dot). Make sure
that the calf strap is positioned
above the widest part of your
calf. Use the palm of your hand
to close the buckles, pressing
firmly until you hear them click.
6. Your brace should be set to
provide adequate pain relief with
the SmartDosing®scale set at
the middle indicator. However,
depending on your level of pain or
volume fluxuations due to weight
gain/loss or swelling, you can adjust
the strap tension easily by turning
the dials. Turning the dials clockwise
(the indicator moving toward the.+)
will increase the tension while
turning the dials counter clockwise
(the indicator moving toward the -)
will decrease the tension. Remember
to keep your leg slightly bent when
using the SmartDosing®dials.
7. Check the final position of the
brace on your leg. When your leg is
slightly bent, the Ossur logo on the
hinge should be aligned with the
top of your kneecap and the front
edge of the hinge cap should be at
the center of the side of your leg.
Hint: If you find it hard to align the brace
and buckle it at the same time, simply
place the brace on your slightly bent leg,
put the buckles in the correct receiving
keyholes WITHOUT closing the buckles,
and pull up your leg into place.
Once aligned correctly, continue with
step 2-7.
Unloader One®X
Take control of knee joint pain,
quickly and easily with the
Unloader One X.
When properly applied, the
brace will reduce load on the
painful and affected side of
the knee through a patented
unloading system.
Follow the step-by-step
instructions in this guide
or visit
www.ossur.com/unloader-one-x
for the video version.
2-
