manuals.online logo
Brands
  1. Home
  2. •
  3. Brands
  4. •
  5. Star Trac
  6. •
  7. Fitness Equipment
  8. •
  9. Star Trac Johnny G Spinner Pro User manual

Star Trac Johnny G Spinner Pro User manual

Johnny G Spinner Proand
Johnny G Spinner EliteOwner’s Manual
www.startrac.com
2
Table of Contents:
1) Introduction
2) Fitness Safeguards
3) Spinner Pro and Elite Features
4) Assembly Instructions / Parts Callouts / Parts View
5) Instructions for use
6) Preventative Maintenance
Attachment –Warranty Card
3
1) Introduction:
Thank you for your purchase of the Star Trac Johnny G Spinner Pro or
Elite group cycle bike. The Johnny G bikes will allow you to increase
your energy level, increase your cardiovascular and aerobic capacity,
increase muscle strength, and decrease your overall percentage of body
fat.
This manual is intended to familiarize you with the features, safe
operation and maintenance of your Johnny G Spinner Pro or Elite
models. Please read all applicable section of this manual before
assembling, using or servicing your Johnny G Spinner Pro or Elite
bikes.
2) Fitness Safeguards
These safety notes are directed to purchasers and users of the Star Trac
Johnny G Spinner Pro or Elite bikes. Club Managers should ensure
that members and fitness staff are trained to follow the same safety
instructions.
Fitness Safeguards:
•Users should make their physician aware of any proposed
fitness regimen before embarking on any exercise program.
•Discuss with your physician any health problems before
beginning an exercise program.
•Stop operating the Johnny G Spinner Pro and Elite if you feel
dizzy, faint or tired.
•Preventative maintenance must be performed in accordance
with the guidelines specified under the Preventative
Maintenance section of this manual to assure optimum
performance of the Johnny G Spinner Pro and Elite bikes.
•Keep children and pets away from the Johnny G Spinner Pro
and Elite bikes while the machine is in use.
4
Fitness Safeguards (cont.)
Cautions for use of the Johnny G Spinner Pro and Elite bikes:
•Persons exceeding 350 lobs may not use this product
•Never attempt to abruptly stop the pedals, especially at high
RPM’s
•Never remove feet from the Johnny G Spinner Pro and Elite
bikes while pedals are in motion.
•Do not dismount until the pedals are at a complete stop.
•Do not attempt to ride this bike in a standing position at high
RPM’s until you have practiced at lower speeds.
•Do not drop or insert any object, hands or feet into any
openings or moving parts of the Johnny G Spinner Pro and
Elite bikes.
•Do not use without proper footwear.
•After exercising, turn the adjustment knob in the positive (+)
direction to increase tension so the pedals will not rotate freely.
•Ensure the exercise knobs are secure and do not interfere with
exercise.
3) Johnny G Spinner Pro and Elite Features:
•Stainless Steel Components –All exposed metal and hardware
are stainless steel for strength and corrosion resistance except
for the flywheel.
•Frame –Heavy-duty steel construction with wider stabilizers
and larger adjuster feet for maximum stability and durability
•Frame Treatment –The frame is plated then powder coated for
the ultimate in corrosion resistance.
•Shrouding –Plastic shrouds cover the brake and chain to
deflect perspiration and prevent rust.
•Push Brake System –The quickest way to stop the flywheel of
any group cycling bike –just push down on the adjustment
knob.
•Pop-pin adjustments –Three turn locking pin
•Saddle –ergonomic saddle for added rider comfort
•Flywheel –Re-engineered perimeter weighted flywheel,
offering the same feel that is true to the heritage of the Johnny
G Spinner line of bikes.
5
Johnny G Spinner Pro and Elite Features: (Cont.)
•Smart Release System-ON THE ELITE MODEL ONLY
–this allows the benefits of the direct drive system with a
safety clutch to release crank from direct drive when a force is
applied onto the pedals.
4) Assembly Instructions / Parts Callouts / Parts View
Star Trac Johnny G Spinner Pro
6
Part Description Units Per
Bike
1Frame 1
2Handlebar Post Assembly 1
3Seat post Assembly 1
4Adjustable slide for seat 1
5Front Leg Assembly 1
6Back Leg Assembly 1
7Brake Pad Assembly 1
8Brake Knob and Bolt Assembly 1
9Chain Guard(out side) 1
10 Chain Guard(inside) 1
11 Finder 1
12 Pop pin 3
13 New Wheel 2
14 Axle Sleeve for Wheel 2
15 Adjustable foot Pad 4
16 Wheel Bolts 2
17 Washer for front leg 2
18 Flywheel w/hub, Label and Chain ring 1
19 Bearing for Flywheel 6000zz 2
20 Right Axle Spacer 1
21 Left Axle Spacer 1
22 Flywheel Axle 1
23 Spring for brake pad 1
24 Flywheel axle nut 2
25 Chain tension Adjustment Bolt 2
26 Chain tension lock nuts 2
27 Brass Nut 1
28 Plastic Sleeve 2
29 Plastic Bushing 1
30 Sleeve for seat slide 1
31 Handlebar sleeve 1
32 Seat post sleeve 1
33 Chain Guard Bolts-Long 1
34 Chain Guard Bolts-Short 2
35 Chain Guard Bolts-Medium 3
36 Chain 1
37 Bottom Bracket 1
38 Cranks (Set) 1
39 Seat 1
40 Pedals (Set) 1
Parts List for Star Trac
Johnny G Spinner Pro
7
Star Trac Johnny G Spinner Elite
8
Part Description Units Per
Bike
1Frame 1
2Handlebar Post Assembly 1
3Seat post Assembly 1
4Adjustable slide for seat 1
5Front Leg Assembly 1
6Back Leg Assembly 1
7Brake Pad Assembly 1
8Brake Knob and Bolt Assembly 1
9Chain Guard(out side) 1
10 Chain Guard(inside) 1
11 Finder 1
12 Pop pin 3
13 New Wheel 2
14 Axle Sleeve for Wheel 2
15 Adjustable foot Pad 4
16 Wheel Bolts 2
17 Washer for front leg 2
18 Flywheel w/hub, Label and Chain ring 1
19 Right bearing for flywheel NKI1016 1
20 Left Bearing for Flywheel 6000zz 1
21 Right Axle Spacer 1
22 Left Axle Spacer 1
23 Flywheel Axle 1
24 Spring for brake pad 1
25 Gasket for Flywheel 1
26 Aluminum cap 1
27 C Ring for hub on flywheel 1
28 C Ring for bearing on flywheel 1
29 Chain ring with bearing 1
30 Clutch Axle 1
31 Bearing locking nut 2
32 Flywheel axle nut 2
33 Chain tension Adjustment Bolt 2
34 Chain tension lock nuts 2
35 Brass Nut 1
36 Plastic Sleeve 2
37 Plastic Bushing 1
38 Sleeve for seat slide 1
39 Handlebar sleeve 1
40 Seat post sleeve 1
41 Chain Guard Bolts-Long 1
42 Chain Guard Bolts-Short 2
43 Chain Guard Bolts-Medium 3
44 Chain 1
45 Bottom Bracket 1
46 Cranks (Set) 1
47 Seat 1
48 Pedals (Set) 1
Parts List for Star Trac
Johnny G Spinner Elite
9
Assembly Instructions:
A) Secure the front brace with wheels (#5) and the rear
brace (#6) to the frame (#1) by using four hex bolts,
eight washers, and four lock nuts. Note –the washers
must be placed above and below the brace.
B) Attach the pedals using the multi hex wrench. Note
that the closed end to of the cage must point to the front
of the bike in order to go on the correct side of the
crank. Also note that the left pedal has lefthanded
threads and must be tightened counter clockwise.
C)Insert the seat post (#3) into the frame (#1) and secure
with a locking pop pin (#12)
D)Insert the handle bar (#2) into the head tube of the
frame (#1) and secure with a locking pop pin (#12)
E) Mount both bottle cages with the stainless steel allen
screws. Note that the screws may be secure in the
frame, and will need to be removed prior to placing the
water bottle holder onto the bike.
5) Instructions for use:
Resistance –Pedaling resistance is controlled by the push Brake System
Knob located underneath the handlebars. To increase resistance, turn the
Brake System Knob clockwise (+). To decrease resistance, turn the
resistance counter-clockwise (-). Resistance adjustments can be done while
riding.
Seat Adjustment –Place one pedal in the upward position, then place your
foot in the toe clip and center the ball of your foot over the center of the
pedal. Your leg should be slightly bent at the knee. If your leg is too
straight or your foot cannot touch the pedal, you will need to move the seat
down. If your leg is too bent, you will need to move the seat up.
To adjust the seat up or down, dismount the bike and loosen the locking pop-
pin by turning the handle counter-clockwise. Pull out the spring-loaded
knob, from the preset location. Raise or lower the seat to the desired height,
and release the pop-pin. When the correct location is detected, tighten the
pop pin by tightening clockwise.
10
Seat Adjustment (Cont.)
To adjust the forward or backward (i.e. for and aft) seat position, dismount
the bike and loosen the locking pop pin by turning counter clockwise. Pull
out the spring-loaded release knob, releasing the locking pin from the pre-set
position hole. Slide the seat forward or backward to the desired position.
When the seat is in the desired position, release the spring-loaded
mechanism to re-position the locking pin into the desired location. Turn the
handle clockwise to tighten the pop pin.
Handlebar Adjustment –To raise or lower the handlebars, loosen the locking
pop pin. Pull out the spring-loaded release knob. This releases the locking
pin from the pre-set position. Raise or lower the handlebars to the desired
position. When the handlebars are in the desired position, release the spring-
loaded knob re-positioning the locking pin in the desired, pre-set hole. Turn
the handle clockwise to tighten the knob.
Pedal Strap Adjustment –Place the ball of each foot in the toe clip until the
front of the shoe fits snugly in the toe clip cage. Rotate one foot to within
arm’s reach, then tighten the webbed cloth buckle until the cage of the toe
clip is snug around the foot. Repeat for the other foot. Point your toes and
knees directly forward to ensure maximum pedal efficiency.
6) Preventative Maintenance:
Moving the Johnny G Spinner Pro and Elite: Utilize the front wheels on
the front brace to roll the bike from one location to another.
Leveling the bikes: All four pads that the bikes rest on (#15 in drawings
above), can be adjusted to compensate for a non-level floor. Place the
bike on its side and rotate the foot either clockwise or counter clockwise
to level the bike depending upon situation.
Daily Maintenance: Dry the Johnny G Spinner Pro and Elite after each
use to remove sweat and moisture. It is best to use a liquid non-abrasive
cleaner and water solution.
Rinse all surfaces to remove detergent residue and then dry. Do not wipe
the chain with soap or towel. Avoid wetting the brake pad when
cleaning.
11
Preventative Maintenance (Cont.)
Daily Maintenance (Cont.)
IMPORTANT –To avoid damaging the finish on your Johnny G Spinner
Pro and Elite, never use a petroleum-based solvent for cleaning.
Periodic Inspection: The crank arms should be re-torqued after the first
10 hours of use and every 100 hours of operation, thereafter. The crank
arm to bottom bracket torque is 30 ft-lbs (+/-3 ft-lbs). Using a 15 mm
wrench, the pedal should be snug.
Inspect all parts, nuts and screws for any adjustments, replacement or
maintenance needs.
It will be necessary to lubricate the chain once a month or after every 100
hours of use, which ever comes first. The chain should be lubricated
with a light chain oil, using a bristle brush.
To learn more about adjustments and replacements, please contact the
Star Trac service department at (800) 503-1221 or you can contact us at
(714) 669-0110.
12
STAR TRAC LIMITED WARRANTYSTAR TRAC LIMITED WARRANTY
Johnny G Spinner Pro and Elite Bikes
Star Trac by Unisen, Inc. warrants to the original purchaser that this Johnny G Spinner Pro and Elite will be free from
defects in workmanship and materials. With each Johnny G Spinner Pro and Elite purchased, an advance warranty
replacement kit of wear items (bottom bracket assembly, seat, brake pad set, pedal straps) is provided. This kit
constitutes the entire warranty coverage for these specific parts. The balance of mechanical components, such as
crank arms, pedals, flywheel and flywheel bearings are covered for 1 year. Frame welds are warranted for two years.
This warranty does not cover labor charges associated with replacing covered components. Parts replaced under the
terms of this warranty will be warranted for the remainder of the original warranty period only. This warranty becomes
effective upon the invoice date of the original purchase.
To order replacement parts the purchaser may contact Star Trac Product Support at (800) 503-1221 or (714) 669-
1660. Non-wear item parts will be shipped and billed at 60 day warranty terms. When calling, be prepared to provide
the product serial number. Proof of purchase or warranty registration may be needed in order for Star Trac to verify
warranty coverage to issue a Return Authorization Number and offer 60 day terms. Parts being returned to Star Trac
for warranty credit must be shipped prepaid, accompanied by a packing list or tag bearing the RMA number, product
serial number and customer name. No credit will be issued for parts returned without prior authorization from Star
Trac.
Limitations and Exclusions
This warranty does not apply to cosmetic damage or damage due to acts of God, accident, abuse, misuse,
negligence, lack of normal maintenance, abnormal service or handling from that specified for this model,
improper installation or operation. In addition, alteration or modification of the product will void this warranty.
This warranty is valid only in the continental United States.
THIS WARRANTY IS IN LIEU OF ALL OTHER WARRANTIES, EXPRESS OR IMPLIED, INCLUDING WITHOUT
LIMITATION, THE IMPLIED WARRANTIES OF MERCHANTABILITY AND FITNESS FOR A PARTICULAR
PURPOSE. Repair or replacement as provided above shall be the sole and exclusive remedy available to the
purchaser. Correction of defects, in the manner and for the period of time described above, shall constitute complete
fulfillment of all liabilities and responsibilities of Star Trac to the purchaser with respect to contract, negligence, strict
liability or otherwise. Star Trac shall not be liable or in any way responsible for any incidental or consequential
damages based upon breach of any express or implied warranty on this product or otherwise.
Some states do not allow the exclusion or limitation of implied warranties or incidental or consequential damages, so
the above exclusions and limitations may not apply to you. This warranty gives you specific legal rights, and you may
also have other rights which may vary from state to state. Effective March, 2002
__ __ __ __ __ __ __ __ __ __ __ __ __ __ __ __ __ __ __ __ __ __ __ __ __ __ __ __ __ __ __ __ __ __
Johnny G Spinner Pro and Elite Warranty Registration
Please complete and return Warranty Registration Card within 10 days of delivery
Name of Facility
Contact Person
Phone Number
Address
City State
Country Postal Code -
Purchased From
City State
Date of Purchase - - Serial No.
Mo. Day Year
Purchaser’s Signature ____________________________________________________________________

This manual suits for next models

1

Other Star Trac Fitness Equipment manuals

Star Trac Leg Curl User manual

Star Trac

Star Trac Leg Curl User manual

Star Trac Instinct User manual

Star Trac

Star Trac Instinct User manual

Star Trac Leverage IP-L2003 User manual

Star Trac

Star Trac Leverage IP-L2003 User manual

Star Trac Inspiration Strength IP-S1313 User manual

Star Trac

Star Trac Inspiration Strength IP-S1313 User manual

Star Trac E-SM User manual

Star Trac

Star Trac E-SM User manual

Star Trac CrossTrainer User manual

Star Trac

Star Trac CrossTrainer User manual

Star Trac Instinct User manual

Star Trac

Star Trac Instinct User manual

Star Trac 3100 Basic User manual

Star Trac

Star Trac 3100 Basic User manual

Star Trac Max Rack IP-L8505 Operating instructions

Star Trac

Star Trac Max Rack IP-L8505 Operating instructions

Star Trac BICEP TRICEP MACHINES User manual

Star Trac

Star Trac BICEP TRICEP MACHINES User manual

Star Trac Boxmaster User manual

Star Trac

Star Trac Boxmaster User manual

Star Trac INSPIRATION STRENGTH IP-S6331 User manual

Star Trac

Star Trac INSPIRATION STRENGTH IP-S6331 User manual

Star Trac eSpinner 7140 Operating instructions

Star Trac

Star Trac eSpinner 7140 Operating instructions

Star Trac 6300 User manual

Star Trac

Star Trac 6300 User manual

Star Trac S-TRc Reference guide

Star Trac

Star Trac S-TRc Reference guide

Star Trac Leverage IP-L5002 Original instructions

Star Trac

Star Trac Leverage IP-L5002 Original instructions

Star Trac 8TR User manual

Star Trac

Star Trac 8TR User manual

Star Trac E-ST User manual

Star Trac

Star Trac E-ST User manual

Star Trac Core Health & Fitness 8-RDE User manual

Star Trac

Star Trac Core Health & Fitness 8-RDE User manual

Star Trac Inspiration Strenght IP-S1316 User manual

Star Trac

Star Trac Inspiration Strenght IP-S1316 User manual

Star Trac Pro Stepper User manual

Star Trac

Star Trac Pro Stepper User manual

Star Trac TreadClimber Operating instructions

Star Trac

Star Trac TreadClimber Operating instructions

Star Trac S-TBT User manual

Star Trac

Star Trac S-TBT User manual

Star Trac Elliptical Edge User manual

Star Trac

Star Trac Elliptical Edge User manual

Popular Fitness Equipment manuals by other brands

Body Solid DBTC.5 owner's manual

Body Solid

Body Solid DBTC.5 owner's manual

NordicTrack 831.14595.5 user manual

NordicTrack

NordicTrack 831.14595.5 user manual

Again Faster X-2 Assembly guide

Again Faster

Again Faster X-2 Assembly guide

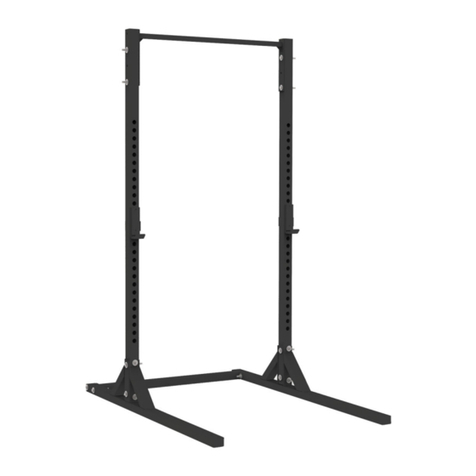
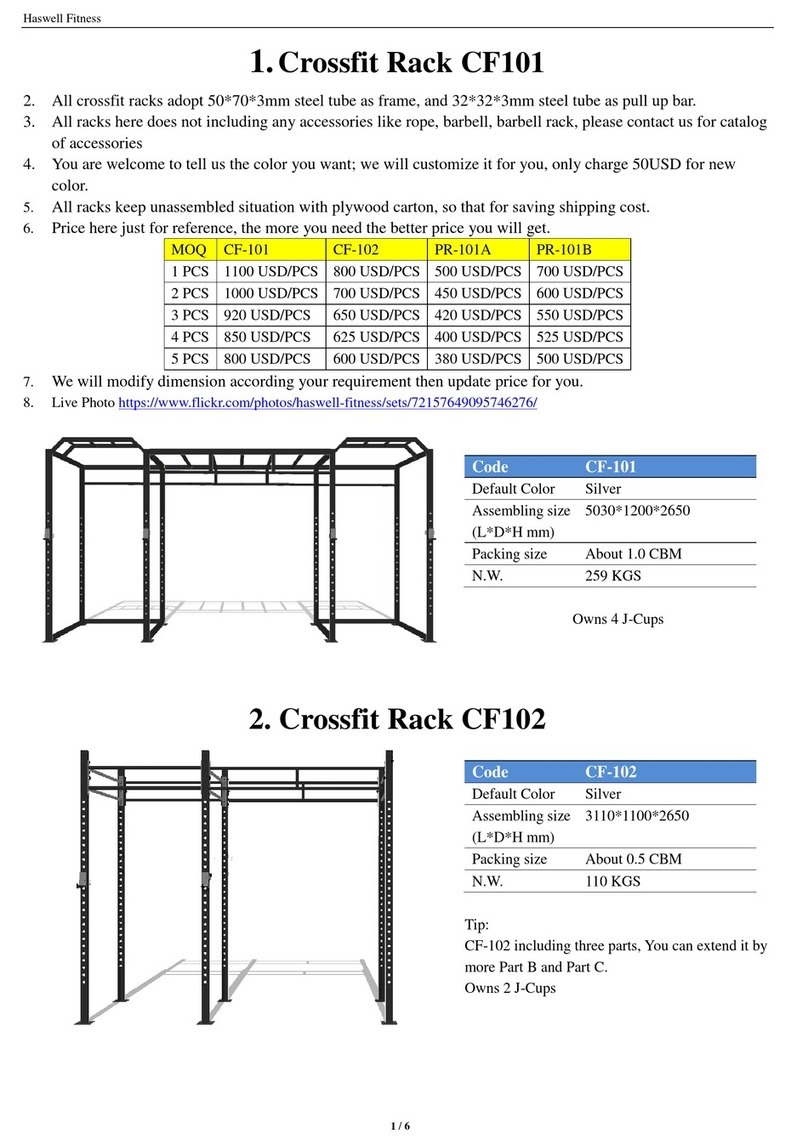
Haswell Fitness CF101 installation instructions

Haswell Fitness

Haswell Fitness CF101 installation instructions

CARE FITNESS TRAMPOLINE 1.0M manual

CARE FITNESS

CARE FITNESS TRAMPOLINE 1.0M manual

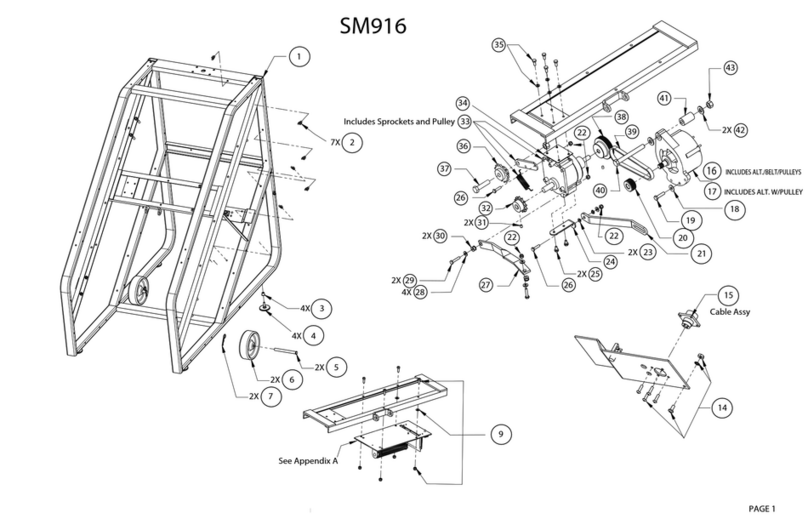
Stairmaster StepMill SM916 Wiring diagram

Stairmaster

Stairmaster StepMill SM916 Wiring diagram

Power Systems VersaRoll 50cm quick start guide

Power Systems

Power Systems VersaRoll 50cm quick start guide

Lifeline LLUWB-BLK owner's manual

Lifeline

Lifeline LLUWB-BLK owner's manual

CAPITAL SPORTS Dominate Edition 10028796 manual

CAPITAL SPORTS

CAPITAL SPORTS Dominate Edition 10028796 manual

Weslo WLSY71500 owner's manual

Weslo

Weslo WLSY71500 owner's manual

Crivit 271506 instructions

Crivit

Crivit 271506 instructions

PROSOURCEFIT DOORWAY PULL-UP BAR Instruction Manual & Exercise Guide

PROSOURCEFIT

PROSOURCEFIT DOORWAY PULL-UP BAR Instruction Manual & Exercise Guide

Rogers Athletic Drive Sled Product information

Rogers Athletic

Rogers Athletic Drive Sled Product information

Trojan TRFPR90GTX owner's manual

Trojan

Trojan TRFPR90GTX owner's manual

Acer eKinekt user manual

Acer

Acer eKinekt user manual

Weider 8510 user manual

Weider

Weider 8510 user manual

Beny Sports VFit Assembly & user manual

Beny Sports

Beny Sports VFit Assembly & user manual

SPIETH America SHINOBI Assembly and care instructions

SPIETH America

SPIETH America SHINOBI Assembly and care instructions

manuals.online logo
manuals.online logoBrands
  • About & Mission
  • Contact us
  • Privacy Policy
  • Terms and Conditions

Copyright 2025 Manuals.Online. All Rights Reserved.