Staying Home Hide-Away Storm Shelter User manual

SCH Hide-Away Storm Shelter™ Installation manual – REV 1 Page 1
Hide-Away Storm Shelter™ - Folding Installation Manual
The Hide-Away shelter is designed and tested to give maximum protection and
many years of safe shelter from storms. Before attempting to install the shelter
read this manual & follow the safe operational procedures and warnings to
prevent injury and or death.
Warning never use shelter in the event of fire!
Warning never use shelter when flooding is present.
Warning safeguard children from playing on or with shelter when not in
use.
Warning always lock down the front of the shelter with supplied floor
anchors, for storm use.
Warning any electrical supply to the shelter must be properly grounded
and meet NEC requirements.
Warning never use cooking heat / cooking stoves inside the shelter due to
inadequate ventilation.
Warning never use a generator inside the shelter.
Use caution around hinge and pivoting areas when deploying shelter to
prevent pinch points.
Use caution when anchoring the front to not over tighten bolts.
Receipt of shipment:
Staying Home Corporation
P.O. Box 37
Harrisonville, MO 64701
816.380.2427
www.stayinghome.com
SCH Hide-Away Storm Shelter™ Installation manual – REV 1 Page 2
The Hide-Away Shelter is shipped in different wall sections for easier handling of the weight.
Inspect all wall sections to insure they are not damaged by the freight carrier, should you see
any or suspect damage please file a claim immediately with the freight carrier.
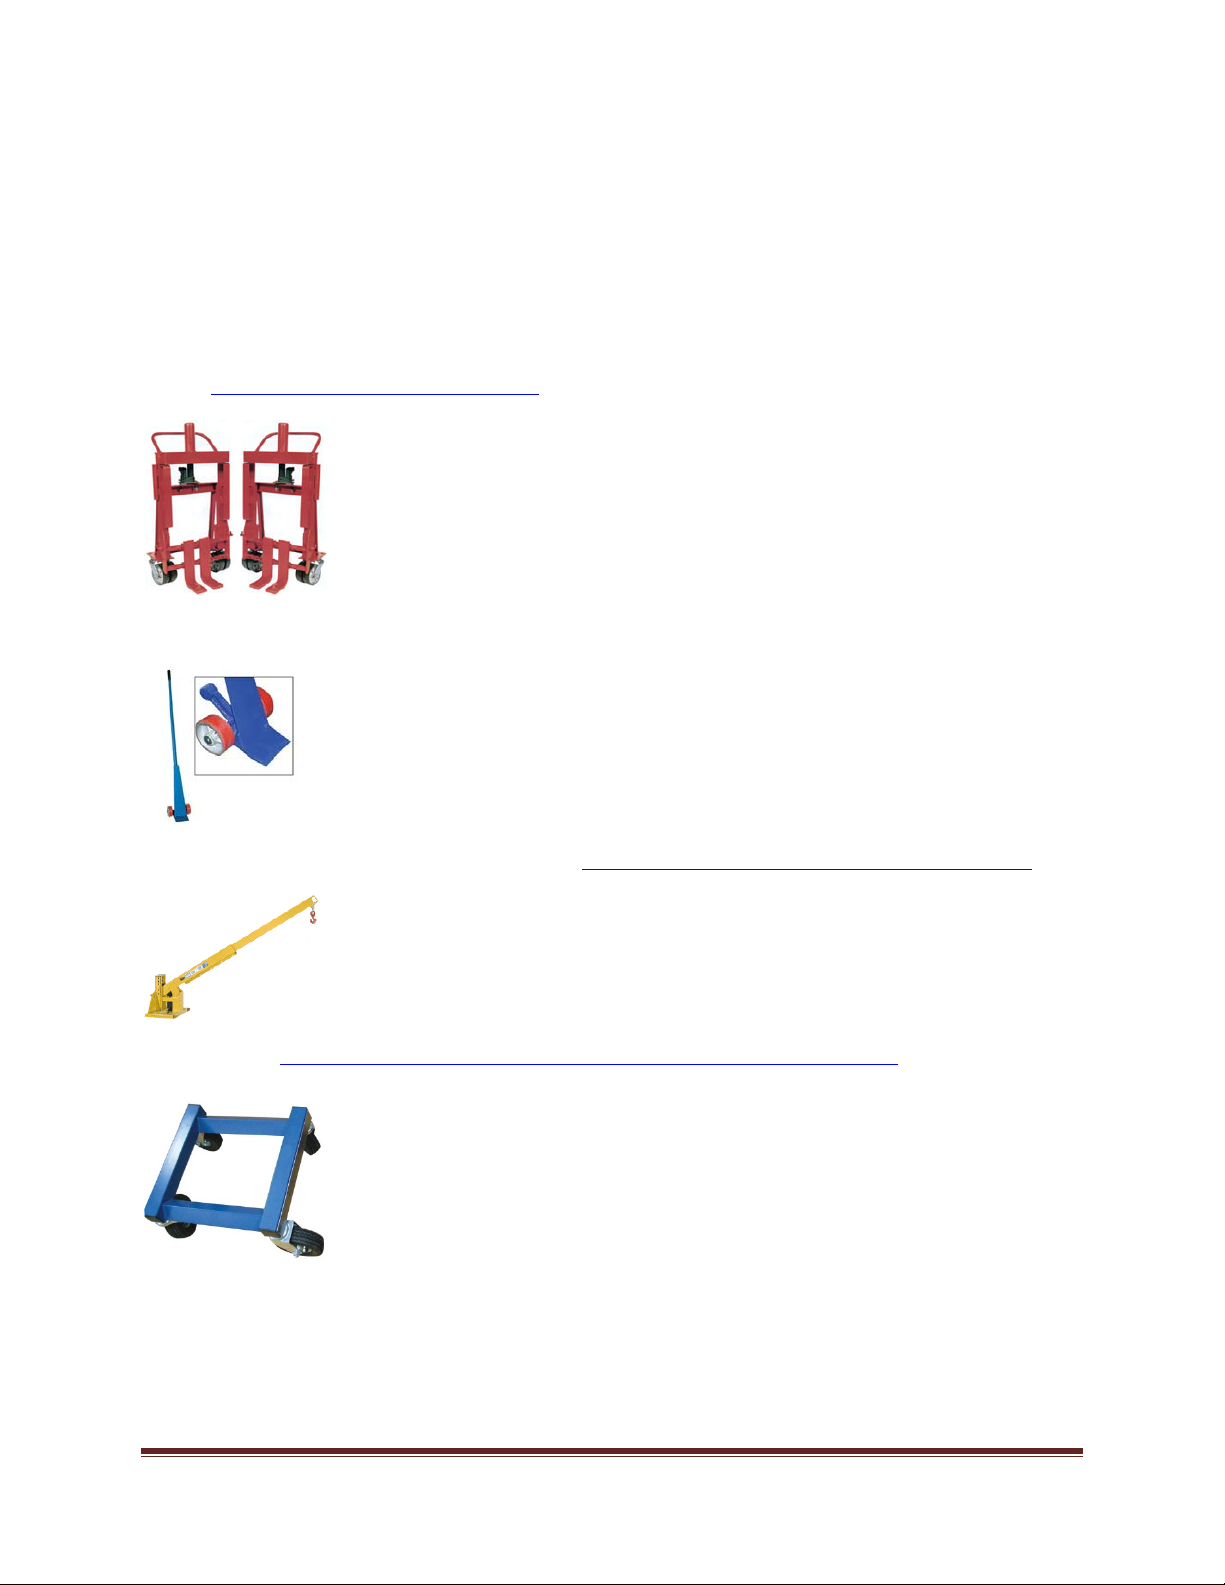
Tools for installation:
Heavy lifting tools suggested
Rolalift: http://www.rolalift.com/products.shtml
Wheeled Pry Bar - Granger (Item# 4W944)
Depending on volume of shelter installs, Fork Lift Bib. http://www.contrxcranes.com/fork%20lift%20jibs.html
4 Wheeled dolly http://www.northerntool.com/shop/tools/product_200370078_200370078
Hand tools:
SCH Hide-Away Storm Shelter™ Installation manual – REV 1 Page 3
Wrenches 1/2", 5/8”, 3/4", 15/16” , 7/8” , 1-1/8”, 1-1/16”, 13/16”, 9/16”
Crescent Wrench large
Concrete hammer drill, with 1” concrete bit & “Powers Wedge Bit 5/8”
Crow bar
5 LB sledge hammer
Large rubber mallet
3’ level Safety:
The Hide-Away Shelter components are very heavy and proper lifting equipment & methods
need to followed at all times to insure safety. Please review the OSHA safety requirements at
http://www.osha.gov/doc/outreachtraining/htmlfiles/mathan.html
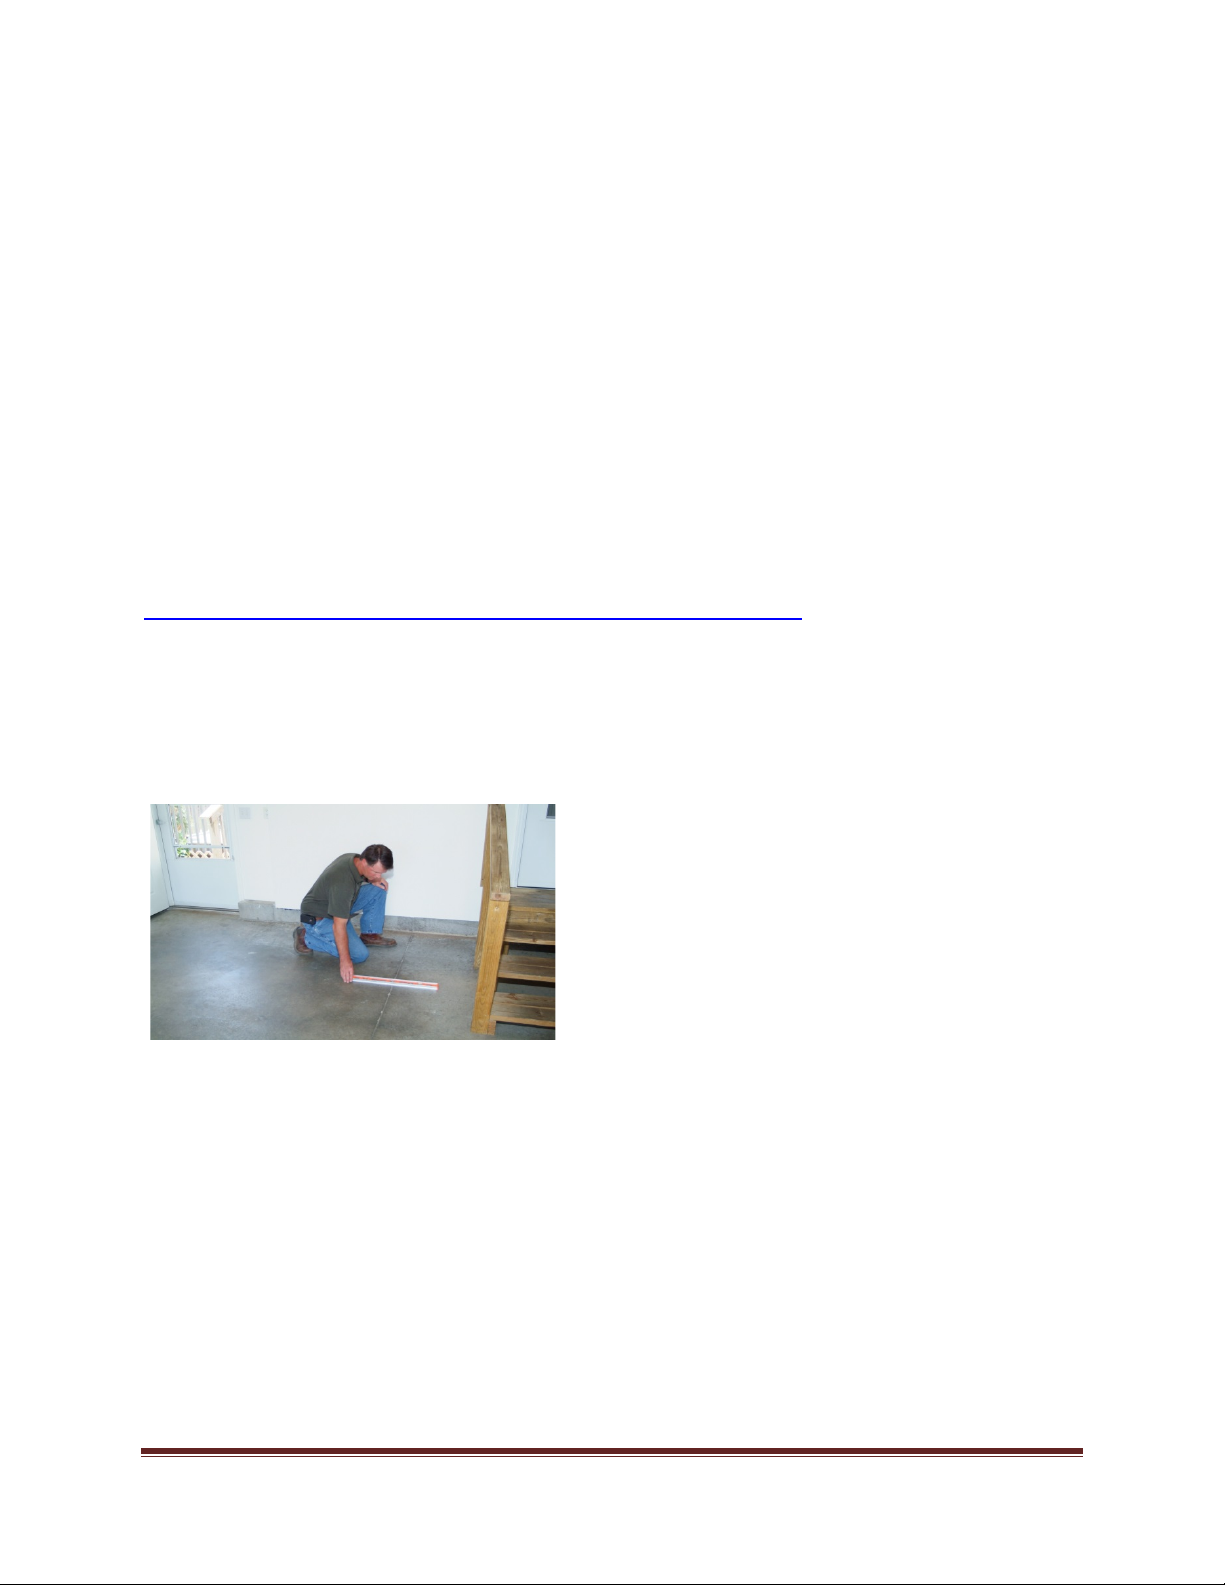
Installing the Shelter:
Confirm concrete surface is smooth and relatively level. Be sure no off-set
“bumps” are in the area of the shelter.
2 MOD Hide-Away has 2 back wall sections & 1 front wall section plus the door & frame.
3 MOD Hide-Away has 3 back wall sections & 2 front wall sections plus the door & frame.
Position the right wall section at the location customer has selected.
Position the center back wall sections to the left of the first section, insert the ¾” bolts through
the panel frame to connect the two sections together (tighten loosely at this time).
Position the left wall section to the left of the back center wall and loosely tighten with ¾”
bolts.
Position the door & hinge to the front section and side wall, and attach using 3/4” bolts.

SCH Hide-Away Storm Shelter™ Installation manual – REV 1 Page 4
Open shelter door and shim outer edge temporarily, and loosely tighten all the bolts and nuts.
Once all bolts and nuts are in place, using a pry bar position shelter to final attachment point if
needed. At this time tighten all bolts and nuts, DO NOT OVER TIGHTEN.
Remove door shim and test door opening & closing, adjust door threshold so it clears floor by
1/8” and does not drag against the floor.
Test locking pins for ease of locking and unlocking, see illustration # 6. (On Ballistic units, test
inside locking pin).
With the door closed and locked, push the front shelter from both sides to the closed position.
Using the deployment lever, pull the lever so the shelter unfolds see illustration #3. Watch the
folding action, ground clearance and ease of deployment.
You may have to shim under the back wall or corner, if so do not shim more than ¼”.
SCH Hide-Away Storm Shelter™ Installation manual – REV 1 Page 5
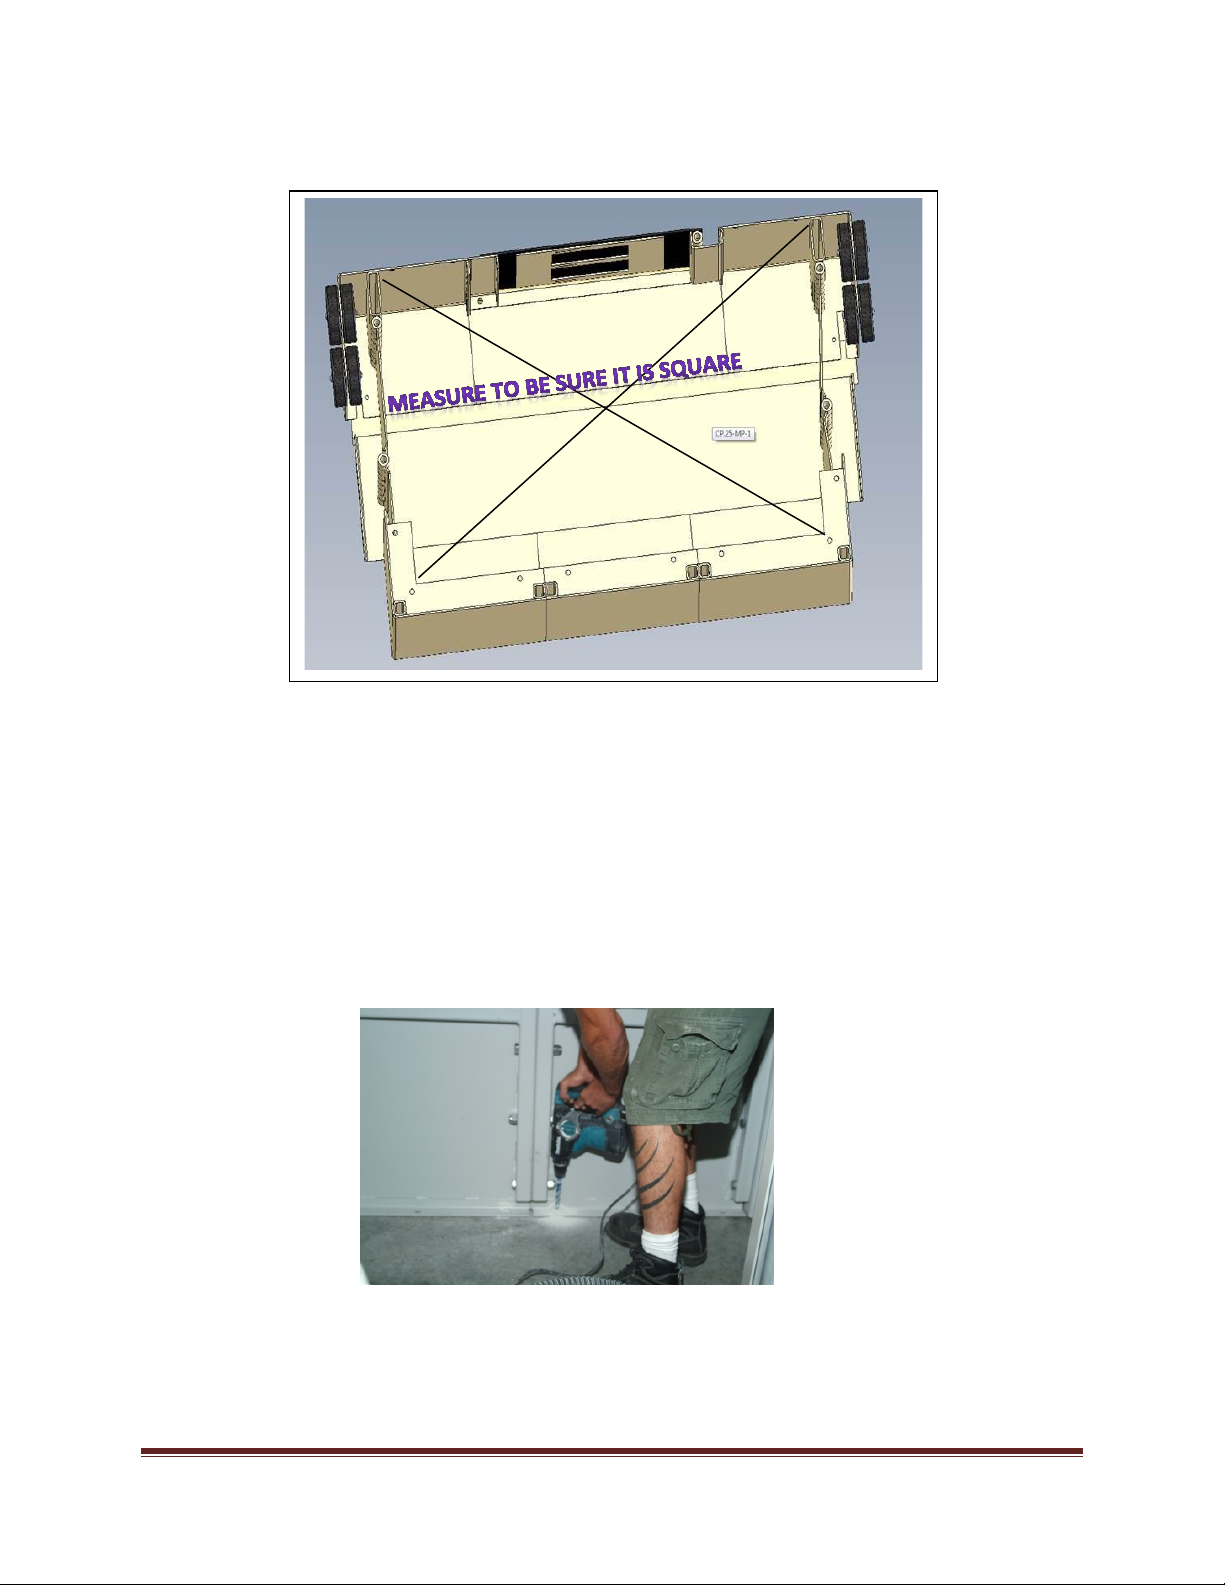
Hide-Away under side view:
Check to be sure the shelter when fully open is square by measuring from corner to corner both
sides in an X measurement and should be the same. With the shelter open locate the back wall
anchor locations and concrete anchors. Drill the anchor bolt holes using a 5/8” (Powers Bit)
concrete bit and hammer drill. (Use hearing protection)
Anchoring the shelter:
Insert the rear concrete anchors illustration and tighten evenly “do not over tighten” Clean
inside of shelter and test the folding action of the shelter several times, and shim if needed.
Table of contents


