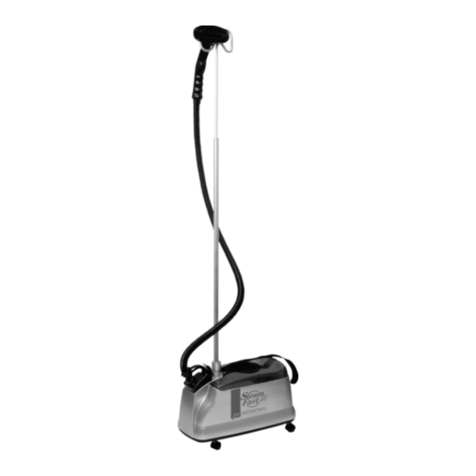
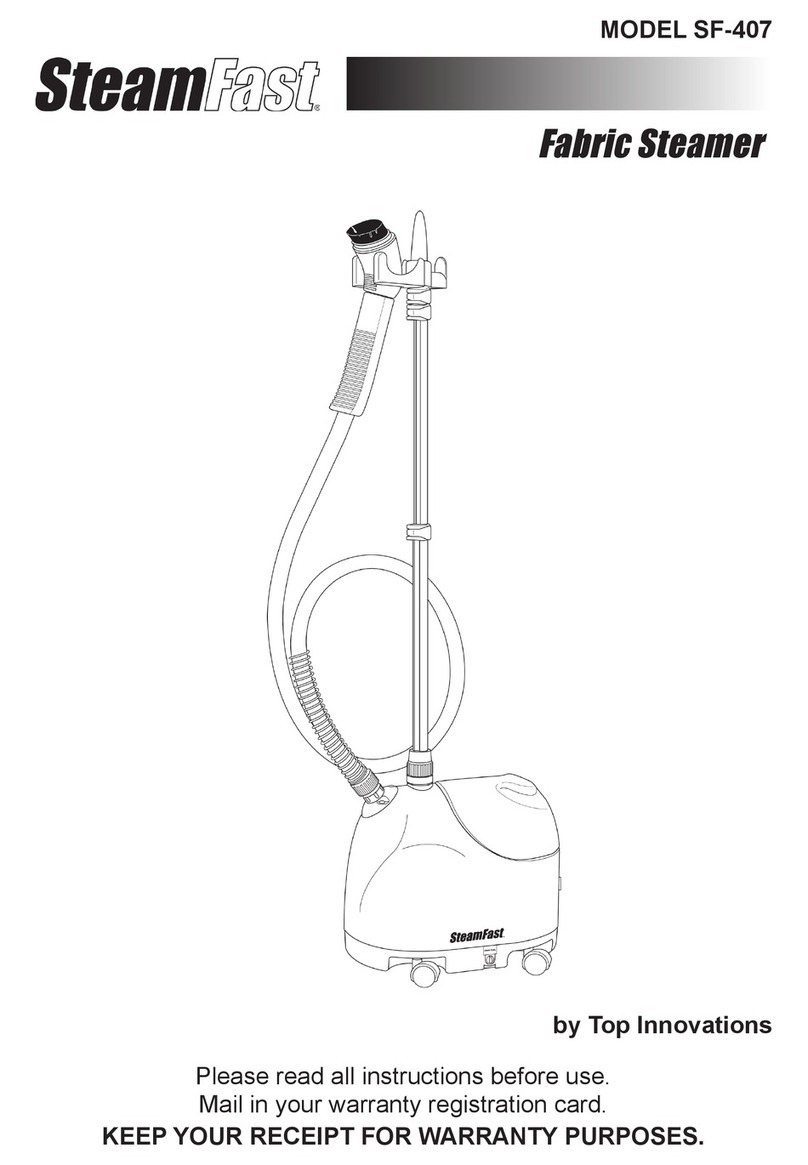
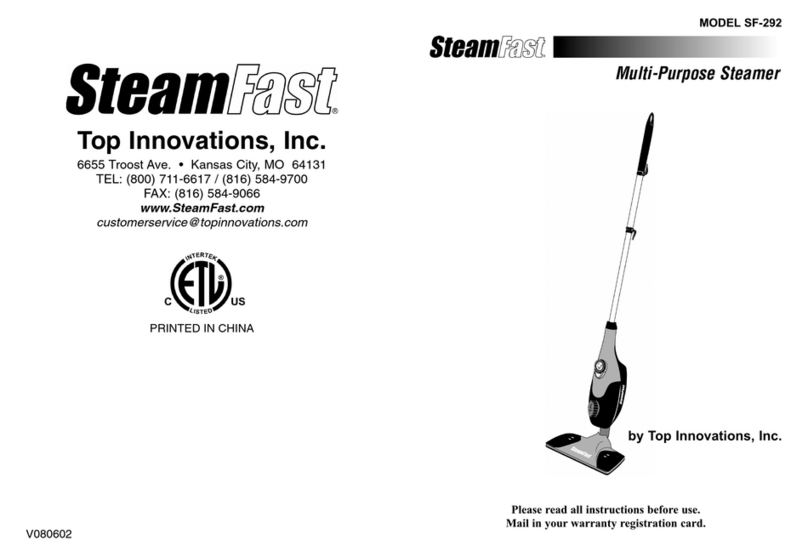
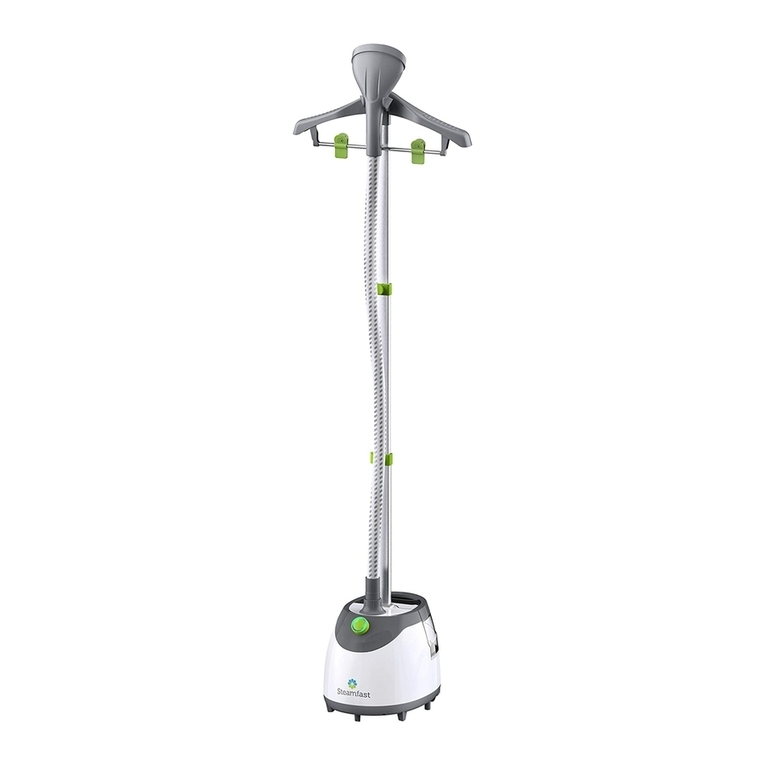
Steamfast SF-410 User manual

20
Top Innovations, Inc.
400 NW Platte Valley Drive
Riverside, Missouri 64150
www.mitcoproducts.com
1-800-711-6617
PRINTED IN CHINA
1
Instruction Manual
“Touch-Up”
Tailor-Quality
Steamer
Model SF-410
Please Read These Instructions Before Use

2
19
Notes
______________________________________________________________
______________________________________________________________
______________________________________________________________
______________________________________________________________
______________________________________________________________
______________________________________________________________
______________________________________________________________
______________________________________________________________
______________________________________________________________
______________________________________________________________
______________________________________________________________
______________________________________________________________
______________________________________________________________
______________________________________________________________
______________________________________________________________
______________________________________________________________
______________________________________________________________
______________________________________________________________
______________________________________________________________
______________________________________________________________
______________________________________________________________
______________________________________________________________
______________________________________________________________
______________________________________________________________
______________________________________________________________
______________________________________________________________
______________________________________________________________
______________________________________________________________
______________________________________________________________
______________________________________________________________
______________________________________________________________
______________________________________________________________
______________________________________________________________
______________________________________________________________
______________________________________________________________

18
Notes
______________________________________________________________
______________________________________________________________
______________________________________________________________
______________________________________________________________
______________________________________________________________
______________________________________________________________
______________________________________________________________
______________________________________________________________
______________________________________________________________
______________________________________________________________
______________________________________________________________
______________________________________________________________
______________________________________________________________
______________________________________________________________
______________________________________________________________
______________________________________________________________
______________________________________________________________
______________________________________________________________
______________________________________________________________
______________________________________________________________
______________________________________________________________
______________________________________________________________
______________________________________________________________
______________________________________________________________
______________________________________________________________
______________________________________________________________
______________________________________________________________
______________________________________________________________
______________________________________________________________
______________________________________________________________
______________________________________________________________
______________________________________________________________
______________________________________________________________
______________________________________________________________
______________________________________________________________
3
Dear Valued Customer,
Thank you for purchasing the “Touch-Up” Tailor-Quality
Steamer. This product is designed to quickly refresh garments and
remove wrinkles. Its compact size and telescopic pole provide
quick and easy storage. Turn your steamer on; and in 45 seconds,
you are ready to remove wrinkles with Tailor-Quality Results,
eliminating time-consuming and expensive trips to a professional
dry cleaner. In addition to removing wrinkles, you will receive the
many benefits that steam provides. Hot steam refreshes fabric and
eliminates smoke and other unpleasant odors, as well as dust
mites and other allergens.
Top Innovations, Inc. would like to invite you to take advantage
of our Customer Support web site at www.mitcoproducts.com.
Here you will find additional information about the many other
exciting Steam Fast products that are available, helpful tips on
ways in which you can utilize your SF-410 “Touch-Up” Tailor-
Quality Steamer, and other useful information to assist you in
maximizing the power of steam!
Benny Lee
Chairman and CEO
Top Innovations, Inc.

4
IMPORTANT SAFETY
INSTRUCTIONS
When using electrical appliances, always follow basic safety precautions,
including the following:
1. Read all instructions.
2. Use this product for its intended purpose only.
3. To protect against risk of electrical shock, do not submerge the appli-
ance in water or other liquids.
4. THIS APPLIANCE IS NOT A TOY. Close supervision is neces-
sary when any appliance is used near children.
5. Unplug from electrical outlet when not in use, before putting on or tak-
ing off parts, and before filling with water, emptying, or cleaning.
6. Avoid contact with hot parts. Keep hands, hair, and clothing away
from hot parts to prevent burns.
7. Do not operate any appliance with a damaged power cord or plug, after
it malfunctions, or is dropped or damaged in any manner. A damaged
power cord, plug, or unit may result in fire, electrical shock, or injury.
8. Do not leave the steamer unattended while in operation.
9. Allow the unit to cool before storage.
10. Accessories not recommended or sold for this appliance may cause
fire, electrical shock, or injury.
11. Always turn the switch to the “Off” position before plugging in or un-
plugging the unit.
12. Do not let the power cord touch hot surfaces or water. The power cord
should not be kinked or obstructed in any way.
13. Do not operate steamer without properly filling the water container.
SAVE THESE INSTRUCTIONS
17
LIMITED WARRANTY
Top Innovations, Inc., will repair or replace, at its option, without charge to
the consumer any Steam Fast®product that fails due to a defect in material or
workmanship within one year following the initial consumer purchase. This
warranty does not cover damage caused by commercial use, misuse, altera-
tion, or modification.
Performance of any obligation under this warranty may be obtained by re-
turning the warranted steamer, freight prepaid, with dated proof of the pur-
chase to:
If you have any questions about coverage under this warranty you may con-
tact the Warranty Service Department by telephone at 800-711-6617 or
This warranty gives you specific legal rights, and you may also have others
rights which vary from state to state.
Top Innovations, Inc.
Warranty Service Department
400 NW Platte Valley Drive
Riverside, MO 64150

16
Product Specifications
Unit Weight - Dry 8.5 lb 3.9 kg
Unit Weight - Full Water Tank 11.5 lb 5.2 kg
Water Tank Capacity 45 oz 1.3 L
Steam Output Time from Cold Start 45 sec
Steam Duration - Full Water Tank 45 min
Input Voltage 120 VAC
Input Frequency 60 Hz
Output Power 1500 W
-
-
-
Customer Support
For problems with your steamer, please refer to the Problem Solving Guide
on page 14. Additional inquiries should be directed to our Customer Support
at 1-800-711-6617 ext. 102 or emailed to [email protected].
Should there be any missing or defective parts or accessories, contact Cus-
tomer Support. In most cases it is not be necessary to return the entire unit.
We can ship most parts directly to your door.
To ensure prompt and accurate service, call for a RETURN AUTHORIZA-
TION NUMBER before returning any unit to Top Innovations. Failure to
obtain a RETURN AUTHORIZATION NUMBER will cause a delay in war-
ranty or out-of-warranty service requests.
5
IMPORTANT SAFETY
INSTRUCTIONS
14. Always keep the steam nozzle elevated above the water container.
Do not lay the hose on the floor.
15. This appliance has a grounded plug. As a safety feature, this plug
will fit in a three-prong outlet only one way. If the plug does not fit
in the outlet, do not attempt to defeat this safety feature.
16. Burns can occur by touching hot parts, hot water, or steam.
17. Never pull the power cord to disconnect it from an outlet. Instead,
grasp the plug to remove it from the outlet.
18. To reduce the risk of contact with hot water and steam, always
check the appliance for steam leaks. Operate the unit with the
steam nozzle placed in its holder; and inspect the base, hose,
handle, and nozzle for steam leaks.
19. To reduce the likelihood of a circuit overload, do not operate an-
other high-wattage appliance on the same circuit as your steamer.
20. If an extension cord is absolutely necessary, a 3-pronged cord rated
for at least 20 amperes should be used. Cords rated for less amper-
age may overheat. Care should be taken to arrange the cord so that
it cannot be inadvertently pulled or tripped over.
21. This product is for HOUSEHOLD USE ONLY.
SAVE THESE INSTRUCTIONS

6
1. Pole Top
1a. Steam Nozzle Holder
1b. Clothes Hanger Hook
2. Telescopic Pole
2a. Pole Extension
3. Steam Nozzle
4. Handle
5. Hose
6. Water Fill Tank
7. Water Reservoir
8. Lighted On/Off Switch
9. Casters
10. Drain Plug
11. Hose Base
12. Pole Base
13. Fabric Brush
SF-410 “Touch-Up” Steamer Product Information
The following features and accessories come with you steamer. Carefully in-
spect the packing material as some parts are shipped inside the Styrofoam
packaging. To obtain possible missing parts, refer to the Customer Support
section on page 16 of this manual.
Figure 2 Figure 1
15
Removing Mineral Build-up
One common problem with steamers is mineral build-up caused by a high min-
eral content in many municipal water supplies. Mineral residue inside of the in-
ternal pipes and heater can cause intermittent steaming or, in some cases, no
steaming at all.
NOTE: To reduce or eliminate the occurrence of mineral build-up we rec-
ommend the use of de-mineralized or distilled water in the unit.
The procedure below can be used to reduce mineral build-up. If you are unable
to use de-mineralized or distilled water, we recommend you follow this proce-
dure monthly.
1. Turn the unit off, and unplug the power cord.
2. Remove the hose and pole from the unit.
3. Drain the Water Reservoir by following steps 1-7 of the Cleaning and
Long-Term Storage procedure on page 13. Leave the Water Tank off
the unit.
4. Mix a solution of 50% vinegar and 50% water. In most cases, 2 cups of
this solution will be sufficient.
5. Slowly pour the water-vinegar solution into the Hose Base connector.
6. If standing water-vinegar solution becomes visible in the Water Reser-
voir’s inlet hole, continue to pour to solution into the Hose Base until the
Water Reservoir is about half-full.
7. If standing water-vinegar solution does not become visible in the Water
Reservoir’s inlet hole, continue pouring the solution into the Hose Base
until standing solution appears near the top of the Hose Base. Pour addi-
tional solution into the Water Reservoir until it is about half full.
8. Allow to stand for 40 minutes.
9. Drain the solution out of the Water Reservoir by removing the drain plug
and allowing the liquid to drain into a sink or tub.
10. Drain the solution out of the Hose Base by tilting the unit over a sink or
tub and pouring the water out of the Hose Base.
11. Pour clean water in the Hose Base and Water Reservoir inlet,and drain.
Repeat this step until the vinegar odor dissipates.
12. Reassemble the unit and operate normally.
If this procedure does not return the unit to normal operation, the unit may need
servicing. Refer to the Customer Support section of this manual on page 16.

14
PROBLEM CAUSE SOLUTION
The unit fails to steam.
The light on the On/Off
Switch does not illumi-
nate.
Steamer is not plugged
in. Plug into electrical outlet.
Household Circuit
Breaker/Ground Fault In-
terrupter is tripped or
fuse is blown.
Reset the Circuit
Breaker/Ground Fault
Interrupter, or replace the
fuse. If you need assis-
tance, contact a qualified
electrician.
Mineral build-up in the
unit.
Follow the Removing
Mineral Build-up
Procedure on page 15.
The Water Tank is
empty.
Refill the Water Fill
Tank using the proce-
dures on page 10.
Water drips from nozzle Condensation in hose
Extend the hose verti-
cally to allow water to
drain back into the Water
Reservoir.
Excessive gurgling of
Hose and Steam Nozzle
Condensation in hose
Some gurgling is a natu-
ral effect of the steaming
process. For excessive
gurgling, extend the hose
vertically to allow water
to drain back into the
Water Reservoir.
Steam is intermittent Mineral Build-up in the
unit
It is normal for the unit to
periodically stop steam-
ing for a few seconds. If
the steam stays off for
longer periods, follow the
Removing Mineral
Build-up Procedure on
page 15.
The unit fails to steam.
The light on the On/Off
Switch does illuminate.
Problem Solving Guide
7
•The Pole Top (1) is comprised of the Steam Nozzle Holder (1a) and the
Clothes Hanger Hook (1b). The Steam Nozzle Holder provides a safe and
convenient place to hang the Steam Nozzle. The Clothes Hanger Hook
allows you to steam garments that are hanging from a clean, rust-free
hanger.
•The Telescopic Pole (2) with Pole Extension (2a) connects the Pole Top
to the steamer and provides quick, compact storage of the unit.
•The Steam Nozzle (3) spreads the steam over a wide area providing hot,
penetrating steam.
•The Handle (4) is permanently attached to the Steam Nozzle. It is de-
signed to stay relatively cool and is safe to grasp. Use the Handle to
safely direct the steam onto the desired fabric.
•The Hose (5) directs the steam from the boiler to the Handle and Steam
Nozzle.
•The Water Fill Tank (6) is filled through the removable Valve Cap (see
figure 10), located on its bottom. Once filled, it is placed on the Water
Reservoir (7).
•The Lighted On/Off Switch (8) provides a visual indication that the
steamer is in use.
•4 Easy Roll Casters (9) allow for ease of movement.
•The Drain Plug (10) is located on the side of the unit for convenient
drainage of the Water Reservoir.
•The Hose Base (11) is a threaded plastic pipe for the attachment of the
Hose.
•The Pole Base (12) ensures a stable mount for the Telescopic Pole.
•The Fabric Brush (13) attaches to the Steam Nozzle and can be used to
gently brush fabric with a nap such as corduroy or velvet.
•The Power Cord (not shown) plugs into a standard three-prong outlet.
SF-410 “Touch-Up” Steamer Product Information

8
Assembly Instructions
Assembling and Mounting the Telescopic Pole
1. Screw the Pole Extension (A) onto the Telescopic Pole (B) as shown in
Figure 3.
2. Place the Pole Top on top of the Pole Extension as shown in Figure 4,
and rotate it clockwise until snug.
3. Loosen the Top Ridged Knob (C in Figure 5) by turning it counter-
clockwise. Pull the pole to extend the top section (E) of the Telescopic
Pole. Tighten the Top Ridged Knob.
4. Repeat step 3 for the Bottom Ridged Knob (D) to extend the middle sec-
tion (F) of the Telescopic Pole.
NOTE: The Telescopic Pole must be fully extending during steamer
operation to insure a free flow of steam through the Hose.
Note: Figures 3, 4, and 5 show the Telescopic Pole in its collapsed position.
Figure 3 Figure 4 Figure 5
13
Cleaning and Long-Term Storage
We recommend you follow this procedure at least once per week. Use of dis-
tilled or de-mineralized water reduces the need to for cleaning and pro-
longs the life of your steamer.
1. Turn the Lighted On/Off Switch to “Off.”
2. Unplug the unit from the power outlet.
3. Wait for the unit to cool completely (at least 30 minutes).
4. Remove the Hose and the Telescopic Pole, and set them aside.
5. Carry the unit to a sink or tub.
6. Remove and drain the Water Fill Tank. Rinse the water tank with fresh
water, and drain completely.
7. Drain the steamer by removing the Drain Plug and emptying the contents
into the sink or tub. Tilt the unit towards the drain plug to facilitate re-
moval of the water.
8. Flush the unit by filling the Water Reservoir and the Hose Base with
fresh water and draining completely. Replace the Drain Plug.
9. Place the Water Fill Tank back on the Water Reservoir.
10. Reattach the Telescopic Pole and Hose.
11. Follow steps 3-7 of the Quick Storage procedure above.
Quick Storage
1. Turn the Lighted On/Off Switch to “Off.”
2. Unplug the Power Cord.
3. Wrap the Hose around the Telescopic Pole one
time as shown in Figure 14.
4. Hang the Steam Nozzle from the Steam Nozzle
Holder .
5. Loosen the two ridged knobs on the Telescopic
Pole by turning them counter-clockwise.
6. Push down on the Pole Top; the pole will collapse
to a compact height.
7. Roll the unit to a convenient storage location.
Figure 14

12
Pressing With Steam
1. To steam a garment, place it on a clean, rust-free clothes hanger, and
place the hanger on the Clothes Hanger Hook.
CAUTION: Be careful when handling garments on the Clothes
Hanger Hook. Pulling on the garment with too much force may cause
the unit to tip.
2. Grasp the Handle, and place the Steam Nozzle at the bottom of the gar-
ment. Steam will rise along the inside and outside of the fabric, removing
wrinkles. Slowly slide the nozzle vertically, from the bottom to the top
(see figure 12) of the garment.
NOTE: Do not allow kinks to form in the hose at any time.
3. Remove the nozzle from the garment, and smooth the fabric with your
free hand.
4. Repeat steps 2 and 3 as necessary until the fabric is wrinkle free.
5. Curtains and draperies (see figure 13) can be steamed while still hanging.
6. To remove wrinkles from towels, handkerchiefs, and napkins, drape them
over a rod or towel rack, and gently steam.
7. Heavier fabrics may require repeated steaming.
8. To remove stubborn wrinkles, steam both sides of the fabric.
9. The Fabric Brush may also be used to remove tough wrinkles.
Using Your Steamer
Figure 12 Figure 13
9
Attaching the Hose
1. Screw the Hose onto the threaded Hose Base by turning the fitting on the
end of the Hose clockwise (see Figure 7).
2. Hand-tighten only. Do not over-tighten.
3. Hang the Steam Nozzle on the specially designed Steam Nozzle Holder as
shown in figure 8.
CAUTION: To prevent steam from causing bodily injury or damage to
surfaces, always hang the Steam Nozzle on the Steam Nozzle Holder when
not in use. Do not lay the Hose on the floor as condensation may occur,
causing unwanted water droplets in the steam.
CAUTION: Pulling on the Hose with excessive force will damage the
hose, resulting in a steam leak.
Assembly Instructions
5. Loosen the Pole Base by turning it counter-clockwise.
6. Insert the bottom of the Telescopic Pole into the Pole Base (see Figure 6)
in such a way so that the Clothes Hanger Hook faces the rear of the
steamer (see Figure 1). Pointing the Clothes Hanger Hook towards the
rear will ensure the stability of the steamer when garments are hanging
from the Clothes Hanger Hook.
7. Push the pole down has far as possible.
8. Tighten the Pole Base snuggly.
Figure 6 Figure 7 Figure 8

10
Fabric Brush Attachment
The Fabric Brush attachment is used in conjunc-
tion with the Steam Nozzle. To attach this acces-
sory:
1. Turn the steamer off, and wait until steams
no longer emits from the Steam Nozzle.
CAUTION: To avoid burns, do not try to
install the Fabric Brush while steam is
coming from the Steam Nozzle.
2. Align the pegs along the back of the Fabric
Brush with the holes on the Steam Nozzle.
3. Push as shown in Figure 9 until the brush is
firmly in place.
Figure 9
Assembly Instructions
Using Your Steamer
Filling the Water Fill Tank
1. Unplug the Power Cord, and turn the Lighted On/Off Switch to the “Off”
position.
2. Remove the Water Fill Tank; turn it upside down, and unscrew the Valve
Cap (see figure 10).
3. Fill the Water Fill Tank with cool water, and replace the Valve Cap.
NOTE: To prolong the lifetime of your steamer, we recommend using
distilled or de-mineralized water.
NOTE: Do not substitute another water tank for the one designed for
this unit.
11
4. Place the Water Fill Tank on the Water Reservoir (see Figure 11). You
should hear water flowing into the Water Reservoir for a short time.
CAUTION: Do not let the steamer operate with a dry Water Fill
Tank, or damage to the unit could occur.
Starting the Steamer
1. Plug the unit into a properly grounded three-pronged outlet.
2. Turn the Lighted On/Off Switch to “On.” Verify that the light on the
switch is illuminated.
3. Steam should start flowing from the Nozzle in approximately 45 seconds.
4. When finished using the steamer, turn the Lighted On/Off Switch to the
“Off” position.
Figure 11
Figure 10
Using Your Steamer
WARNING: If a properly grounded three-pronged outlet is not
available, a 3-to-2 prong adapter can be used ONLY IF THE
ADAPTER ITSELF IS PROPERLY GROUNDED. For details con-
tact a local hardware store or electrician.
Table of contents
Other Steamfast Kitchen Appliance manuals
Steamfast
Steamfast SF-540 User manual

Steamfast
Steamfast SF-565 User manual

Steamfast
Steamfast Salton SF-450 User manual

Steamfast
Steamfast SF-540 User manual

Steamfast
Steamfast SF-420 User manual
Steamfast
Steamfast SF-435W User manual

Steamfast
Steamfast MODEL SF-407 User manual
Steamfast
Steamfast SF-450 User manual

Steamfast
Steamfast SF-510 User manual
Steamfast
Steamfast SF-562 User manual

