Electrical connection
•To be installed by a specialised engineer in accordance with the applicable standards in the country
concerned. When the appliance is installed, make sure the power is off and the mains switch is in the
“O“ position.
•The appliance requires a 230 V ~ 50 Hz power supply. Make sure the power line is appropriate for the
data given the table below.
•Make sure the fixed power line is fitted with a disconnecting switch allowing the appliance to be
disconnected completely from the household mains, included the Pilot Wire, when present, in
accordance with the wiring rules.
•If the appliance is installed in a bathroom, the power line must be fitted with a 30 mA RCD (high
sensitivity residual current protection device).
•The power supply line and Pilot Wire control unit must be protected by the same RCD.
•Permanently connected appliances must be connected using a connector block placed within a proper
junction box.
•When installing the appliance in damp rooms (kitchen, bathroom), the point of connection with the
household mains must be at least 25 cm from the floor.
•If the Pilot Wire is not connected to the programming unit, it must be terminated and insulated. Under
no circumstances should the Pilot Wire be connected to the earth.
•Make sure the power cable cannot in any way come into contact with the surface of the appliance.
3. POSITIONING AND INSTALLING
The appliance is designed to heat domestic rooms
or similar. It must not be used for other purposes.
The appliance must be used permanently mounted
on a wall as described in the instructions.
Install the
appliance with the thermostat at the bottom (Fig. 2).
In bathrooms (with bath or shower), install the ap-
pliance outside zone 1.
The appliance must be installed in such a way that
the electronic controls and other control devices
may not be touched by someone in the bath or
shower. The appliance must not be connected with
a plug.
For radiators already tted with power
plugs, see the warnings on page 23.
Respect the distances shown in gures 3,4.
Never install the appliance:
–immediately below or in front of a power socket or
a junction box (Fig. 5)
–in contact with the wall or oor
–near curtains, ammable or combustible materials
or pressure vessels.
Make sure there are no pipes or electric wires in the
wall which could be damaged while mounting the
appliance.
2. GENERAL INFORMATION
Unpack the appliance carefully and rest it on the
polystyrene corner pieces or a carpet.
The package contains:
– the appliance
– mounting kit
– instructions
Read all the instructions carefully before installation
and use. Keep for future consultation.
Install and use the appliance as described in these
instructions only.
These instructions do not cover all situations which
might arise. Caution and common sense should be
applied when installing, operating and servicing the
appliance.
Modifying the characteristics of the appliance and
removing any xed component including the caps
is expressly prohibited. Make sure the appliance is
complete and undamaged. If damaged, do not use
the appliance, but contact your local dealer or a
qualied professional.
The materials used for packaging can be recycled.
You are therefore recommended to dispose of them
in special differentiated waste collection containers.
A Brand/Manufacturer
B Model, type, category
C Bidimensional Code (QR)
D Protection class
E CE marking
F Double insulation
G Disposal procedures
H Quality marks
I
L Serial number
The technical specications of the appliance are
indicated on the rating plate on the side of the ra-
diator (Fig. 1).
1. SPECIFICATIONS OF THE APPLIANCE
Voltage: 230 V~ 50 Hz
Insulation class: II
Protection class: IP24
Table 1
Voltage and Power
The appliance is equipped with a sensor which can
detect an open window, if present above the radia-
tor or within the room. For a proper operation, it
is strongly recommended to comply to the instal-
lation directions reported in Ch. 4.3.2 before wall
mounting.
Power [W] Length [cm] Height
[cm]
Weight
[kg]
Rated current
[A]
700 47 58 15,5 3
1000 54 58 17,8 4,3
1500 82 58 23 6,5
2000 103 58 30,5 8,6
3.1 WALL MOUNTING
Screws and anchors not included
Make sure the screws and anchors are suitable for
the type of wall on which you are mounting the
appliance. If in doubt, contact a qualied profes-
sional or your local dealer.
During installation, make sure the power cable is
disconnected from the power line.
Follow the installation sequence shown on the
folding leaf of the cover (Scheme 1), respecting
the minimum distance between the bottom of the
radiator and the oor (Fig. 3).
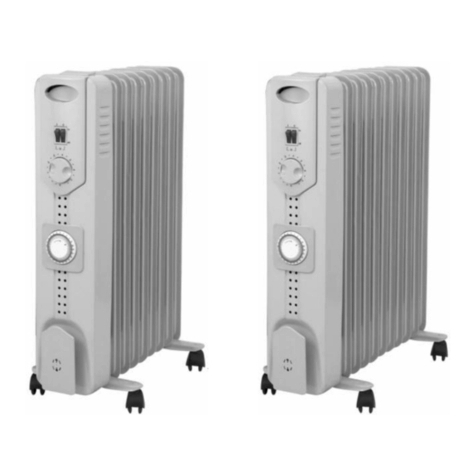
CLOUD ELECTRIC RADIATORS


