manuals.online logo
Brands
  1. Home
  2. •
  3. Brands
  4. •
  5. Steren
  6. •
  7. Intercom System
  8. •
  9. Steren CCTV-040 User manual

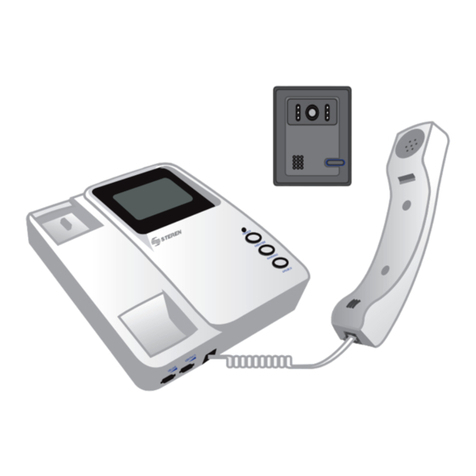
Steren CCTV-040 User manual

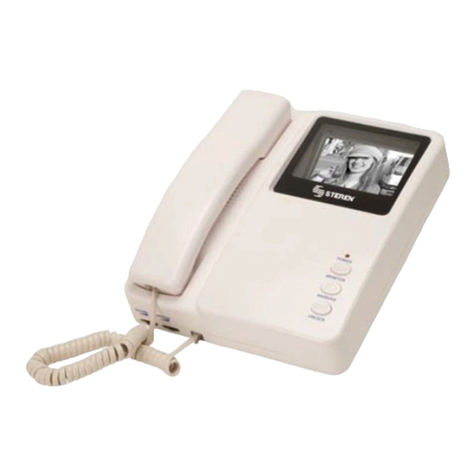
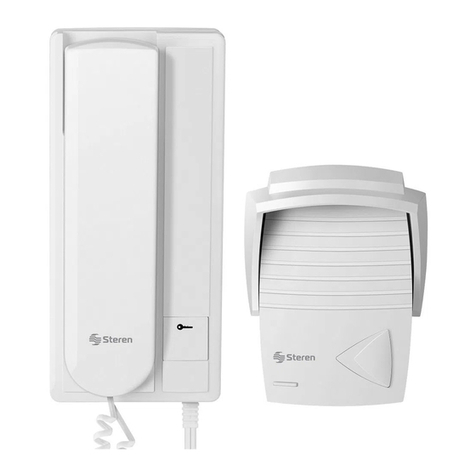
Product / Producto: VIDEOFONO /
B&W VIDEO DOOR PHONE
Model / Modelo: CCTV-040
Brand / Marca: Steren
CONDICIONES
1. Para hacer efectiva esta garantía se requiere: La presentación de esta póliza y del producto, en el lugar en donde fue adquirido o en ELECTRONICA STEREN S.A. DE C.V.
2. ELECTRONICA STEREN S.A. DE C.V. se compromete a reparar el producto en caso de estar defectuoso sin ningún cargo al consumidor.
3. El tiempo de reparación en ningún caso será mayor a 30 días contados a partir de la recepción del producto en cualquiera de los sitios en donde pueda hacerse efectiva la
garantía.
4. El lugar donde puede adquirir partes, componentes, consumibles y accesorios, así como hacer válida esta garantía es: En cualquiera de las direcciones arriba mencionadas.
ESTA GARANTIA NO ES VALIDA EN LOS SIGUIENTES CASOS:
1. Cuando el producto ha sido utilizado en condiciones distintas a las normales.
2. Cuando el producto no ha sido operado de acuerdo con el instructivo de uso.
3. Cuando el producto ha sido alterado o reparado por personas no autorizadas por ELECTRONICA STEREN S.A. DE C.V.
Nota: El consumidor podrá solicitar que se haga efectiva la garantía ante la propia casa comercial, donde adquirió el producto. Si la presente garantía se extraviara, el
consumidor puede recurrir a su proovedor para que le expida otra póliza de garantía, previa presentación de la nota de compra o factura respectiva.
DATOS DEL DISTRIBUIDOR
DISTRIBUTION / NOMBRE / DISTRIBUIDOR:
ADDRESS / DOMICILIO:
PRODUCT / PRODUCTO: BRAND / MARCA:
MODEL / MODELO: SERIAL NUMBER / No. DE SERIE:
DATE OF DELIVERY / FECHA DE ENTREGA:
Call Center / Centro de Atención a Clientes
del Interior 01 800 500 9000
Mexico City / Cd. de México: 53 54 22 90
Warranty
CONDITIONS:
1. This warranty card with all the required information, the invoice or purchase ticket, the product box or package, and the product, must be presented with the product
when warranty service is required.
2. If the product stills on the warranty time, the company will repair it free of charge even the transportation charges.
3. The repairing time will not exceed 30 natural days, from the day the claim was received.
4. Steren sells parts, components, consumables and accessories to customer, as well as warranty service, at any of the following addresses:
THIS WARRANTY IS VOID ON THE NEXT CASES:
If the product has been damage by an accident, acts of God, mishandling, leaky batteries, failure to follow enclosed instructions, improper repair by unauthorized
personal, improper safe keeping or otherwise.
Notes:
a) The customer can also claim the warranty service on the purchase establishment.
b) If you lose the warranty card, we can reissue it just showing the invoice or purchase ticket.
Póliza de Garantía
This Steren product is warranted under
normal usage against defects in
workmanship and materials to the original
purchaser for one year from the date of
purchase.
Garantiza este producto por el término de
un año en todas sus partes y mano de
obra contra cualquier defecto de fabricación
y funcionamiento, a partir de la fecha de
entrega.
INSTRUCTIVO DE USO DE VIDEÓFONO
Modelo: CCTV-040
Marca: Steren
Antes de utilizar su nuevo Videófono lea este instructivo para evitar
cualquier mal funcionamiento. Guárdelo para futuras referencias.
Su nuevo Videófono le permite monitorear lo que sucede fuera de su casa
u oficina, sin necesidad de salir. Las bocinas de doble vía y el control de
seguridad interior le otorgan una excelente privacidad y seguridad. Cuenta
con una pantalla de TRC de 4" (10 cm) para una visión clara, además de
que el equipo es práctico, confiable y fácil de instalar.
IMPORTANTE
Para prevenir choques eléctricos, la cubierta superior no debe ser
removida.
El equipo debe ser colocado en un lugar con ventilación adecuada, para
prevenir humedad, polvo o la luz directa del sol.
Siempre utilice un paño suave limpio y seco para limpiar el equipo. No
utilice solventes.
Nunca presione varios botones a la vez.
No exceda más de 5 segundos presionando el botón de apertura de
cerradura.
CONTROLES
1.- Pantalla
2.- Interruptor de bocina
3.- Auricular
4.- Volumen
5.- Contraste
6.- Indicador de encendido
7.- Apertura de cerradura
8.- Llamada
9.- Monitor
10.- Conector para entrada de cámara
11.- Conectores para cerradura eléctrica
12.- Adaptador de corriente
13.- Micrófono
14.- Cámara
15.- Botón de llamada
16.- Bocina
17.- Conector para sección interna
INSTRUCTION MANUAL FOR B&W VIDEO DOOR PHONE
Model: CCTV-040
Brand: Steren
Before using your new Video Door Phone, please read this
instruction manual to prevent any damage. Put them away in a safe
place for future references.
Your new Video Door Phone allows you to see from inside of your home or
office to outside, without opening any door. The double-way speakers and
the indoor lock-control offers you a perfect privacy and security. It has a 4"
CRT screen for a clear vision, and the equipment is practical, reliable and
easy to install.
IMPORTANT
To prevent electrical shock, do not remove the front cover.
The equipment must be placed in a ventilated location, to prevent damp,
dust or direct sunlight.
Clean only with a soft, dry cloth. Do not use solvents.
Never press multiple buttons simultaneously.
Do not exceed more than 5 seconds, pressing the opening lock button.
CONTROLS
1- CRT screen
2.- Speaker switch
3.- Handset
4.- Call volume
5.- Contrast
6.- Power indicator
7.- Door-unlock button
8.- Warning
9.- Display
10.- Camera socket
11.- Electrical lock connectors
12.- DC input socket
13.- Microphone
14.- Camera
15.- Call button
16.- Speaker
17.- Connector to indoor section
1
2
3
45
6
7
8
9
1314
15
16
123456
789101112
10
11
12
17
INSTALACIÓN
Sección externa
Se recomienda que fije la cámara a una altura de 1,4 m para un correcto
monitoreo.
1.-Coloque la placa de metal en la cubierta trasera y asegúrela a la pared.
Asegúrese de que está correctamente colocada y atornille fijamente (Fig.
1).
2.- Conecte los cables y el control de la cerradura de apertura.
Sección interna
La sección interna debe colocarse adecuadamente para un correcta
operación. Para una mejor visibilidad, la pantalla debe colocarse alejada
de la fuentes de iluminación directa o fuentes que emanen radiación.
1.- Coloque la base de montaje en la pared, utilizando tornillos y taquetes,
a una distancia de entre 1.5 y 1.7 metros desde el piso.
2.- Conecte el cable en el sistema principal y colóquelo en la base de
montaje (Fig. 2).
3.- Una el cable con la sección externa.
Nota:
La cerradura eléctrica no viene incluida.
OPERACIÓN
Sección Interna
1.- Conecte el adaptador de corriente al equipo (12) y a un tomacorriente.
2.- Cuando el visitante presione el botón de "llamada" (15), Usted
escuchará un timbre en el equipo interior. La imagen del visitante se
muestra de forma simultánea en la pantalla de TRC (1).
3.- Levante el auricular (3) para hablar con la persona fuera de su casa /
oficina. El sistema se apagará después de que cuelgue. Si no contesta, el
sistema se apagará automáticamente después de 60 segundos.
4.- Después de hablar con el visitante, presione el botón de apertura de
cerradura (7) si desea que se abra automáticamente la puerta.
INSTALLATION
Outdoor section
We recommend you that fix the camera at 4,5ft height for a correct
monitoring.
1.- Place the metal plaque on the back cover and fasten to the wall. Make
sure that is correctly installed and screw them (Fig. 1).
2.- Connect the cables and the door-unlock control.
Indoor section
The indoor section should be placed correctly for a perfect operation. For a
better visibility, the CRT screen must be placed far to direct lights or
radiation.
1.- Place the mounting base on the wall, use the plastic tubes and screws,
between 4,9ft and 5,5ft of distance from the floor.
2.- Connect the cable on the main system and hang it in the mounting
base (Fig. 2).
3.- Join the cable with the outdoor section.
Note:
The electrical lock is not included.
HOW TO USE
Indoor section
1.- Connect the DC adapter to the equipment (12) and the other terminal
to an AC household outlet.
2.- When the visitor press the call button (15), you will hear a ring on the
indoor equipment. And you can view the image on the CRT screen (1) at
the same time.
3.- Pick the headset up (3) to talk with the visitor . The system will be turn
off after you hang up. If you don't answer, the system will turn off
automatically after 60 seconds.
4.- After to talk with the visitor, press the door-unlock button (7) if you want
to open the door, automatically.
Fig. 1
Fig. 2
5.- Si desea ver lo que ocurre afuera, presione el botón de monitor (9).
6.- Presione el botón de Llamada (8) si desea comunicarse con otros
equipos dentro de la casa / oficina.
7.- Mueva el botón de contraste (5) para ajustar el nivel de contraste en la
pantalla de TRC.
8.- Ajuste el nivel de volumen (4) de acuerdo a sus necesidades.
Sección externa
1.- El visitante presiona el botón de "llamada" (15) para comunicarse con
el interior.
2.- El visitante puede hablar a través del micrófono (13).
3.- El sistema de fotografía infrarroja puede mostrar una imagen clara del
visitante, incluso en la noche.
ESPECIFICACIONES
Monitor
Entrada: 18 V 500 mA
Señal de entrada: Señal de vídeo estándar,
VSO.5 - 1,4Vp-p
Impedancia de entrada: 75 ohms
Reproducción de imagen: > 90%
Ancho de banda de vídeo: ~ 5,5 MHz
Grado de apreciación de luminancia: Grado 6
Resolución de imagen: 380 líneas
Sistema de exploración: EIA
Tiempo de retraso para el apagado
automático de la imagen: 60 Segundos
Cámara
Entrada: 18 V 175 mA
Fuente de iluminación para
visión nocturna: Infrarrojo
Angulo de la cámara: 92°
Convertidor
Entrada: 120 V ~ 60 Hz
Salida: 18 V 700 mA
Consumo de energía: Espera: 4W Operación: 15W
Dimensiones de la unidad interna: 228 x 192 x 70 mm
Peso: 1,6Kg incluyendo la sección
externa
Nota:
El diseño del producto y las especificaciones pueden cambiar sin previo
aviso.
5.- If you want to see what happen outside, press Display (9).
6.- Press Warning (8) if you want to communicate with other devices inside
of the house or office.
7.- Move the contrast button (5) to set the contrast level on CRT screen.
8.- Set the volume level (4) in accord to your necessities.
Outdoor section
1.- The visitor press the Call button (15) to communicate with the people
inside of home or office.
2.- Visitor can talk through the microphone (13).
3.- The infrared photographing system can display a clear image of the
visitor, even in the night.
SPECIFICATIONS
Monitor
Input: 18 V 500 mA
Input signal: Standard video signal,
VSO.5 - 1,4Vp-p
Input impedance: 75 Ohms
Image reproduction: > 90%
Video Bandwidth: ~ 5,5 MHz
Luminance appraisal grade: Grade 6
Image resolution: 380 lines
Scan system: EIA
Delay-time for automatic
display shut-down: 60 seconds
Camera
Input: 18 V 175 mA
Illumination source for
night vision: Infrared
Camera angle: 92°
Power Adapter
Input: 120 V ~ 60 Hz
Output: 18 V 700 mA
Power consumption: Stand-by: 4W Operation: 15W
Dimensions of indoor unit: 8,9 x 7,56 x 2,7 inches
Weight: 3,5Lb including outdoor unit
Note:
Product design and specifications are subject to change, without notice.

Other Steren Intercom System manuals

Steren CCTV-045 User manual

Steren

Steren CCTV-045 User manual

Steren TIM-300 User manual

Steren

Steren TIM-300 User manual

Steren CCTV-075 User manual

Steren

Steren CCTV-075 User manual

Steren ALA-035 User manual

Steren

Steren ALA-035 User manual

Steren CCTV-080 User manual

Steren

Steren CCTV-080 User manual

Steren CCTV-087 User manual

Steren

Steren CCTV-087 User manual

Steren INT-200 User manual

Steren

Steren INT-200 User manual

Steren INT-200 User manual

Steren

Steren INT-200 User manual

Steren CCTV-035 User manual

Steren

Steren CCTV-035 User manual

Steren CCTV-030 User manual

Steren

Steren CCTV-030 User manual

Steren INT-550 User manual

Steren

Steren INT-550 User manual

Steren INT-500 User manual

Steren

Steren INT-500 User manual

Steren INT-300 User manual

Steren

Steren INT-300 User manual

Steren CCTV-070 User manual

Steren

Steren CCTV-070 User manual

Steren CCTV-060 User manual

Steren

Steren CCTV-060 User manual

Steren CCTV-030 User manual

Steren

Steren CCTV-030 User manual

Steren INT-200 User manual

Steren

Steren INT-200 User manual

Steren Platinum Series User manual

Steren

Steren Platinum Series User manual

Steren INT-210 User manual

Steren

Steren INT-210 User manual

Steren CCTV-050 User manual

Steren

Steren CCTV-050 User manual

Popular Intercom System manuals by other brands

Farfisa MD41 manual

Farfisa

Farfisa MD41 manual

Carus ARGOS manual

Carus

Carus ARGOS manual

Telecom Behnke myintercom Plus instructions

Telecom Behnke

Telecom Behnke myintercom Plus instructions

Midland BTNEXT PRO Instruction guide

Midland

Midland BTNEXT PRO Instruction guide

Rocom MD PBX KEY CW MD user guide

Rocom

Rocom MD PBX KEY CW MD user guide

Dahua VTO4202F-P quick start guide

Dahua

Dahua VTO4202F-P quick start guide

ASL INTERCOM IS 141 quick guide

ASL INTERCOM

ASL INTERCOM IS 141 quick guide

Videx KRA78 installation instructions

Videx

Videx KRA78 installation instructions

Channel Vision SIM Series quick start guide

Channel Vision

Channel Vision SIM Series quick start guide

Comelit 8461M Technical manual

Comelit

Comelit 8461M Technical manual

SSS Siedle BFS 850-0 operating instructions

SSS Siedle

SSS Siedle BFS 850-0 operating instructions

Multitek MBA-42 user manual

Multitek

Multitek MBA-42 user manual

ELCOM RE 610Y Series Customer's operating and assembly instructions

ELCOM

ELCOM RE 610Y Series Customer's operating and assembly instructions

Aiphone AP-MS Specifications

Aiphone

Aiphone AP-MS Specifications

Axis I8116-E user manual

Axis

Axis I8116-E user manual

Vimar ELVOX 40547 instruction sheet

Vimar

Vimar ELVOX 40547 instruction sheet

CSD Electronic Peephole Viewer Product description

CSD

CSD Electronic Peephole Viewer Product description

Aiphone JF-DVF-HID-I instructions

Aiphone

Aiphone JF-DVF-HID-I instructions

manuals.online logo
manuals.online logoBrands
  • About & Mission
  • Contact us
  • Privacy Policy
  • Terms and Conditions

Copyright 2025 Manuals.Online. All Rights Reserved.