Steren 208-900 User manual

22
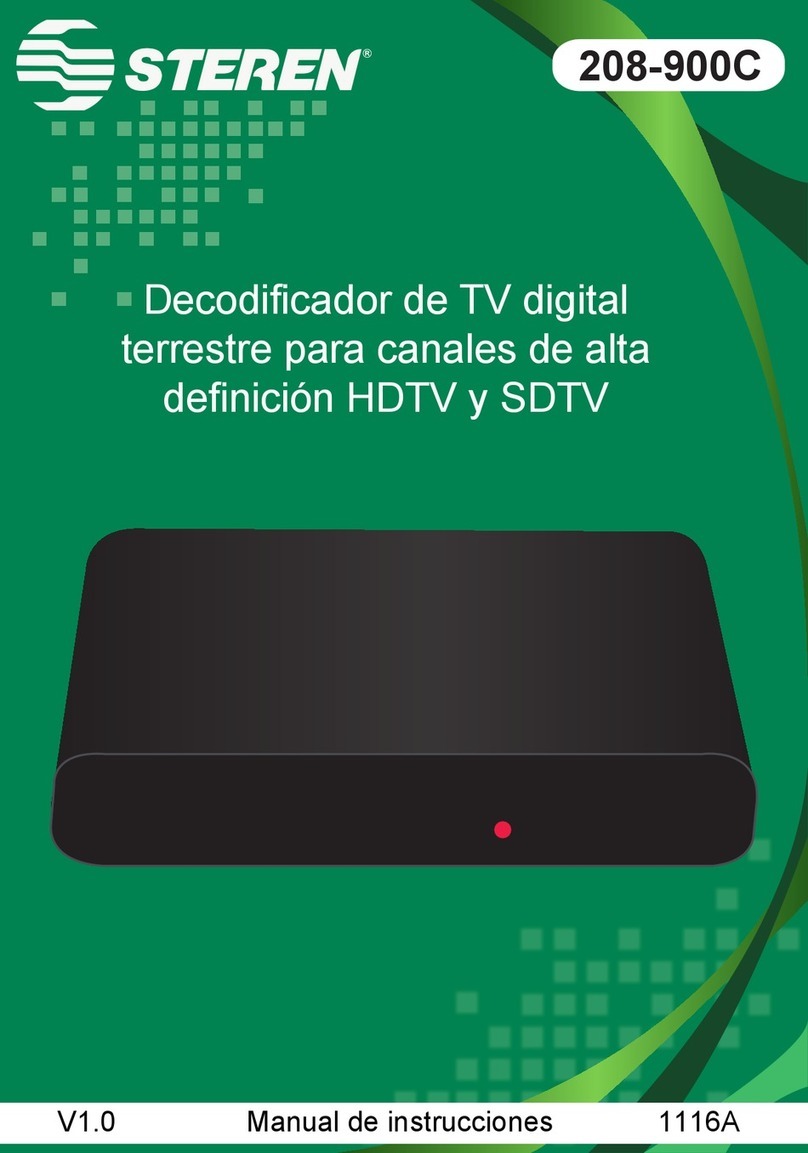
TDT SDTV / HDTV Tuner
208-900
VIDE
O
V2.0 0915vInstruction manual

23
The SDTV high defi nition reciver allows you watch TV programs in High Defi ni-
tion into current standard TV, with 480 lines of resolution (standard) defi nition,
trough the RCA or RF connector and High Defi nition using the HDMI connector.
Also, you can record TV programs using an USB memory (not included). It
is easy to install, just need to install an aerea anten-na. Trought the remote
control you will have access to functions such as Close Caption, screen set up,
auto on/off and program. Includes QAM.
HDTV and SDTV receiver
ATSC tune
Stereo sound
Screen menu
Closed caption for ATSC
Multi-language ( spanish, english, and french) 4:3 / 16:9 screen Composite
video output (CVSB), coaxial output (RF) and HDMI output QAM supported
HIGHLIGHTS

24
IMPORTANT
Please read the following precautions carefully before using the set-top box(STB):
Do not disassemble the STB.
If the STB products smoke or special smell, turn off the STB and
remove the power plug.
Power off the STB before inserting or removing video/audio
cables, or when it is thundering.
If the STB is not in use for a long period of time, power it off and
remove the power plug.
Do not put liquid containers around the STB. If the STB is wet
with liquid, power it off immediately and contact professional
maintenance personnel.
Do not place heavy objects on the STB.
Keep the STB away from heat sources, moisture, hot and humid
places, and the sunlight.
Keep the STB away from electric appliances with strong magnetic
or electric fi eld, such as microwave oven, refrigerator, and mobile
phone.
Remove the power plug before cleaning the STB shell. Do not
touch the power cable with wet hands.
Do not clean the STB with chemicals containing benzene, alcohol
or gasoline.

25
The package should contain the following items:
TV Receiver x1 pc
Remote Control x1 pc
User Manual x1 pc
Package Contents

26
Product Description
Front panel
1. REMOTE CONTROL SENSOR:Used to
receive the signal from the Remote Control.
2. LED DISPLAY SCREEN: Used to display
power on or standby.
Rear panel
1. RF IN: This socket connects to your
external Aerial.
2. RF OUT: This socket will feed the RF
signal to either your TV oranother video sys-
tem. Or connect with TV Set by RF channel.
3. Coaxial: This socket outputs digital audio
signal.
4. HDMI: High defi nition audio and video
output used to connect to a HDMI device.
5. USB: Used to connect to an external USB
2.0 device.
6. AV Output: Audio and Video output,
connect to TV AV input.
7. DV 5V IN: Used to connect to the
Adaptor.
1
2
1 2 3
4 5
6
7

27
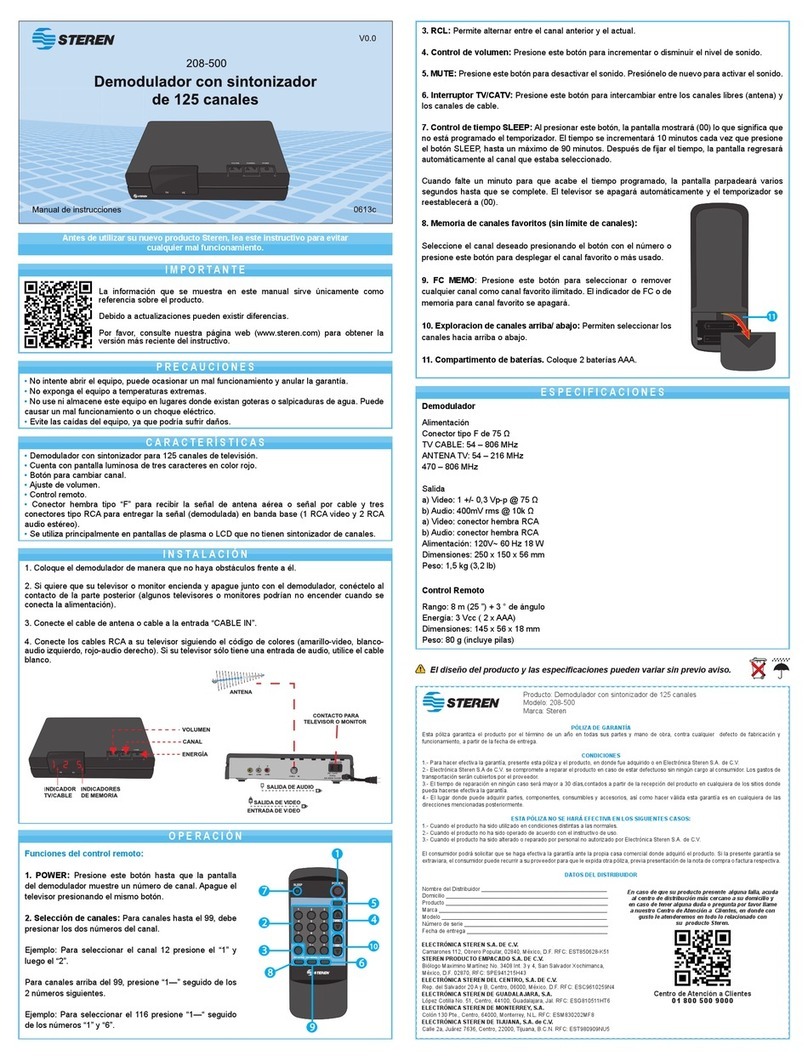
Remote Controller POWER: Switch the receiver in and out of
Standby mode.
<0>-<9>: Numeric keys.
MENU: Display main menu on TV screen,
and press again to disappear menu.
OK: To confi rm current setting, or display
channel list in no-menu mode,
VOL-/VOL+: To increase / decrease volume,
or to move the cursor.
CH-/CH+: To increase / decrease channels,
or to move the cursor.
EPG: Shows the Electronic Program Guide.
FAV: Displays your favorite channels list.
RECALL: Go back to the previous viewed
channel.
Red/Green/Yellow/Blue: Use to navigate
between pages in teletext mode and
other special functions in Menu.
HDMI: Switch video resolution.
TIMER: Set timer event.
AUDIO: Change the Audio language and
Left/Right soundChannel (availability
depends on the channel)
EXIT: Use this key to quit current menu.
INFO: Display information about the current
channel.
TV/RADIO: Switch between TV mode and
Radio mode.
MUTE: To switch on/off volume.
CC: select CC function.
RATIO: Change aspect ratio.

28
Installation
Placing the STB
Place the STB on a stable table.
Note: Do not place anything on the STB. Leave over 10cm space around two sides of
the STB for radiating.
Connecting Cables
For a basic connection from your Set Top Box to your television set, you can use AV
connection. For a higher quality connection, use a direct HDMI connection, as shown
below. Connect a audio amplifi er use coaxial is a optional.
Note: Before the operation, power off all devices to be connected (for example, TV
and STB).

29
Step 1 Open the battery box cover of the controller, insert 2 x AAA batteries according to
the “+” and “–” marks in the battery box, and close the cover.
Using the Remote Control
Step 2 To use the Remote Control, point it towards the front of the Digital Set Top Box. The
Remote Control has a range of up to 7 meters from the Set Top Box at an angle of up to 60
degrees.
Note: Sunlight or very bright light will decrease the sensitivity of the Remote Control.
Starting the STB
Step 1 Verify that all cables are correctly connected.
Step 2 Verify that power supply of all devices is normal.
Step 3 Turn on the TV.
Step 4 Turn on the STB.
First time installation
If you are using the unit for the fi rst time or have restored the unit to factory default, the
installation guide menu will appear on your TV screen.
[OSD Language]press RIGHT/LEFT key to select a language.

30
Basic operation
Program manage settings
To access the menu�press the MENU button and select [Program]. Using the RIGHT/
LEFT keys to navigate through the menu. The menu provides options to adjust the program
manage settings. Select an option and press OK or RIGHT to adjust that
setting. Press the EXIT button to exit the menu.
Program Edit
To edit your program preferences (fav, lock, skip, move, sort, rename or delete), you will
need to enter the program edit menu.
1. FAV: You can create a shortlist of favourite programs that you can easily access.
2. LOCK: You can lock selected programs for restricted viewing.
3. SKIP: Skip TV or radio channel.
4. MOVE: Move a TV or radio program.
5. SORT: Sort your channels from the following option
6. RENAME: Rename the program names.
7. DELETE: When the TV or Radio Channel List window displays, press the Blue key to
enter the Edit mode. Then, press the Blue key to delete the channels.

31
LCN (logical channel number)
Set LCN no or off if you want to sort the channels manually.
Channel search
To access the menu, press MENU and select [Channel Search] using the RIGHT/LEFT
keys. This menu provides options to adjust the search channel settings.
Press UP/DOWN to select an option and press RIGHTLEFT to adjust the settings.
Press EXIT to exit the menu.
Manual search
This option allows you to scan for new channels without deleting previously saved channels
and settings.
1. Select [Manual Search] then press OK or RIGHT. The channel search screen will appear.
2. Press the RIGHT/LEFT key to select the channel frequency.
3. Press OK to start searching channels.
If a channel is found, it is saved and added to the channels list. If channels can not
be found during searching, the unit will exit automatically.

32
Signal Type
Set signal type here: Air or Cable.
RF Channel
Select RF channel.
Here can be set RF CH3, RF CH4 or RF loopthrough.
Option
To access the menu, press MENU and select [Option] sing the RIGHT/LEFT keys. The
menu provides options to adjust the OSD language,subtitle language and audio language.
Language
Select an OSD language.
Audio Language
Select the preferred audio language for watching TV channels.
Subtitle Language
Set the default subtitle language.

33
AV Setting
To access the menu, press MENU and select [System] using the RIGHT/LEFT keys.
The menu provides options to adjust the system settings.
Press the UP/DOWN key to select an option and press RIGHT/LEFT to adjust the
setting.
Press EXIT to exit the menu.
Time Setting
To access the menu, press MENU then select [Time] using the RIGHT/LEFT keys. The
menu provides options to adjust the time settings. Press UP/DOWN to select an option and
press RIGHT/LEFT to adjust the settings.
Press EXIT to exit the menu.

34
System
Select ‘System’ in the Main Menu to enter the Tools menu which contains 6 submenu items:
Information, Factory Setting,Timer Setting, OSD Setting, USB Upgrade, and OTA Upgrade.
Information
View model, hardware and software information.
Factory Setting
Reset your set top box to the default factory settings.
Enter your password or the default password ‘0000’ and press OK to confi rm. This option
will delete all preset channels and settings.

35
Timer Setting
Timer setting here:
(1) Timer List (2) Timer Setting
OSD Setting
USB Upgrade

36
OTA Upgrade
1) Auto OTA Setting.
2) Manual OTA
Media center
To access the menu, press the MENU button and select [Media Center] using the RIGHT/
LEFT keys.
Music player

37
Picture Player
Movie Player

38
Record Manager
DVR Confi guration

39
Time shift
Press [Pause] key fi rst, then at any time you can press [Play] key, the unit will start playing
recorded program from the start.
Press [Fast Forward] / [Fast Back] to move through current recording.
Note: Time shifting is only available when USB HDD is connected to system and read/ write
speed is high enough to support that.
Press [Stop] key fi rst time to end the playing mode. The unit will keep recording but
will return to current time. If you press [Pause] the playback will start again from the begin-
ning of the recording. Press [Stop] key again to stop the recording.

40
Problem Potential Reasons What to do
No picture Power isn’t connected
The power switch is not
on
Connect the power
Switch on the power
Screen shows
“No Signal”
Cable not connected
Aerial cable is faulty
Plug in the cable
Check aerial cable and
connections
No sound from Speaker No or incorrect connec-
tion with audio cable
Sound on mute
Connect the audio cable
correctly
Turn off mute function
Only sound, no image on
thescreen Resolution not supported
by TV set
No or incorrect connec-
tion with AV cable
The program is a radio
program
Press Red Color button
to change resolution
Make sure cables are
connected correctly
Press<TV/RADIO>key
to shift into TVmode
Remote Control is not
responding The battery is exhausted
Remote Control is not
facing or close enough to
the Set Top Box
Adjust the position of the
remote Control and move
closer to the unit
Picture is breaking up The signal is too weak Check aerial cable and
connections
Troubleshooting

41
Specifi cations
Input: 5 V --- 2A
Resolution: 480p / 720p / 1080i / 1080p @ HDTV / 480i @ SDTV
Input impedance: 75 Ω
Bandwidth : 6 MHz
Operating temperature: o° - 40° (+32° to 104° F)
Humidity: 20% to 90% no condensing
Storage temperature: - 20 ° - 60 ° C (20° - 140° F)
Audio signal:
MPEG-1 (layer I and II )
Sample ratio: 32 kHz, 44.1 kHz, 48 kHz
Stereo audio output: 1 Vpp ± 10%
Video signal:
MPEG-2 MPEG-4
Composite ( CVBS): NTSC, 480i
CVBS level: 1 Vpp ± 10%
HDMI: 480i / 720p / 1080i / 1080p
Remote control
Input: 3 V --- (2 x AAA)
AC / DC converter:
Input: 100 - 240 V ~ 50/60 Hz 0.5 A
Output: 5 V --- 2 A
Nominal consumption: 9.190 Wh
Stand-by power consumption: 0.238 Wh
Other manuals for 208-900
2
Table of contents
Other Steren Tuner manuals
Popular Tuner manuals by other brands

Sirius XM RAdio
Sirius XM RAdio SXV100V1 installation guide

Vertex Standard
Vertex Standard FC-30 installation instructions

Roland
Roland BOSS Chromatic Tuner TU-3 Service notes

Krüger & Matz
Krüger & Matz KM0550B owner's manual

Pentek
Pentek 52791 Getting started guide

Sony
Sony XDR-Fl HD operating instructions