Stinger UV-15 User manual

PRODUCT SPECIFICATIONS
Model UV15 SERIES UV40/UVB45 SERIES UV801 SERIES
Acreage Up to 1/2 acre Up to 1 acre Up to 1 1/2 acre
Replacement Bulb Model B1515/B1515-BL B4040/B4045 B8080/B8080-BL
Bulb Wattage 15W 40W 50W
Grid Voltage 3000V 4000V 4200V
3YEAR LIMITED WARRANTY
This Electronic Insect Control Device is warranted against defective material or workmanship for a period of three
years from the date of purchase. Any defective part will be, at the discretion of Kaz, repaired or replaced at no
charge if the appliance has not been tampered with and has been used according to these printed directions.
The consumer is responsible for charges incurred for shipping the defective unit to Kaz for repair/replacement.
Retain your receipt to prove warranty. This warranty gives you specific legal rights as well as other rights that
vary from state to state.
If you experience unsatisfactory operation, first refer to the “Troubleshooting” section of this manual and follow
those suggestions. If Troubleshooting doesn’t work, please contact Kaz for repair instructions.
Please do not return this product to the store. Contact Consumer Relations - we can help you.
ACCESSORIES
PART DESCRIPTION
B1515/B1515-BL 15 Watt White or Black Replacement Bulb for UV15
B4040 40 Watt Replacement Bulb for UV40
B4045 40 Watt Blacklight Replacement bulb for UVB45 or UV40
B8080/B8080-BL 80 Watt White or Black Replacement Bulb for UV801
NS16 NOsquito Mosquito Lure
MP84 Mounting Pole
Kaz also manufactures devices made for indoor insect control. Please visit www.kaz.com or call consumer
relations for more information about these devices.
TO ORDER ACCESSORIES:
Telephone: Call 800-477-0457 with your Visa, MasterCard or Discover.
Online: Visit www.kaz.com with your Visa, MasterCard or Discover.
Fax: 508-481-0509. Include part number, quantity, shipping information, telephone number, Visa, MasterCard
or Discover number, expiration date, and name on the card.
Mail: Send check or money order to: Kaz, Incorporated •Consumer Relations Dept
250 Turnpike Road, Southborough, MA 01772
Include $6.95 for shipping and handling. Add applicable taxes in MA, NY and TN
Orders are generally received 7-10 days after being placed. Please allow 2-6 weeks for mailed in orders.
© 2010 All Rights Reserved
Kaz, Incorporated •250 Turnpike Road, Southborough, MA 01772 • 800-477-0457 • www.kaz.com
J.0019-D
ESPECIFICACIONES DEL PRODUCTO
Modelo SERIE UV15 SERIE UV40/UVB45 SERIE UV801
Superficie Hasta 2000 mÇ Hasta 4000 mÇ Hasta 6000 mÇ
Modelo de bombilla de reemplazo B1515/B1515-BL B4040/B4045 B8080/B8080-BL
Vatiaje de la bombilla 15W 40W 50W
Voltaje de la rejilla 3.000V~ 4.000V~ 4.200V~
GARANTÍA LIMITADA DE 3 AÑOS
Este Dispositivo Electrónico de Control de Insectos está garantizado contra materiales o mano de obra
defectuosa por un período de tres años desde la fecha de compra. Cualquier pieza defectuosa será, a criterio de
Kaz, reparada o reemplazada sin costo si el artefacto no ha sido alterado y ha sido usado de acuerdo a estas
instrucciones impresas. El consumidor es responsable por los costos incurridos para el envío de la unidad
defectuosa a Kaz para su reparación/reemplazo. Conserve su recibo para probar la garantía. Esta garantía le
proporciona derechos legales específicos así como otros derechos que varían de un estado a otro.
Si experimenta una operación no satisfactoria, consulte primero la sección “Diagnóstico y Solución de
Problemas” de este manual y siga esas sugerencias. Si no puede solucionar su problema, sírvase tomar
contacto con Kaz para recibir instrucciones de reparación.
Si tiene preguntas o comentarios, sírvase llamar a Kaz al 800-447-0457 o por correo electrónico a
nuestro servicio al cliente, podemos ayudarle.
ACCESORIOS
PIEZA DESCRIPCIÓN
B1515/B1515-BL Bombilla Blanca o Negra Reemplazo de 15 vatios para UV15
B4040 Bombilla de Reemplazo de 40 vatios para UV40
B4045 Bombilla de Reemplazo de luz negra de 40 vatios para UVB45 o UV40
B8080/B8080-BL Bombilla Blanca o Negra de Reemplazo de 80 vatios para UV801
NS16 Señuelo No’Squito Mosquito
MP84 Poste de Montaje
Kaz también fabrica dispositivos para control de insectos en interiores. Sírvase visitar www.kaz.com o llamar a
relaciones con el cliente para obtener información adicional acerca de estos dispositivos.
PARA PEDIR ACCESORIOS:
Teléfono: Llame al 800-477-0457 con su Visa, MasterCard o Discover.
En línea: Visite www.kaz.com con su Visa, MasterCard o Discover.
Fax: 508-481-0509. Incluya el número de la pieza, cantidad, información de envío, número telefónico, número
de Visa, MasterCard o Discover, fecha de expiración y nombre en la tarjeta.
Por correo: Enviar cheque o giro a: Kaz, Incorporated •Consumer Relations Dept
250 Turnpike Road, Southborough, MA 01772
Incluir $6.95 para franqueo y manejo. Añadir los impuestos aplicables en MA, NY y TN
Los pedidos se reciben generalmente 7-10 días después de colocados. Sírvase considerar 2-6 semanas para
pedidos por correo.
©2010 Todos los derechos reservados
Kaz, Incorporated •250 Turnpike Road, Southborough, MA 01772 • 800-477-0457 • www.kaz.com
OWNER’S MANUAL
ELECTRONIC INSECT KILLER
MODEL SERIES: UV15, UV40/UVB45, UV801
MANUAL DEL PROPIETARIO
MATAINSECTOS ELECTRÓNICO
PARA LOS MODELOS DE LA SERIES:
UV15, UV40/UVB45, UV801
Kaz, Incorporated
250 Turnpike Road, Southborough, MA 01772
Consumer Service 800-477-0457 • Fax 508-481-0509
Please visit our website at www.StingerProducts.com to register your product online
in21 days after purchase. This will make you eligible for free information,
promotions and product updates.
Servicio al Consumidor 800-477-0457 • Fax 508-481-0509
Por favor visite nuestro sitio web en www.StingerProducts.com para registrar su
producto en línea en los 21 días después de su compra. Esto lo hará candidato para
recibir información gratis, promociones y actualizaciones de productos.
EPA EST. NO. 074417-MEX-001
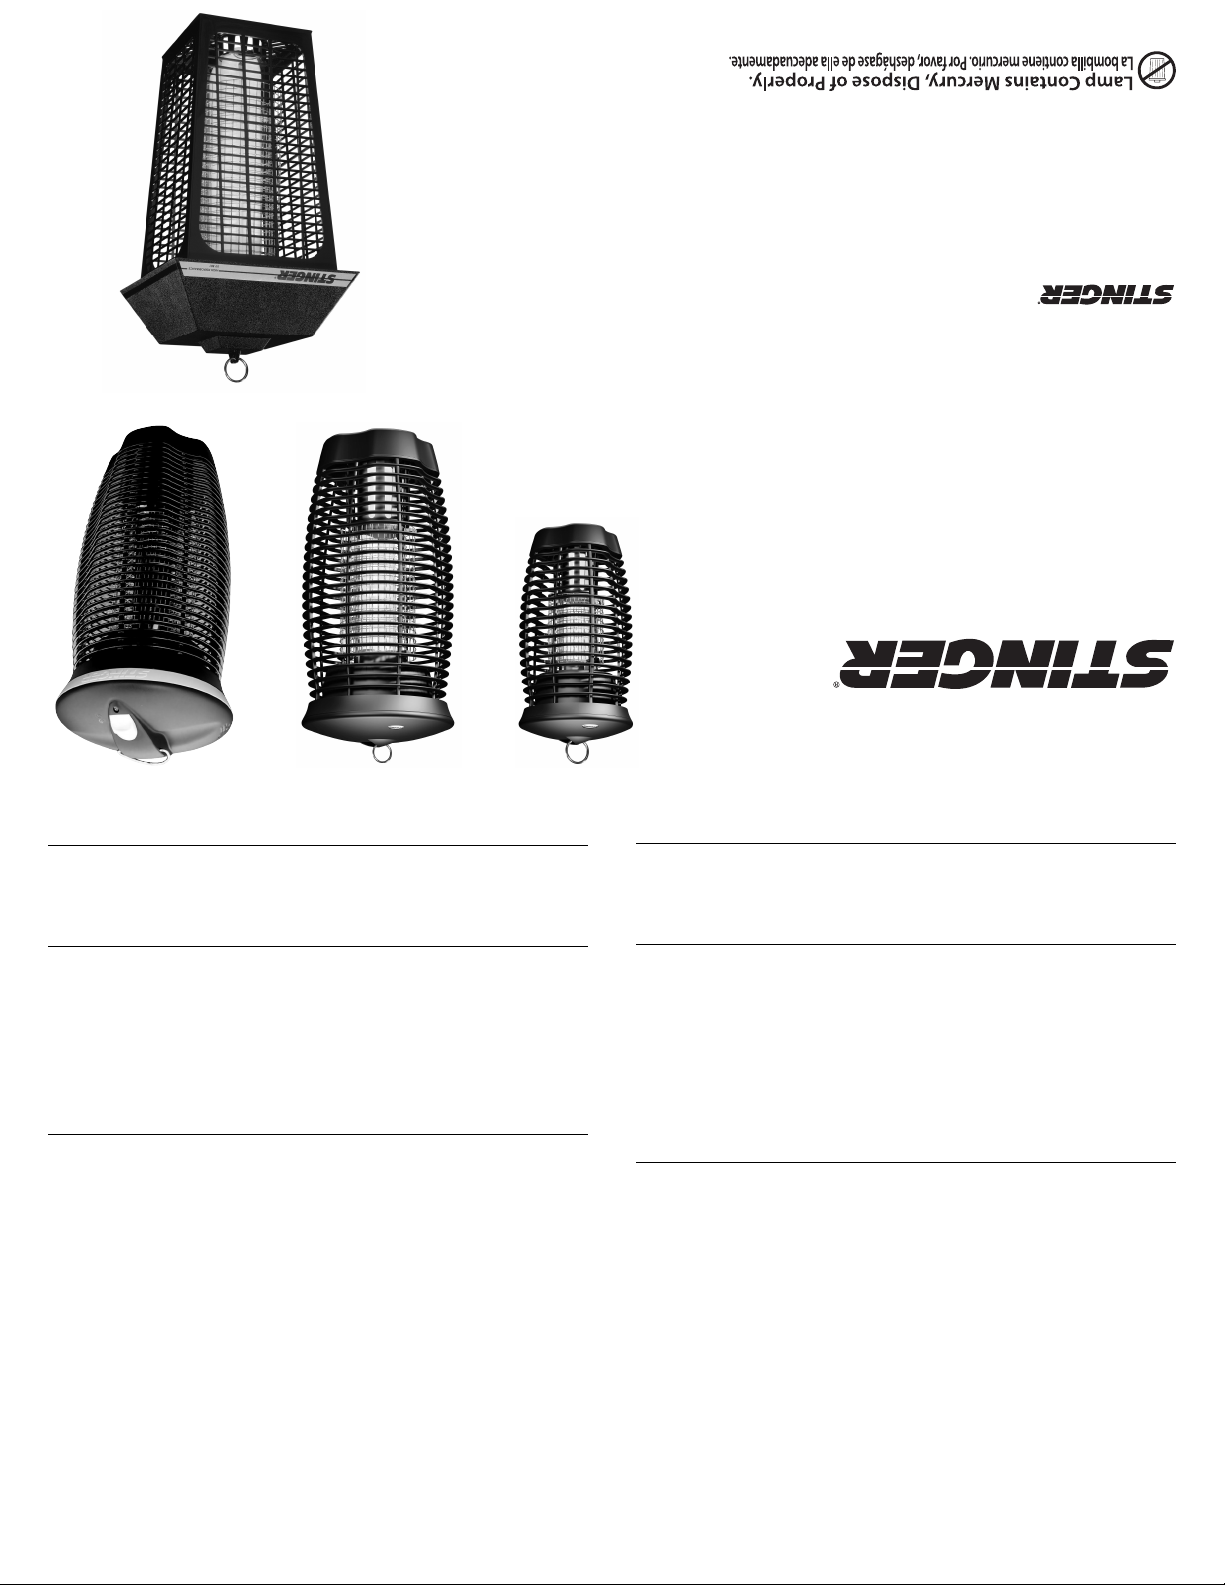
UV15 SERIES
UV801 SERIES
UV40 SERIES UVB45 SERIES
MR
MR

IMPORTANT SAFETY INSTRUCTIONS
Please read these instructions before using the Stinger Electronic
Insect Killer and keep for future reference.
1. This product is equipped with a 2-prong plug to fit the proper
type receptacles. To reduce the risk of electrical shock, only
plug into a properly installed outlet.
2. Do not insert fingers or any foreign objects into the unit while
it is connected to an electrical outlet.
3. Collected insects within the unit may contribute to fire so
clean dead insects from the unit frequently.
4. Do not clean this product with water spray or any other
liquids. Do not place where it can fall into water, or near
flammable materials.
5. Store product indoors when not in use – out of reach of
children.
6. Always disconnect plug before servicing, cleaning, changing
bulbs and when not in use.
7. Do not abuse cord – never carry unit by cord or unplug unit
by pulling on the cord - only unplug by pulling on the plug.
Keep cord away from heat, oil, or sharp edges.
8. Extension cords used with this product must be marked with
suffix letters “W-A” and with a tag stating “Suitable for Use
with Outdoor Appliances”.
9. Use only extension cords that have plug and receptacles that
match the product plug. Replace or repair damaged cords.
10. Electrical rating of the extension cord must be as great as the
electrical rating of the product.
11. There are devices available for retaining a connection
between an extension cord and a power supply cord.
Connections should be kept off the ground and dry.
12. Do not mount the unit on house, other buildings, on decks or
near heat, gas, oil or other flammable materials.
13. For outdoor residential use only.
IMPORTANT INFORMATION ABOUT INSECT CONTROL
The Stinger Electric Insect Killer is designed to lure and kill a
wide range of flying insects. The ultraviolet (UV) light given off
by this unit is within the luminescent range proven effective to
lure these insects. Insects are lured to the light and killed as they
contact the electrically charged inner grid area. Insects fall
through the open base onto the ground. The outer protective
cage helps prevent pets, birds, butterflies, and children’s fingers
from contacting the charged grids. The unit is for outdoor use
only and can withstand moderate rain. For best results, the unit
should be installed in early spring and left on continuously
through the season.
IMPORTANTES INSTRUCCIONES DE SEGURIDAD
Sírvase leer estas instrucciones antes de usar el Matainsectos Electrónico
Stinger y guardarlas para referencia futura.
1. Este producto cuenta con un enchufe de 2 clavijas para encajar en
los receptáculos de tipo apropiado. Para reducir el riesgo de
descargas eléctricas, sólo debe enchufarlo en un tomacorrientes
debidamente instalado.
2. No inserte los dedos ni algún otro objeto extraño en la unidad
mientras esté conectada a un receptáculo eléctrico.
3. Los insectos atrapados dentro de la unidad pueden contribuir a un
incendio, limpie los insectos muertos dentro de la unidad con
frecuencia.
4. No limpie este producto con rociado de agua ni de algún otro
líquido. No lo coloque donde pueda caer al agua ni cerca de
materiales inflamables.
5. Almacene el producto bajo techo cuando no esté en uso – fuera del
alcance de los niños.
6. Siempre desconecte el enchufe antes de dar servicio o limpiar la
unidad, cambiar las bombillas y cuando la unidad no esté en uso.
7. No maltrate el cordón – nunca cargue la unidad por el cordón ni la
desenchufe tirando del mismo - sólo desenchufe tirando del
enchufe. Mantenga el cordón alejado del calor, petróleo o bordes
agudos.
8. Los cordones de extensión usados con este producto deben estar
marcados con las letras de sufijo “W-A” y con una etiqueta que
indique “Apropiado para Uso con Artefactos para Exteriores”
9. Use sólo cordones de extensión que tengan enchufe y receptáculos
iguales al enchufe del producto.
Remplace o repare los cables
dañados.
10. La capacidad eléctrica del cordón de extensión debe ser por lo
menos igual a la capacidad eléctrica del producto.
11. Hay disponibles dispositivos para retener una conexión entre un
cordón de extensión y un cordón de suministro eléctrico. Las
conexiones deben mantenerse fuera del suelo y secas.
12. No monte la unidad en una casa, en otros edificios, en plataformas
ni cerca del calor, gas, petróleo ni otros materiales inflamables.
13. Sólo para uso residencial exterior.
IMPORTANTE INFORMACIÓN ACERCA DEL CONTROL DE
INSECTOS
El Matainsectos Eléctrico Stinger está diseñado para atraer y matar una
amplia variedad de insectos voladores. La luz ultravioleta (UV) emitida
por esta unidad está dentro del rango de luminiscencia que ha probado
ser eficaz para atraer a estos insectos. Los insectos son atraídos a la luz
ymatados al tomar contacto con la rejilla interior cargada
eléctricamente. Los insectos caen al suelo a través de la base abierta. La
jaula protectora exterior ayuda a impedir que los animales domésticos,
pájaros, mariposas y los dedos de los niños tomen contacto con las
rejillas cargadas eléctricamente. La unidad es sólo para uso exterior y
puede soportar lluvia moderada. Para obtener mejores resultados, la
unidad debería instalarse a principios de la primavera y dejársele en
forma continua durante toda la estación.

CHOOSING A LOCATION
When selecting a location, you want to remember the insects will be lured to the unit
so do not put the unit near human activity. Choose a location about 25 feet away from
the area you are trying to protect. If there is a water source nearby, place the unit
between you and the water because water is often a breeding ground for flying insect
pests. Depending on the model number, the unit is designed to cover areas up to 1/2
acre (UV15 Series), 1 acre (UV40/UVB45 Series), and 1 1/2 acre (UV801 Series).
(Fig. 1)
INSTALLATION/OPERATION
1. Unpack unit, save all packaging material for off-season storage.
2. Select the proper location to hang your unit using the information above. For
Model UVB45 Series – use the bonus cord included in the box to hang the unit.
3. Hang the unit approximately 7 feet above the ground from a tree, mounting pole or
other free standing object. Never mount the unit from house or other building.
4. Plug cord into a compatible extension cord rated for outdoor use.
5. The unit will be on once it is connected to an electrical source. This unit does not
have an “on/off” switch. Please allow up to 5 minutes for the bulb to light completely.
6. This unit is designed to withstand moderate rain but should be taken down and stored indoors during severe weather.
7. It is recommended that this unit be put to use in early spring and left out until late fall to maximize effects.
8. Using the available lures (see “accessories”) will add to the effectiveness of the unit by adding a chemical scent to attract more insects to the unit.
9. Model UVB45 Series has 2 settings – 24 Hour Operation or Automatic Operation. (Fig. 2)
a.To select 24 Hour Operation, slide the grey button on the cap down into the mode. The unit will remain on 24 hours a day.
b.To select Automatic Operation, slide the grey button on the cap up into the mode. The unit will turn on automatically at dusk, operate through the night
and turn off in the morning.
INSTALLING THE NOSQUITO MOSQUITO OCTENOL LURE
You will find a Nosquito®octenol lure (NS16) included with most Stinger®Insect Killers. Research has shown that octenol is effective in attracting many species of
mosquitoes and biting flies. This lure has slow release properties and increases the effectiveness of luring mosquitoes to the unit. For best results, replace
every 30 days.
1. Open lure by peeling off the foil lid.
2. Models UV15 Series, UV40 Series and UVB45 Series have a specially designed holder built into the base. Simply push the lure into this holder. The lure
should fit snugly and the tension tabs should hold it tightly in place. (Fig. 3)
3. To remove – spread the tension tabs with your fingers, pull out the lure and discard appropriately in a trash receptacle.
CHANGING BULBS
Only use Stinger®replacement bulbs. White UV or Black UV are available.These bulbs should be replaced annually to maintain optimal UV effectiveness. Even
though the bulb’slight may be visible to you, its ability to attract insects diminishes over time. If the bulb fails to light or the color of the light changes to yellow or
orange it is time to replace
the bulb. (Fig. 4)
1. Unplug and remove entire unit from hanging position.
2. Turn unit upside down, open the bulb cap and remove old bulb.
3. Insert the new bulb making sure it is properly seated in the socket.
4. Close the bulb cap by snapping it into place.
5. Place unit back into the hanging position and plug back into the outlet.
Note: If unit fails to light after replacing bulb, take unit down and remove the bulb and reseat it in the socket.
CLEANING
As the unit kills insects, most of the insect remains will be vaporized or fall down through the unit. Some remains may be left on the grids and over time may
reduce the effectiveness of this device. Make sure to regularly clean your unit to achieve maximum effectiveness. The time in between each cleaning will vary
depending on your insect populations. Check your unit frequently and clean any insect remains you see.
1. Unplug and remove entire unit from hanging position.
2. Remove bulb from unit to avoid damage (see above instructions).
3. Using a small brush or stick, gently remove any insect remains from outer casing and inner grids.
4. If available, you may use compressed air to clean out your unit.
5. Never use water to clean your unit, water could damage the electrical components.
6. Be very careful not to move the grids from the seatings.
7. Once the unit is clean, replace the bulbs, return the unit to the hanging position and reconnect to power source.
Note: If arcing occurs after cleaning, unplug unit and remove from hanging position. Check the grids and make sure they are not touching in any place. Gently
use a stick to bend grids away from each other.
TROUBLESHOOTING
Symptom: Solution:
Unit will not light, no apparent grid voltage - Make sure unit is plugged into working outlet.
Unit will not light, grid has voltage - Check bulb to make sure it is seated properly.
- Replace bulb if necessary.
Unit appears to be working properly but insect populations do not seem reduced - Check surrounding area for sitting water, insects breed in these areas and should be eliminated from the source.
- Allow more time; it will take some time for the insects to find the unit and also for there to be an impact on their reproductive cycles.
-Try moving the unit to another area of the yard. If you are in between the unit and the source of the insects, they will have to fly by you to get
to the unit and you may actually notice an increase in insects.
Unit is constantly arcing (sparking) - Clean unit per the instructions in the “Cleaning” section of this manual.
If the above troubleshooting doesn’t solve your problems or you have any other questions, please call consumer relations at 800-477-0457 or email [email protected].
Stinger
Trees Pond
Home
25'
Figure 1 Figure 2
Figure 3
Figure 4

CÓMO ESCOGER UNA UBICACIÓN
Al seleccionar una ubicación, debe recordar que los insectos serán atraídos a la unidad de
modo que no debe poner la unidad cerca de donde hay actividad humana. Escoja una
ubicación alejada unos 7.50 m [25 pies] del área que está tratando de proteger. Si hay una
fuente de agua cercana, coloque la unidad entre usted y el agua ya que el agua es a menudo un
campo de reproducción para insectos voladores nocivos. Dependiendo en el número del
modelo, la unidad está diseñada para cubrir áreas hasta de 1/2 (
Serie
UV15), 1 (
Serie
UV40/UVB45) y 1 1/2 (
Serie
UV801) acres. (Consulte la ilustración 1)
INSTALLACIÓN/OPERACIÓN
1. Desempaque la unidad, guarde todos los materiales de empaque para almacenarla fuera de
estación.
2. Seleccione la ubicación apropiada para colgar su unidad usando la información anterior.
Para el Modelo
Serie
UVB45 – use el cordón gratuito incluido en la caja para colgar la
unidad.
3. Cuelgue la unidad a unos 2.10 m [7 pies] por encima del suelo en un árbol, poste de
montaje u otro objeto vertical. Nunca monte la unidad en una casa u otro edificio.
4. Enchufe el cordón en un cordón de extensión compatible certificado para uso exterior.
5. La unidad estará encendida una vez que sea conectada a una fuente eléctrica. Esta unidad no tiene un interruptor “on/off” [encender/apagar]. Deje pasar hasta 5 minutos para
que la bombilla se encienda completamente.
6. Esta unidad está diseñada para soportar lluvias moderadas pero debe desmontarse y almacenarse bajo techo durante épocas de clima severo.
7. Se recomienda que esta unidad sea puesta en uso a principios de primavera y dejada hasta fines de otoño para reducir eficazmente la población de insectos.
8. Para incrementar la eficacia de la unidad, se pueden usar los señuelos disponibles (ver “accesorios”) ya que añaden un olor químico para atraer a los insectos a la unidad.
9. El modelo
Serie
UVB45 tiene 2 ajustes – Operación de 24 Horas u Operación Automática. (Consulte la ilustración 2)
1. Para seleccionar la Operación de 24 Horas, deslice el botón gris en la tapa hacia abajo en la modalidad . La unidad permanecerá encendida 24 horas al día.
2. Para seleccionar la Operación Automática, deslice el botón gris en la tapa hacia arriba en la modalidad . La unidad se encenderá automáticamente al anochecer, operará
durante toda la noche y se apagará en la mañana.
INSTALACIÓN DEL SEÑUELO NOSQUITO MOSQUITO OCTENOL
Encontrará un Señuelo NOsquitoMR Mosquito Octenol (NS16) gratuito incluido con la mayoría de los Matamosquitos StingerMR.Las investigaciones han demostrado que el Octenol
es eficaz en atraer muchas especies de mosquitos y moscas picadoras. El señuelo NOsquitoMRMosquito Octenol es un potente señuelo de 1660 mg con propiedades de liberación
lenta y aumenta la eficacia de atraer y matar mosquitos con el Matainsectos Stinger. Para obtener mejores resultados, reemplácelo cada 30 días.
1.Remueva la cubierta pelando el papel de aluminio.
2. Los modelos
Serie
UV15,
Serie
UV40 y
Serie
UVB45 tienen un soporte especialmente diseñado incorporado a la base. Basta empujar el señuelo en este soporte. El señuelo
debe encajar firmemente y las lengüetas de tensión deben soportarlo apretado en su sitio. (Consulte la ilustración 3)
3. Para removerlo – separe las lengüetas de tensión con sus dedos, tire del señuelo y descarte debidamente en un recipiente para basura.
CAMBIO DE BOMBILLAS
Use sólo bombillas de reemplazo StingerMR.Luz UV Blanca o UV Negra están disponibles. Estas bombillas deben reemplazarse anualmente para mantener su óptima eficiencia
ultravioleta. Aunque la luz de las bombillas pueda ser visible para usted, su capacidad de atraer insectos disminuye con el paso del tiempo. Si la bombilla no se enciende o el
color de la luz cambia a amarillo o naranja es tiempo de reemplazar la bombilla. (Consulte la ilustración 4)
1. Desenchufe y retire la unidad completa de su posición colgante.
2. Voltee la unidad boca abajo, abra la tapa de la bombilla y remueva la bombilla usada.
3. Inserte la nueva bombilla asegurándose que esté debidamente asentada en su receptáculo.
4. Cierre la tapa de la bombilla encajándola en su sitio.
5. Coloque la unidad nuevamente en su posición colgante y vuélvala a enchufar en el tomacorrientes.
Nota: Si la unidad no se enciende después de reemplazar la bombilla, bájela, retire la bombilla y vuélvala a colocar en el receptáculo.
LIMPIEZA
Como la unidad mata a los insectos, la mayoría de sus restos serán vaporizados o caerán a través de la unidad. Algunos restos se quedáran en las rejillas y con el paso del tiempo
reducirán la eficacia de este dispositivo. Asegúrese de limpiar su unidad en forma regular para lograr la máxima eficiencia. El tiempo entre limpiezas variará dependiendo de sus
poblaciones de insectos. Revise su unidad con frecuencia y limpie todos los restos de insectos que vea.
1. Desenchufe y retire la unidad completa de su posición colgante.
2. Remueva la bombilla de la unidad para evitar daños (vea los instrucciones anteriores).
3. Usando una pequeña brocha o varilla, mueva con cuidado todos los restos de insectos del forro exterior y de las rejillas interiores.
4. Si cuenta con aire comprimido, puede usarlo para limpiar su unidad.
5. Nunca use agua para limpiar su unidad, el agua puede dañar los componentes eléctricos.
6. Tenga mucho cuidado de no mover las rejillas de sus apoyos.
7. Una vez que la unidad esté limpia, vuelva a colocar las bombillas, reponga la unidad en su posición colgante y conecte la fuente de energía.
Nota: Si ocurre un arco eléctrico después de la limpieza, desenchufe la unidad y retírela de la posición colgante. Revise las rejillas y asegúrese que no estén tocando en ningún
punto. Use una varilla para doblar con cuidado las rejillas alejando unas de otras.
DIAGNÓSTICO Y SOLUCIÓN DE PROBLEMAS
Síntoma Solución
La unidad no se enciende, no parece haber voltaje en la rejilla - Asegúrese que la unidad esté enchufada en un receptáculo operativo
La unidad no se enciende, la rejilla tiene voltaje - Revise la bombilla para asegurarse que esté debidamente asentada
- Reemplace la bombilla si es necesario
La unidad parece estar funcionando bien pero las poblaciones de insectos - Inspeccione los alrededores para ver si hay agua estancada, los insectos se reproducen en estas áreas y deben ser eliminados de la fuente
- Espere más tiempo; se requiere algo de tiempo para que los insectos encuentren la unidad y también para que haya un impacto en sus ciclos reproductivos.
-Pruebe de mover la unidad a otra zona del patio. Si está usted entre la unidad y la fuente de los insectos, ellos tratarán de volar hacia usted para llegar a la unidad y usted puede notar
un incremento en el número de insectos.
La unidad está formando constantemente un arco eléctrico (chispeando - Limpie la unidad de acuerdo a las instrucciones en la sección “Limpieza” de este manual.
Si las indicaciones anteriores no resuelven sus problemas o si tiene otras preguntas, sírvase llamar a relaciones con el cliente al 800-477-0457 o por correo electrónico a [email protected].
Ilustración 2
Stinger
Árboles Charca
Casa
25'
Ilustración 1
Ilustración 3
I
lustración
4
Other manuals for UV-15
3
This manual suits for next models
9
Other Stinger Lawn And Garden Equipment manuals

Stinger
Stinger FP15 SERIES User manual

Stinger
Stinger SBK15 User manual

Stinger
Stinger Solar Bug Zapper User manual

Stinger
Stinger SBK-20 User manual

Stinger
Stinger Quad-Aer User manual

Stinger
Stinger BK500 Series User manual

Stinger
Stinger UV-15 User manual

Stinger
Stinger BK100 Operating and maintenance instructions

Stinger
Stinger SBK-26ESL User manual

Stinger
Stinger SG-5E User manual