manuals.online logo
Brands
  1. Home
  2. •
  3. Brands
  4. •
  5. Stoane Lighting
  6. •
  7. Light Fixture
  8. •
  9. Stoane Lighting Module M User manual

Stoane Lighting Module M User manual

Mike Stoane Lighting Ltd
20 Dryden Road Bilston Glen Ind Est.
Loanhead Midlothian EH20 9LZ UK
T: +44 (0) 131 440 1313
F: +44 (0) 131 440 0049
[email protected]
www.mikestoanelighting.com
VAT No GB682885284
Limited Company 188910
Module M
Installation and Maintenance
Instructions
IMPORTANT: All wiring connections must be made before switching on mains power.
MSL Type M 8.7VF6W @ 700mA
European Conformity
Please retain these instructions for future reference
This product should not be disposed of in your general waste
Class III - Extra Low Voltage
IP66 Dust tight and protected against powerful jets of water.
Module M.pdf 1 16/04/2020 12:59:16
Installation
Check that the mounting surface is suitable for the
installation of this fitting.
Step 1 Make mains connections to SELV LED driver
and extra low voltage connections to the
fitting.
Step 2 Secure the fitting as required.
Ensure supply driver and connectors are housed
indoors OR in a suitably IP rated enclosure. Cable
ends must be suitably waterproofed. Inspect supply
cables before installation to ensure there is no
damage which will allow water to enter the fitting.
After opening the sealed portion of the luminaire for
any reason, MSL recommends running the fitting for
15 minutes with the lid open to expel moisture before
closing it up. This will prevent condensation on the
lens and protect the fitting from corrosion.
WARNING: Do not look at exposed LED lamps in
operation. Eye injury can result.
Cleaning:
Fully isolate the fitting and allow to cool.
Clean the fitting with a slightly damp lint free cloth
from a mild solution of soap and water. The fitting
must be completely dry before reconnecting power.
Incompatible or abrasive chemicals can damage the
fitting, contact MSL for advice if required.
Electrical Supply
Installation must be carried out by a qualified electrician in
accordance with BS 7671:2008 Wiring Regulations.
230/240V AC 50/60Hz mains supply to a suitable SELV
LED Driver.
Site conditions: LED equipment is more susceptible to
static damage and over voltage than previous technology.
Before handling or connecting to the mains supply ensure
that all MSL products are protected from static discharge
and that the mains supply is to regulation. (230V +10
-6%)
Mains cables must be double insulated, strain relieved
and separated from E.L.V output cables.
This unit requires a constant current driver. 700mA Max.
Observe polarity:
Positive (+) is marked as RED.
Incorrect supply or reverse polarity can cause irreparable
damage.
All connections must be made before switching on mains.
If the supply is energised prior to making the connections
to the fitting then the resulting surge will damage the LED.
Multiple LEDs should be wired in series, refer to driver
instructions for minimum/maximum load.
All lighting equipment is delicate and easily damaged
through misuse or inappropriate installation (mechanical
or electrical). Repairs and replacements may cause
delays and will be chargeable. Contact MSL for support if
required. For full warranty terms & conditions please visit
our website.
The IP rating stated is applicable only when the fitting has
been installed as per these instructions.
The light source contained in this luminaire shall only be
replaced by the manufacturer or his service agent or a
similar qualified person.
The entire dimming control circuit source must be of SELV
insulation class.
Care must be taken when handling any ingress protection
seals, glands or "O" rings to ensure they are kept clean,
unblemished and replaced exactly in their required
location and suitably fastened home.
Caution - This product contains magnets. Magnets are
dangerous if ingested, can affect pacemakers and other
magnetically sensitive equipment.
Module M.pdf 2 16/04/2020 12:59:16
12
2 x M6 thread at
30mm PCD
To 700mA Max LED driver
Module M.pdf 3 16/04/2020 12:59:16
Spacers
Bezel
Lens
Heatsink
and LED
Accessory
OPTIC CHANGE
To change the lens fitted please follow these instructions:
Step 1 Remove the heatsink by twisting the knurled end
in an anti clockwise direction.
Step 2 Remove bezel and carefully remove lens.
Step 3 Attach new lens making sure to align the legs
with the holes in the LED board.
Step 4 Reattach heatsink by twisting it in a clockwise
direction.
The heatsink must be fully tightened to ensure a
watertight seal has been created.
Module M.pdf 4 16/04/2020 12:59:16
Other Stoane Lighting Light Fixture manuals

Stoane Lighting Iris Type S User manual

Stoane Lighting

Stoane Lighting Iris Type S User manual

Stoane Lighting Mole User manual

Stoane Lighting

Stoane Lighting Mole User manual

Stoane Lighting Mole X User manual

Stoane Lighting

Stoane Lighting Mole X User manual

Popular Light Fixture manuals by other brands

Kichler Lighting 380009 instruction manual

Kichler Lighting

Kichler Lighting 380009 instruction manual

EuroLite LED Ribbon user manual

EuroLite

EuroLite LED Ribbon user manual

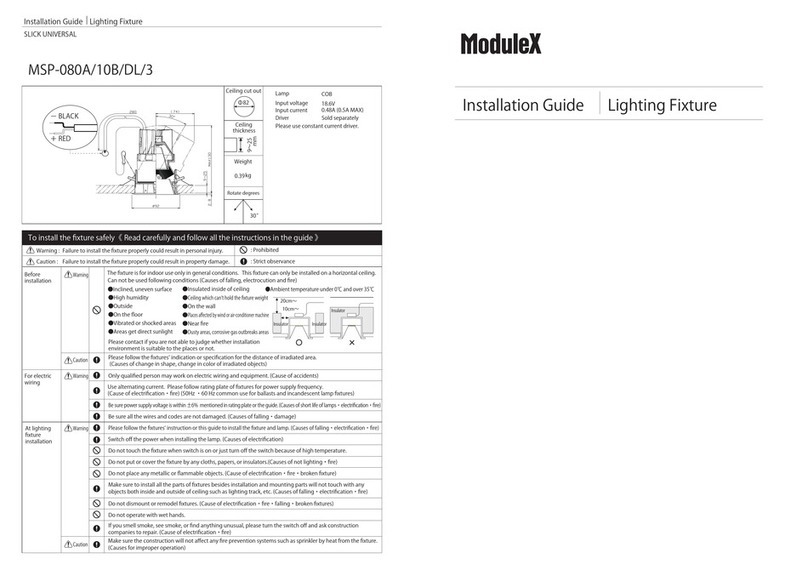
Modulex MSP-080A/10B/DL/3 installation guide

Modulex

Modulex MSP-080A/10B/DL/3 installation guide

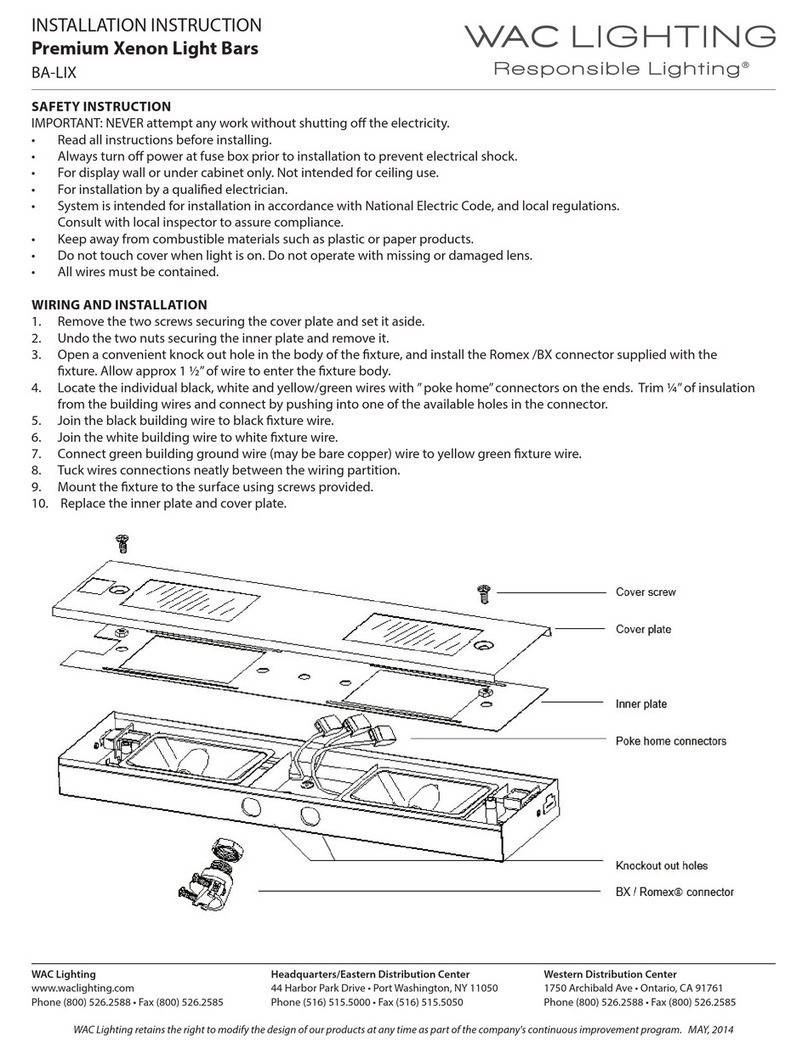
WAC Lighting BA-LIX installation instructions

WAC Lighting

WAC Lighting BA-LIX installation instructions

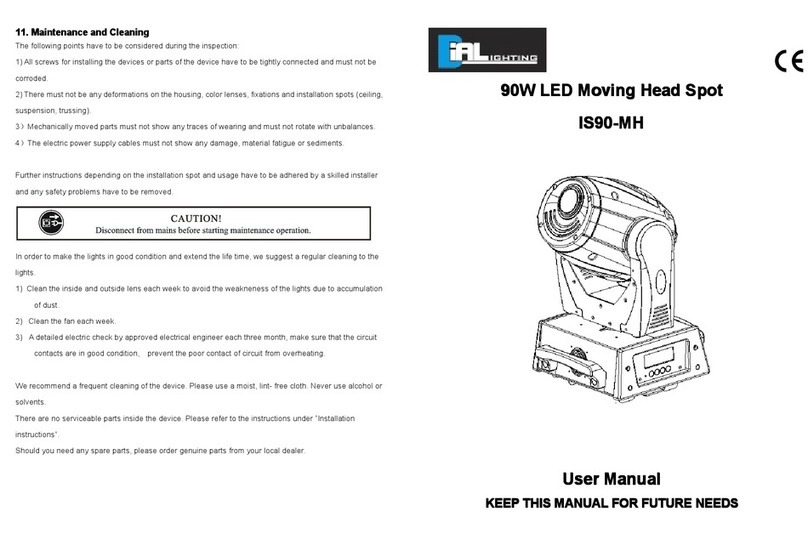
Dialighting IS90-MH user manual

Dialighting

Dialighting IS90-MH user manual

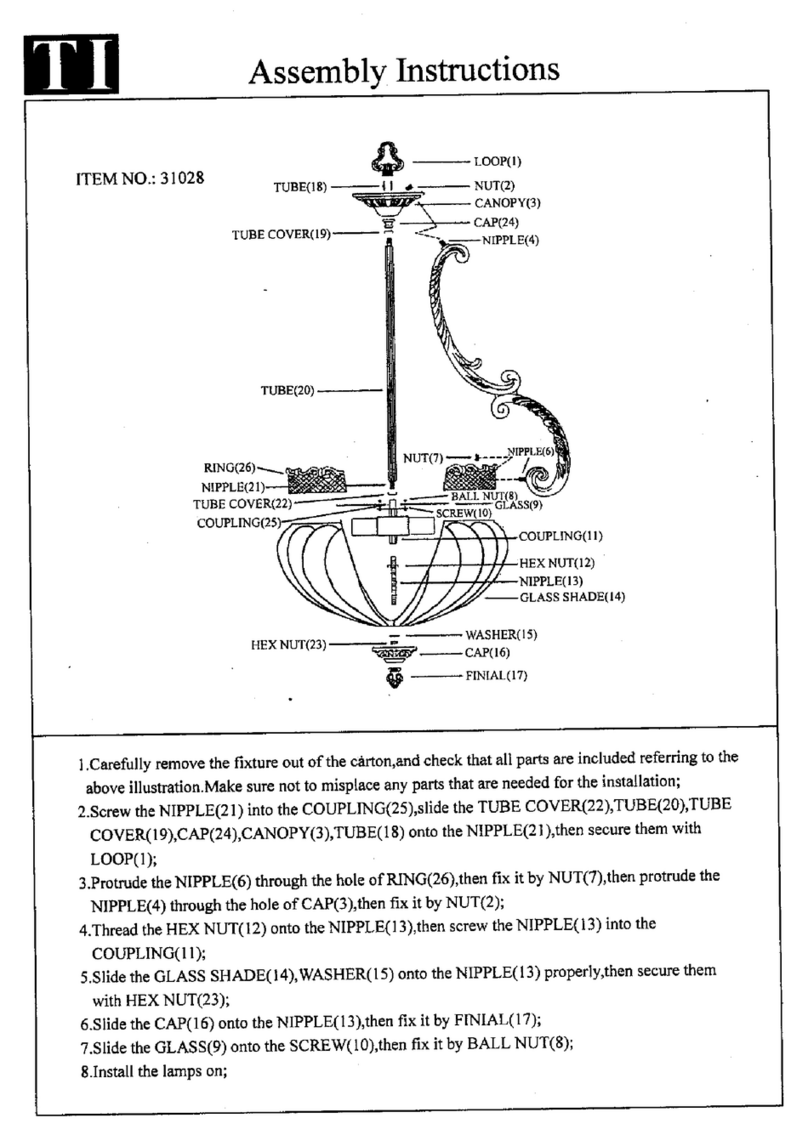
Triarch 31028 Assembly instructions

Triarch

Triarch 31028 Assembly instructions

g-lites ARCH 90 90X3W user manual

g-lites

g-lites ARCH 90 90X3W user manual

Beghelli LEDLUMINA BS400LED installation instructions

Beghelli

Beghelli LEDLUMINA BS400LED installation instructions

Cooper Lighting METALUX RWW Series Specifications

Cooper Lighting

Cooper Lighting METALUX RWW Series Specifications

GLP Fusion XPAR 12Z Quick Start and Safety Manual

GLP

GLP Fusion XPAR 12Z Quick Start and Safety Manual

NOVOLUX Viena 569E-L0105B-02 quick start guide

NOVOLUX

NOVOLUX Viena 569E-L0105B-02 quick start guide

Malmbergs MD-29 instruction manual

Malmbergs

Malmbergs MD-29 instruction manual

Lightolier Calculite 7052QD specification

Lightolier

Lightolier Calculite 7052QD specification

American DJ Colorbar 39 user guide

American DJ

American DJ Colorbar 39 user guide

Ayra Flash 150 user manual

Ayra

Ayra Flash 150 user manual

Panduit PATMFM4.0 Operation manual

Panduit

Panduit PATMFM4.0 Operation manual

WESTEK DIY Series Instructions for installation

WESTEK

WESTEK DIY Series Instructions for installation

Access Lighting 20347 installation instructions

Access Lighting

Access Lighting 20347 installation instructions

manuals.online logo
manuals.online logoBrands
  • About & Mission
  • Contact us
  • Privacy Policy
  • Terms and Conditions

Copyright 2025 Manuals.Online. All Rights Reserved.