manuals.online logo
Brands
  1. Home
  2. •
  3. Brands
  4. •
  5. Storkcraft
  6. •
  7. Indoor Furnishing
  8. •
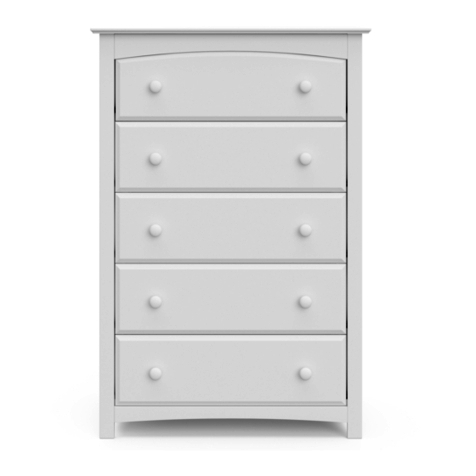
  9. Storkcraft 03663-11 AC Series User manual

Storkcraft 03663-11 AC Series User manual

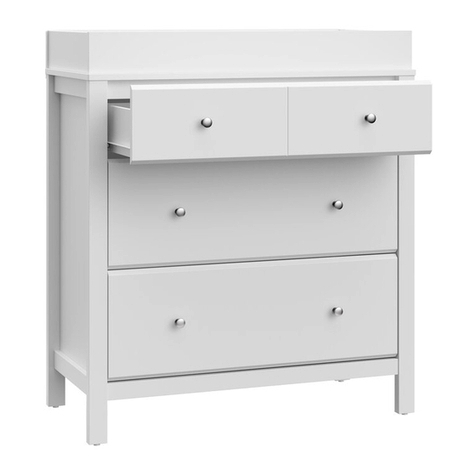
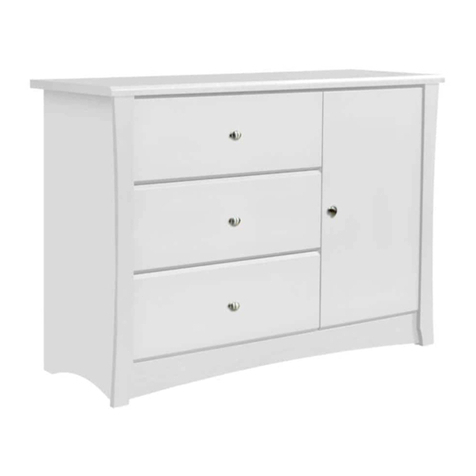
Cajonera de 3 cajones Avalon
Model / Modele No/ Número de modelo
- -
COLOR
Model No./ Numéro de modèle / Número de modelo
Color/ Couleur/ Color
TO ENSURE EASE OF
ASSEMBLY READ ALL
INSTRUCTIONS BEFORE
ASSEMBLY AND FOLLOW
STEP BY STEP
ILLUSTRATIONS
POUR ASSURER
L’ASSEMBLAGE FACILE
VEUILLEZ LIRE TOUTES LES
INSTRUCTIONS AVANT
L’ASSEMBLAGE ET VEUILLEZ
SUIVRE LES ILLUSTRATIONS
POUR CHAQUE ETAPES
PARA GARANTIZAR LA
FACILIDAD DE ENSAMBLE
LEA LAS INSTRUCCIONES
ANTES DE INICIAR Y SIGA
PASO A PASO LAS
ILUSTRACIONES.
!ADULT ASSEMBLY REQUIRED/ASSEMBLAGE REQUIS PAS UN ADULTE/
EL ENSAMBLE REQUIERE DE UN ADULTO
DUE TO THE PRESENCE OF SMALL PARTS DURING ASSEMBLY, KEEP OUT OF REACH OF
CHILDREN UNTIL ASSEMBLY IS COMPLETE.
DEBIDO A QUE HAY PIEZAS PEQUEÑAS, MANTENGA FUERA DEL ALCANCE A LOS
NIÑOS DURANTE EL ENSAMBLE, HASTA QUE HAYA TERMINADO.
KEEP INSTRUCTIONS FOR FUTURE USE.
VEUILLEZ GARDER CES INSTRUCTIONS POUR L’USAGE ULTERIEUR
GUARDE LAS INSTRUCCIONES PARA FUTURAS REFERENCIAS.
DUE A LA PRESENCE DE PETITE PIECES DURANT L’ASSEMBLAGE, VEUILLEZ GARDER
HORS DE PORTER DES ENFANTS JUSQU'A CE QUE L’ASSEMBLAGE SOIT COMPLETER.
11
03663-11 -AC
Brookside 3Drawer Combo
Brookside 3 TIROIR Commode
Brookside 3 CAJÓN cómoda
ID7131
Made in Malaysia/ Fait au Malaysia/ Hecho en Malaysia
June 2017
2
A n on Customers living in the United States and Canada
If you are missing parts, hardware, or if your product has been damaged during shipping,
DO NOT RETURN YOUR PRODUCT
The store does not stock parts and may not be able to help you.
Contact Stork Cra directly and we will ship you the parts you need to your shipping address
at no cost to you.We have three convenient ways for you to reach us:
Visit us at www.storkcra .com to order parts online
Email us at customercare@storkcraft.com
Call us toll free from the USA or from Canada at 1-877-274-0277, Monday to Friday from 7am – 3pm
(Pacific Time)
NO REGRESAR EL ARTÍCULO
El almacén no cuenta con piezas de reemplazo y posiblemente no le podrían ayudar.
Por favor contacte a Stork CraŌdirectamente y nosotros le mandaremos las piezas requeridas
sin costo alguno directamente a su domicilio. Contáctenos de las siguientes tres maneras:
Visita nuestro siƟo web: www.storkcraŌ.com para solicitar sus piezas
Por correo electrónico: [email protected]
Por teléfono sin cargo desde Canadá y los Estados Unidos al 1-877-274-0277 de Lunes a Viernes de
las 7am hasta las 3pm(hora del Pacífico)
NE PAS RETOURNER L’ARTICLE
Le magasin n’entrepose aucune pièce de rechange et pourrait ne pas pouvoir vous aidez.
Veuillez contactez Stork Cra directement et nous vous enverrons les pièces requise sans
frais a votre domicile. Vous pouvez nous rejoindre à l’aide des trois manières suivante :
Visiter nous a www.storkcra .com pour commander vos pièces
Par courrier électronique a [email protected]
Par téléphone au numéro sans frais au Canada et aux États Unis 1-877-274-0277, du Lundi au Vendredi
de 7 :00 hrs. á 15 :00 hrs. (Heure du Pacifique)
Atención clientes de México
En casos de piezas o herrajes faltantes y daños debido al envio, por favor
NO REGRESAR EL ARTÍCULO
El almacén no cuenta con piezas de reemplazo y posiblemente no le podrían ayudar.
Por favor contacte a Stork Craft directamente y nosotros le mandaremos las piezas requeridas sin
costo alguno directamente a su domicilio. Contáctenos de la siguiente forma:
•Por correo electrónico: [email protected]
Avis aux clients du Canada et des États Unis
Au cas de pièces ou quincaillerie manquantes, ou d’endommagement durant l’envoi, veuillez
Atención clientes de Canadá y de los Estados Unidos
En caso de piezas y/o herrajes faltantes y daños debido al envió por favor
WARNING:
- Place heaviest items in the lowest drawers.
- Unless specifically designed to accommodate, do not set TV’s or other heavy objects on the top of
this product.
- Never allow children to climb or hang on drawers, doors,or shelves.
- Never open more than one drawer at a time.
Use of tip-over restraints may only reduce, but not eliminate, the risk of tip-over.
- Always monitor your child’s activity when in the nursery.
- Do not allow standing in drawers.
- Do not allow standing on top of this product.
- Accessory Items must be securely fastened to this product according to the instructions provided
with those items.
- To avoid head injury, do not allow children to play underneath open drawers.
- Do not leave drawers open when not in use.
IF NOT USED AS INTENDED, THIS OR ANY DRESSER OR CHEST CAN TIP OR FALL OVER
RESULTING IN SERIOUS INJURY OR DEATH.
TO HELP PREVENT TIPOVER PLEASE FOLLOW THE RULES BELOW TO KEEP YOUR
CHILDREN AND OTHERS SAFE.
- Must be assembled by an adult.
- Includes small parts with sharp points which could be hazardous to children.
- Care should be taken when unpacking and assembling this product.
- During the assembly process whenever using screws or bolts, check each by placing the screw/bolt
on the diagram of the item which is drawn actual size and design. Be sure to use the proper size and
shape specified in the instructions.
- To assemble this unit you may be required to place the unit on it’s side and face. It is strongly
recommended that assembly is done on a soft, non-abrasive surface to avoid damaging the finish.
NOTES ON ASSEMBLY:
- Do not scratch or chip the finish.
- Inspect the product periodically, contact Stork Craft Customer service for replacement parts or
questions.
- Do not store the product or any parts in extreme temperatures and conditions such as a hot attic
or a damp, cold basement. These extremes can cause a loss of structural integrity.
- To preserve the luster of the high quality finish on your product, it is recommended to place a
doily or felt pad under any items you place on the finish.
- Clean with a damp cloth, then a dry cloth to preserve the original luster and beauty of this fine finish.
- Do not use abrasive chemicals.
- Do not spray cleaners directly onto furniture.
- Lift slightly when moving on carpeting to prevent leg breakage.
- Use of a vaporizer near furniture will cause wood to swell and finish to peel.
NOTES ON CARE AND MAINTENANCE:
3
Customer service direct telephone line: 1 877 274 0277 Fax: (604) 274 9727
Email: [email protected]
MISE EN GARDE:
- Placer les objets lourds dans les tiroirs du bas.
-A moins qu’intentionnée a cet effet, NE JAMAIS mettre de TV ou autre objets lourd sur le dessus
du meuble.
- NE JAMAIS permettre aux enfants de grimper ou ce pendre sure les tiroirs, porte ou étagères.
- NE JAMAIS ouvrir plus qu’un tiroir a la fois.
-
L’attache anti-bascule permet de réduire les possibilités de bascule, mais n’élimine pas les
risques de bascule.
- Toujours surveiller les activités des enfants dans la chambre d’enfant.
- NE JAMAIS permettre aux enfants de monter sur les tiroirs.
- NE JAMAIS permettre aux enfants de monter sur le dessus du meuble.
- Les accessoires doivent être installé de manière sécuritaire sure cette article en accordance avec
les instructions d’installation de l’accessoire.
-Afin d’éviter les blessures a la tête, ne pas permettre aux enfants de jouets en dessous des tiroirs.
- Ne pas laisser les tiroirs ouvert.
SI NON UTILISER COME INTENTIONNE, CE CHIFFONNIER PEUT BASCULER OU TOMBER
PAR TERRE, RESULTANT EN BLESSURES SERIEUSES ET OU LA MORT.
AFIN D’EVITER LA BASCULE DU MEUBLE, VEUILLEZ SUIVRE LES REGLES CI-DESSOUS
AFIN DE GARDER LES ENFANTS ET TOUT AUTRE PERSONNES EN SECURITE.
- Doit être assemblé par un adulte.
- Inclus de petites pièces pointues qui pourrait être dangereuse pour les enfants.
- Veuiller déballer et assembler ce meuble avec précautions.
- Durant l’assemblage veuillez comparer chaque visse et boulons en plaçant la visse ou les boulons
directement sure le diagramme pour vérifier la dimension et le style. Veuiller vous assurez d’utiliser
les visse et boulon spécifié sur chaque étapes.
- L’assemblage de cet meuble requiert de le placer sure les côté et le devant, afin d’éviter les
égratignures il est recommandé que l’assemblage soit fait sur une surface douce, non-abrasive afin
d’éviter d’endommagé le fini.
NOTES POUR L’ASSEMBLAGE:
- Ne pas égratigner ou ébrèche le meuble.
- Inspecter le produit régulièrement, veuiller contacter notre service aux clients pour le remplacement
de pièces ou questions.
- Ne JAMAIS entreposer ce meuble ou ces pièces sous température extrême ou condition comme
le grenier ou sous-sol humide. Ces conditions extrêmes pourraient endommager l’intégrité de la
structure du meuble.
-Afin de protéger la haute qualité du fini du meuble, il est recommandé d’utiliser des napperons ou
cousiner de feutre en dessous de tous articles placés sur le meuble.
- Nettoyer à l’aide d’un chiffon humide et après d’un chiffon sec pour préserver le lustre et beauté
original du fini du meuble.
- Ne pas utiliser de produit abrasif.
- Ne pas pulvériser de produit nettoyant sur le meuble.
- Soulever le meuble durant le déplacement afin d’éviter de casser les pieds du meuble.
- Utilisation d’un vaporisateur près du meuble pourrait causer le bois de gonfler et le fini de pelée.
NOTES SUR LA MAINTENANCE DU MEUBLE:
4
Service aux clients: 1-877-274-0277 Fax: (604)-274-9727
Email: [email protected]
- Coloque los artículos más pesados en los cajones de abajo.
- Al menos que esté específicamente diseñado para dar cabida, no coloque la TV u otros objetos
pesados en la parte superior de este producto.
- Nunca permita que los niños se suban o se cuelguen de los cajones, puertas o estantes.
- Nunca abra más de un cajón a la vez.
El uso de sistemas de retención de vuelcos, sólo puede reducir el riesgo de vuelco, pero no
eliminarse.
- Siempre supervise la actividad de su hijo cuando esté en su recámara.
- No permita que se paren en los cajones.
- No permita que se paren encima de este producto.
- Los accesorios se deben sujetar firmemente a este producto de acuerdo a las instrucciones
proporcionadas con esos artículos.
- Para evitar lesiones en la cabeza, no permita que los niños jueguen debajo de los cajones abiertos.
- No deje los cajones abiertos cuando no los esté usando.
- Debe ser ensamblado por un adulto.
- Incluye piezas pequeñas con puntas filosas que podrían ser peligrosas para los niños.
- Debe tener cuidado cuando desempaque y ensamble este producto.
- Durante el proceso de montaje cuando use los tornillos, revíselos guiándose con el diagrama y
que coincidan con el diseño. Asegúrese de utilizar el tamaño correcto y la forma especificada en las
instrucciones.
- Para ensamblar esta unidad puede ser necesario colocarlo de lado y de frente. Se recomienda que
el ensamble se realice sobre una superficie suave, no abrasiva para evitar dañar el acabado.
SI NO SE UTILIZA COMO SE DEBE, ESTA CAJONERA O CUALQUIER MUEBLE SE PUEDEN
VOLCAR O CAER RESULTANDO EN LESIONES GRAVES O LA MUERTE.
PARA EVITAR QUE SE VUELQUE POR FAVOR SIGA LAS REGLAS SIGUIENTES
PARA PROTEGER A SUS NIÑOS Y A OTROS.
NOTAS SOBRE EL ENSAMBLE:
NOTAS SOBRE EL CUIDADO Y EL MANTENIMIENTO:
- No rayar ni estropear el acabado.
- Revise el producto periódicamente, póngase en contacto con Stork Craft a servicio al cliente para
obtener piezas de reemplazo o alguna pregunta.
- No almacene el producto o cualquier pieza en temperaturas y condiciones extremas, tales como
un ático caliente o un sótano húmedo y frío. Estos extremos pueden causar un daño al producto en
la estructura y/o acabado.
- Para conservar el brillo del acabado de alta calidad de su producto, se recomienda colocar un
tapete o mantel de fieltro debajo de cualquier artículo que coloque en el acabado.
- Limpie con un paño húmedo y luego con un paño seco para conservar el brillo original y la belleza
de este acabado fino.
- No utilice productos químicos abrasivos.
- No rocíe limpiadores directamente sobre el mueble.
- Levante ligeramente cuando lo muevan sobre una alfombra para así evitar dañar las patas del
mueble.
- El uso de un vaporizador cerca de los muebles hará que la madera se hinche y el acabado se
descarapele.
ADVERTENCIA:
5
Línea telefónica de servicio al cliente: 1-877-274-0277 Fax: (604) 274-9727
Email: [email protected]
ASSEMBLY INSTRUCTIONS/INSTRUCTION
D'ASSEMBLAGE / INSTRUCCIONES DE ANSAMBLAJE
Drawer parts/ Pièces du tiroir/ Piezas para el cajón
(A) Drawer back/Arrière de tiroir/
Panel trasero para cajón x3
(B) Drawer left side / Côté gauche
de tiroir/ Panel lateral izquierdo
para cajón x3
(C) Drawer right side/ Côté droit
de tiroir/ Panel lateral derecho
para cajón x3
(D) Drawer support/Support de
tiroir/Soporte paracajón x3
(E) Drawer bottom/Fond de
tiroir/Base para cajón x3
(F) Drawer front/ Devant de tiroir du
haut/Panel frontal para cajón x3
E
B
C
A
D
(G) Left side/Cote guache/Lateral izquierdo x1
(H) Right side/Cote droit/Lateral derecho x1
(J) Support rail/ Rail d'appui/ Riel de apoyo x1
(K) Bottom panel/Panneau inférieur/Panel inferior x1
(L) Bottom back rail/ Traverse inferieur du derrière/
Riel trasero inferior x2
(M) Bottom front rail/Traverse inferieur du devant/
Riel frontal inferior x1
(N) Top/ Dessus/ Tapa superior x1
(P) Back panel center/ Centre du panneau arrière/
Cenro de panel posterior x2
(Q) Back panel Side/ Côté du panneau arrière/
Lado del panel posterior x1
(R) Center panel/Panneau central/Panel central x1
(S) Door Panel / porte / puerta x 1
(T) Adjustable Shelf /Tablette Amovible /Estante Extraible x1
(U) Top front rail/Traverse supérieur du devant/
Riel frontal superior x1
(V) Back rail/ Rail arrière/ Guia trasera x1
F
N
L
Q
P
P
H
G
R
J
L
M
K
S
T
U
V
6
Dresser Parts / Pièces du Chiffonnier / Piezas De La Cajonera
ASSEMBLY INSTRUCTIONS/INSTRUCTION
D'ASSEMBLAGE / INSTRUCCIONES DE ANSAMBLAJE
HARDWARE/ Quincailleries/ HERRAJE
ASSEMBLY INSTRUCTIONS/INSTRUCTION
D'ASSEMBLAGE / INSTRUCCIONES DE ANSAMBLAJE
58R x 3
Right Drawer Track
Droit voie de tiroir
Cajón derecho vía
57L x 3
Left Panel Drawer Track
Panneau gauche voie de tiroir
Panel izquierdo vía cajón
58L x 3
Left Drawer Track
Tiroir gauche voie
Cajón izquierdo vía
80 x 1
Wall Stud
Montant Du Mur
Montaje Para Pared
1 x 20
Camlock
Raccord camlock
Camlock
4 x 9
Drawer Camlock
Tiroir: Camlock
Camlock cajón
3 x 20
Camlock Bolt
Boulon Camlock
Tornillo Camlock
5 x 9
Drawer Camlock Bolt
Cajón Perno Camlock
Tiroir vis Camlock
20 x 31
M8 x 25mm Wood Dowel
M8 x 25mm de la cheville en bois
M8 x 25mm la espiga de madera
23 x 36
M6 x 30mm Wood Dowel
M6 x 30mm de la cheville en bois
M6 x 30mm la espiga de madera
30 x 46
M3.5 x 12mm Screw
M3.5 x 12mm de la vis
M3.5 x 12mm el tornillo
43 x 8
Handle Screw
La vis de poignée
El tornillo de la empuñadura
31 x 8
M3.5 x 16mm Screw
M3.5 x 16mm de la vis
M3.5 x 16mm el tornillo
41 x 26
Nail 5/8"
Nail 5/8"
Clavo de 5/8"
72 x 4
Handle
la poignée
agarradera
85 x 4
Shelf Support
Taquet
Soporte de estante
57R x 3
Right Panel Drawer Track
Panneau droit voie de tiroir
Panel derecho vía cajón
36 x 9
M4 x 38mm Screw
M4 x 38mm de la vis
M4 x 38mm el tornillo
87 x 2
Hinges
Charnières
Bisagras
81 x 1
L Bracket
Support en L
Soporte en L
7
ASSEMBLY INSTRUCTIONS/INSTRUCTION
D'ASSEMBLAGE / INSTRUCCIONES DE ANSAMBLAJE
Step 1/ Étape 1/ Paso 1
57L x 3 57R x 3
30 x 24
20 x 7
3 x 6
30 30 30 30
3030
30 30
1
1
1 x 7
1
1
20
20
57L
20
20
3
20
3
33
3
1
R
20
20
20
20
G
3
1
1
1
1
1
1
57L
57L
57L
57R
57R
57R
8
ASSEMBLY INSTRUCTIONS/INSTRUCTION
D'ASSEMBLAGE / INSTRUCCIONES DE ANSAMBLAJE
Step 2/ Étape 2/ Paso 2
Step 3/ Étape 3/ Paso 3 3 x 2
1
20 x 4
3
H
20
20
20
3
3
3
3
1
1
120 x 3
3 x 4
1 x 3
20
20
20
20
K
V
R
33
LOCK
1
9
ASSEMBLY INSTRUCTIONS/INSTRUCTION
D'ASSEMBLAGE / INSTRUCCIONES DE ANSAMBLAJE
Step 4/ Étape 4/ Paso 4
20 x 17
20
20
20
20 20
1
1
1
1
1 x 10
L
L
20
20
20
1
1
K
20
1
20 1
20
20
20
20
U
20 J
R
1
120
20
1
LOCK
1
3
V
10
30 x 2
81 x 1
ASSEMBLY INSTRUCTIONS/INSTRUCTION
D'ASSEMBLAGE / INSTRUCCIONES DE ANSAMBLAJE
Step 6/ Étape 6/ Paso 6
Step 5/ Étape 5/ Paso 5
1
LOCK
1
30
81
81
M
3
H
G
11
ASSEMBLY INSTRUCTIONS/INSTRUCTION
D'ASSEMBLAGE / INSTRUCCIONES DE ANSAMBLAJE
Step 7/ Étape 7/ Paso 7
Step 8/ Étape 8/ Paso 8
81
30
3 x 8
LOCK
41 x 26
N
M
1
41
130 x 2
3
3
1
3
3
3
3
3
3
3
3
P
P
Q
12
DRAWER ASSEMBLY/ ASSEMBLAGE DES TIROIRS/
ENSAMBLAJE DE CAJÓN
Step 9/ Étape 9/ Paso 9
Step 10/ Étape 10/ Paso 10
36 x 9
23 x 36
x3
x3
E
BA
C
D
23
36
23
23
36
23
36
23
13
Step 11/ Étape 11/ Paso 11
Step 12/ Étape 12/ Paso 12
5 x 9
x3
x3
DRAWER ASSEMBLY/ ASSEMBLAGE DES TIROIRS/
ENSAMBLAJE DE CAJÓN
F
5
5
5
4 x 9
4
4
4
44
4
LOCK
F
14
ASSEMBLY INSTRUCTIONS/INSTRUCTION
D'ASSEMBLAGE / INSTRUCCIONES DE ANSAMBLAJE
Step 13/ Étape 13/ Paso 13
30 x 18
43 x 6
x3
3030 30 30 3030
58R58L
58L 58R
Bottom View
Vue de dessous
Vista inferior
43
72
58R x 3
58L x 3
72 x 3
15
Step 14/ Étape 14/ Paso 14
DRAWER ASSEMBLY/ ASSEMBLAGE DES TIROIRS/
ENSAMBLAJE DE CAJÓN
Step 15/ Étape 15/ Paso 15
F
F
F
85
85 x 4
87
31
S
31
87
31 x 4
87 x 2
31
87
16
DRAWER ASSEMBLY/ ASSEMBLAGE DES TIROIRS/
ENSAMBLAJE DE CAJÓN
Step 16/ Étape 16/ Paso 16
S
H
HINGES ADJUSTMENT
FOR HARDWARE NO.87
S
31
31
H
31 x 4
17
Step 17/ Étape 17/ Paso 17
DRAWER ASSEMBLY/ ASSEMBLAGE DES TIROIRS/
ENSAMBLAJE DE CAJÓN
Step 18/ Étape 18/ Paso 18
WALL STUD
SAFETY BRACKET INSTRUCTIONS
Montant du mur
Instruction pour les crochets de
sécurité
MONTAJE PARA PARED
INSTRUCCIONES DEL SOPORTE DE
SEGURIDAD
80
80 x 1
72 x 1
43 x 2
T72
43
18
2" Wood Screw
WALL STUD
SAFETY BRACKET INSTRUCTIONS
Bracket " Wood Screw
Safety Strap
1x1x1x2x
Frame below to top with the short
screws provied:
Thread the safety strap through both of the
Tipping can injure young children. Use of this safety hardware is highly recommended. This safety
improper use.

the 2"screw provided:
Tighten the strap unit snug.
Move the furniture piece temporaily to its
mounted wall bracket.
Move the furniture piece away from the wall
mounted bracket and place the other
the furniture piece.
into the back furniture frame.
furniture with the 5/8" screws
provided.
completely through the back of the
furniture.
It is recommended that you locate a wall stud
behind the furniture unit. If the wall stud is not
used, a suitable "Hollow-Wall Anchor Bolt" (not
provided) should be used in lieu of the wall
stud.
1
below the top the furniture piece.
the wall and drill a pilot hole into the stud.
with the 2" screws provided.
This product is not be a subsitute for proper parental supervision which is the only proper deterrent to prevent
For taller or heavierpieces of furniture, two safety brackets my be installed.
.
.
.......
.......
......
......
19
Vis à bois 2’’
Montant du mur
Crochet Vis à bois ’’
Sangle de sécurité
1x1x1x2x
la vis courte incluse:
Insérer la sangle de sécurité a travers de
deux crochets installe comme sur le
diagramme.
Étape 3
Serrer la sangle sans trop resserrer.
Ne serrez pas trop.
Placer le meuble temporairement dans
monte sur le mur.
Déplacer le meuble du mur et placer le
crochet sur le meuble
à l’aide de la vis a bois 2’’ inclus:
.
Il est recommandé de localiser le montant de
bois dans le mur derrière le meuble. Si le
adéquate (non-inclus).
de 1’’ en dessous du dessus du meuble.
crayon sur le mur et perforé un trou dans le
montant en bois du mur
les vis 2’’ inclus
DrillPerfore un trou dans le cadre du
meuble
meuble à l’aide de la vis a bois ’’.
IMPORTANT – S’assurer que les crochets sont bien accrochés au montant en bois du mur et au cadrage du meuble et que
la sangle de sécurité soie bien ajuster.
inapproprié ou les pressions excessives exercé sure la sangle de sécurités, les crochets ou les vis
.
.
..
.
.
.
........
.......
......
......
Note : Pour les meubles lourds ou hauts, deux sangles de sécurité peuvent être installé
20

Other Storkcraft Indoor Furnishing manuals

Storkcraft 05250-10 GH Series Installation guide

Storkcraft

Storkcraft 05250-10 GH Series Installation guide

Storkcraft Concord 5 Drawer Chest User manual

Storkcraft

Storkcraft Concord 5 Drawer Chest User manual

Storkcraft SANTA MONICA 06510-31 FC Series User manual

Storkcraft

Storkcraft SANTA MONICA 06510-31 FC Series User manual

Storkcraft Crescent 03663-30 AC Series User manual

Storkcraft

Storkcraft Crescent 03663-30 AC Series User manual

Storkcraft STEVESTON 06565-W0 HJ User manual

Storkcraft

Storkcraft STEVESTON 06565-W0 HJ User manual

Storkcraft Kenton 03556-10-AY Series User manual

Storkcraft

Storkcraft Kenton 03556-10-AY Series User manual

Storkcraft 00611-10 AC Series User manual

Storkcraft

Storkcraft 00611-10 AC Series User manual

Storkcraft 03666-10 AC User manual

Storkcraft

Storkcraft 03666-10 AC User manual

Storkcraft Crescent 03666-30 AC Series User manual

Storkcraft

Storkcraft Crescent 03666-30 AC Series User manual

Storkcraft Davenport Convertible Crib 04520-71-MB... User manual

Storkcraft

Storkcraft Davenport Convertible Crib 04520-71-MB... User manual

Storkcraft 03666-5 AC Series User manual

Storkcraft

Storkcraft 03666-5 AC Series User manual

Storkcraft Alpine User manual

Storkcraft

Storkcraft Alpine User manual

Storkcraft Kenton 03555-10 AY Series User manual

Storkcraft

Storkcraft Kenton 03555-10 AY Series User manual

Storkcraft 01720-305-IW User manual

Storkcraft

Storkcraft 01720-305-IW User manual

Storkcraft 10001-100-YZ User manual

Storkcraft

Storkcraft 10001-100-YZ User manual

Storkcraft Alpine 2 User manual

Storkcraft

Storkcraft Alpine 2 User manual

Storkcraft Avalon 6 Drawer Dresser 03556-20 AY Series User manual

Storkcraft

Storkcraft Avalon 6 Drawer Dresser 03556-20 AY Series User manual

Storkcraft 06550-4**-FT Series User manual

Storkcraft

Storkcraft 06550-4**-FT Series User manual

Storkcraft Crescent 03663-31 AC Series User manual

Storkcraft

Storkcraft Crescent 03663-31 AC Series User manual

Storkcraft 06510-21 RD Series User manual

Storkcraft

Storkcraft 06510-21 RD Series User manual

Storkcraft 03663-10 AC Series User manual

Storkcraft

Storkcraft 03663-10 AC Series User manual

Storkcraft 01720-305-IW User manual

Storkcraft

Storkcraft 01720-305-IW User manual
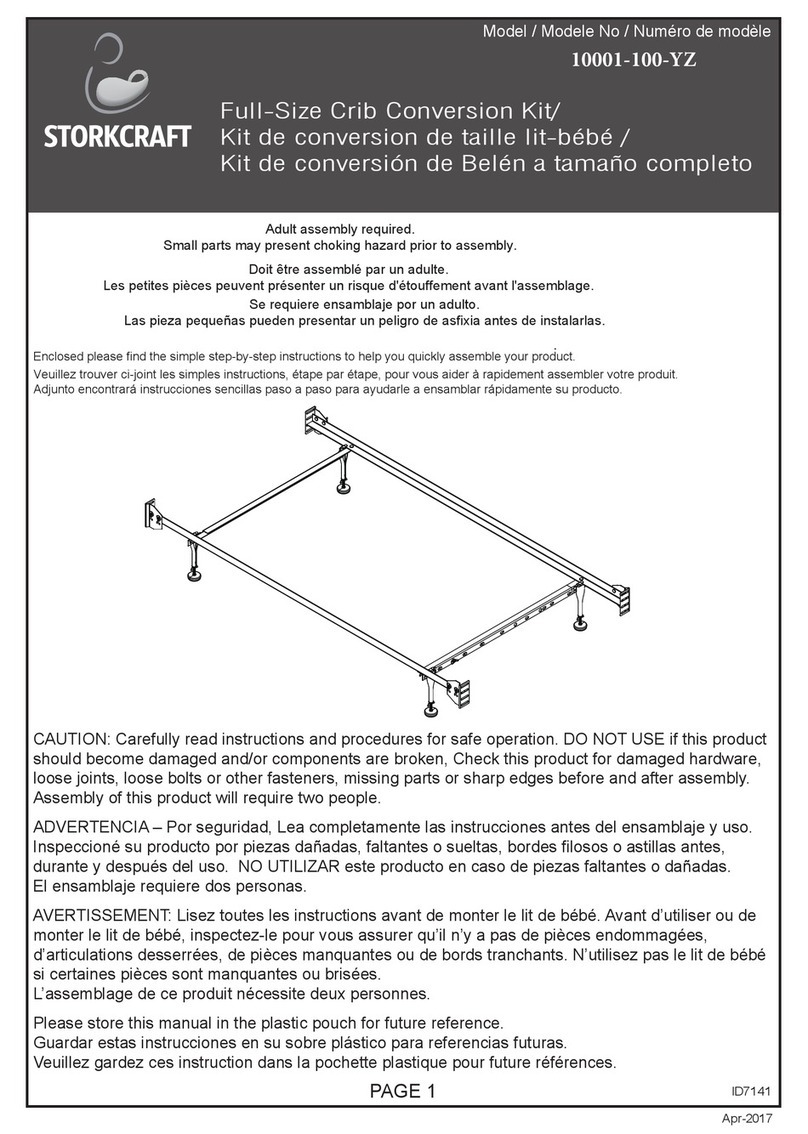
Storkcraft 01740-121-YZ User manual

Storkcraft

Storkcraft 01740-121-YZ User manual
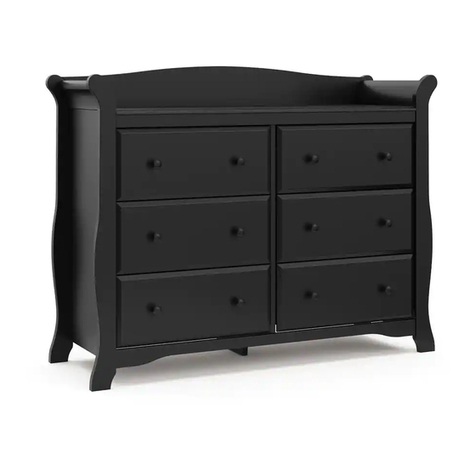
Storkcraft 09730 User manual

Storkcraft

Storkcraft 09730 User manual
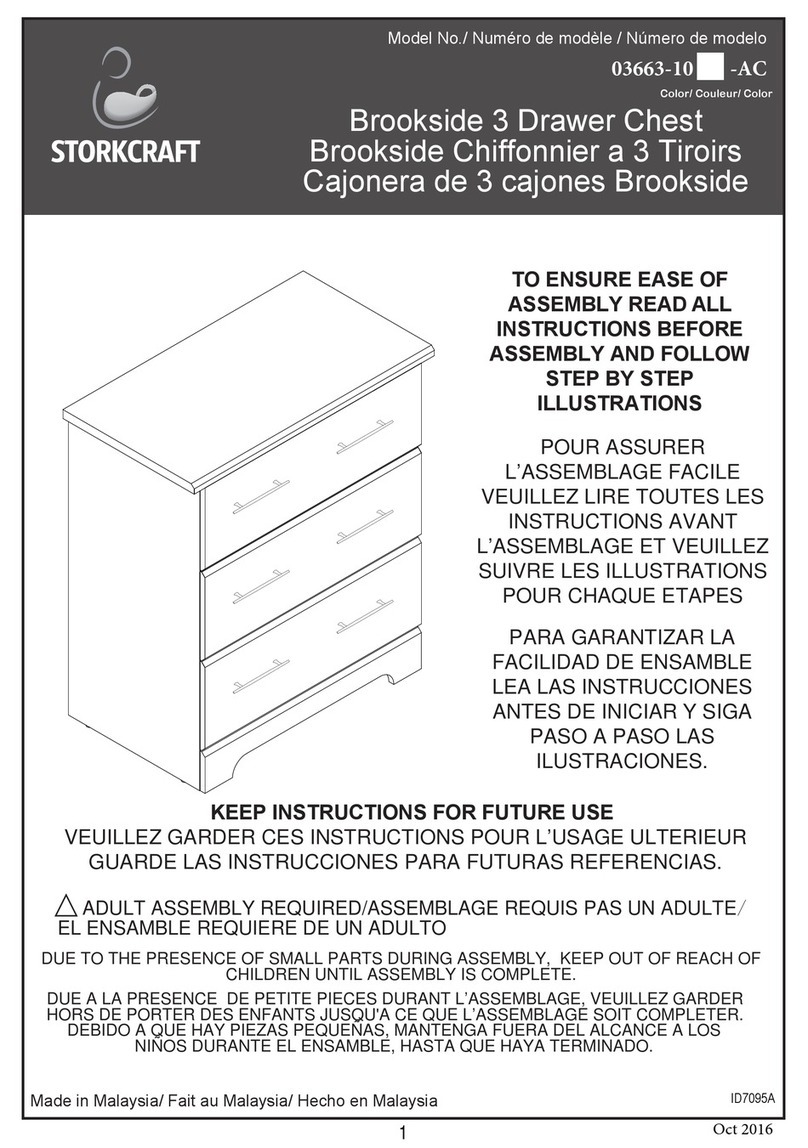
Popular Indoor Furnishing manuals by other brands

Riverside Furniture Queen 46170 Assembly instructions

Riverside Furniture

Riverside Furniture Queen 46170 Assembly instructions

ROOMS TO GO SYNE 2111-73PHR Assembly instructions

ROOMS TO GO

ROOMS TO GO SYNE 2111-73PHR Assembly instructions

Kenroy Home SPINET 65091 Use and care guide

Kenroy Home

Kenroy Home SPINET 65091 Use and care guide

Heart of House Kent 276/7248 Assembly instructions

Heart of House

Heart of House Kent 276/7248 Assembly instructions

Dunelm Winslow instructions

Dunelm

Dunelm Winslow instructions

Casa Bonita K394 Instructions for use

Casa Bonita

Casa Bonita K394 Instructions for use

RTA Products Techni Mobili RTA-3527 Assembly instructions

RTA Products

RTA Products Techni Mobili RTA-3527 Assembly instructions

Mod-Arte Flaunt FL03-70-110 Assembly instructions

Mod-Arte

Mod-Arte Flaunt FL03-70-110 Assembly instructions

Akuaplus MIR 9000BL instruction manual

Akuaplus

Akuaplus MIR 9000BL instruction manual

Sonoma 61SRR4503BIS Assembly instructions

Sonoma

Sonoma 61SRR4503BIS Assembly instructions

supremo LEISURE LS-059-CT Assembly instruction

supremo LEISURE

supremo LEISURE LS-059-CT Assembly instruction

Nijpels Meubelen Madrid 02SR manual

Nijpels Meubelen

Nijpels Meubelen Madrid 02SR manual

Argos 1524853 Assembly instructions

Argos

Argos 1524853 Assembly instructions

De Eekhoorn basiclabel WARP 200349-C Assembly instructions

De Eekhoorn

De Eekhoorn basiclabel WARP 200349-C Assembly instructions

Costway HW67772 Instruction booklet

Costway

Costway HW67772 Instruction booklet

Little Tikes GREAT IDEAS DESK Assembly instructions

Little Tikes

Little Tikes GREAT IDEAS DESK Assembly instructions

Dorel Home Products DA7319-3BL manual

Dorel Home Products

Dorel Home Products DA7319-3BL manual

Rauch 16293.5430 Assembly instructions

Rauch

Rauch 16293.5430 Assembly instructions

manuals.online logo
manuals.online logoBrands
  • About & Mission
  • Contact us
  • Privacy Policy
  • Terms and Conditions

Copyright 2025 Manuals.Online. All Rights Reserved.