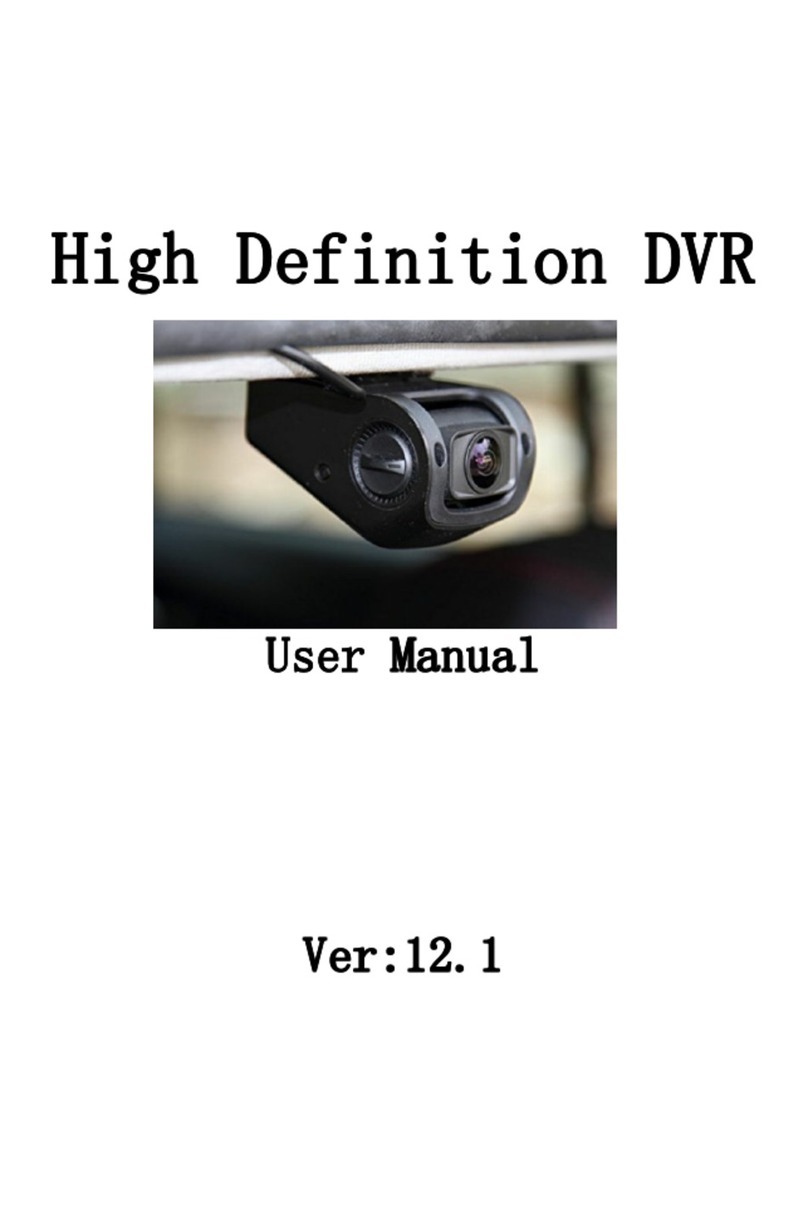
Street Guardian SG9663DCPRO+ User manual

SG9663DCPRO+
QUICK START GUIDE

2
Product safety & precautions
Thank you for purchasing the Street Guardian SG9663DCPRO+
Dual Channel Digital Video Recorder (DVR), please read and
follow this quick start guide before installation and use.
[Note] A more detailed user guide for this product is available
for download from the support section of our website at
https://streetguardian.info/support
The camera is designed to operate at temperatures of between -
20c to +70c, operating outside of these temperatures may
produce unpredictable results and should be avoided.
Clean only with a soft dry cloth, being careful not to use excessive
pressure when cleaning the lens, the use of liquids or cleaning
fluids may damage the product and could void your warranty.
The DVR records video in Full high definition 1080P/30FPS at
high bitrates, a large amount of data is generated for the video
recording function. To prevent recording problems, it is
recommended to only use good quality high speed Class 10 Micro
SD cards with a minimum capacity of 32 GB, High Endurance
memory cards are recommended.
[Note] The DVR does not support hot plugging of the Micro SD
memory card. Be sure to remove or replace the Micro SD memory

3
card only while the recorder is powered off or the memory card
and any recordings may be damaged.
Introduction
The Street Guardian SG9663DCPRO+ Digital Video Recorder is
pre-configured with logical default settings and is supplied ready
to use once installed with a minimum of adjustment needed to
personalise to your needs.
The default operation of the product means that it will power on
and start recording shortly after starting the vehicle and will
power down shortly after the vehicle is turned off, the recordings
will be segmented into easy to navigate chapters and once the
memory card is full will automatically delete the oldest recorded
segment to make way for further recordings.
Operating in this ‘first in, first out’manner means that the
camera will cycle the recordings continuously and will always
have the most recent recordings, for example a 128GB memory
card will store around 6 hours of recordings before beginning to
recycle.
Emergency files created either by activation of the built in G-
Sensor or by pressing the ok/lock key will not be overwritten
when the camera recycles old recordings.

4
Camera layout & Overview
Installation
The DVR front camera unit should preferably be mounted behind,
or to either side of the rear view mirror and within the sweep
area of the windscreen wipers. Before mounting the DVR ensure
that there is enough room for the cables and clean the glass prior
to installation to ensure a good bond for the adhesive to the
glass, it is always advisable to route any cables across the
passenger side of the vehicle to avoid any chance of cables
interfering with control of the vehicle or causing a distraction
should a cable become loose.

5
[Note] The rear camera is cabled to the front camera unit, ensure
cable alignment and orientation is correct before attempting to
connect any cables, if the vehicles is fitted with SRS airbags care
must be taken not to inhibit the operation of these systems,
professional installation is recommended
1. Once a suitable mounting location is decided secure the DVR
mount bracket to the windshield using the provided 3M adhesive
tape, ensuring the window is clean prior to application, remove
the backing tape and press and hold the bracket firmly against
the glass for 2 minutes, then wait 20 minutes before attaching
the camera. The adhesive will achieve 50% bond after 20
minutes, 100% bond is achieved after 72 hours, if the camera is
attached to the bracket too soon after installation the adhesive
may not bond correctly to the glass.
2. Fix the power, rear camera, and GPS cables properly using
cable clips (if required) and route all cables across the passenger
side, preventing the line of sight from being affected.

6
3. Insert the charging interface of the in vehicle charger into the
USB interface of the DVR.
4. Connect the GPS and position the cables accordingly, the GPS
should be mounted with the adhesive side to the windscreen so
that the antenna is oriented correctly, for best performance do
not locate the GPS too close to the main camera unit, maintain at
least 15cm separation between the camera and GPS antenna.
5. Insert the in vehicle charger into the cigarette lighter socket of
the vehicle, if using the optional SGDCHW hardwire kit consult
the SGDCHW manual for further details
6. Adjust the angle of the DVR lens ensuring that the camera lens
is aimed slightly down from the horizon (40% sky, 60% road), this
will improve the results of the auto exposure function.
7. Ensure a suitable memory card is correctly installed and has
been formatted in the camera before use.
[Note] Video performance is adversely affected if the window is
not kept clean, ammonia free automotive glass cleaners are
recommended for the inside glass surfaces for optimum results.
Settings
The DVR is preset with logical default settings and is ready to
operate, when powered on the internal capacitors will charge,
the DVR will then power up and recording will commence, the

7
time and date settings are automatically updated via GPS (if
fitted) and will sync periodically to maintain accuracy, the time
zone will need to be configured to your specific region to ensure
correct operation.
[Note] The DVR does not contain a battery and will need to be
connected to a power source to configure settings.
Adjust the time zone settings, press the REC key to stop any
active recording, then press the MENU key to enter the SETUP
submenu, press the Mic/pg down key to scroll down to the TIME
ZONE menu, press the OK/lock key to enter and adjust
accordingly.
[Note] The GPS signal carries time and date information for GMT
0, the time offset to suit your region is set by the DVR, if you are in
a region that supports daylight savings offset it will be necessary
to adjust the time zone at the beginning and end of the period
accordingly.
Australian Consumer Electronics Product Warranty
Congratulations on Your Purchase, this product is warranted
against faults in material and manufacture for a period of two
years.
If Warranty is required during this period, please contact your
place of purchase to arrange a Return Merchandise
Authorisation, (RMA). The repairs/replacement will be carried out

8
at no charge to the owner, subject to the conditions specified
herein.
This warranty does not extend to defects or injuries caused by or
resulting from causes not attributable to faulty parts or the
manufacture of the product, including but not limited to, defect
or injury caused by or resulting from misuse, abuse, neglect, lack
of maintenance, accidental damage, improper voltage, liquid
spillage, liquid ingress, software, or any alterations made to the
product which are not explicitly authorised by Street Guardian
Please retain your sales documentation, as this should be
produced to validate a warranty claim. This warranty is in
addition to and in no way limits, varies or excludes any implied
rights and remedies under any relevant legislation in the country
of sale.
This warranty does not cover transportation to or from the Street
Guardian Service Centre. Goods presented for repair may be
replaced by goods of equal type rather than being repaired. The
repair of your goods may result in the loss of user generated
data, please ensure that you have saved this data elsewhere prior
to repair.
Australian customers: Our goods come with guarantees that
cannot be excluded under Australian Consumer Law. You are
entitled to a replacement or refund for a major failure and for
compensation for any other reasonably foreseeable loss or

9
damage. You are also entitled to have the goods repaired or
replaced if the goods fail to be of acceptable quality and the
failure does not amount to a major failure. The criteria of a major
failure is defined in the Australian Consumer Law. Should you
require any assistance with a major failure please contact Street
Guardian
Conformity Declaration
The SG9663DCPRO+ complies with the requirements of
EN55022:2010 + AC:2011, EN55024:2010 according to directive
2004/108/EC and the associated standards and technical
specifications, and is therefore entitled to bear the CE symbol.
Technical Specifications
Processor Novatek 96663
Image Sensors Sony IMX335 + IMX291
Lenses 7 Element glass lenses
Angle of View 112horizontal
Resolution FHD 1920×1080
Frame Rate 30FPS
Video Format MP4
LCD display 2.0 inch

10
Storage Temp -40C to 85C
Operating Temp: -20C to 70C
Optimal operating Temp: -10C to 60C
Operating Humidity 15% to 65% (RH)
Memory Card* 32 GB to 512 GB
[Note] *Memory cards must be formatted in the camera to
ensure compatibility using the built-in formatting menu option,
not all brands supported, consult your dealer for recommended
memory cards.
Further information
All attempts are made to ensure that the information contained
in this quick start guide is correct at time of publication.
[Note] The full user guide for this product is available for
download from the support section of our website at
https://streetguardian.info/support
The specifications and details within this guide are based on the
Australian market version of the product and are subject to
change.
The pictures used are for illustration purposes only.

11
Information about the latest specification, amendments, the
availability of replacement parts and accessories, warranty
information, detail of other sales region product specifications
and their respective user manuals are available on our website.
FCC Caution.
This device complies with part 15 of the FCC Rules. Operation is
subject to the following two conditions: (1) This device may not
cause harmful interference, and (2) this device must accept any
interference received, including interference that may cause
undesired operation.
Any Changes or modifications not expressly approved by the
party responsible for compliance could void the user's authority to
operate the equipment.
Note: This equipment has been tested and found to comply with
the limits for a Class B digital device, pursuant to part 15 of the
FCC Rules. These limits are designed to provide reasonable
protection against harmful interference in a residential installation.
This equipment generates uses and can radiate radio frequency
energy and, if not installed and used in accordance with the
instructions, may cause harmful interference to radio
communications. However, there is no guarantee that interference
will not occur in a particular installation. If this equipment does
cause harmful interference to radio or television reception, which
can be determined by turning the equipment off and on, the user is
encouraged to try to correct the interference by one or more of the
following measures:

12
-Reorient or relocate the receiving antenna.
-Increase the separation between the equipment and receiver.
-Connect the equipment into an outlet on a circuit different from
that to which the receiver is connected.
-Consult the dealer or an experienced radio/TV technician for
help.
*RF warning for Mobile device:
This equipment complies with FCC radiation exposure limits set f
orth for an
uncontrolled environment. This equipment should be installed and
operated with
minimum distance 20cm between the radiator & your body.
www.streetguardian.info
© Street Guardian 2022
Other Street Guardian DVR manuals
Street Guardian
Street Guardian SGZC12RC User manual
Street Guardian
Street Guardian Sg9663dc User manual
Street Guardian
Street Guardian SG9665XS V2 User manual
Street Guardian
Street Guardian SGGCX2PRO+ User manual
Street Guardian
Street Guardian Sgzc12sg User manual
Street Guardian
Street Guardian SG9663DCPRO User manual
Street Guardian
Street Guardian SG9667DC2K User manual
Street Guardian
Street Guardian SG9665GM User manual
Street Guardian
Street Guardian sg9665gc User manual
Street Guardian
Street Guardian SG9663TD User manual
