STREET WISE SWIBC6 User manual
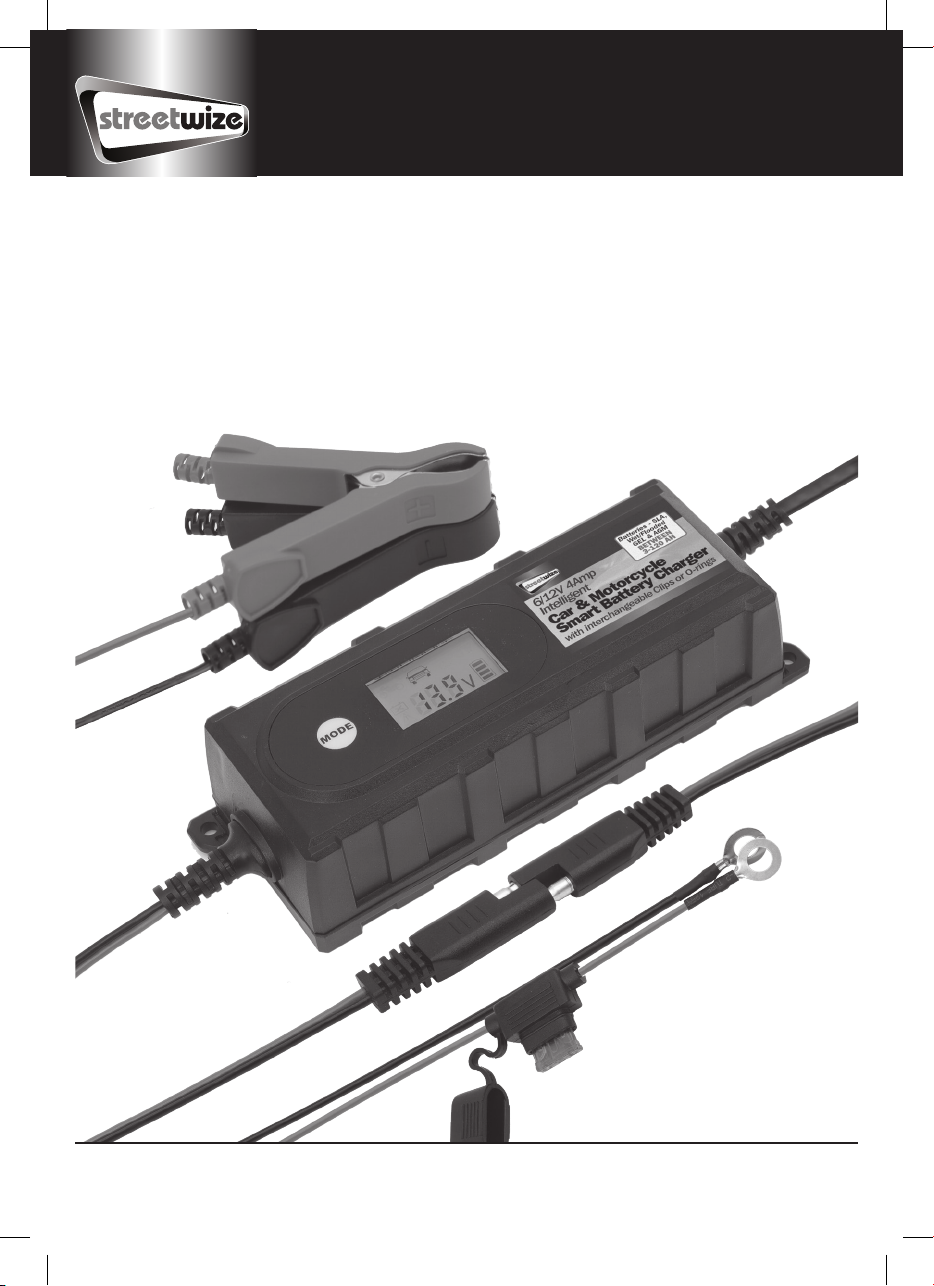
6/12V 4Amp Intelligent
Car & Motorcycle
Smart Battery Charger
with interchangeable Clips or O-rings
Read and understand these instructions before attempting any
operation of this battery charger and retain for future reference!
SWIBC6

Fig 1
2
3
1
4
7
6
5
Fig 2 A B DC
F G H
E
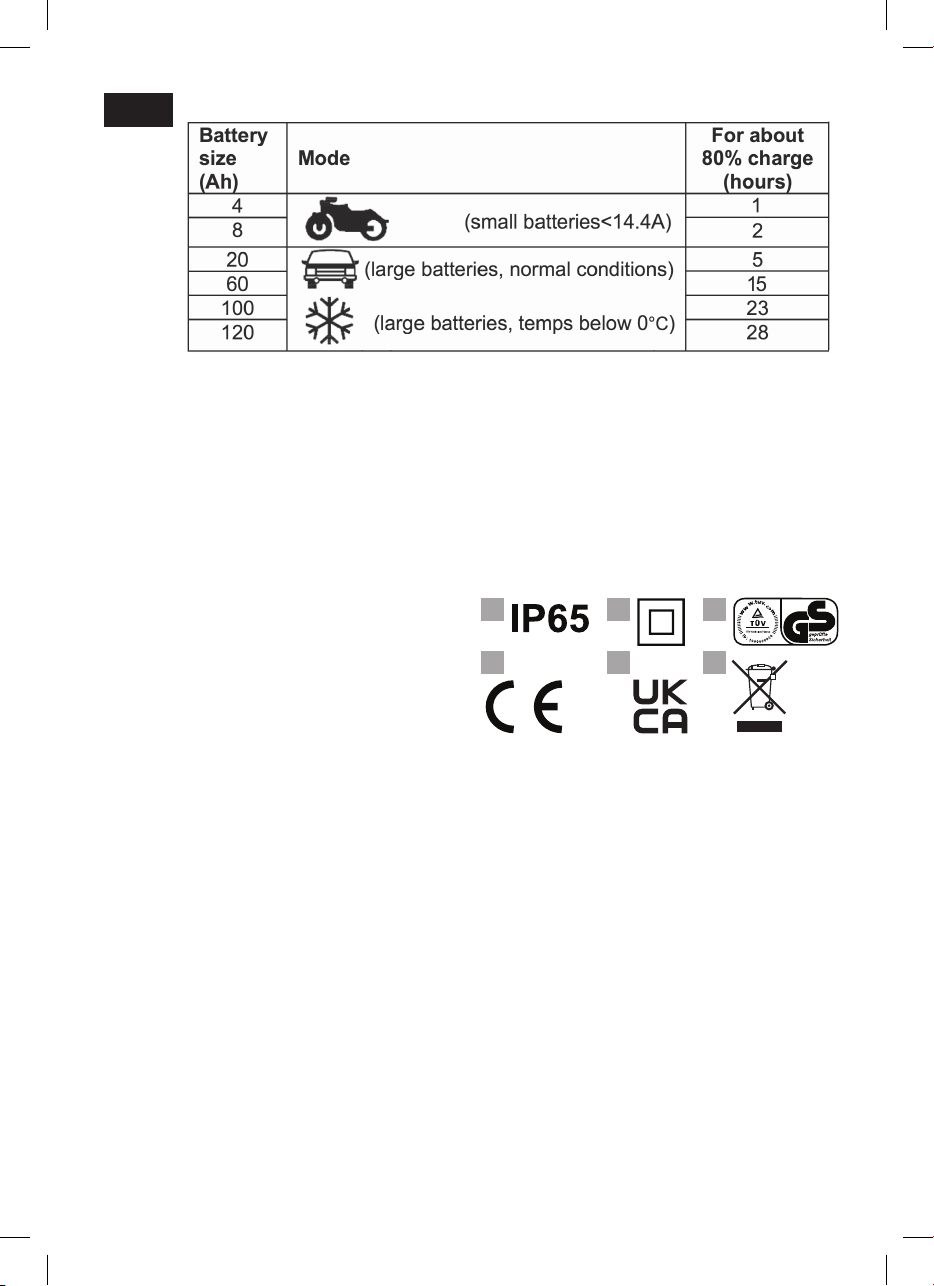
Suggested battery charging times
INDEX
1. Safety regulations
2. Item layout & contents
3. Operating instructions
4. Maintenance and battery care
5. Cleaning
6. Troubleshooting
7. Disposal and recycling
8. Technical data
Danger!
When using the equipment, a few safety
precautions must be observed to avoid injuries
and damage. Please read the complete
operating instructions and safety regulations
with due care. Keep this manual in a safe
place, so that the information is available at all
times. If you give the equipment to any other
person, hand over these operating instructions
and safety regulations as well. We cannot
accept any liability for damage or accidents
which arise due to a failure to follow these
instructions and the safety instructions.
1. Safety regulations
The corresponding safety information can be
found in the enclosed booklet.
Danger!
Read all safety regulations and
instructions. Any errors made in following the
safety regulations and instructions may result in
an electric shock, fire and/or serious injury.
Keep all safety regulations and
instructions in a safe place for future use.
Waste disposal
Batteries: Only dispose of these items through
motor vehicle workshops, special collection
points or special waste collection points.
Ask your local council.
Explanation of the warning signs on the
equipment.
1. Ingress Protection - Resistant to water
projected by a nozzle (6.3 mm) against
enclosure from any direction for 15 mins -
& shall have no harmful effects.
2. The equipment is double insulated.
3. TUV approved.
4. CE approved.
5. UKCA approved.
6. WEEE recycling (see page 7)
Please Note: All charging times are approximate and will depend on the condition of the battery being charged.
1 2
5 6
3
4
Fig 3

2. Item Layout & Contents
(Fig 1)
1. Charging cable, Black (–) & Red (+) Clips
2. MODE Button
3. Securing feet (x2 - if required)
4. Interchangeable connecting cable
5. Mains power cable
6. LCD display
7. Charging cable, Black (–) & Red (+) O-Rings
Pack Contents
Open the packaging and take out the
equipment with care. Remove the packaging
material and any packaging and/or
transportation braces (if available).
Check to see if all items are supplied.
Inspect the equipment and accessories for
transport damage. If possible, please keep
the packaging until the end of the
warranty period.
Danger!
The equipment and packaging material are
not toys. Do not let children play with
plastic bags, foils or small parts. There is a
danger of swallowing or suffocating!
3. Operating Instructions
Before using the equipment.
Please also refer to the instructions in the
vehicle owner’s manuals for the car, radio,
navigation systems, etc.
The charger is designed for charging non-
maintenance free or maintenance free 6/12V
starter batteries (lead acid batteries)
and for Lead GEL/ AGM batteries which are
used in motor vehicles. The equipment is
to be used only for its prescribed purpose.
Any other use is deemed to be a case of
misuse. The user/operator and not the
manufacturer will be liable for any damage
or injuries of any kind caused as a result
of this. Please note that our equipment has
not been designed for use in commercial,
trade or industrial applications. Our warranty
will be voided if the machine is used in
commercial, trade or industrial businesses
or for equivalent purposes.
Notes on automatic charging
The charger is a microprocessor controlled
automatic charger, i.e. it is suitable in
particular for charging maintenance-free
batteries and for the long-term charging and
maintenance-charging of batteries which are
not in constant use, e.g. for classic cars,
recreational vehicles, lawn tractors and the
like. The integrated microprocessor enables
charging in several steps. The final charging
step, maintenance charging, maintains the
battery capacity at 95-100% and therefore
keeps the battery fully charged at all times.
The charging operation does not need to be
monitored. However, it is recommended to
periodically check on the battery during this
type of charging.
Explanation of the symbols in the LCD
display (Fig. 2)
A - Charging of a 12V battery (lead acid
battery, AGM battery and GEL battery) with
2A charging current.
B - Charging of a 12V battery (lead acid
battery, AGM battery and GEL battery) with
4A charging current.
C - Charging of a 12V battery (lead acid
battery, AGM battery and GEL battery) in
winter mode with 4A charging current and
an ambient temperature of – 20°C to
+5°C. Danger!
Do not charge any frozen batteries.
D - Charging of a 6V battery (lead acid battery,
AGM battery and GEL battery) with 2A
charging current.
E - Defective battery
F - Clamps are wrongly connected (reverse
polarity) or there is a short-circuit
G - Battery voltage display in volts
H - Charge status of the battery in percent (1
increment = 25%) and charging procedure
(increment in the battery symbol flashes =
battery charging in progress; all increments
are lit = battery is fully charged).

Charging settings
Press the Mode button (Fig. 1/No. 1)
to set the charging functions
12V/2A (Fig. 2/Item A),
12V/4A (Fig. 2/Item B)
12 V/4A Winter Mode (Fig. 2/Item C)
(see section above).
Charging the battery:
Please note: This intelligent battery charge is set
to 6V charge as default. When you connect to a
12V battery without changing the charge setting,
the ‘ERR’ message will show on the LCD display. To
rectify, disconnect the charger from the 12V battery
and select the correct charge mode, by pressing
‘MODE’ before reconnecting to the battery.
Decide which method of charging you are using
the Clips or the O-Rings, and connect the required
cables to the charger using the cable connector.
When charging the battery, first, plug in the battery
charger to your mains power supply to turn on the
LCD display, and select the appropriate charge
mode by pressing the MODE button. Then, open
up your vehicle’s bonnet and locate the battery.
Remove the battery terminal caps (if necessary).
Before charging, you may need to top up the
vehicle batterywith distilled water. WARNING:
Battery acid is extremely harmful. If any battery acid
gets on to your skin, please wash off using plenty of
water and seek medical attention.
First connect the red charging cable (+) using
Clips or O-Ring as required to the positive battery
terminal. Then connect the black charging cable
(-) using Clips or O-Ring as required to the metal
bodywork of your vehicle, while making sure
that the cable is away from the battery and the
petrol pipe. Once the battery cables have been
correctly connected, the charge will commence
and the display will show you the current charge
level. During the charge, the charge current will
automatically be adjusted to prevent overcharging.
Please Note:
O-Rings are for use when the battery is to be left
charging for longer periods of time.
WARNING:
During charge, the battery may emit gases which
are flammable. For this, please keep away from
naked flame or sparks when charging your battery.
Risk of explosion.
IMPORTANT:
If for any reason the battery charger’s connection
has been reversed, then the charger’s reverse
polarity protection ensures that the charger does
not get damaged. If such a case arises, please
disconnect the charger from the mains power
supply and disconnect the cables from the battery.
Calculating the charging time (Fig. 3)
The charging time depends on the charge
status of the battery. If the battery is fully
discharged, the approximate charging up time
to approx. 80% charge, can be calculated
using the following formula:
Charging time/h =
The charging current should be 1/10 to 1/6 of
the battery capacity.
Note! Gases are released during the charging
process. It is essential that you ventilate the
rooms well. When the equipment is in charging
mode, the LCD display is illuminated GREEN.
When charging is complete, the LCD display is
illuminated BLUE.
Finishing charging the battery
• Pull the plug out of the socket.
• First disconnect the black charging cable (–)
from the bodywork.
• Then release the red charging cable (+)
from the positive pole on the battery.
• Important! In case of positive earthing, first
disconnect the red charging cable from the
bodywork and then the black charging cable
from the battery.
• Screw or push the battery stoppers back into
position (if there are any).
Battery tester for 12V batteries
Connect the charger to the battery. The LCD
symbol “H” (Fig. 2) shows the charge status
(1 increment = 25%). The battery voltage is
shown on the LCD display “G”.
Overload cut-out
The charger is equipped with electronic
protection against overload, short circuit and
reverse polarity. One or more fuses are also
fitted. If a fuse suffers a burnout it must be
replaced by a new fuse with the same amp
value. If necessary, please contact our
customer support centre.
Battery capacity in Ah
Amp. (charging current)

4. Maintenance and
battery care
• Ensure that your battery is always fitted
securely.
• A perfect connection to the cable network
of the electrical system must be ensured
at all times.
• Keep the battery clean and dry. Apply a thin
coating of grease to the connection
terminals using an acid-free, acid-resistant
grease (Vaseline).
• Check the level of the acid in batteries that
are not maintenance-free versions
approximately every 4 weeks and top up
with distilled water if necessary.
Maintenance
There are no parts inside the equipment which
require additional maintenance.
5. Cleaning
Danger!
Always pull out the mains power plug before
starting any cleaning work.
Cleaning
• Keep all safety devices, air vents and the
motor housing free of dirt and dust as far
as possible. Wipe the equipment with a
clean cloth or blow it with compressed
air at low pressure.
• We recommend that you wipe clean the
device immediately each time you have
finished using it.
• Clean the equipment regularly with a
microfibre cloth. Do not use any cleaning
agents or solvents; these could attack the
plastic parts of the equipment.
• The charger should be placed in a dry room
for storage. Any corrosion must be cleaned
off the charging terminals.
6. Troubleshooting
If the equipment is operated properly you
should experience no problems with
malfunctions or faults. In the event of any
malfunctions or faults, please check the
following before you contact your
customer services.
Fault
Equipment does not charge up.
Possible cause
Charger clamps connected incorrectly.
Remedy
Connect the red clamp (+) to the positive pole
and the black clamp (–) to the bodywork.
Possible cause
Contact between the charger clamps.
Remedy
Prevent contact.
Possible cause
Battery defective.
Remedy
Have the battery checked by an expert and
replace it if necessary.

7. Disposal and recycling
The equipment is supplied in packaging to
prevent it from being damaged in transit. The
box and recyclable materials in this packaging
can be reused or recycled. Any plastic
packaging must be disposed of in accordance
with current local authority procedures.
The WEEE symbol on this product
means that the battery charger should be
ethically dismantled or recycled to minimise
environmental impact. Please check with
your local authority for more information.
IMPORTANT:
ADDITIONAL SAFETY INFORMATION
This Battery Charger is NOT intended for use
by persons (including children) with reduced
physical, sensory or mental capabilities, or lack
of experience and knowledge, unless they are
supervised or have been given instruction
concerning use of the Battery Charger by a
person responsible for their safety.
8. Technical data
Mains voltage: 230V~50Hz
Power rating max: 70W
Nominal output voltage: 6V DC / 12V DC
Nominal output current at 6V: 2A
Nominal output current at 12V: 2A / 4A
Battery capacity: 4-120 Ah
For product support:
T: +44 (0)161 447 8597
For trade enquiries:
T: +44 (0)161 447 8580
Streetwize: Ashburton Road West,
Trafford Park, Manchester M17 1RY
www.streetwizeaccessories.com
EU Registered address: Ace Supply Co (Europe) Ltd. 25 Herbert Place, Dublin 2, D02 A098 Republic of Ireland.
Table of contents
Other STREET WISE Batteries Charger manuals


