Issue 5, May 2021 Model 348 User Guide
Page 14 Studio Technologies, Inc.
MODEL 348
INTERCOM STATION
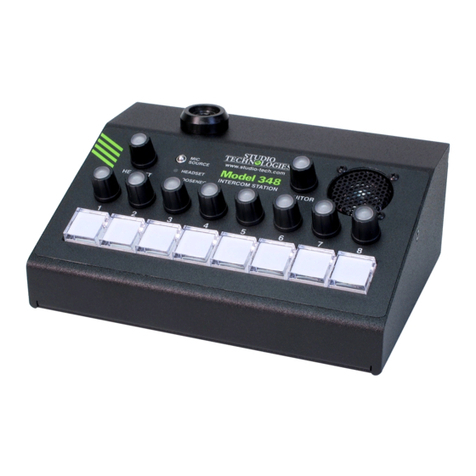
Model 348’s microphone (talk) audio source.
STcontroller can be used to select the desired
microphone source, as can the pushbutton
switch located on the Model 348’s front panel.
All three sources are available for use in “real-
time.” This field provides two functions, dis-
playing the active microphone source as well
as allowing the selection of it.
Microphone Input – Headset Mic Power
Choices are Enabled and Not Enabled (box
checked or not).
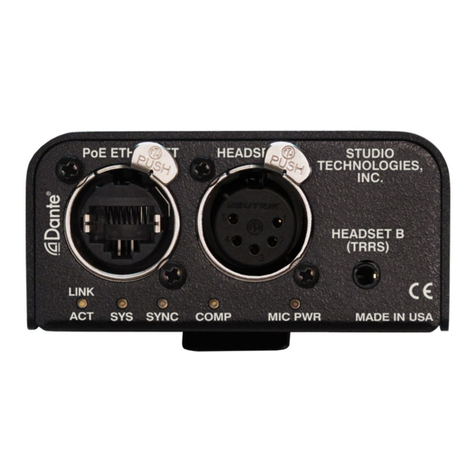
A headset can be connected by way of a 5-pin
female XLR connector, labeled Headset A, or
a 3.5 mm 4-conductor TRRS jack, labeled
Headset B. Enable the headset microphone
power check box if the connected headset
has an electret microphone which requires
a source of low-voltage DC for operation. In
virtually all cases gaming or computer head-
sets that use a 3.5 mm TRRS plug will require
microphone power. Most broadcast headsets
that terminate on a 5-pin male XLR connector
will incorporate a dynamic (non-powered) mi-
crophone. In this case do not enable headset
microphone power. The on/off status of the
headset microphone power is displayed by
way of an LED, red in color, that is located on
the Model 348’s back panel below the Head-
set A connector.
Note that the Model 348 cannot supply P12 or
P48 phantom power that may be required by
balanced condenser (capacitor) microphones.
This should not pose an issue as phantom-
powered microphones are essentially never
associated with communications- or intercom-
style headsets that would be used for Model
348 applications.
Microphone Input – Headset Mic Gain
Choices are 26 dB, 32 dB, 38 dB, 44 dB,
and 50 dB.
To match the requirements of a microphone
associated with a headset, the gain of the
microphone preamplifier can be selected from
among five choices. The selected gain is ap-
plied no matter if the headset is connected
using the Headset A or the Headset B con-
nector. The compressor active LED, located
below the Headset A connector, can act as a
guide when setting the microphone preampli-
fier gain. When the headset mic is selected
as the Model 348’s microphone source and
a voice signal at a normal level is present
on the connected headset’s microphone the
compressor active LED should light intermit-
tently. If, for example, it rarely lights and the
gain is set to 38 dB, it might be a good idea
to change the setting to 44 dB. If the com-
pressor active LED is lit fully during normal
talking and the gain is set for 44 dB or 50 dB,
a change to one of the lower values might
be warranted. There’s no “hard and fast” rule
as to which gain setting is appropriate. But
unless otherwise indicated, 38 dB is typically
a good initial choice for a headset that uses
a dynamic microphone while 32 dB would be
appropriate for a headset that includes an
electret microphone.
Microphone Input – Gooseneck Mic Gain
Choices are 12 dB, 18 dB, 24 dB, 30 dB,
and 36 dB.
When the gooseneck microphone is se-
lected as the Model 348’s microphone audio
source the gain of the microphone preampli-
fier will operate from among five configurable
choices. The compressor active LED, located
adjacent to the Headset A connector, can act
as a guide when setting the gooseneck pre-
amp gain. When a voice signal at a normal
level is presented to the gooseneck micro-
phone the compressor active LED should light
intermittently. If, for example, the LED rarely
lights and the gain is set to 18 dB, it might be
a good idea to change the setting to 24 dB
or 30 dB. If the compressor active LED is lit


