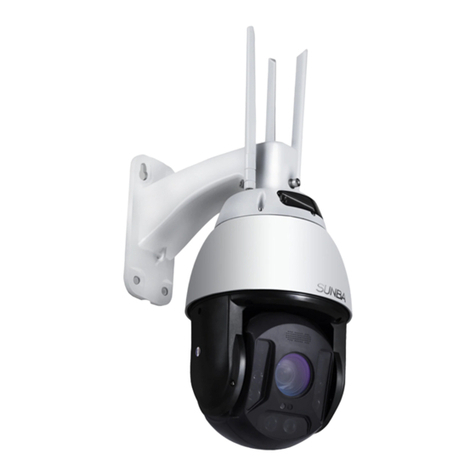
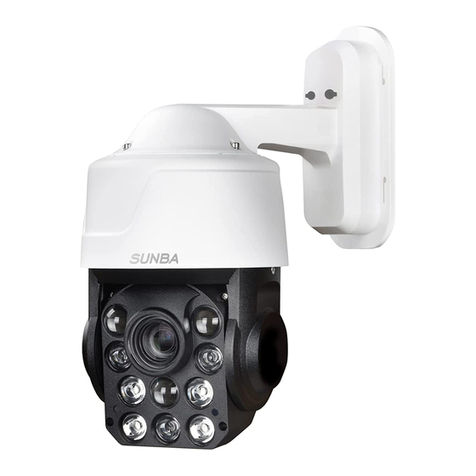
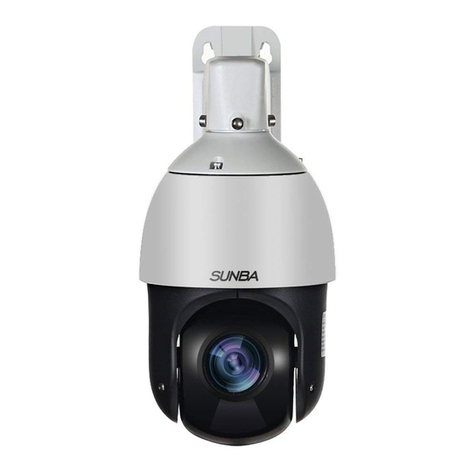
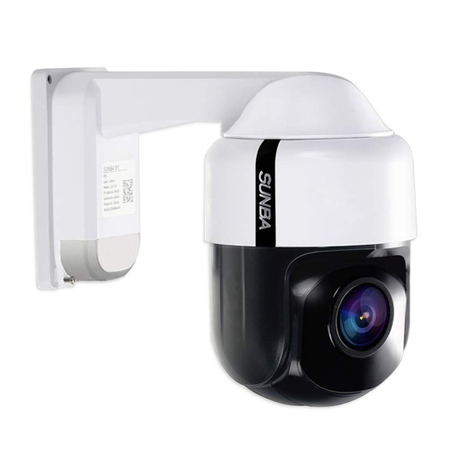
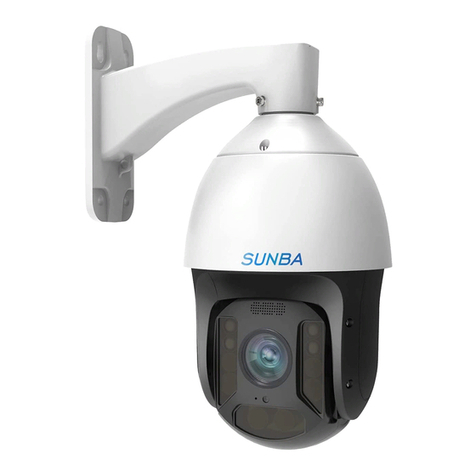
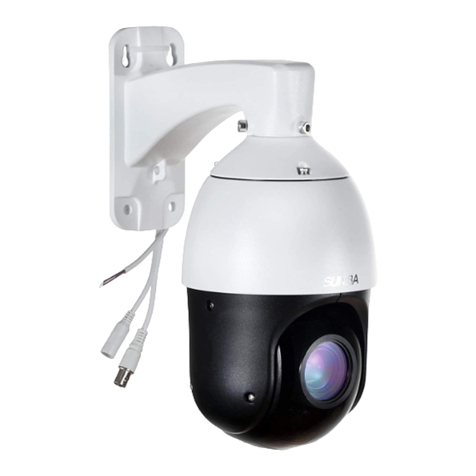
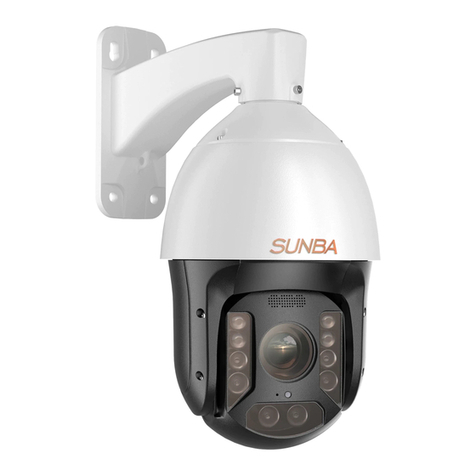
SUNBA 603-D25X 4G User manual

4G/LTE Wireless PTZ Camera
User Manual
2021/06
Visit http://4g.sunba.net to access the step by step YouTube
video tutorials for setting up Sunba IP PTZ camera.

- 01 -
1. Product Overview
Model
603-D25X 4G
Image Sensor
1/2.8” Progressive Scan CMOS
Resolution 50HZ:25fps(1920x1080) 60HZ:30fps(1920x1080)
50HZ:25fps(1280x720) 60HZ:30fps(1280x720)
Focal Length 4.8-120mm
Aperture Range
F1.6-F3.5
Min. Illumination Color: 0.05Lux @ (F1.6, AGC ON)
B/W: 0.01Lux @ (F1.6, AGC ON)
Focus
Pan & Tilt
Pan: 0-360
°
Tilt: -10-90
°
Zoom Optical: 25x
PTZ Speed
0~80°/s
Day/Night Mode
BW/Color/Auto
Night Vision
Network Mode
WiFi/4G LTE
WiFi Standard
2.4 Ghz (5G is currently NOT supported)
4G Frequency Range
3G Frequency Range
ONVIF Supported (only when connected through WiFi)
Power Gauge DC12V 4A
Viewing Angle 59.5°-2.6°
North America:
LTE FDD: B2/B4/B5/B12/13/B14/B66/B71; WCDMA: B2/B4/B5
Europe:
LTE FDD: B1/B3/B7/B8/B20/B28A; LTE TDD: B38/B40/B41; WCDMA: B1/B8
Japan:
LTE FDD: B1/B3/B8/B18/B19/B26; LTE TDD: B41; WCDMA: B1/B6/B8/B19
B2 - 1900 MHz(aka. PCS)
B4 - 1700/2100 MHz(aka. AWS)
B5 - 850 MHz
2.Sim Card Installation
This camera can work with a qualified 4G/LTE sim card and be able to connect to the internet in places
without WiFi network coverages, and have limited ways of running network cables.
A table of 4G LTE bands for global cellular carriers is attached at the end of manual for reference. For
up-to-date bands, please consult your regional cellular service providers.

- 02 -
Micro Sim Card Required
The sim card module would display blue signal light if the card has been installed correctly.
3.TF Card Installation
Compatible Size: Micro SD Card
Compatible Standard: At least Class 10 high speed and up to 128GB (64GB recommended)
TF card is an option for storing recorded videos from the camera.
2
1
Insert the TF card as directed by the
arrow.
Remove the 4 screws to take o the
camera back cover.
128G
4.Antenna Installation
The camera comes with 3 antennas.
One acts as a 4G signal receiver, and the other for wireless signal
receiver and transmitter. The 3rd antenna (female head) acts as
ancillary antenna for 4G signal boost.
It is important to examine the male/female end between the antenna
and the receptive port on the camera before installation.
If your antenna is damaged out of box, please contact
Be careful with the femaleand male ends of the port and the antennas.

- 03 -
5.Power Standard
6.Sunba Solar Battery Kit Installation Guide
The camera requires DC12V 4A for operation, and please be aware that using higher voltage would
immediately damage the camera and void the warranty.
Power Option A: DC12V adapter
DC Adapter
Power Option B: Battery + Solar Panel
Warning: The load end for MANY battery charge controllers doesn't regulate voltages and is for wide voltage
equipments. Sunba cameras require, however, fixed voltage. In this case, you need to get a voltage regulator
for the load end if the battery doesn’t have built-in regulators.
Solar Panel Requirement: 60W Monocrystalline DC12V and must be waterproof or needs waterproof
measures. The power can be over 120W but the voltage must NOT exceed 12V.
Battery Requirement: 12V 40Ah or larger capacity.
①②
③ ④
1.Secure the battery
to the solar panel
by installing 4
screws.
2.Connect the
battery to the solar
panel so that the
positive MC4
connector (+) of the
battery connects to
the matching
positive connector
(+) from the panel,
and vice versa.

- 04 -
Battery
DC 12V(5.5*2.1mm)
DC 12V (Optional)
SUN LIGHT
Camera’s wall mount adapter
3A. Fix with 2 U-shaped Bolts
5. Connect the camera
to the solar system.
4. Connect the camera to the pole
Packing List:
60W Monocrystalline Solar Panel x 1;
40Ah Battery x1, U-Bolt x 4;
Pole Mount x 6 Screw Kits
(4 for solar panel; 2 for camera);
PTZ Mount Adapter x 1
Installation Video Tutorial: http://solar.sunbatech.com
This chapter is only applicable if you purchase the Sunba solar battery kit together
with your 4G LTE PTZ camera.
3B. Fix with 4 Pole Mounts
Dual Mounting Options for the Solar Kit
3A: 2 x U-Shape Bolts
3B: 4 x Pole Mounts

- 05 -
6.Smartphone Control
Method A: Scan the barcode to add the camera (4G Application)
Download Guard Viewer App
1
Download on
the Google Play
Download on
the App Store
Tap to show the
sidebar, and go to the
Devices option to add
device:
3
2Sign up a cloud account.
Select “international”
service zone if asked.
Note: You must create a cloud account to add the device.
Select “Scan” to add the device. Scan the barcode on the camera body or the box.
Enter the name of the device and click ‘Start to Live View’.
If you have diiculty scanning the QR code, you can also manually add the 26-digit register code
(the registration code is printed on the silver label on the package or camera)
Alternatively, you can go to Live View and click “+” to select the device for live viewing.
26-digit register code
Aer the 4G camera added, the device is online but the live view option does not appear, this
situation is normal (due to network factors). You need to wait patiently for 30 seconds or more.
Aer the P2P function is completely normal, you can got the live viewing.

- 06 -
Method B: Connect to the same LAN as the camera (4G Hot-spot Application)
Turn on the wifi function of your phone and search for the available wifi and find the one starting with IM-LINK.
And then connect to it with password 1234567890
When you successfully connect to the wifi hotspot (IM-LINK****) of the 4G camera, your phone and camera are
actually under the same LAN.
At this time, you can add the camera by searching under the LAN (note: this method only works when you are
physically close to the camera and within its hot-spot transmission range).
Aer you connect to the wifi hotspot of the 4G camera, the camera's LAN IP is 192.168.8.100 (or 192.168.8.***),
and your smartphone is also on the same subnet of 192.168.8.1.
Note: This method is only applicable if you are within the WiFi signal range of the camera for testing purpose.
The live view page will load as follows.
Quality = Switch the live view quality.
It’s recommended to set low in sites
with limited cellular coverage.
Snapshot = Take snapshots.
Record = Record to smartphone.
Image = Set live view windows such
as 4/9/16.
Audio = Turn on audio for live
viewing.
Image Settings = Set live view
brightness/saturation/con-
trast/sharpness and 2D NR.
Remote Config = Configure advanced
setting of the camera (see picture
below).
Playback = Check video playback
(recorded footage in SD card).
PTZ = Control pan, tilt and zoom
action of the camera.
Alarm Out = Not supported in the
device.
2-way Audio = Press to enable
communication with the camera’s
end.
Close All = Close all
Note: Auto LAN search only works if the http port of the camera remains unchanged (default 80). If the
http port has been changed, the camera can only be added manually with its corresponding new port.
You can add device by Auto Search in LAN if your smartphone is connected to
the same network as the camera. Select the device that you want to add.
192.168.8.100(IPC) 192.168.8.100(IPC)
Added
- 07-
Download the Guard Station Tool from https://sunbatech.com/download/
The default username and password is admin/123456.
Go to Device Management – Cloud Device. Register the account if you haven’t or simply login if you’ve
completed registration from other devices or through Guard Viewer.
Click “Device Details” to add/delete the cloud devices.
Aer that, please navigate to Live View section and double click the cloud device to enable live view.
Click the PTZ icon to open the PTZ control panel.
7.Desktop Setup
①
②
③

- 08 -
Please search for the available wifi hotspot in your network and find the one starting with IM-LINK.
And then connect to it with password 1234567890
Once connected, please login to the 4G/LTE management panel via its IP address.
The default IP of the 4G module is http://192.168.8.1 but it is always recommended to check via
Network and Sharing Center->Change Adapter Setting for verification.
Select “English” as the language and enter “admin” as password.
The LTE/4G management panel will display the current network signal type as well as the carrier, the
number of connected device as well as the connect status.
8. 4G/LTE Panel Management
admin
http://192.168.8.1

- 09 -
To adjust the WiFi coverage, please go to Advanced Settings-Power-save to set the level. The larger the
Wi-Fi coverage, the more battery the camera consumes.
9.Frequent Asked Questions
The camera has only a DC12V port and accepts any input power of DC12V 4A. You can use regulated
battery with solar panel or with DC12V cable running and plugged to AC outlet.
Frequently Asked Questions (read me before placing an order)
How can I power my Sunba 4G PTZ?
The camera can only be controlled by “Guard Viewer” app or “Guard Station” though P2P, as the base
stations (cell towers) for almost all US cellular carriers would not assign a public WAN IP that could be
used by 3rd party soware.
The camera has built-in TF card that can support up to 128GB of TF card and can be set to record 24/7 or
simply motion clips.
We have a 30aH battery and when fully charged under cloudy weather (with minimal solar charging), it
could last 48hrs before the battery went out.
2G GSM/EDGE signals are unable to carry live stream videos.
How can I control the camera remotely?
How can I store videos to the camera?
Could you please provide a reference for picking the right battery?
Why don’t you provide a 2G GSM/EDGE standard?
Please first check if your SIM card carrier supports any of the above frequency supported by the camera.
Next, each band station supports dierent frequency range and it is possible that your closet band
station doesn’t provide a frequency signal that is supported by the camera. Therefore, it is always
recommended to test the 4G stability before mounting outside.
Why does my camera receive no or minimal 4G signal?

- 10 -
10. ISP Frequency Band Comparison Table
Asian version (exclude Japan): LTE-FDD: B1/B3/B5/B8;LTE-TDD: B38/39/40/41
Japanese version: LTE-FDD: B1/B3/B8/B18/B19/B26; LTE-TDD: B41; WCDMA: B1/B6/B8/B19
American version: LTE-FDD: B2/B4/B5/B7/B8/B12/B17;LTE-TDD: B38/B40/B41
European version: LTE-FDD: B1/B3/B5/B7/B8/B20;LTE-TDD: B38/B40/B41
Area
Country
Carrier(ISP)
LTE-FDD
LTE-TDD
Compatible version
North
America
USA
Verizon
B13/B4
American version
Sprint B25/B26 B41 American version
TDD only, signal problems may occur
T-Mobile
B2/B4/B17
American version
AT&T
B2/B4/B17
Canada
Bell
B2/B4/B7/B17
Rogers
B4/B7/B17
Telus
B4
Guam
GTA
B4
iConnect
B2/B12
IT&E
B12
NTT
B17
Mariana Islands
IT&E
B12
Puerto Rico
AT&T
B4/B17
Claro
B17
OpenMoblie
B13
Unsupported
Sprint
B25
T-Mobile
B4
American version
Virgin Islands
AT&T
B4
Sprint
B25
Unsupported
South
America
Brazil
Claro
B7
American or European version
Nextel
B3
European or Asian version
Oi
B7
American or European version
On Telecom
B38
All versions support
TDD only, signal problems may occur
SKY Brasil
B38
TIM B3/B7 All versions are supported
(European version recommended)
Vivo
B7
American or European version
Mexico
Movistar
B2
American version
Iusacell
B4
Telcel
B4
Asia
India
Aircel
B40
All versions are supported
Idea
B3
European or Asian version
Vodafone
B3
Indonesia
Indosat Ooredoo
B3/B8
Smartfren
B5
All versions are supported
Telkomsel
B3/B8
European or Asian version
XL Axiata
B3/B8
Japan
au
B1/B11/B18/
B26/B28
Japanese version
NTT
B1/B3/B9/B19/
B5/B21/B26/B28
SofeBank
B1/B3/B8/B9
B41
Malaysia
Celcom
B3/B7
All versions are supported
(European version recommended)
Digi
B3/B7
Maxis
B3/B7
Telekom Malaysia
B5
All versions are supported
U Mobile
B7
American or European version
South Korea
KT
B3/B8
American or European version
LG U+
B1/B5/B7
All versions are supported
(European version recommended)
SK Telecom
B1/B3/B5
Thailand
AIS
B3
European or Asian version
DTAC
B1/B3
European or Asian version
TrueMove
B1/B3/B8
European or Asian version

- 11 -
Area
Country
Carrier(ISP)
LTE-FDD
LTE-TDD
Compatible version
Europe
France
Bouygues
B3/B7/B20
European version
Free
B7
American or European version
Orange
B7/B20
European version
SFR
B7/B20
Germany
O2
B3/B20
Telekom
B3/B7/B20
Vodafone
B7/B20
Ireland
Meteor
B3/B20
Vodafone
B3/B20
Italy
TIM
B3/B7/B20
Vodafone
B3/B7
Netherlands
KPN
B3/B7/B20
Tele2
B7/B20
T-Mobile
B3/B7/B8
Vodafone
B3/B7/B20
Poland
Aero2
B3/B20
B38
Play/ P4
B1/B3
Russia
Beeline
B3/B7/B20
MegaFon
B3/B7
B38
MTS
B3/B7/B20
B38
Tele2 Russia
B3/B7/B20
B40
Spain
COTA / Murcia4G
B38
All versions support
TDD only, signal problems may occur
Movistar
B3/B7
European version
NEO-SKY
B42
All versions support
TDD only, signal problems may occur
Orange
B3/B7
European version
Vodafone
B3/B7/B20
United Kingdom
EE
B3/B7
UK Broadband
B42/B43
All versions support
TDD only, signal problems may occur
Vodafone
B20
European version
FCC Warning (U.S.A)
The device has been tested in compliance with limits set by Part 15 of Federal Communication Commission (Class B).
The operation of the device is thus limited by the following two conditions: 1) it is not permitted to cause harmful
interference to any authorized radio communications, and 2) it must accept any interference it receives.
WARNING: Please test the camera indoor before mounting it outside. Stay at least 24 hours to test both
daytime and night vision IR LED.
SUNBA Technology
®
Other manuals for 603-D25X 4G
1
Table of contents
Other SUNBA Security Camera manuals

SUNBA
SUNBA 502S-AHD User manual

SUNBA
SUNBA Network Series User manual

SUNBA
SUNBA 305-D4X User manual

SUNBA
SUNBA Illuminati User manual

SUNBA
SUNBA 601-D25X 4G/WiFi V2 User manual

SUNBA
SUNBA FT-HD User manual

SUNBA
SUNBA Network Series User manual

SUNBA
SUNBA 603-D25X 4G User manual

SUNBA
SUNBA Lite Series User manual

SUNBA
SUNBA 405-ECO V2 User manual