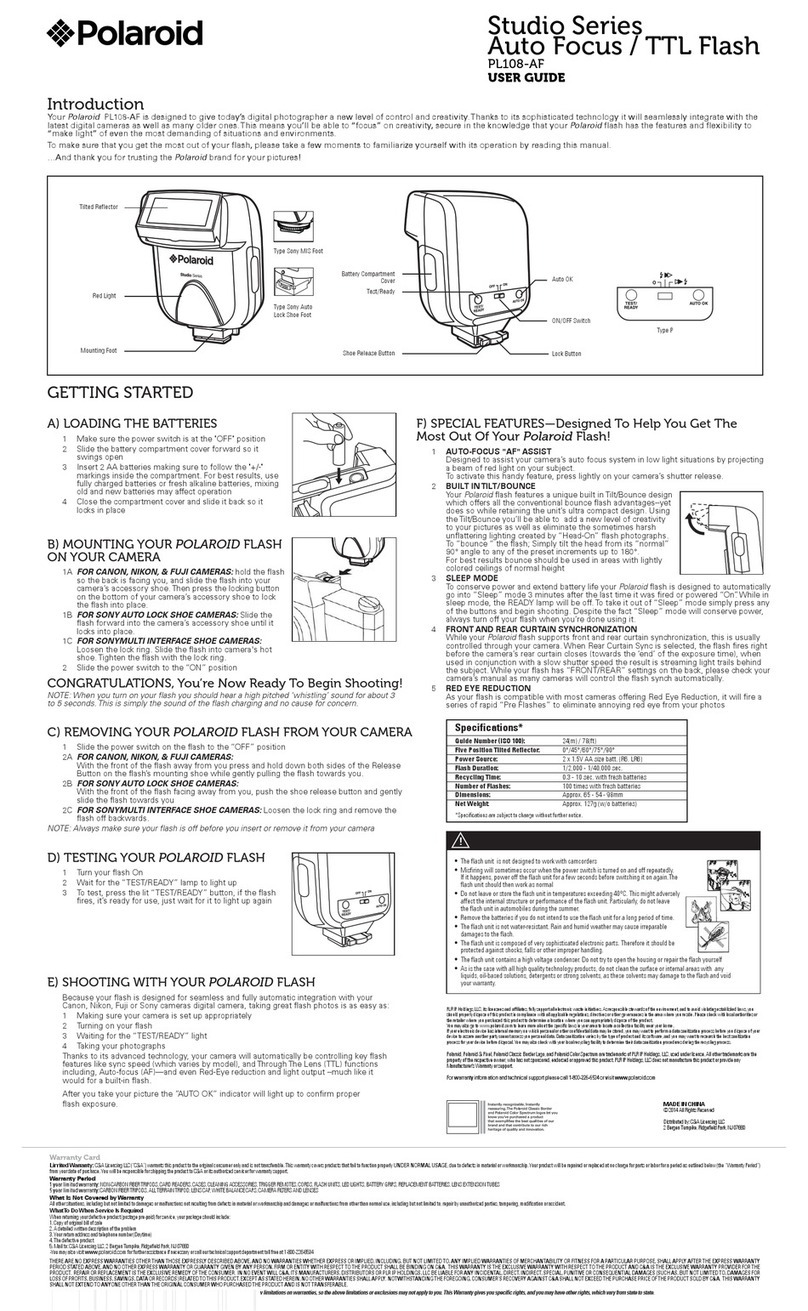
Test Lighting
The Test Charge button and Ready lamp are one in the same. For test lighting,
press this button after the Ready Lamp is illuminated, the flash will fire and if the
Auto Check function of the Test Charge button flashes for approximately two
seconds, the exposure will be correct.
Auto Check lamp
When an object is within the Auto effective range, the Auto Check lamp will blink
for approximately 2 seconds just after the flash is fired. The Auto Check lamp
does not flash after the exposure, move closer to the subject if possible or select
a larger aperture if possible. Another effective way to achieve a correct exposure
is to change the ISO sensitivity to the higher sensitivity value.
*Note that the effective range is shorter just after lighting of the Ready Lamp.
Brightness of an Image
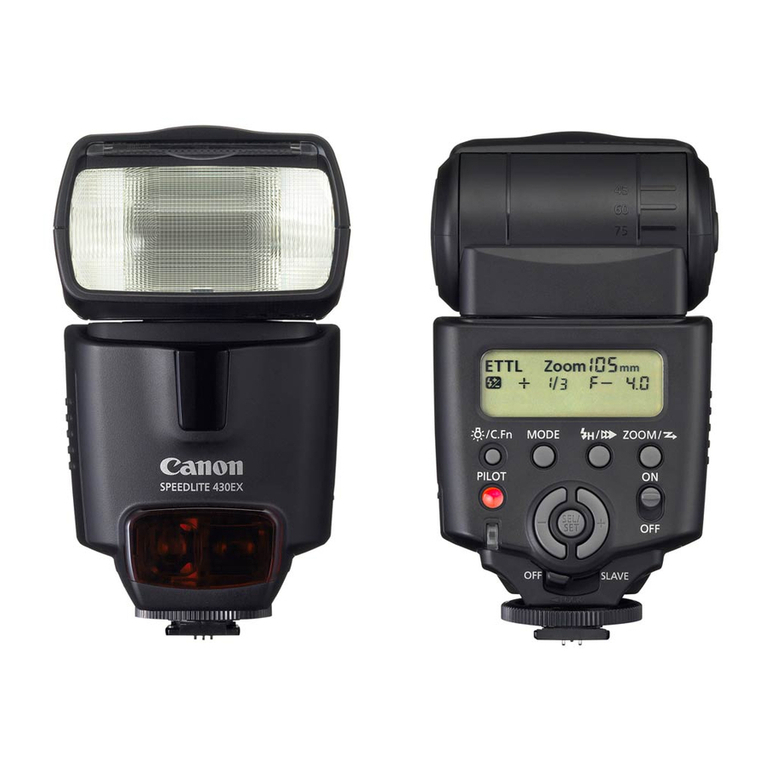
PF30X is equipped with EV Adjustment buttons, allowing flash output
adjustment. Use the EV Adjustment buttons in the following cases for effective
flash photography by freely adjusting to the satisfactory brightness.
* When the amount of light is not enough for shooting with daylight
synchronization (in order to mitigate the shadow of the object by sunlight, the
flash is used as daylight fill flash) or backlight subjects.
* When shooting with various levels of brightness.
* When the light output is not great enough when using bounce flash.
Confirm the exposure with the Auto Check feature. When the image is too dark,
press the + EV button of the EV Adjustment buttons once to turn on the +0.5
green LED lamp. In this state, the lighting becomes brighter by +0.5 EV. After
shooting, confirm the image again. When the brightness is not yet strong
enough, press the + EV button once to turn on the +1 green LED lamp and shoot
again. The flash output can be increased up to +1.5 EV.
Naturally, it is also possible to adjust the brightness when it is too bright. In this
case, press the - EV button one by one to adjust to the desired image.
EV Adjustment is not possible when the Auto Check indicator cannot confirm an
exposure.
Use the EV Adjustment buttons after confirming that the Auto Check lamp goes
On.
To cancel the EV Adjustment function, press the button for the opposite side of
the setting until the indicator lamp goes out.
AF Assist Light
When shooting in a dark place or a place with low illumination, the AF assist light
will automatically illuminate an area on the subject when the shutter button of the
camera is depressed slightly just prior to releasing the shutter; this will aid in low
light situations.
For cameras with multi-point focusing sensors, set the camera to the center
focus sensor.
Bounce Flash
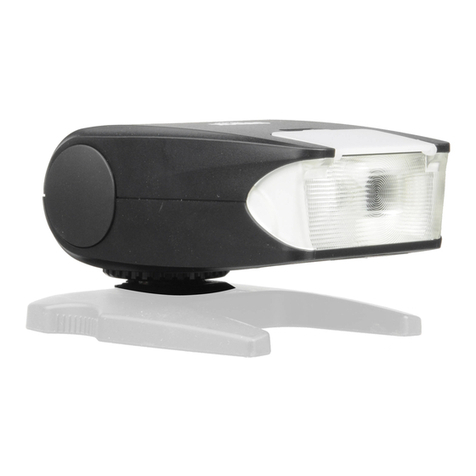
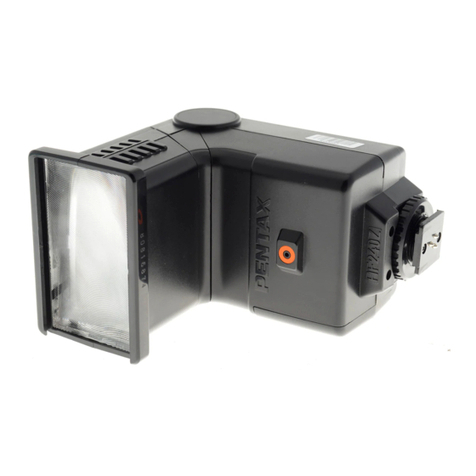
The PF30X allows bounce flash by moving the flash head upward. When shoot-
ing with the flash head aimed directly at the object, strong shadows may appear
in the back of the subject.
However, it is possible to shoot more pleasing images with soft and natural
shadows by directing the flash head toward the ceiling. For bounce shooting, the
amount of light may become insufficient, depending on the distance to the ceiling
and the reflectivity of it. In such a cases, adjust the light output with the EV
Adjustment buttons to a positive EV setting.
Adjust the AF frame to the object in the finder, and press the shutter lightly.
After confirming the lighting of the “lightning flash” mark in the finder, the shutter
speed and the diaphragm value, shoot the object.
* Bending the flash with too strong a force or bending it more than the angle
display, may break it. Handle it carefully.
* Bounce shooting can be done just in the same manner as normal shooting,
except that the light emitting part is directed to the ceiling. Note that the amount
of light decreases by about 25%, depending on the color and material of the
reflection surface. Due to this reason, it is recommended to set the diaphragm
value to the value as near to open (smaller value) as possible. For the bounce
reflection surface, select at a surface with a high reflection rate as near to white
as possible. For color shooting, if the reflection surface is colorful, the object is
colored by the color reflection. Colorful surfaces should be avoided.
Automatic Power Saving Function
When the PF30X is not operated for more than 15 minutes with the power ON,
the automatic power saving function automatically starts in order to save the
power consumption of the batteries. In the automatic power saving mode, all the
EV Adjustment lamps are OFF (if this function is used) and the Ready Lamp
blinks quickly.
When the shutter of the camera is pressed lightly or when a button of the PF30X
is pressed, the automatic power saving mode is released, and the PF30X
changes to the standby mode for lighting instantly.
Note for Continuous Shooting
To prevent degradation by heat due to continuous flash, after shooting 15 times
continuously, let the PF30X cool down for 10 minutes or longer before resuming
operation.
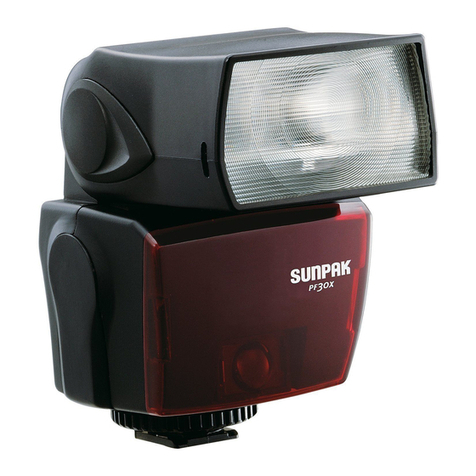
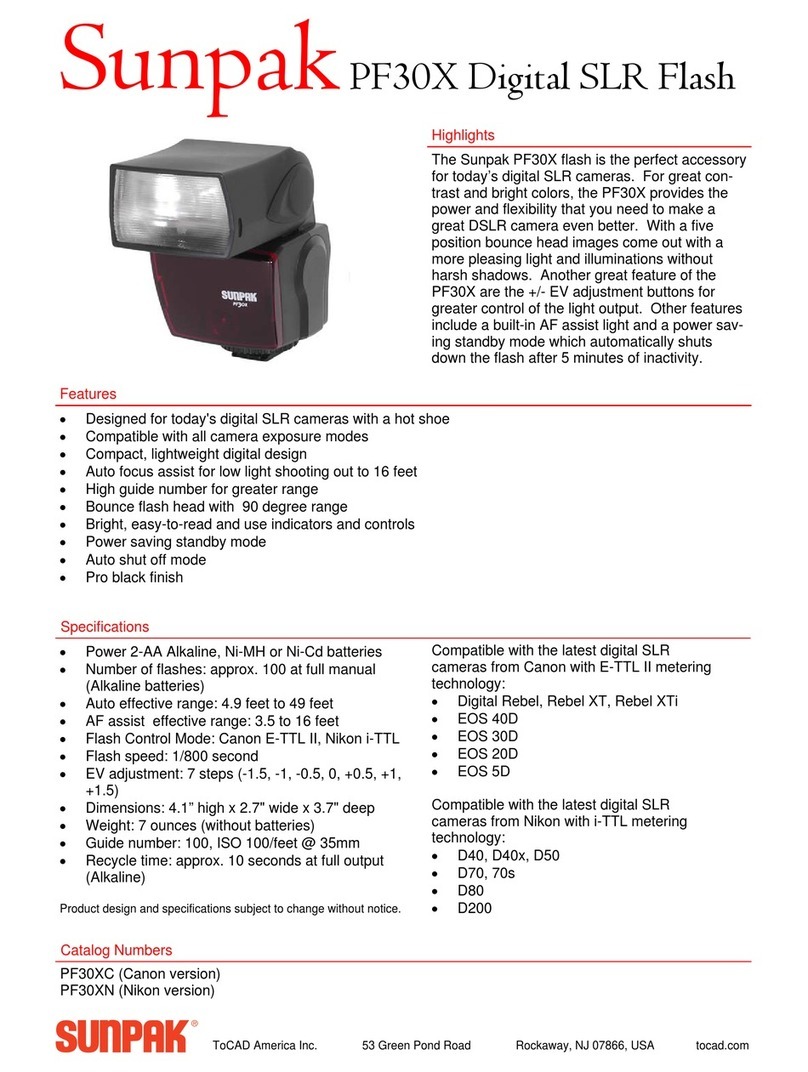
PF30X Specifications and Performance
Guide number: (ISO 100) 100 feet @ 35mm
Flash coverage: 28mm lens or more with a 35mm, 20mm or greater with an APS
size digital sensor single lens reflex camera
Flash duration: 1/800 sec. (full output)
Color temperature: 5600 degrees
TTL effective distance: AF assist light effective range 1 m to 5 m
Bounce mechanism: 0, 45, 60, 75, or 90 degree settings
Power supply: 2 size AA batteries (alkaline, NiMH and NiCd)
Temperature range: 32°F—104°F
Dimensions: Approx. 4.1” (H) x 2.7” (W) x 3.6” (D)
Weight: Approx. 7.1 ounces (excluding batteries)
* The external appearance and performance may partly be changed for improvement without advance notice.
Flash Cycles and Recycle Times
Cycles w/Alkaline batteries: (full output) approx. 100 @ 10 sec. flash intervals
Cycles w/NiMH batteries: (full output) approx. 140 @ 8 sec. flash intervals
2 AA alkaline batteries
2 AA nickel metal-hydride batteries
* The number of times of lighting is the number of times which new batteries,
within 3 months after manufacture, can be lighted continuously at a 30 second
interval and for which the Ready Lamp lights within 30 seconds after lighting at
normal temperature.
* The lighting interval is the shortest time from lighting to turning ON of the
Ready Lamp under the same conditions as for the lighting times.
Before requesting the repair, read this manual again. Also check whether the
batteries supply enough voltage by replacing the batteries.
Sunpak One-Year Limited Warranty
This Sunpak product has been carefully manufactured, accurately adjusted,
inspected and thoroughly tested before shipment to assure you of the highest
quality.
Should this SUNPAK product require service, we will repair or replace, at our
option, any part or the product itself, which our examination shows to be defec-
tive in material or workmanship. This warranty does not apply to wear and tear
associated with the normal use of the product. This warranty is non-transferable.
Repairs will be made to the product at no charge, under the terms of the war-
ranty as stated above, only when accompanied by a dated and itemized bill of
sale. This warranty does not include batteries.
Be certain to follow all assembly and/or operating instructions with this product.
This warranty is not valid if the product has been misused or damaged in any
way that is beyond our control or through normal wear and tear associated with
use. This warranty applies only to the product and we are not responsible in any
way for losses, damages or any inconvenience caused by equipment failure.
Some states do not allow the exclusion or limitation of consequential damages,
so the above limitation or exclusion may not apply to you. This warranty gives
you specific legal rights and you may have other rights which may vary from
state to state.
Should service be required, the product should be carefully packed and sent,
prepaid and insured to the address listed below. A note briefly describing the
nature of the defect should also be enclosed to expedite handling.
Proof of purchase and payment for shipping and handling must be included for
warranty repairs.
ToCAD America Inc.
Sunpak Flash Division
53 Green Pond Road
Rockaway, NJ 07866
973-627-9600
www.tocad.com
KAJ1373B
