manuals.online logo
Brands
  1. Home
  2. •
  3. Brands
  4. •
  5. Sunpak
  6. •
  7. Camera Flash
  8. •
  9. Sunpak PlatinumPlus DigiFlash 2800 User manual

Sunpak PlatinumPlus DigiFlash 2800 User manual

PlatinumPlus by Sunpak DigiFlash 2800 Instructions
Congratulations on your purchase of this PlatinumPlus by Sunpak
DigiFlash 2800 Canon E-TTL II or Nikon i-TTL flash. This flash is
dedicated for Canon or Nikon digital and film single lens reflex cameras.
Never use the flash on any camera brand other than the one noted on
the base of the flash. Before use, please read the instructions carefully to
take full advantage of its features and safe usage.
Flash Safety
* For maintenance, inspection or repair, return to ToCAD America Inc.
* Never try to open, repair or modify the flash. Such action may result in
fire, shock hazard or injury due to high voltage.
* Never use accessories not specified by Sunpak. Using them may result
in fire, shock hazard or injury.
* If the flash is dropped or damaged, or impacted, return to ToCAD
America Inc. for service and repair.
* Never use the flash at close distances to subject’s eyes, especially
babies and newborns. Using the flash at close distances to subject’s
eyes may result in visual impairment. When shooting infants or
newborns, keep the flash at a minimum distance of 3 feet or greater.
* When loading batteries, install in the correct polarity. When replacing
the batteries, replace both at the same time, use only the same model
and type and from the same manufacturer. Incorrect battery usage may
result in leakage, over heating, rupture, short battery time and loose
contacts.
* Never use the flash near glass or near containers holding cosmetics or
chemicals. If cosmetics or chemicals enter the flash, it may result in fire,
shock hazard or injury.
* Never use the flash in a place with high humidity, such as in the bath-
room or near a humidifier. It may result in fire, shock hazard or injury.
* When cleaning or caring for the flash, be sure to remove the batteries.
* Never use the flash in a place where flammable gas or explosive gas
may exist in the air.
* Keep batteries away from babies so that they will not be swallowed or
ingested.
* Never place the flash in a dusty environment, subject to direct sunlight
or areas of high humidity. Increased temperatures may result leading to
serious damage, shock hazard or fire.
* Never use the flash without the locking ring securely tightened. If left
un-tightened it may fall or drop from the camera resulting in injury
and/or damage.
Other Cautions
* Never use benzene, thinner or alcohol to clean the flash. Use a soft
cloth without chemicals or solvents.
*If subject to moisture, remove the batteries and dry completely before
use.
*Neglecting any of these instructions may lead to injury or damage.
Before use
* Mount the flash on the camera and securely tighten the locking ring to
secure to the camera. For operation, be sure to hold the body of the cam-
era, not the flash. If the flash is used to hold the camera, the camera will
break from the flash causing serious damage to the flash and camera.
* For additional operating instructions and camera compatibility, go to
www.sunpak.jp.
Mounting
When the DigiFlash 2800 is mounted on or dismounted from the camera,
be sure to turn OFF the Power switch. If the DigiFlash 2800 is mounted
or dismounted with the power ON, malfunction or failure of the camera
may result.
1. Insert the flash into the camera’s shoe firmly and turn the Locking Ring
clockwise to secure the flash to the camera.
2. After mounting the flash on the camera, turn on the camera and flash.
3. The shutter speed of the camera will automatically be set.
4. To confirm a correct exposure, the Auto Check function of the Test
Charge indicator will flash approximately two seconds. If Auto Check
function of the Test Charge indicator does not blink indicating a correct
exposure, the distance from the flash to the subject is too great. Move
closer to the subject if possible until confirmation of the Auto Check Test
Charge indicator confirms the correct exposure.
Installing Batteries
1. Confirm that the Power switch is OFF before loading the batteries.
2. Press down on the Battery cover and slide it downwards to open it.
3. Carefully load 2 AA type batteries into the battery box in accordance
with the +/- illustrations. The flash is designed to prevent incorrect
loading, but if the batteries are installed incorrectly, failure will result.
4. Close the battery cover and slide it upward to close securely. Turn
power switch to the ON position. Charging will start with the beep sound.
During the charging cycle, the Ready Lamp will blink indicating the
charging cycle and then to continues on for full charge status. (When fully
charged, the lamp changes from blinking to steady illumination.)
5. To turn off, turn the Power switch to the OFF position.
Before Mounting
* When the flash is not mounted on a camera and turned on, use caution
not to short-circuit the hot shoe terminals. If short-circuited, the flash may
fire and cause an operational failure of the flash.
* Nickel Metal-Hydride (NiMH) batteries are highly recommended to
shorten the charging time and increase the number flashes.
Information on the Ready Lamp
Confirm after each shot that the Ready Lamp is on and not blinking. If
blinking, charging is still taking place. If the flash is fired without the
Ready Light on continuously, there will be insufficient flash to illuminate
the subject causing an under exposed image. Therefore it is highly
recommended for images with the optimum amount of illumination, wait
until Ready Light remains on continuously.
* If the Ready lamp continuously blinks for more than 30 seconds without
changing to a continuous illumination, the voltage of the batteries has
dropped below the recommend voltage and must be replaced.
Test Lighting
The Test Charge button and Ready lamp are one in the same. For test
lighting, press this button after the Ready Lamp is illuminated, the flash
will fire and if the Auto Check function of the Test Charge button flashes
for approximately two seconds, the exposure will be correct.
Auto Check lamp
When an object is within the Auto effective range, the Auto Check lamp
will blink for approximately 2 seconds just after the flash is fired. The
Auto Check lamp does not flash after the exposure, move closer to the
subject if possible or select a larger aperture.
Another effective way to achieve a correct exposure is to change the ISO
sensitivity to the higher value. *Note that the effective range is shorter
just after lighting of the Ready Lamp.
Flash Diffuser
Locking Ring
Battery Cover
AF Assist Light
Bounce Head
+ EV Indicator
- EV Indicator
- EV Selector + EV Selector
Auto Check
Ready Lamp/Test
Power Switch
Hot Shoe
Brightness of an Image
DigiFlash 2800 is equipped with EV Adjustment buttons, allowing flash
output adjustment. Use the EV Adjustment buttons in the following cases
for effective flash photography by freely adjusting to the satisfactory
brightness.
* When the amount of light is not enough for shooting with daylight
synchronization (in order to mitigate the shadow of the object by sunlight,
the flash is used as daylight fill flash) or backlit subjects.
* When shooting with various levels of brightness.
* When the light output is not great enough when using bounce flash.
Confirm the exposure with the Auto Check feature. When the image is
too dark, press the + EV button of the EV Adjustment buttons once to
turn on the +0.5 green LED lamp. In this state, the lighting becomes
brighter by +0.5 EV. After shooting, confirm the image again. When the
brightness is not yet strong enough, press the + EV button once to turn
on the +1 green LED lamp and shoot again. The flash output can be
increased up to +1.5 EV.
Naturally, it is also possible to adjust the brightness when it is too bright.
In this case, press the - EV button one by one to adjust to the desired
image.
EV Adjustment is not possible when the Auto Check indicator cannot
confirm an exposure.
Use the EV Adjustment buttons after confirming that the Auto Check
lamp goes on.
To cancel the EV Adjustment function, press the button on the opposite
side of the setting until the indicator lamp goes out.
AF Assist Light
When shooting in a dark place or a place with low illumination, the AF
assist light will automatically illuminate an area on the subject when the
shutter button of the camera is depressed slightly just prior to releasing
the shutter; this will aid in low light situations.
For cameras with multi-point focusing sensors, set the camera to the
center focus sensor.
Bounce Flash
The DigiFlash 2800 allows bounce flash by moving the flash head up-
ward. When shooting with the flash head aimed directly at the object,
strong shadows may appear in the back of the subject.
However, it is possible to shoot more pleasing images with soft and
natural shadows by directing the flash head toward the ceiling. For
bounce shooting, the amount of light may become insufficient, depending
on the distance to the ceiling and the reflectivity of it. In such a cases,
adjust the light output with the EV Adjustment buttons to a positive EV
setting.
Adjust the AF frame to the object in the finder, and press the shutter
lightly. After confirming the lighting of the “lightning flash” mark in the
finder, the shutter speed and the diaphragm value, shoot the object.
* Bending the flash with too strong a force or bending it more than the
angle display, may break it. Handle it carefully.
* Bounce shooting can be done just in the same manner as normal
shooting, except that the light emitting part is directed to the ceiling. Note
that the amount of light decreases by about 25%, depending on the color
and material of the reflection surface. Due to this reason, it is
recommended to set the diaphragm value to the value as near to open
(smaller value) as possible. For the bounce reflection surface, select at a
surface with a high reflection rate as near to white as possible. For color
shooting, if the reflection surface is colorful, the object is colored by the
color reflection. Colorful surfaces should be avoided.
Automatic Power Saving Function
When the DigiFlash 2800 is not operated for more than 15 minutes with
the power ON, the automatic power saving function automatically starts
in order to save the power consumption of the batteries. In the automatic
power saving mode, all the EV Adjustment lamps are OFF (if this function
is used) and the Ready Lamp blinks quickly.
When the shutter of the camera is pressed lightly or when a button of the
DigiFlash 2800 is pressed, the automatic power saving mode is released,
and the DigiFlash 2800 changes to the standby mode for lighting
instantly.
Note for Continuous Shooting
To prevent degradation by heat due to continuous flash, after shooting 15
times continuously, let the DigiFlash 2800 cool down for 10 minutes or
longer before resuming operation.
DigiFlash 2800 Specifications and Performance
Guide number: (ISO 100) 100 feet @ 35mm
Flash coverage: 28mm lens or more with a 35mm, 20mm or greater with
an APS size digital sensor single lens reflex camera
Flash duration: 1/800 sec. (full output)
Color temperature: 5600 degrees
TTL effective distance: AF assist light effective range 1 m to 5 m
Bounce mechanism: 0, 45, 60, 75, or 90 degree settings
Power supply: 2 size AA batteries (Alkaline, NiMH and NiCd)
Temperature range: 32°F—104°F
Dimensions: Approx. 4.1” (H) x 2.7” (W) x 3.6” (D)
Weight: Approx. 7.1 ounces (excluding batteries)
* The external appearance and performance may partly be changed for
improvement without advance notice.
Flash Cycles and Recycle Times
Cycles w/Alkaline batteries: (full output) approx. 100 @ 10 sec. flash
intervals
Cycles w/NiMH batteries: (full output) approx. 140 @ 8 sec. flash
intervals
2 AA alkaline batteries
2 AA nickel metal-hydride batteries
* The number of times of lighting is the number of times which new
batteries, within 3 months after manufacture, can be lighted continuously
at a 30 second interval and for which the Ready Lamp lights within 30
seconds after lighting at normal temperature.
* The lighting interval is the shortest time from lighting to turning ON of
the Ready Lamp under the same conditions as for the lighting times.
Before requesting repair, read this manual again. Also check whether the
batteries supply enough voltage by replacing the batteries.
Sunpak One-Year Limited Warranty
This Sunpak product has been carefully manufactured, accurately ad-
justed, inspected and thoroughly tested before shipment to assure you of
the highest quality.
Should this SUNPAK product require service, we will repair or replace, at
our option, any part or the product itself, which our examination shows to
be defective in material or workmanship. This warranty does not apply to
wear and tear associated with the normal use of the product. This
warranty is non-transferable.
Repairs will be made to the product at no charge, under the terms of the
warranty as stated above, only when accompanied by a dated and
itemized bill of sale. This warranty does not include batteries.
Be certain to follow all assembly and/or operating instructions with this
product. This warranty is not valid if the product has been misused or
damaged in any way that is beyond our control or through normal wear
and tear associated with use. This warranty applies only to the product
and we are not responsible in any way for losses, damages or any
inconvenience caused by equipment failure.
Some states do not allow the exclusion or limitation of consequential
damages, so the above limitation or exclusion may not apply to you. This
warranty gives you specific legal rights and you may have other rights
which may vary from state to state.
Should service be required, the product should be carefully packed and
sent, prepaid and insured to the address listed below. A note briefly
describing the nature of the defect should also be enclosed to expedite
handling.
Proof of purchase and payment for shipping and handling must be
included for warranty repairs.
ToCAD America Inc.
Sunpak Flash Division
53 Green Pond Road
Rockaway, NJ 07866
973-627-9600
www.tocad.com
Other Sunpak Camera Flash manuals

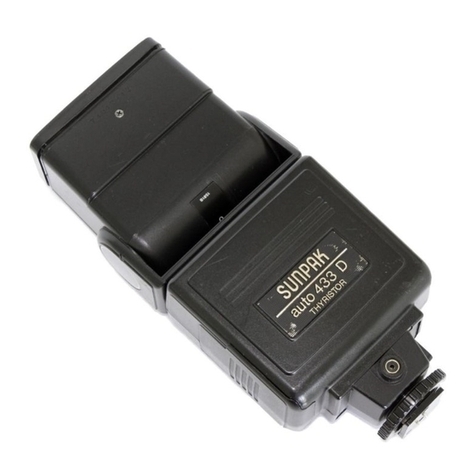
Sunpak auto 433D User manual

Sunpak

Sunpak auto 433D User manual

Sunpak Auto 622 User manual

Sunpak

Sunpak Auto 622 User manual

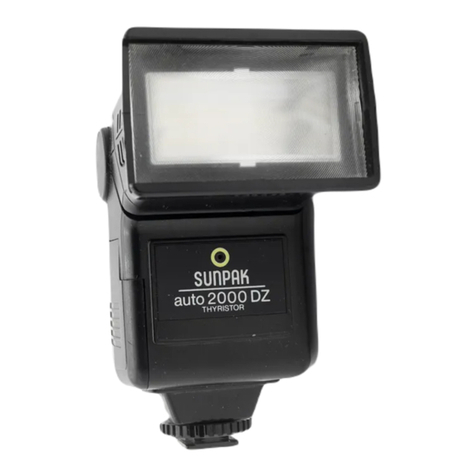
Sunpak Auto 2000DZ User manual

Sunpak

Sunpak Auto 2000DZ User manual

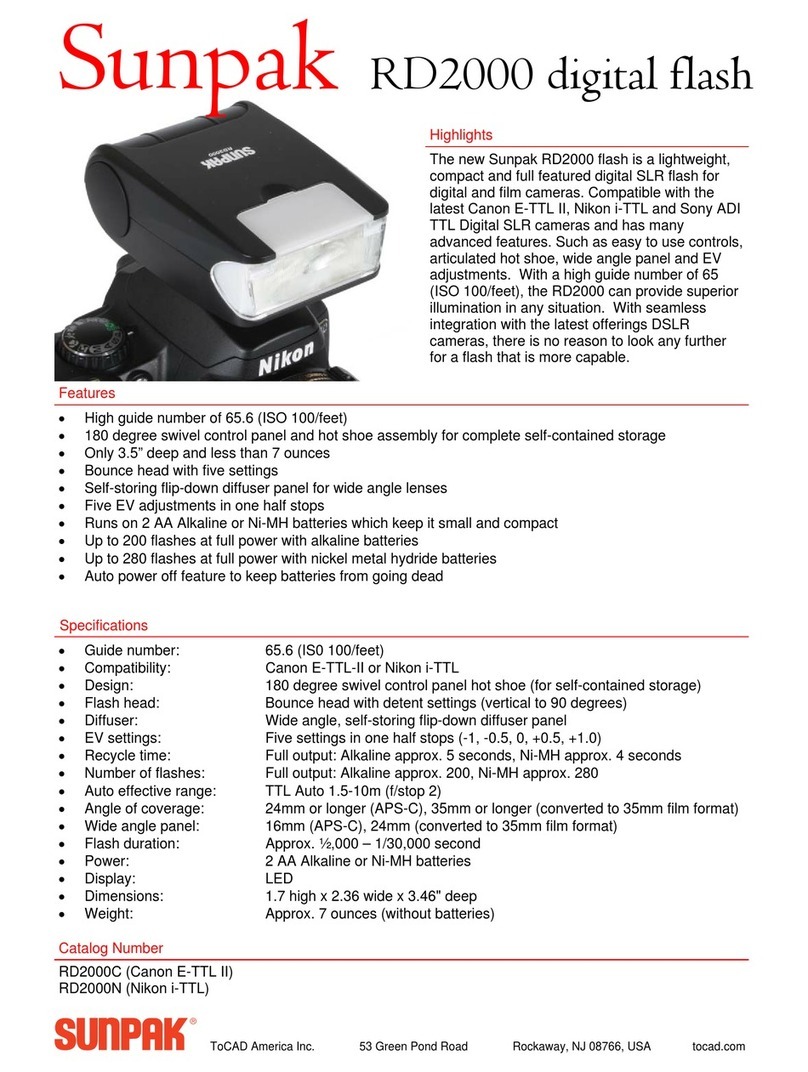
Sunpak RD2000 Instruction Manual

Sunpak

Sunpak RD2000 Instruction Manual

Sunpak LED 42 Video Light User manual

Sunpak

Sunpak LED 42 Video Light User manual

Sunpak AP-52 User manual

Sunpak

Sunpak AP-52 User manual

Sunpak 622 Super Pro-System User manual

Sunpak

Sunpak 622 Super Pro-System User manual

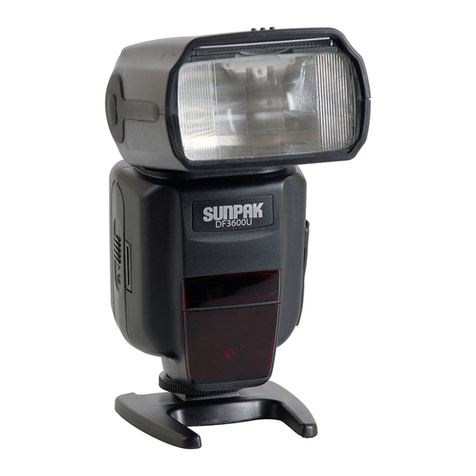
Sunpak DF3600U User manual

Sunpak

Sunpak DF3600U User manual

Sunpak RD2000 User manual

Sunpak

Sunpak RD2000 User manual

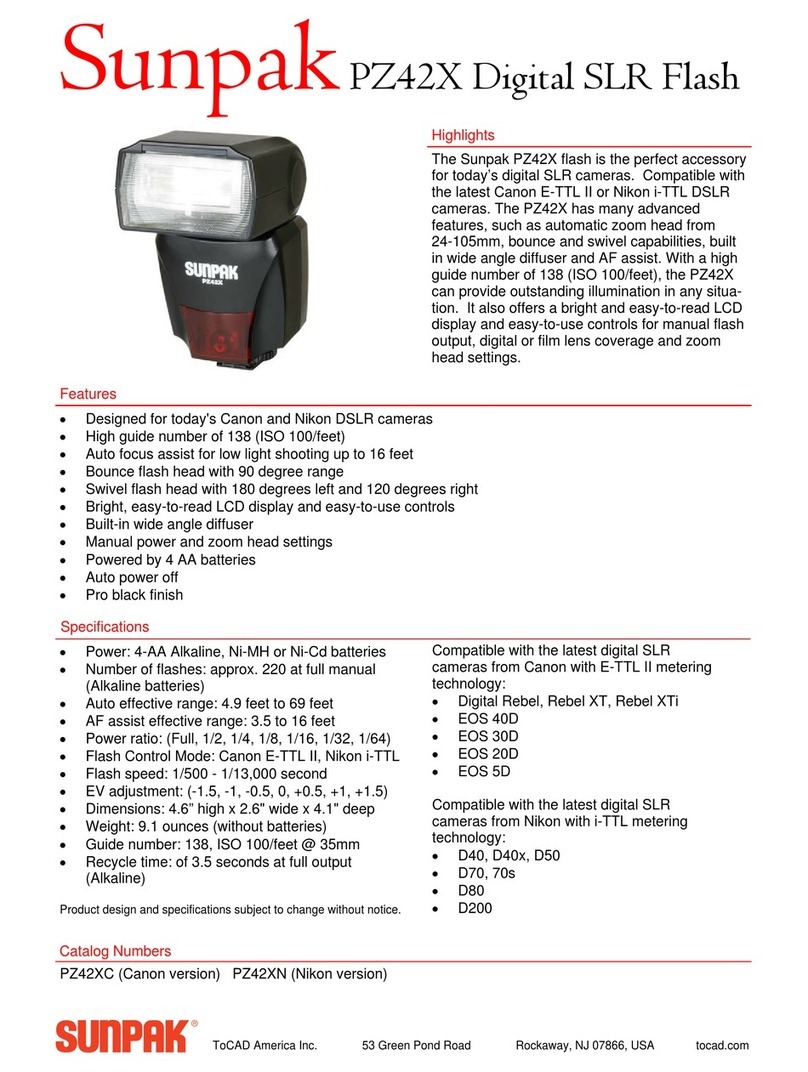
Sunpak PZ42X User manual

Sunpak

Sunpak PZ42X User manual

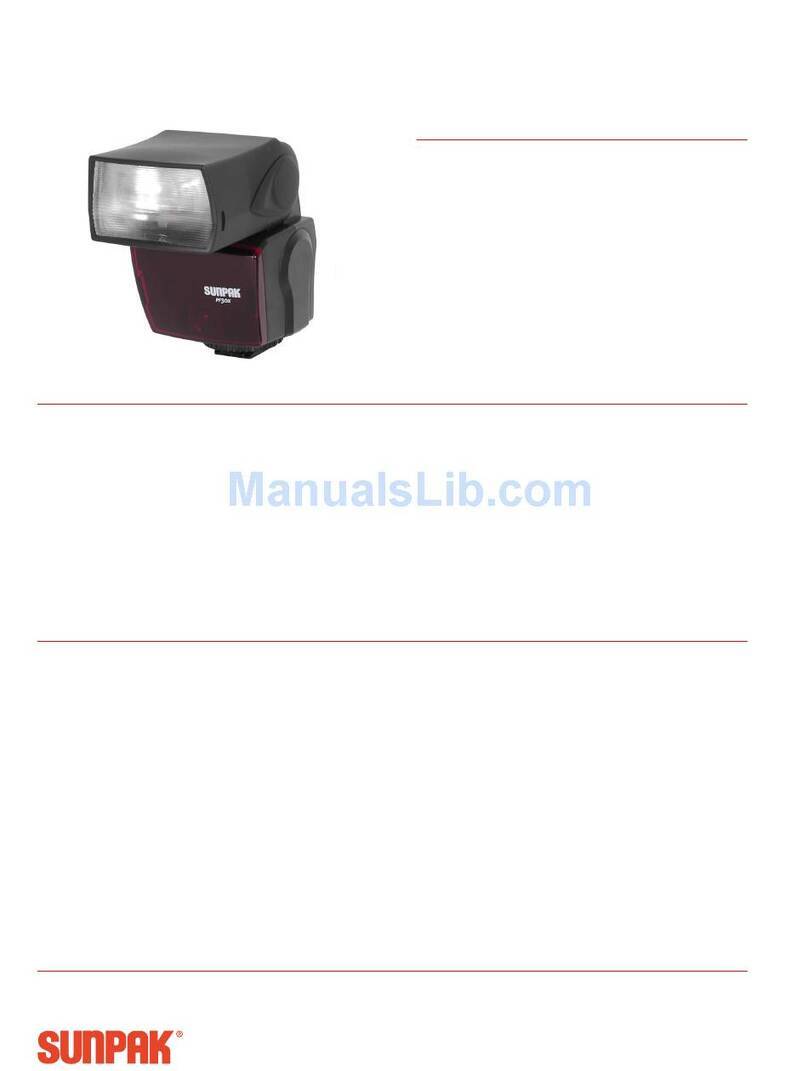
Sunpak PF30X User manual

Sunpak

Sunpak PF30X User manual

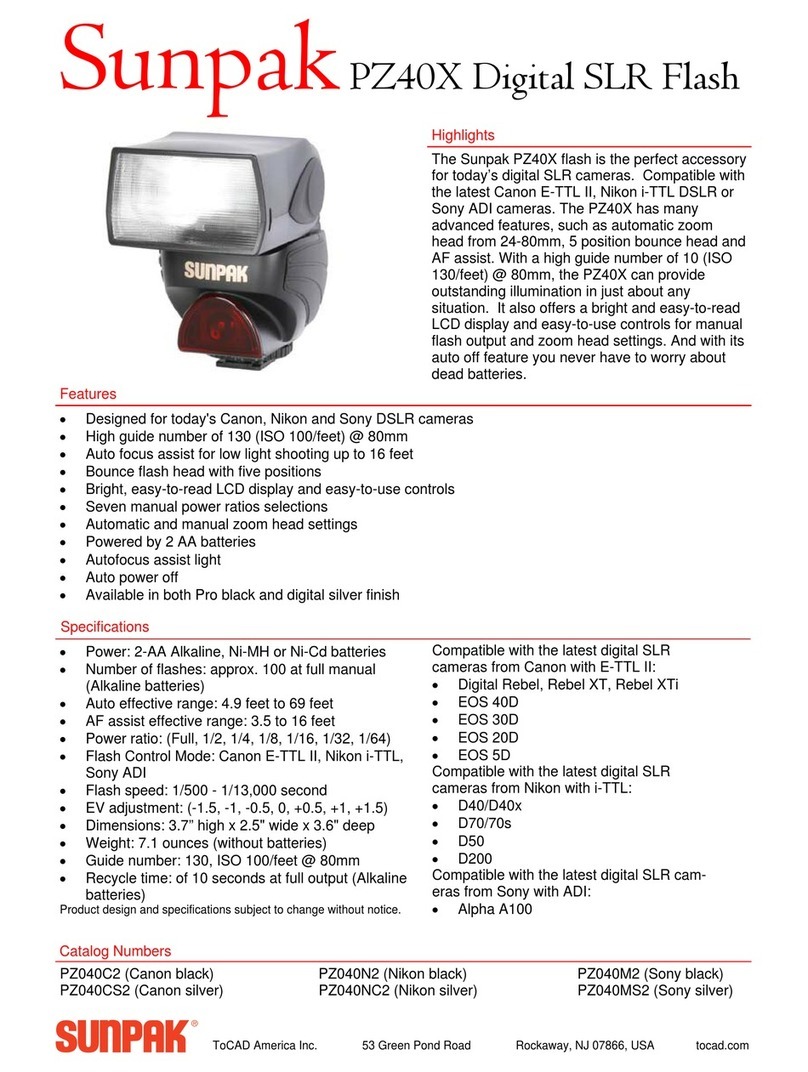
Sunpak PZ40X User manual

Sunpak

Sunpak PZ40X User manual

Sunpak PX30X User manual

Sunpak

Sunpak PX30X User manual

Sunpak PZ40X User manual

Sunpak

Sunpak PZ40X User manual

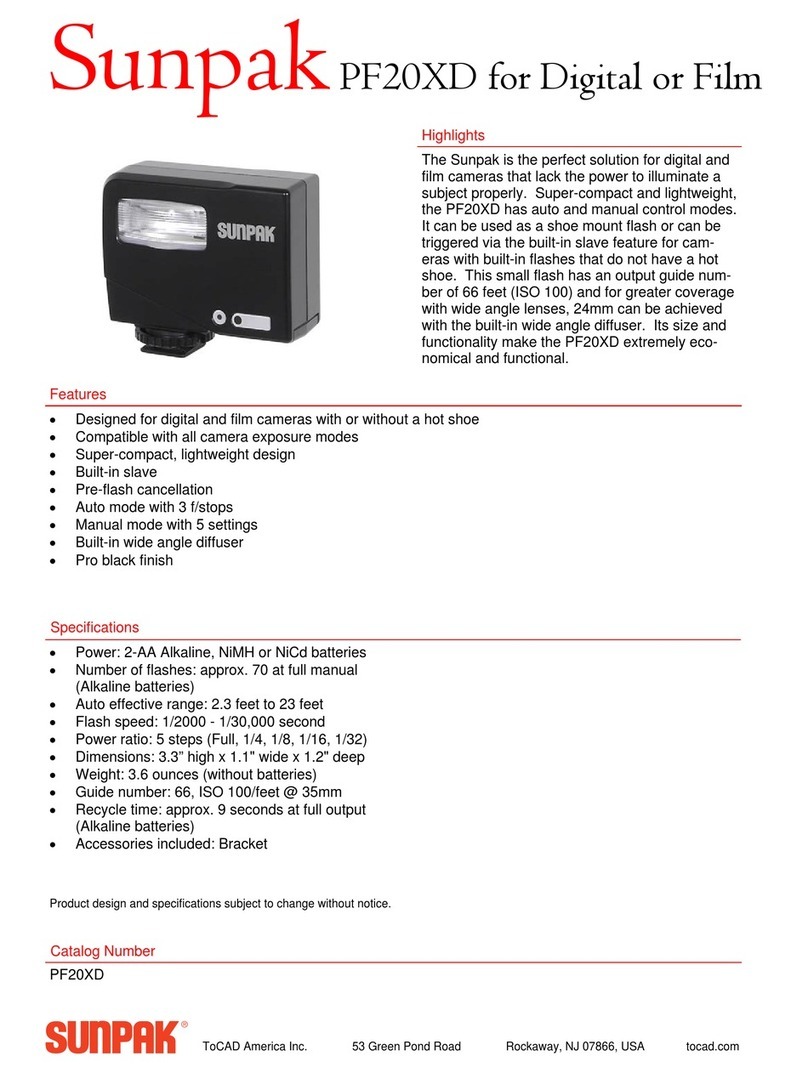
Sunpak PF20XD User manual

Sunpak

Sunpak PF20XD User manual

Sunpak LED 9 video light User manual

Sunpak

Sunpak LED 9 video light User manual

Sunpak GX24 User manual

Sunpak

Sunpak GX24 User manual

Sunpak Thyristor Auto zoom 3600 User manual
Sunpak

Sunpak Thyristor Auto zoom 3600 User manual
Sunpak 4000AF User manual

Sunpak

Sunpak 4000AF User manual

Sunpak PF30X User manual

Sunpak

Sunpak PF30X User manual

Sunpak PZ40X User manual

Sunpak

Sunpak PZ40X User manual

Sunpak PF30X User manual

Sunpak

Sunpak PF30X User manual

Popular Camera Flash manuals by other brands

Metz 70 MZ-4/5 operating instructions

Metz

Metz 70 MZ-4/5 operating instructions

Pentax 500FTZ - AF - Hot-shoe clip-on Flash Operation manual

Pentax

Pentax 500FTZ - AF - Hot-shoe clip-on Flash Operation manual

Bolt VM-110 user manual

Bolt

Bolt VM-110 user manual

Nikon SB-800 instruction manual

Nikon

Nikon SB-800 instruction manual

Sony HVL-F36AM - Flash For Alpha DSLR operating instructions

Sony

Sony HVL-F36AM - Flash For Alpha DSLR operating instructions

CULLMANN D 4500 Instructions for use

CULLMANN

CULLMANN D 4500 Instructions for use

Cactus RF60 user manual

Cactus

Cactus RF60 user manual

Metz MECABLITZ 44 AF-1 operating instructions

Metz

Metz MECABLITZ 44 AF-1 operating instructions

Hensel-Visit CITO 500 user manual

Hensel-Visit

Hensel-Visit CITO 500 user manual

Multiblitz Profilite Compact 300 Instructions for use

Multiblitz

Multiblitz Profilite Compact 300 Instructions for use

Pentax AF160FC user manual

Pentax

Pentax AF160FC user manual

Nissin Di700A Quick manual

Nissin

Nissin Di700A Quick manual

Phottix Mitros TTL instruction manual

Phottix

Phottix Mitros TTL instruction manual

Metz MZ-1i operating instructions

Metz

Metz MZ-1i operating instructions

Sony HVL-HFL1 operating instructions

Sony

Sony HVL-HFL1 operating instructions

Sony HVL-F43AM operating instructions

Sony

Sony HVL-F43AM operating instructions

Olympus FL-600R Specifications

Olympus

Olympus FL-600R Specifications

Godox QE300 user manual

Godox

Godox QE300 user manual

manuals.online logo
manuals.online logoBrands
  • About & Mission
  • Contact us
  • Privacy Policy
  • Terms and Conditions

Copyright 2025 Manuals.Online. All Rights Reserved.