manuals.online logo
Brands
  1. Home
  2. •
  3. Brands
  4. •
  5. Superfire
  6. •
  7. Flashlight
  8. •
  9. Superfire GUARDIAN DBR User manual

Superfire GUARDIAN DBR User manual

THE SUREFIRE NO-HASSLE GUARANTEE
We’ll do what it takes to keep your SureFire gear running smoothly.
SureFire warrants that if you — our customer — purchase one of
our products, and we determine that it is defective in material and/or
workmanship during your lifetime, we will repair or replace it — no hassle!
Our warranty does not cover consumables or normal wear-and-tear —
things like batteries draining, headbands and headpads wearing out,
ink cartridges running out, and switches wearing out — or damage
resulting from abuse, alterations, unauthorized repairs, or use contrary
to SureFire’s user manuals.
Should you need a replacement product, SureFire reserves the right
to replace an obsolete product with a current production, like model. In
the event that any issue with a SureFire product is not covered under
this warranty SureFire can arrange to have the product repaired for a
reasonable fee.
STANDARD DISCLAIMER
Except as specified above or prohibited by applicable law: all express or
implied conditions and warranties, including, without limitation, any implied
warranty or condition of merchantability or fitness for a particular purpose, or
accuracy of any informational content, are hereby excluded and disclaimed
by SureFire; and in no event will SureFire be liable for any special, direct,
indirect, consequential, incidental or punitive damages howsoever arising
and regardless of the theory of liability, even if advised of the possibility of
such damages. Products, prices, availability, specifications, and offers are
subject to change or cancellation at any time without notice.
WARRANTY CLAIMS
For claims, contact Customer Service at 714-545-9444 to obtain a
Return Merchandise Authorization number (RMA#). Then package the
unit carefully and send to (no CODs):
SureFire, LLC.
Repairs Department, RMA#____
17680 Newhope Street, Suite B
Fountain Valley, CA 92708
SureFire will pay any reasonable shipping costs to return the unit to you.
RECHARGEABLE ULTRA-HIGH DUAL-BEAM LED FLASHLIGHT
DBR
USER MANUAL
Output 19mm
Output 12mm
Intensity
Runtime 19mm
Runtime 12mm
Weight
Length
Bezel Diameter
All performance claims tested to ANSI/NEMA FL1-2009 Standard.
High: 800 Med: 250 Low: 15 lumens
High: 1000 Med: 300 Low: 15 lumens
12,900 candela
High: 2.75 Med: 4.25 Low: 60 hours
High: 2.5 Med: 4.25 Low: 62 hours
4.7 oz (133 g)
4.35 in (11 cm)
19mm Reector: 1.15 in (2.92 cm)
12mm Reector: 0.90 in (2.29 cm)
DBR
Specifications
18300 MT. BALDY CIRCLE
FOUNTAIN VALLEY, CA 92708-6122
SUREFIRE.COM
Revision D 8-2018
71-01-1025
DBR
KIT CONTENTS
• GUARDIAN
• 10 inch USB-C to USB cable
• 7 inch Adjustable wrist strap
LIGHT OPERATION - PROFILE CONFIGURATION
The GUARDIAN has two dome switches. There are five different profiles with varying output
options that can be selected depending on personal preference. From the factory, the
GUARDIAN comes set to profile 1 which is also the default profile. Both LEDs cannot be
activated simultaneously. For profiles with two or three output levels, press and release the
dome switch in order to activate the first level. Press and release again within one second
to switch to the next level. Repeat if the selected profile has a third output level. While
the light is activated and more than one second passes, the subsequent switch press will
deactivate the light.
To switch between different profiles:
1. Enter configuration mode by holding both buttons down for three to five seconds. While
the buttons are being held down, the Fuel Gauge LED will transition from solid orange to
solid green. As soon as the LED turns to green, release both buttons. If held too long, the
configuration mode will exit as indicated by a solid red LED.
2. Fuel Gauge will blink orange to indicate configuration mode is active.
3. Press left button to program the left LED or the right button to program the right LED.
4. The fuel gauge will turn green for left and red for right to indicate which side is
being configured.
5. Press the appropriate button the corresponding number of times for the desired profile.
Button presses more than five (max profile) will be ignored and profile 5 will be selected.
For example: If the left button is pressed in step 3 and profile 2 is desired, press the left
button two times. If the right button is pressed in step 3 and profile 2 is desired, press
the right button two times.
6. To exit and save press the opposite side button for two seconds and release. The fuel
gauge will blink the number of times for the profile selected and then it will exit out of
configuration mode.
7. If no buttons are pressed for 30 seconds during this process then configuration mode
will exit with nothing saved.
FUEL GAUGE
The GUARDIAN is equipped with an LED that lets you monitor the battery charge status,
both during use and while charging. See FUEL GAUGE LIGHT INDICATOR shown below for an
explanation of the LED colors and their meanings.
CHARGING THE GUARDIAN
The GUARDIAN is powered by an integral lithium-ion battery that will provide years of
service, depending on use. The included USB-C cable can be plugged into a wall socket
USB adapter or USB port.
To charge the lithium-ion rechargeable battery:
1. Insert USB-C cable plug into Guardian charging port receptacle.
2. Insert USB plug into USB port of a computer or another device that will
provide power to the Guardian.
3. When fuel gauge LED turns green, the light is charged to more than 95% of
battery capacity.
NOTE: Charging a fully depleted battery can take up to three hours. The light may be left
plugged into the charger without damaging the battery.
NOTE: When the
GUARDIAN
is being charged and the temperature is too cold (Below
32°F/0°C) or too hot (Above 120°F/50°C), the fuel gauge will blink yellow which indicates
charging stopped. Once the temperature reaches 41°F/5°C or 113°F/45°C, it will continue
charging. When the battery is drained below 3.0V, the GUARDIAN has a pre-charge mode
when connected to a charger. The Fuel Gauge will blink red rapidly until the battery reaches
3.3V. Once the battery has a minimum of 3.3V, the Fuel Gauge conditions below will apply.
CHARGING EXTERNAL DEVICES
The GUARDIAN can charge small devices such as smart phones with its 2,800 mAH lithium-
ion battery. Simply connect the GUARDIAN to an external device using the included USB-C
cable or another compatible USB device.
Output: 5 Volts.
Current range: 1.5-2A (0.5A from a USB 2.0 source.)
NOTE: The GUARDIAN can charge the STILETTO up to two times using a USB-C to MICRO-
USB cable (not included).
1st Output 2nd Output 3rd Output
PROFILE 1 High Medium Low
PROFILE 2 Low Medium High
PROFILE 3 Intellibeam Only
PROFILE 4 Intellibeam High -
PROFILE 5 Momentary Only
FUEL GAUGE LIGHT INDICATOR
SOLID GREEN 95-100% Charged
SOLID YELLOW Battery Charge Low (reduce light
output level or recharge)
SOLID RED Recharge Immediately
Do not attempt to remove or replace the GUARDIAN battery. Doing
so will void the warranty. If the battery needs repair or replacement,
contact Surefire at 714-545-9444. www.surefire.com/batteries.
BATTERY INFORMATION & WARNING
FUEL GUAGE
DOME SWITCHES
INTELLIBEAM™ SENSOR 12MM REFLECTOR
19MM REFLECTOR
CHARGING PORT
Other Superfire Flashlight manuals

Superfire LumaMax L7 User manual

Superfire

Superfire LumaMax L7 User manual

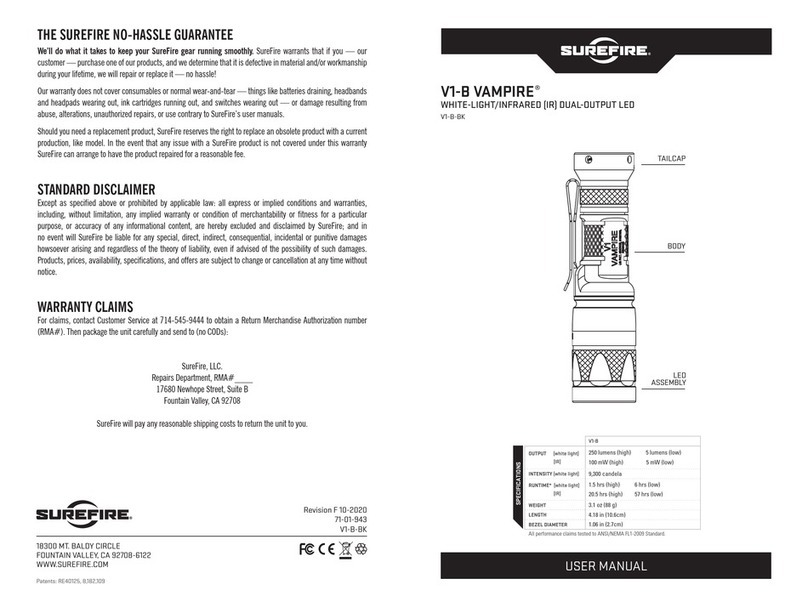
Superfire VAMPIRE V1-B User manual

Superfire

Superfire VAMPIRE V1-B User manual

Superfire G2ZX COMBATLIGHT User manual

Superfire

Superfire G2ZX COMBATLIGHT User manual

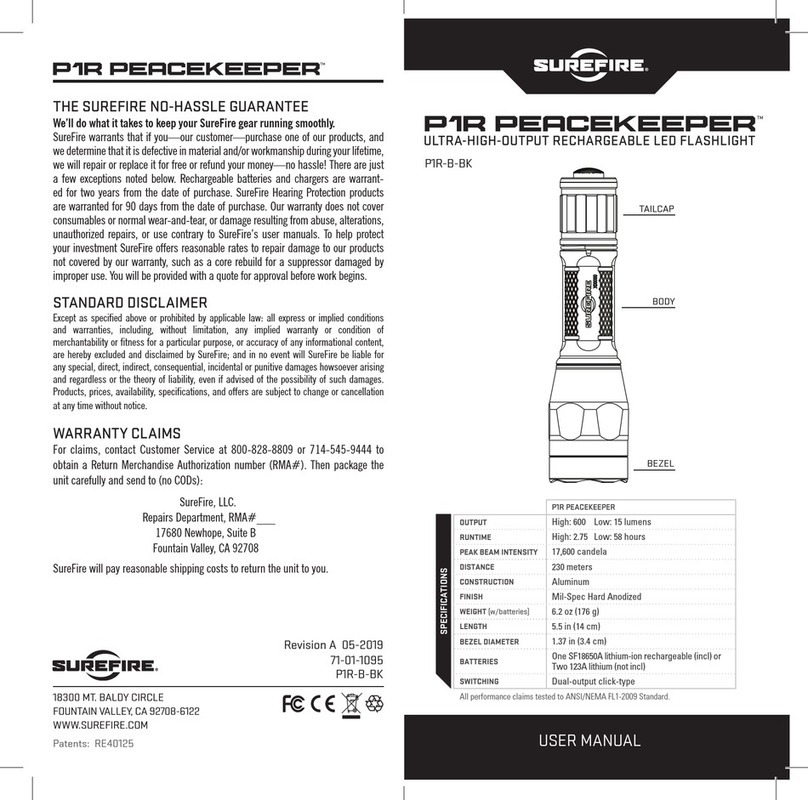
Superfire PEACEKEEPER P1R User manual

Superfire

Superfire PEACEKEEPER P1R User manual

Superfire VAMPIRE V1-C User manual

Superfire

Superfire VAMPIRE V1-C User manual

Superfire m4 User manual

Superfire

Superfire m4 User manual

Superfire STILETTO PRO User manual

Superfire

Superfire STILETTO PRO User manual

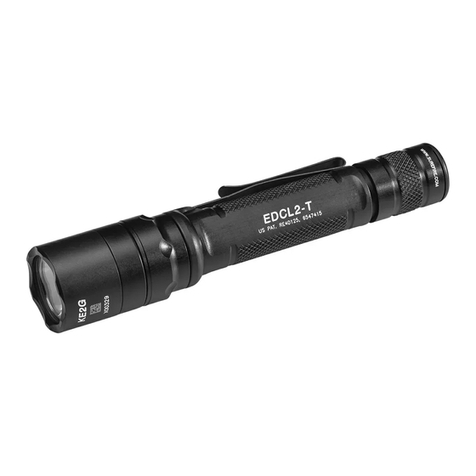
Superfire EDCL2-T User manual

Superfire

Superfire EDCL2-T User manual

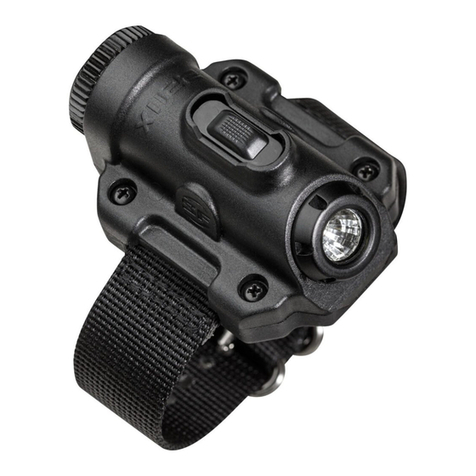
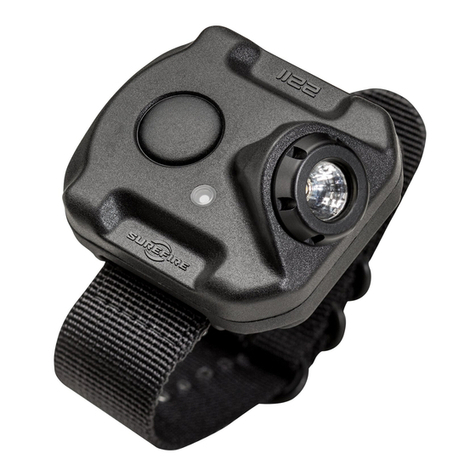
Superfire 2211 WRISTLIGHT User manual

Superfire

Superfire 2211 WRISTLIGHT User manual

Superfire 2211 X User manual

Superfire

Superfire 2211 X User manual

Popular Flashlight manuals by other brands

Magneti Marelli 007935030160 owner's manual

Magneti Marelli

Magneti Marelli 007935030160 owner's manual

RovyVon S3 Series user manual

RovyVon

RovyVon S3 Series user manual

Panasonic EY3796-U1 Service manual

Panasonic

Panasonic EY3796-U1 Service manual

Sealey AK2946 quick start guide

Sealey

Sealey AK2946 quick start guide

Nitecore EA2 user manual

Nitecore

Nitecore EA2 user manual

Cygolite TridenX 1300 Operation manual

Cygolite

Cygolite TridenX 1300 Operation manual

UNILITE HL-1R quick start guide

UNILITE

UNILITE HL-1R quick start guide

Hitachi UB18DAL instruction manual

Hitachi

Hitachi UB18DAL instruction manual

Sealey AK293 instruction manual

Sealey

Sealey AK293 instruction manual

Nitecore mh10v2 user manual

Nitecore

Nitecore mh10v2 user manual

Wetelux 80 84 16 instruction manual

Wetelux

Wetelux 80 84 16 instruction manual

Varta PAUL THE BEAR quick start guide

Varta

Varta PAUL THE BEAR quick start guide

BASETech 1601916 operating instructions

BASETech

BASETech 1601916 operating instructions

McLED IP65 installation manual

McLED

McLED IP65 installation manual

Makita ML100W instruction manual

Makita

Makita ML100W instruction manual

Dometic Waeco TPOPUV operating manual

Dometic

Dometic Waeco TPOPUV operating manual

Pfannenberg PMF 2020 Operating and assembly instructions

Pfannenberg

Pfannenberg PMF 2020 Operating and assembly instructions

bauhaus 24508629 quick start guide

bauhaus

bauhaus 24508629 quick start guide

manuals.online logo
manuals.online logoBrands
  • About & Mission
  • Contact us
  • Privacy Policy
  • Terms and Conditions

Copyright 2025 Manuals.Online. All Rights Reserved.