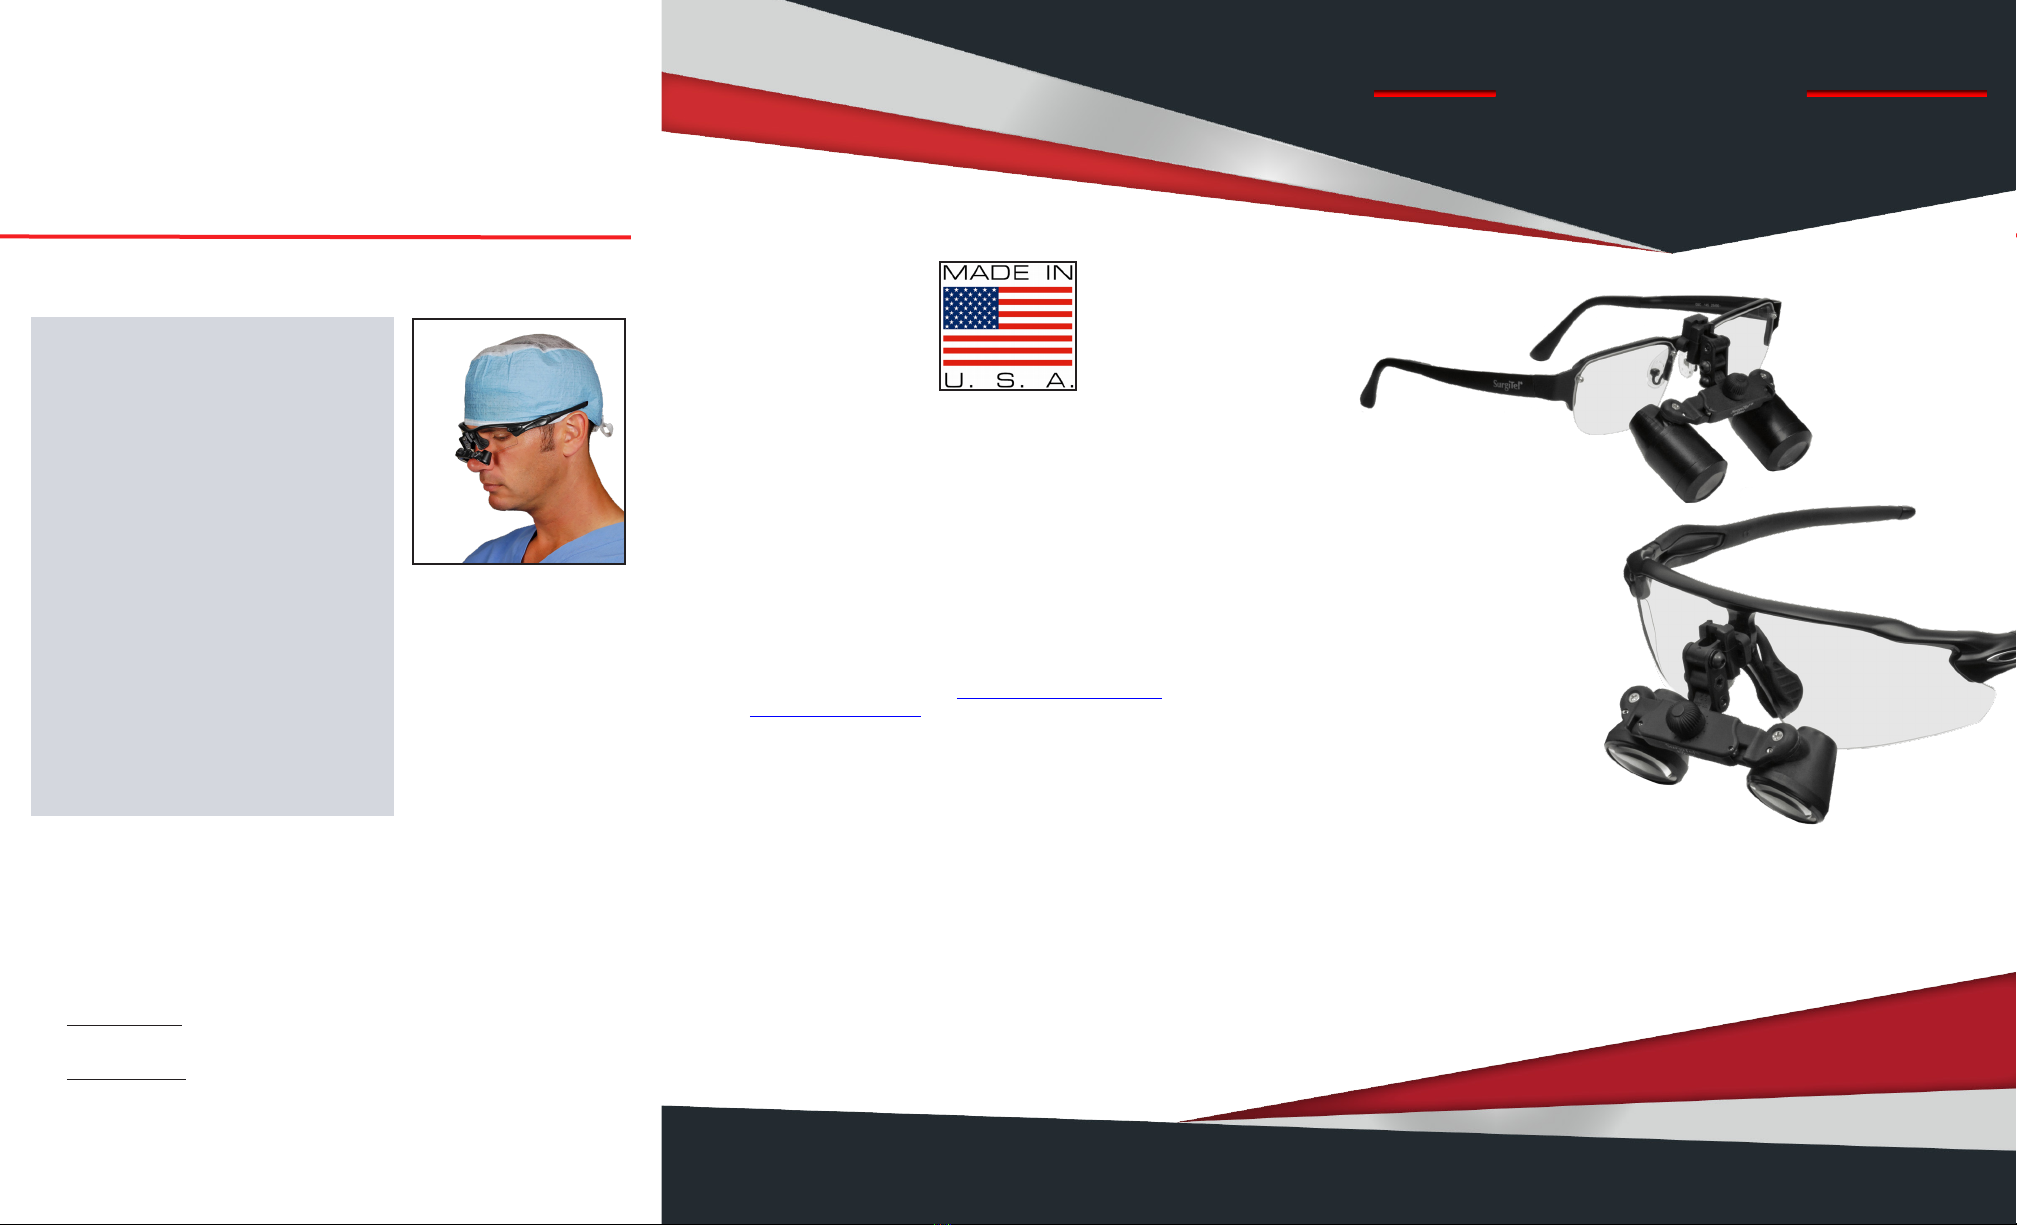
►SETTINGS/ADJUSTMENT
All SurgiTel®telescopes are factory set to the users specicaons. If minor
adjustments are necessary for change in preference(s) follow the steps below.
1. Loosen the slide retainer screw that allows you to adjust the V.P. (vercal
posion). (g 1)
2. Place the loupes at the lowest posion on the frame, then slowly raise
upward unl you achieve a comfortable ocular height. To hold V.P., make
sure the slide retainer screw is ghtened. (g 1)
3. Adjust the declinaon angle by moving the ocular rack unl your preferred
head lt is achieved. Then adjust the ocular rack to aain your line of
sight. (g 6)
4. Tighten all hinge screws with hex key (add slight tension) once you have
found your comfortable declinaon angle and alignment.
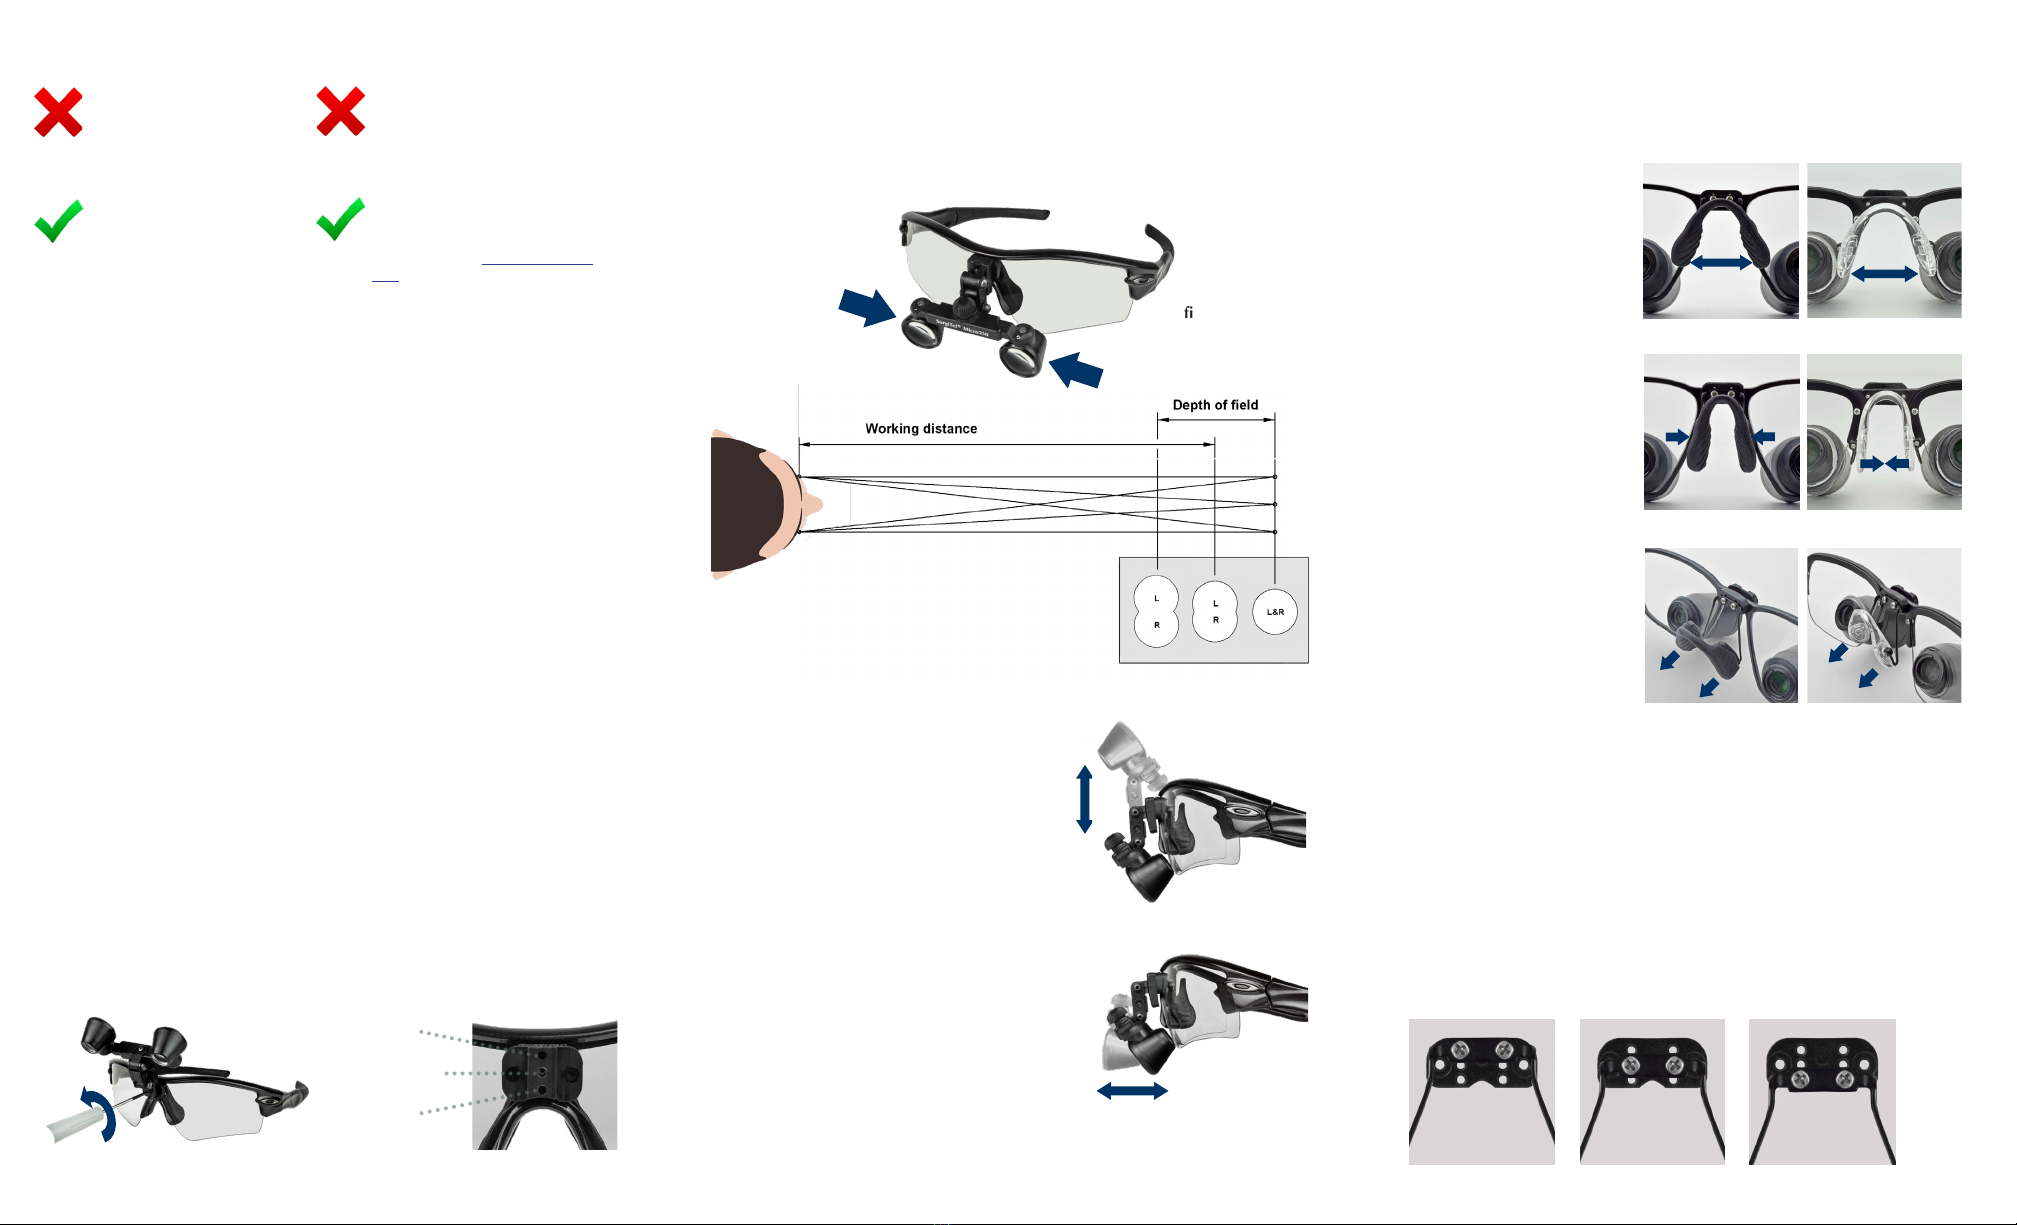
5. Posion yourself into your working posion and adjust the P.D. (pupillary
distance) knob (g 3) unl you have one image in an oblong/oval shape.
(g 4)
►ADJUSTING V.P. (VERTICAL POSITION)
1. Loosen the slide retainer screw that allows the slide retainer to move up/
down. (g 1)
2. Posion the loupes on your face/nose.
3. Adjust the oculars unl oculars are aligned to the eyes.
4. If oculars are not moved enough to align, remove loupes from your face to
adjust. Remove slide retainer screw and change placement. For screw
placement guidance refer to g 2.
Low nose
Medium nose
High nose
fig 1 fig 2
►ADJUSTING FLIP-UP TENSION
• Top Locking Screw
The whole loupe system can be ipped up to
open up your line of sight by simply rotang
link-hinge upwards (g 5). If you ip-up your
loupes frequently, leave this screw a lile
loose.
• Boom Locking Screw
Allows adjustment and locking of declinaon
angle (g 6). Maintains angle while ipped-
up or ipped-down. If you use your loupes at
dierent working postures, you should leave
this screw loose and allow the middle tension
screw to hold it in place.
• Middle Tension Screw
The level of ipping tension can be adjusted by
ghtening the middle screw. Tighten or loosen
the center screw so that the ip-up tension is
acceptable.
*Note: This hinge system is designed to work with the middle tension screw. The
top and boom screws are used for locking purposes.
fig 6
fig 5
►ADJUSTING P.D. (PUPILLARY DISTANCE)
1. Posion the loupes on your face and nose.
2. Using the P.D. knob (g 3), spread the oculars apart to the widest distance.
3. When looking through the oculars, focus on an object in front of you (such as
your thumb). If it is not in focus, move your thumb/object towards or away
from you unl you see it clearly.
4. With the other hand slowly adjust the P.D. knob unl you have one image in
an oblong/oval shape. (g 4)
Adjust pupillary (P.D. Knob) to a comfortable
setting where two images converge together.
(
fig 3,4)
fig 4
fig 3
Optimal/Preferred
Pupillary Adjustment
►CLEANING & DISINFECTION
FACTORY REFURBISHMENT CLEANING: is available if you come across a dicult
cleaning situaon. Call customer support for details: 800-959-0153
DO CLEAN:
Use quaternary ammonium
compounds is ok. Dry thoroughly.
For full list of recommended
disinfectants, visit www.surgitel.com/
help
Any cleaners with alcohol,
ethanol, ammonia,
glutaraldehydes, iodophors
Rinse Under Running Water
Submerge in Water or
Any Liquid
Autoclave
DO NOT USE: DO NOT:
Use eyeglass cleaners (without
alcohol), hydrogen peroxide
or apply mild soap and water
with a soft cloth until particles
are loosened. Wipe or air dry.
DO DISINFECT:
►ADJUSTING NOSE PAD(S)
When the nose pads are properly adjusted to your face, they will provide excel-
lent comfort and balance. If the nose pads do not make even contact with your
nose comfortably, please follow the direcons described below.
Changing nose pad style, using ergo t nose pad mounng block
1. Before switching to a dierent nose pad style, it is recommended that you
try set choice from factory. Any slight ocular misalignment or discomfort, refer
to “How to adjust nose pad to t nose” instrucons above. If you decide to
change to a dierent nose pad style, please read and follow steps below for
help with vercal alignment with oculars.
2. Start by reassembling new nose pad wire arms into same mounng block
holes, as used on previous.
3. If you see top shadowing when looking through oculars, mount nose pad
wire arms down (example: “A to B” or “B to C”) unl xed.
4. I f you see boom shadowing when looking through oculars, mount nose pad
wire arms up (example: “C to B” or “B to A”) unl xed.
ABC
• Adjusng Nose Pads for Too
High Oculars
Adjust the width of the nose pads
by bending the nose pad wire
mounts outwards (g 7). By doing
so, this will reduce the height of
the frame and lower the ocular
posion.
• Adjusng Nose Pads for Too
Low Oculars
Adjust the width of the nose pads
by bending the nose pad wire
mounts inwards (g 8). By doing
so, this will increase the height
of the frame and raise the ocular
posion.
• Adjusng Nose Pads for Low
Nose
If the nose pads are not evenly
placed on the bridge of the nose,
bend the wire mounts down and
away from the frame (g 9) and
readjust the width of the nose
pads if necessary. Note that the
wire mount lt angle depends on
the bridge of the nose. The less
nose bridge you have, the larger
the lt becomes to t your nose.
fig 7
fig 8
fig 9
fig 7
fig 8
fig 9
How to adjust nose pad to t nose