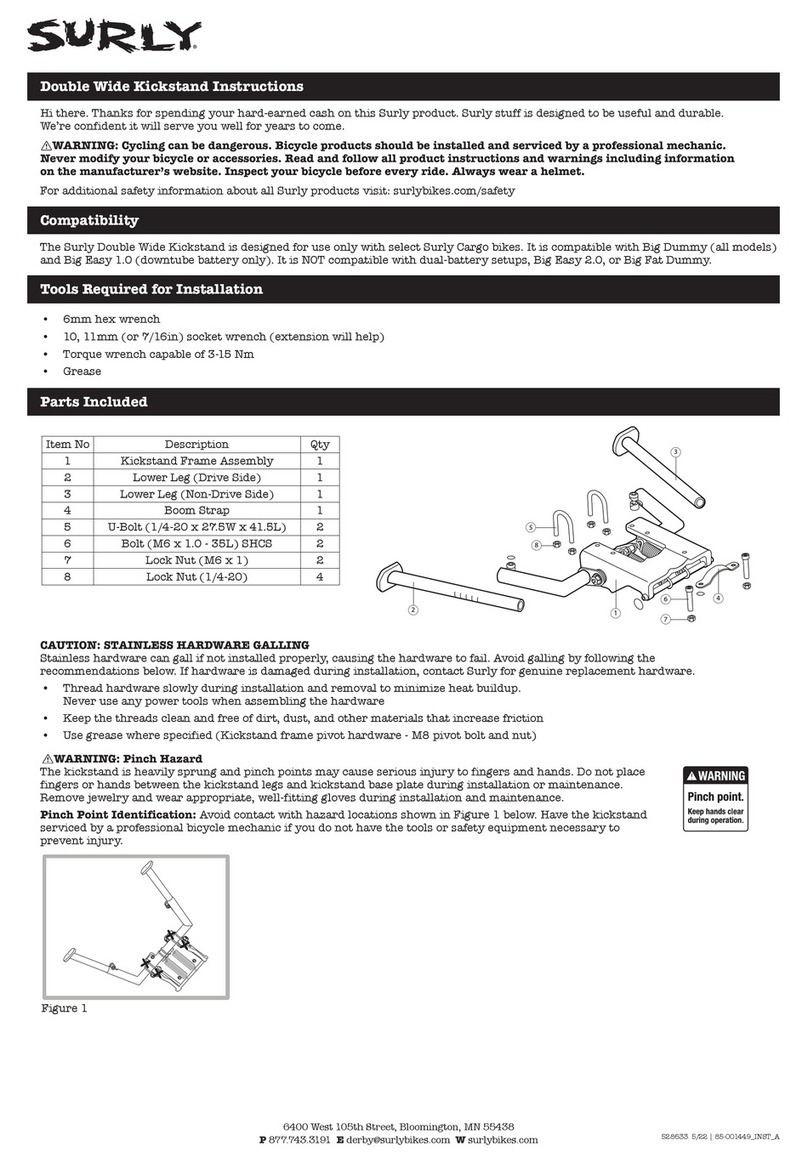
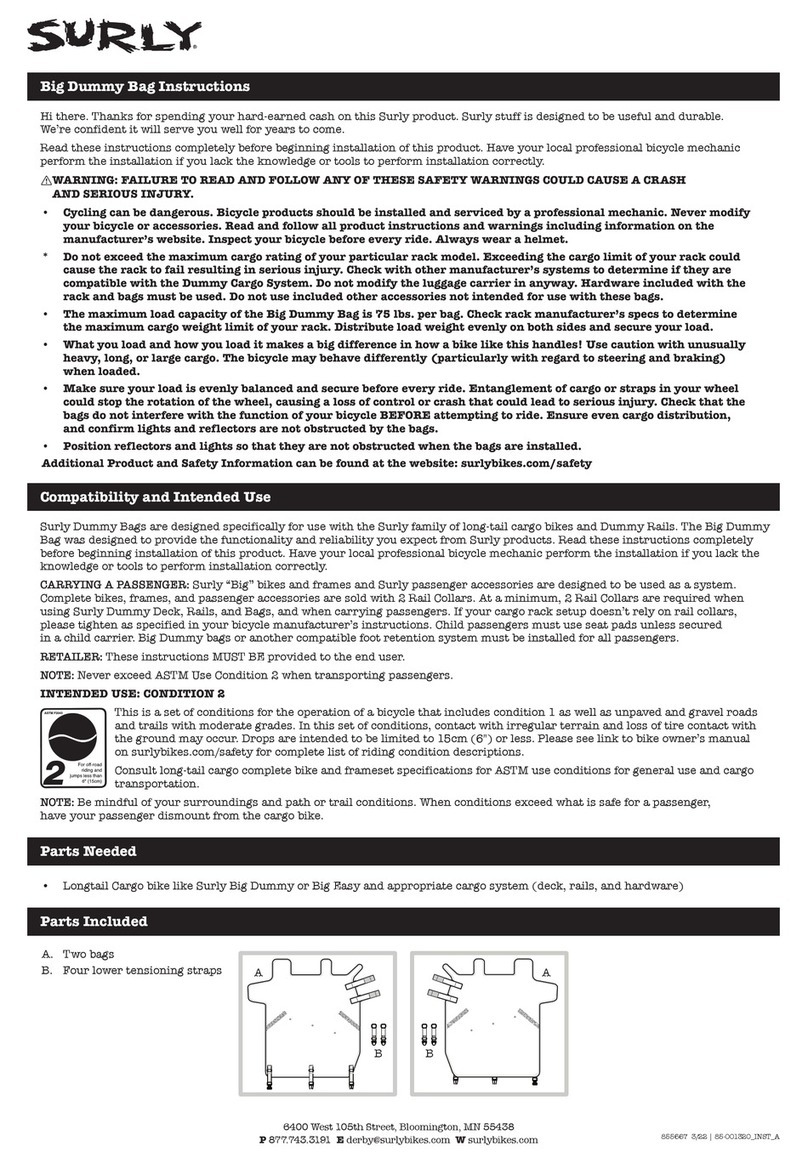
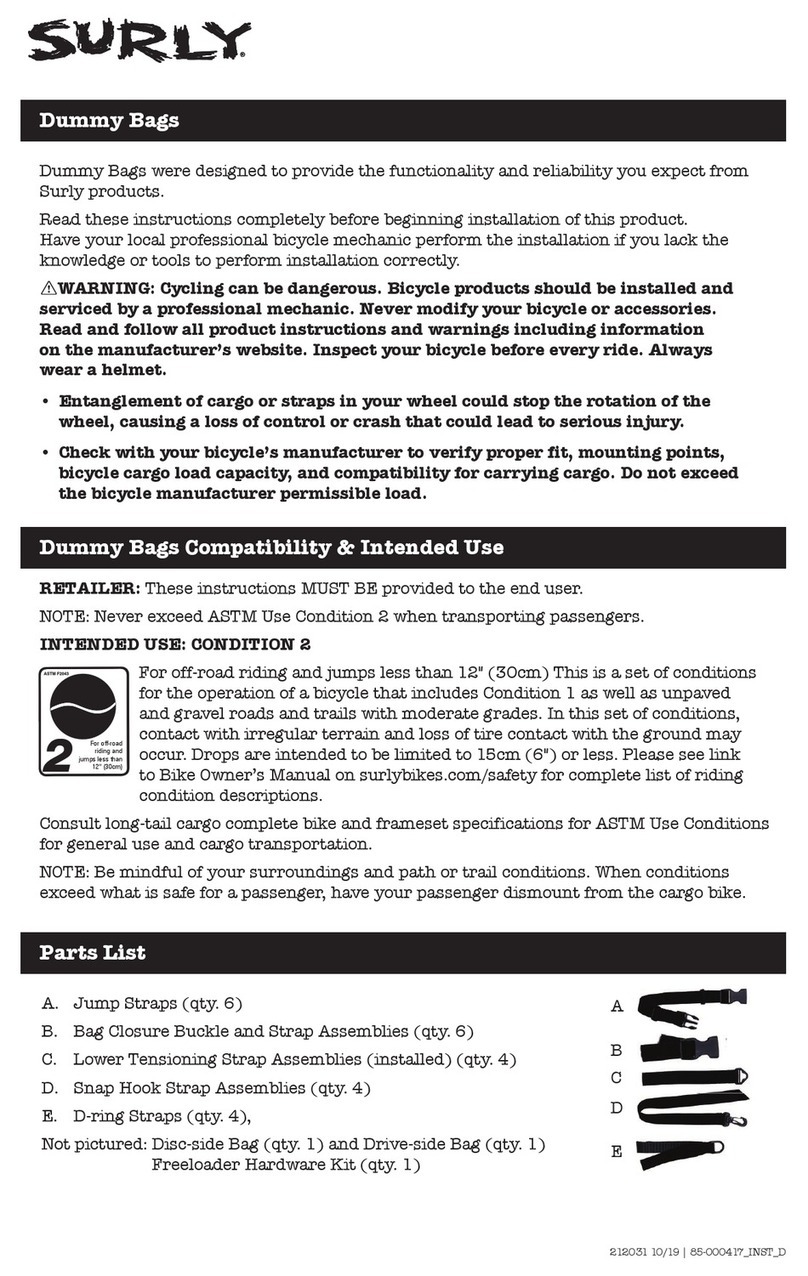
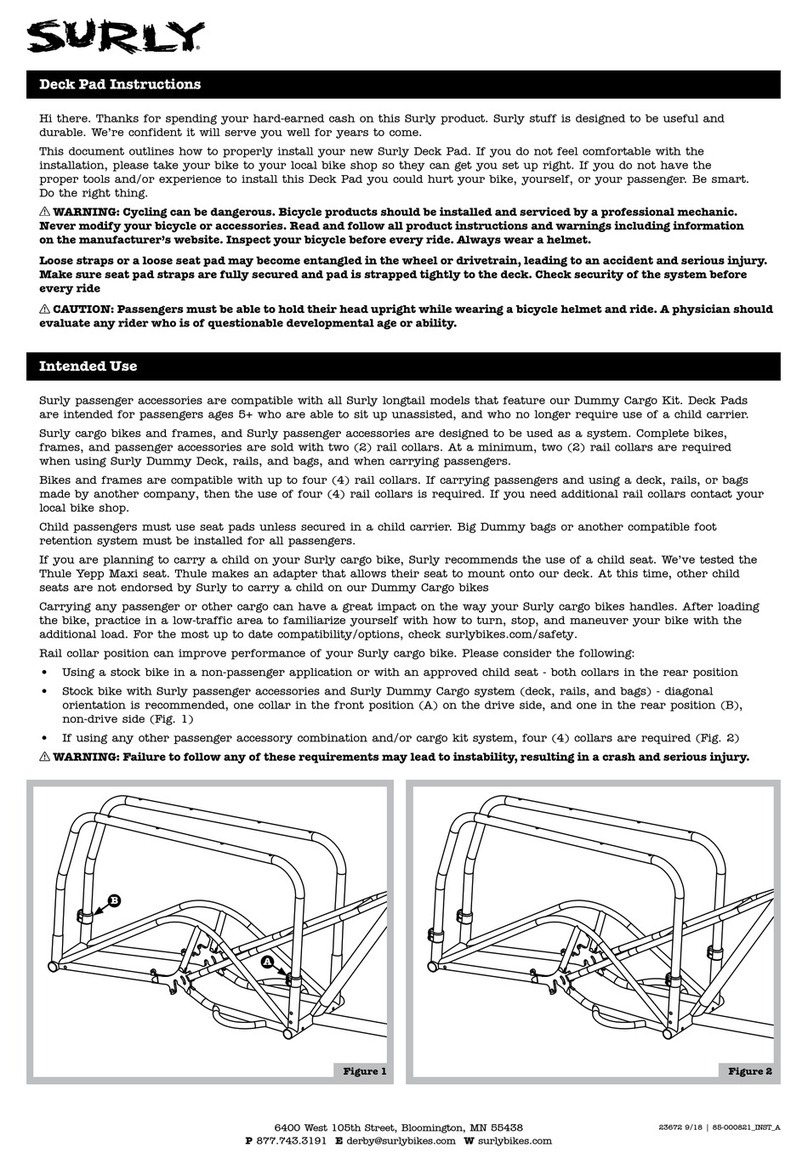
Surly Bill and Ted User manual

BILL AND TED TRAILER ASSEMBLY INSTRUCTIONS
Thanks for buying a Surly trailer. We took care in designing your trailer to work with many
different kinds of bikes, to haul a lot, and to last a long time. But it won’t do all these things
to its full potential if it isn’t properly assembled. Read these instructions and gather
tools and supplies before attempting the assembly of your Surly trailer. Improper
assembly will limit its life expectancy and may result in personal injury or death. If you
lack appropriate tools and/or mechanical aptitude, take the trailer to your local bike shop
and get served.
Oh, one more thing: this trailer was not designed for carrying live animals or people. Doing
so may result in injury to you and/or your passengers, and that would make us feel bad.
INTRO
• Metrichexkeys
• 14mmand15mmopen-endwrenchoradjustablewrench
• Tirepump
• Grease
WHAT YOU’S NEED
• Removeallthepartsfromtheboxandmakesureeverythingispresent
• Collapseboxonoor,blastsometunes,getyourbreak’non,andproperly
dispose of packaging
• Readandunderstandtheinstructions
• Werecommendyouapplyamoisturebarriertoinsideofframetubestoprevent
corrosion (J.P.Weigle’s Framesaver, linseed oil, etc). This will extend the life
of your trailer
• Duringassembly,applygreasetoallfastenerthreadsunlessotherwisenoted
ASSEMBLY SETUP

Part# Description QTY
1 QRAxleScrew-M8x20mm 1
2 BearingCapWasher 1
3HitchAxleBearing 2
4 Non-DriveSideSkewerNut 1
5 QRSkewerRod 1
6 Drive Side Skewer Nut 1
7BearingRetainingRing 1
8 AxleHookSpring 2
9AxleHookThumbscrew 2
10 Drive Side Yoke 1
11 YokeClampScrew-M6x20mm 2
12 Non-DriveSideYoke 1
13 HammerJointLockNut-M10x1 2
14 Hammer Joint Brass Bearing 4
15 Hammer Joint Serrated Washer 4
16 Hammer Joint Pivot Bolt 2
17 Boom 1
18 SafetyBoltScrew-M8x30mm 1
19 WheelCover 2
20 SpokeGuard/FenderScrew-M5x16mm 14
21 WheelCoverClampScrew-M6x25mm 8
22 DeectorShieldFlat-HeadScrew-M6x20mm 4
23 DeectorShield 2
24 WheelRetainingBolt-Non-DriveSide 1
25 WheelRetainingBolt-DriveSide 1
26 Wheel Bearing 4
27 Wheel Bearing Spacer 2
28 Wheel 2
29 AxleWasher 2
30 StubAxleBolt 2
31 StubAxle-Non-DriveSide 1
32 StubAxle-DriveSide 1
33 StubAxleWedge 2
34 BoomClampScrew-M6x20mm 4
35 TrailerBed-Short 1
36 TrailerBed-Long 1
Not Shown Reectors 2
TRAILER PARTS LIST

BOM
1
234
5
6
7
8
9
10
11
12
13
14
15
16 17
18
3
15
BOM
19 20
21
22 23
24 25
26 27
28
29 30
31 32 33
34 35 36
20
TRAILER HITCH
TRAILER BED


HITCH ASSEMBLY
BED ASSEMBLY
1. Applyalightcoatingofgreasetotheentireoutsideofthestubaxlesandfullyinsert
the axles into the trailer bed axle tube. NOTE: The stub axles for each side of your
trailer are different! The stub axle marked ‘D’ goes into the right side of the trailer
bed (bicycle drive side) and the stub axle marked ‘ND’ goes into the left side of the
trailerbed(bicyclenon-driveside).Duringinstallation,rotatethestubaxlessothat
the wedges are orientated in the 6 o’clock position. Finally, tighten the wedge bolts
(torque=20Nm)toholdthestubaxlesinthetrailerbed.
2. Toinstallthewheels,slideanaxlewasherontothestubaxlefollowedbyawheel
andthensecuretheassemblywiththeproperwheelretainingbolt(torque=30Nm).
NOTE:Thewheelretainingboltsforeachsideofyourtraileraredifferent!
Thedrivesidebolthasleft-handthreadsandthenon-drivesidehasright-hand
threads.Markingsontheboltheadwilltellyouwhichbolttouseonwhichside
of the trailer.
3. Installthe(14)M5x16mmsocketheadcapscrewsintothebosseslocatedonthe
curved wheel cover tube and snug tight (torque max = 7 Nm). The fasteners are
includedformountingfendersandspokeguardstoyourtrailer.Makeyourownor
visit surlybikes.com to see what we offer.
4. Threadthe(8)M6x25mmmachinescrews(2perclamp)intotheclampsofthe
wheel covers. Slide the wheel covers on to the wheel cover stubs with the spoke
guard bosses facing inboard toward the trailer bed. Ensure that the wheel cover is
positionedushagainstthetrailerbedandtightenclamphardware(torque=8Nm).
Installthedeectorshieldsbyusingthe(4)M6x20mmat-headmachinescrews
(torque = 6 Nm).
5. Installreectorsontherearwheelcoverstubsontheoutsideofthewheel
cover clamps.
6. Threadthe(4)M6x20mmmachinescrewsintotheboomclampatthefront
of the trailer bed. Do not tighten yet.
7. Install one spring onto each hitch thumbscrew and thread thumbscrews
into the hitch hooks.
8. Slidethenon-drivesideyokeintotheclampofthedrivesideyokeandinstallthe
(2)M6x20mmmachinescrewsintotheclamp.You’lladjustthehitchwidthlater.
9. Attachtheboomtotheyokewiththeappropriatehardwarethroughthehammer
joint. NOTE:Thewashersareserratedononesideonlyandmustbeinstalled
correctly! The smooth side of each washer should face the brass, the rough side
toward the paint. You’ll adjust the tightness of both pivots later. Be sure to thoroughly
greaseallfrictionsurfacesinthejoint!Greaseistheword.

CONNECTING HITCH TO BED
CONNECTING TRAILER TO BIKE
13.Preprearwheel
A. If you have a QR Axle
i. Removetheskewerfromyourhub.
ii. Assemblethenon-drivesideofyourskewerassembly
and insert it into your hub. NOTE: Ensure that the
(1)M8x20mmmachinescrewisnotfullythreadedinto
theskewerrod.Onlyafewthreadsarenecessary
at this point.
iii. Thread the drive side skewer nut on to the skewer rod with
yourngersandtightenuntiltheskewerrodheadisush
againsttheoutsidefaceofyournon-drivesidedropout.
NOTE:Itisveryimportantthattheskewerrodhead
isushagainstthedropoutface.TheM8x20mmmachine
screwmayneedtobeloosenedtoachievepropersetup.
iv. Tightenthe(1)M8x20mmmachinescrewtofullysecureyourrearwheelin
theframe(torque=16Nm).
B. If you have a 10 x 1 Threaded Axle
i. Removeyouraxlenutsandreplacethemwithtraileraxlenuts
and serrated washers (available separately).
ii. Reinstallwheelonframeandtightenasusualwitha15mmwrench.
10. Insertthehitchintotheclampatthefrontofthetrailerbedandsnugtight
the clamp bolts. You’ll adjust orientation of the hitch later. NOTE: The hitch
assemblywillneedtoswingdowntoallowthethreadedsafetyboltbossto
clear the gusset on the trailer bed.
11. Threadthe(1)M8x30mmmachinescrewintothesafetyboltbossontheboom.
12. Haveyoubeenmakingsureallyourhardwareisgreased?
ADJUSTMENTS
1. Loosentheyokeclampboltsandadjustthewidthoftheyoketothewidthofthehitch
bearings.Placeasmallamountofgreaseintheaxlehookpockets.Attachthetrailer
to the bike by engaging the hitch hooks on the hitch bearings. This will typically
require a few attempts before you have the hitch perfectly adjusted for the width of
thebearings.Makesurebothbearingsarefullyseatedintohookpockets.Onceyou’ve
dialed-intheyokewidthandalignedtheyokearmstoeachother,tightentheyoke
clamp bolts (torque = 9 Nm). Keep the trailer attached to the bike.
2. Positionthebikeverticallyandloosentheboomclampboltstomakeadjustments.
Atthispoint,youwillneedtoadjustthelateralandverticalorientationofthetrailer
at the same time. Laterally align the trailer’s center line with the rear wheel of the
bikesothatthetrailerwillfollowdirectlybehindthebike.Movetheclampvertically
totiltthetrailerbeduntilitisat,parallelwiththeground.Whenthetraileris
oriented properly, secure the setup by tightening the clamp bolts (torque = 9 Nm).

3. ThreadintheM8x30mmsafetyscrewuntilitstopssnugagainsttheangleplate.
This screw will prevent the front of the trailer from dropping to the ground in an
unlikely scenario where the boom clamp slips. Think of it as simple, cheap insurance.
4. Loosenbothlocknutsonthemainpivot.Adjustthemainpivottensionbytightening
or loosening the two pivot bolts. There should be no slop in the joint and some
resistance is actually good. If the pivots are tightened correctly, the joint should
have just enough resistance to hold a bike vertically when attached to the trailer.
Secure your adjustment by tightening the lock nuts on the pivot bolts.
NOTE:Thebrasspivotbearingswillwearoutquicklyifthepivothardware
isnotproperlyadjusted,greasedandlockedintoplace.
CONNECTING AND DISCONNECTING THE TRAILER TO YOUR BIKE
Afterthetrailerhasbeenadjustedtoyourbike,itisveryquickandeasytohook-up
yourcargo-haulingmachine.Simplyloosenthethumbscrewsontheaxlehooksuntil
the thumbscrew ends are no longer protruding into the axle hook pockets. Lift the
trailer hitch and place the axle hooks over your hitch bearings on your rear axle.
Once the bearings are fully engaged in the axle hook pockets, tighten the thumbscrews
snug against the back face of the hitch bearings. WARNING! Failure to tighten the
thumbscrewsWILLresultina“badsituation”whenyoutrytostopyourtrailerand
itdetachesfromyourbike.Nobodywantsa300lbtrailerroamingfree.
LOADING THE TRAILER
Your trailer will perform best when the weight of the cargo is centered over the
traileraxle.Thetrailerisratedfor300lb(136kg)ofcargoandamaximumtongue
weightof50lb(23kg).Exceedingtheweightlimitsand/orpoorlydistributingthe
weight may result in damage to you and/or the trailer. If nothing else, your trailering
experience will be less than enjoyable.
It is easiest to mount the trailer to your bike and then load it. For this reason,
always make sure that your bike is secure when you start applying load to the trailer.
Since adding or removing load on the trailer can cause the bike to fall over, we
recommendlayingthebikeonitsleft(non-driveside)whenloadingthetrailer.
You can easily check the tongue weight of your trailer with a standard bathroom scale.
Afteryouhaveloadedeverythingandthebikeisattachedtothetrailer,placethescale
under the rear wheel of your bike (without you on the bike) and ensure that the scale
doesnotreadover50lb.
Obviously,yourcargomustbewell-securedtothetrailer.UseSurlyJunkStraps,ropes,
bungees, etc. to hold things in place.
TIRE PRESSURE
Tirepressurewillplayalargeroleintheperformanceofyourtrailer.Afteryourtrailer
hasbeenloaded,adjustthetirepressuretobestworkwithyourload(35psiisagood
place to start). Tire pressure too high will cause the trailer to bounce, while extremely
low tire pressure will lead to sloppy handling, more rolling resistance and possibly a tire
failureortubepinchflat.Itwilltakesometrialanderrorbeforeyoudevelopninja-like
trailer tire inflation skills.
EXTRAS
ACCESSORIES AND ATTACHMENTS
LIMITED WARRANTY:
Surly trailers are guaranteed to be free from manufacturing defects for three years from the original date of purchase.
What this means is that if we screwed up something in the manufacturing process that resulted in the premature failure
oftheproduct,we’llxorreplaceitatourdiscretion.Thiswarrantyisfortheoriginalbuyeroftheproductandisnot
transferable.Itshouldgowithoutsayingthatwewon’tevenconsideryourwarrantyproblemwithoutadatedproof-of-
purchase. What this warranty doesn’t cover is damage resulting from any sort of use other than “normal” use, and the
inevitable wear and tear resulting from “normal” use. Never carry live people or animals on your Surly trailer! Surly
products are built to be used vigorously and we wouldn’t expect you to treat them gently, but we can’t be responsible for
the inherent danger to body and property you face each time you use one of our products. We’re hip to the “just riding
along”phenomenonandfrankly,we’rejustnothavingit.Sorry,thepaint-jobisn’tcovered,norisanydamagethat
happens to you or your other components as a result of any failure of one of our products.
Lastly, if you modify or neglect our products we can’t be responsible for them or what might happen to you while you’re
usingthem.Wehatetospellitout,buthey,it’sthe21stCentury.We’reknowntobackupourproducts,butwe’veseen
too many peoples’ parts come back to us that were not defective and did not meet our warranty guidelines. Save yourself
some time and shipping money by reading this and making a decision for yourself. If you and your shop think your
Surly product is indeed worthy of a warranty inspection, please return the product to the original place of purchase,
accompanied by a sales receipt. In the unlikely event that this is not possible, call or email us and we’ll do our best to get
you riding again.
OTHER PRODUCTS:
Giveusacallforafreecatalogorvisitourwebsitetocheckoutallourstuff.
TheSurlytrailerisdesignedtobeSurly,aDIY-friendlyplatformforallyour
crazy ideas.
ThecornersofthetrailerbedfeaturethreadedM6bossesforattachingcornerstakes,
trailersidesandanythingelseyoucanthinkup.Getcreative.
ThetraileralsoincludessixthreadedM6bossesonthetopofthebedwhich
are intended for mounting decking materials of your liking… wood, plastic, metal,
fabric,etc…Again,getcreative.
Checksurlybikes.comforBillandTedtraileraccessories.
CONTACT US:
SURLY
Phone:877.743.3191
Web: www.surlybikes.com
E-mail: derby@surlybikes.com
Where We Is:6400W.105thSt.,
Bloomington,MN55438USA
Table of contents
Other Surly Bicycle Accessories manuals

Surly
Surly Dummy Bag User manual

Surly
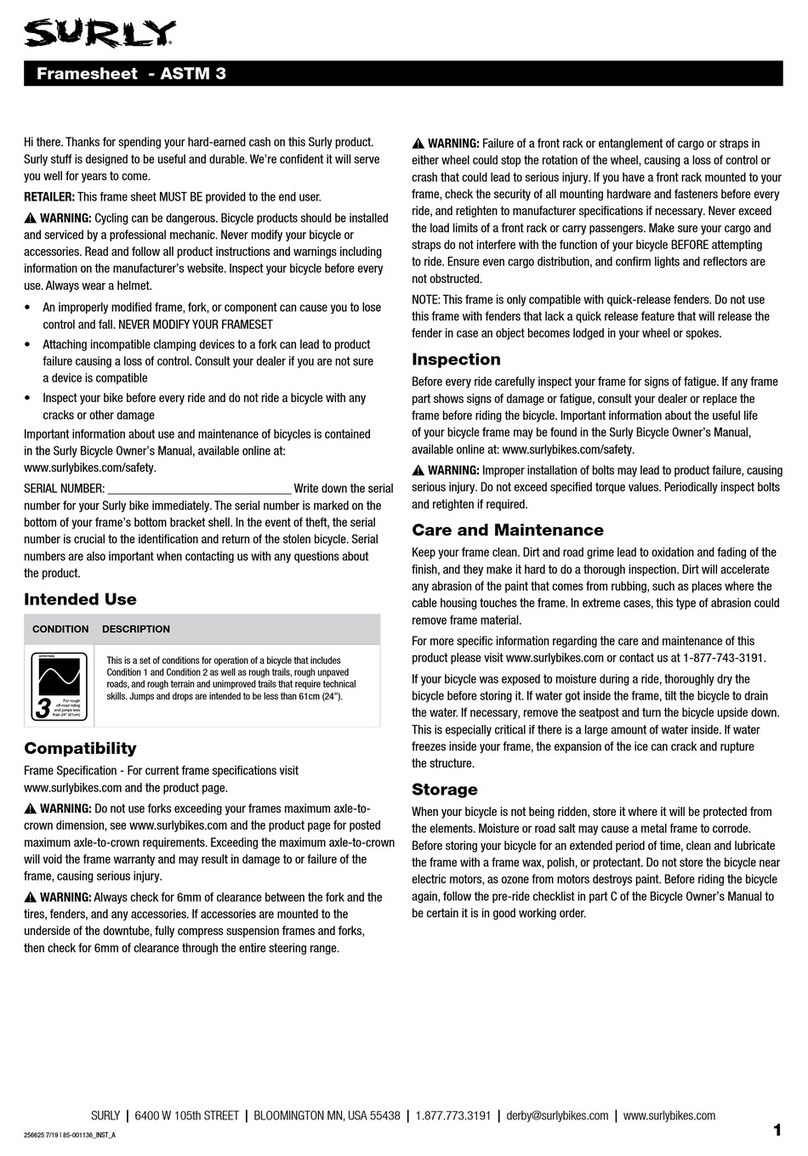
Surly ASTM 3 User manual

Surly
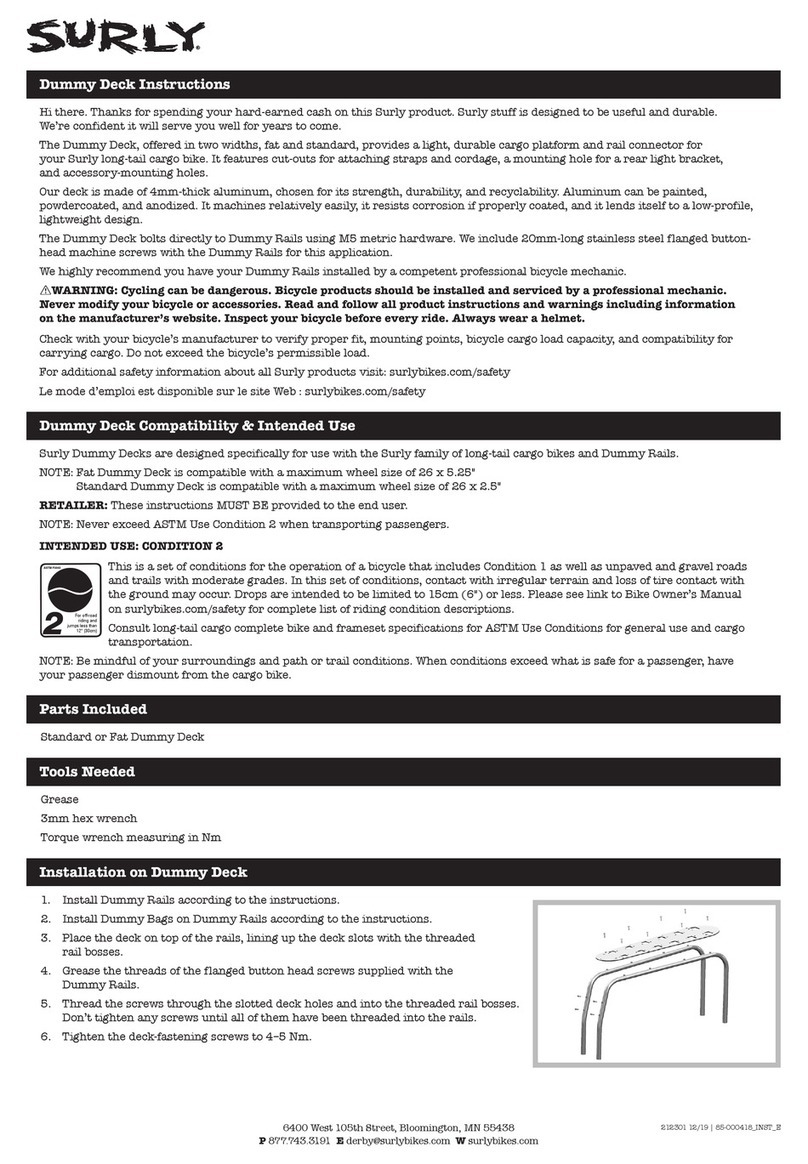
Surly Dummy Deck User manual

Surly
Surly Ice Cream Truck User manual

Surly
Surly Rear Rack User manual

Surly
Surly Whip Lash Gear Strap User manual

Surly
Surly Longtail Cargo Frame User manual

Surly
Surly Deck Pad User manual

Surly
Surly Dummy Rail Collar User manual

Surly
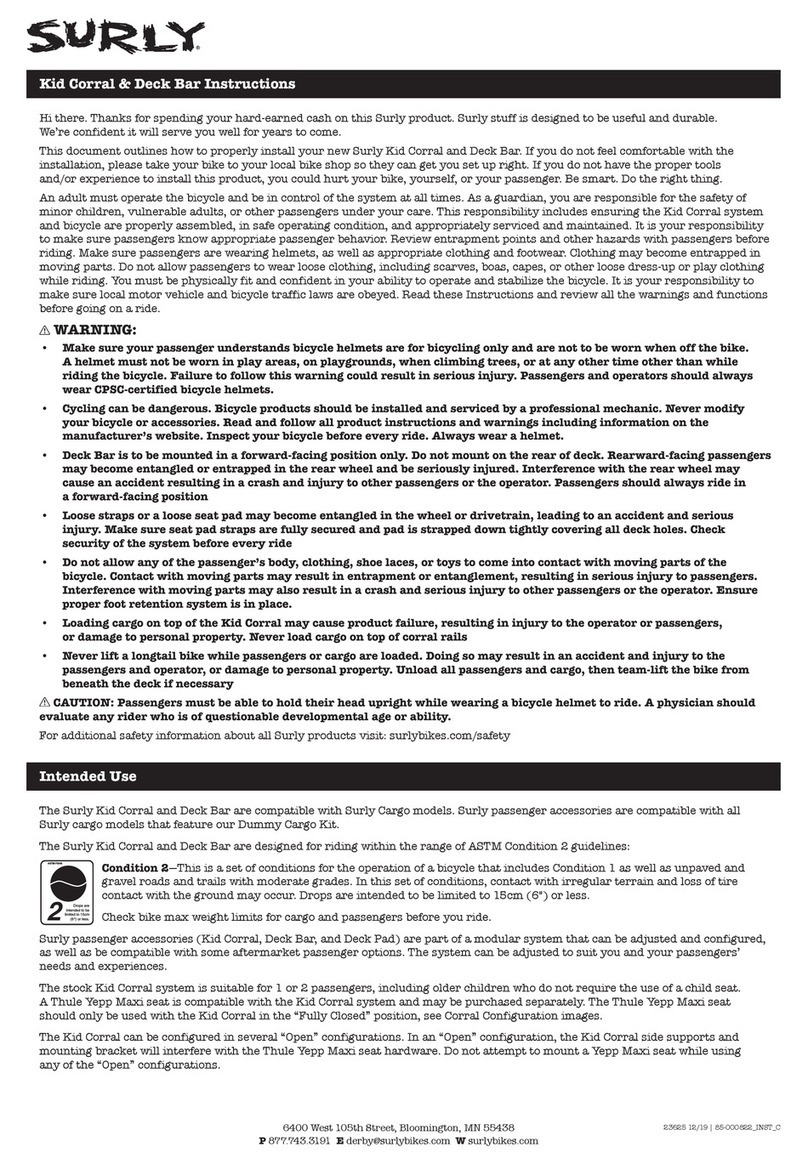
Surly Deck Bar User manual
Popular Bicycle Accessories manuals by other brands

Specialized
Specialized Elite CylcoComputer user manual

Sigma
Sigma BC 16.16 manual

Playcore
Playcore Dero Setbacks installation instructions

VDO Cyclecomputing
VDO Cyclecomputing x3dw instruction manual

Cateye
Cateye RAPID X2 manual

buratti meccanica
buratti meccanica Clorofilla Trail Use and maintenance manual