manuals.online logo
Brands
  1. Home
  2. •
  3. Brands
  4. •
  5. Swann
  6. •
  7. DVR
  8. •
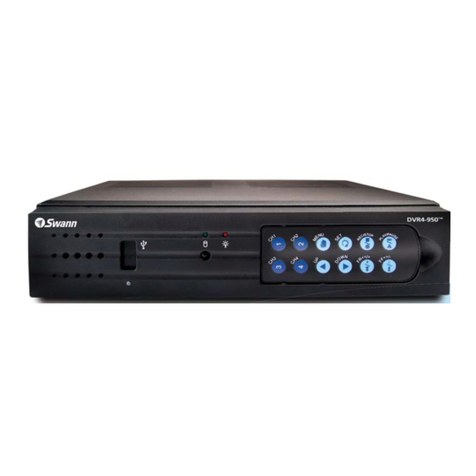
  9. Swann DVR16-8900 User manual

Swann DVR16-8900 User manual

Other manuals for DVR16-8900

1

Other Swann DVR manuals

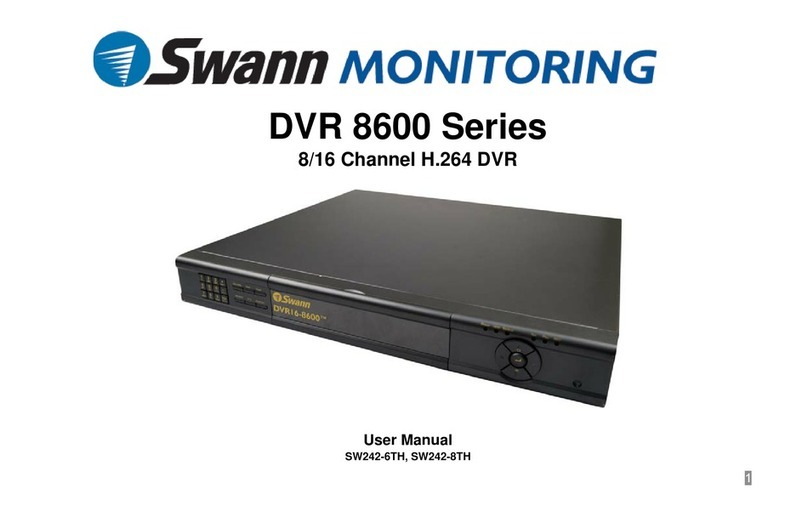
Swann DVR16-8600 Combo User manual

Swann

Swann DVR16-8600 Combo User manual

Swann 960H User manual

Swann

Swann 960H User manual

Swann DVR4-NET-PLUS SW243-4NU User manual

Swann

Swann DVR4-NET-PLUS SW243-4NU User manual

Swann DVR16-4550 User manual

Swann

Swann DVR16-4550 User manual

Swann 4 CH Digital Video Recorder User manual

Swann

Swann 4 CH Digital Video Recorder User manual

Swann ThumbCam DVR-415 User manual

Swann

Swann ThumbCam DVR-415 User manual

Swann DVR4-NET-PLUS SW243-4NU User manual

Swann

Swann DVR4-NET-PLUS SW243-4NU User manual

Swann RemoteCam DVR-410 User manual

Swann

Swann RemoteCam DVR-410 User manual

Swann 8600 Series User manual

Swann

Swann 8600 Series User manual

Swann DVR4/9-SecuraNet SW242-4SN User manual

Swann

Swann DVR4/9-SecuraNet SW242-4SN User manual

Swann 4-4350 Manual

Swann

Swann 4-4350 Manual

Swann M16 User manual

Swann

Swann M16 User manual

Swann ADVANCED-SERIES H.264 User manual

Swann

Swann ADVANCED-SERIES H.264 User manual

Swann DVR8-8900 Quick start guide

Swann

Swann DVR8-8900 Quick start guide

Swann DVR4-Motion User manual

Swann

Swann DVR4-Motion User manual

Swann 4 Camera DVR Pack User manual

Swann

Swann 4 Camera DVR Pack User manual

Swann PRO-series User manual

Swann

Swann PRO-series User manual

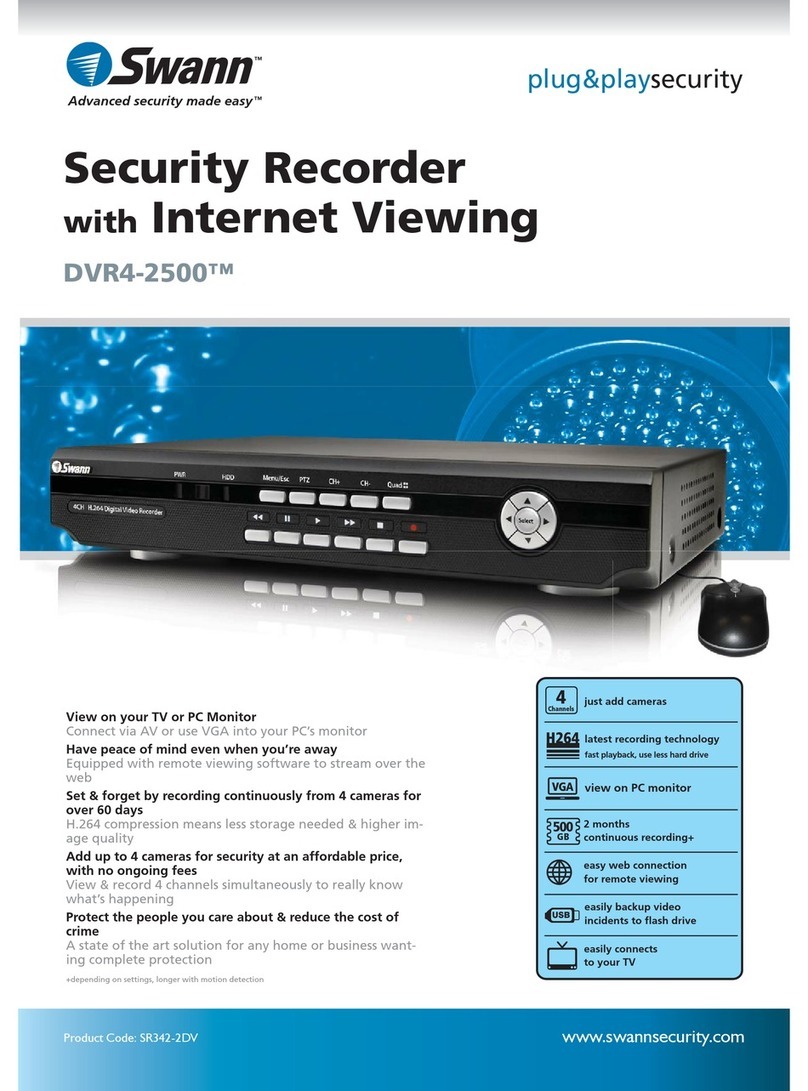
Swann DVR4-2500 User manual

Swann

Swann DVR4-2500 User manual

Swann PRO-series User manual

Swann

Swann PRO-series User manual

Swann QH4 Assembly instructions

Swann

Swann QH4 Assembly instructions

Swann FlashlightDVR SW244-TDV User manual

Swann

Swann FlashlightDVR SW244-TDV User manual

Swann DVR8-Net-Plus User manual

Swann

Swann DVR8-Net-Plus User manual

Swann SW-R-DVR4 User manual

Swann

Swann SW-R-DVR4 User manual

Swann SW-R-DVR9 User manual

Swann

Swann SW-R-DVR9 User manual

Popular DVR manuals by other brands

Pace TDC577X manual

Pace

Pace TDC577X manual

Zavio NQ2040 user manual

Zavio

Zavio NQ2040 user manual

KGuard Security KG-SHA104 user manual

KGuard Security

KGuard Security KG-SHA104 user manual

SanDisk V-Mate Quick manual

SanDisk

SanDisk V-Mate Quick manual

Panasonic WJND200 - NETWORK DISK RECORDER Setup instructions

Panasonic

Panasonic WJND200 - NETWORK DISK RECORDER Setup instructions

Hunt Electronic HVRM-T1600Q Install & user's guide

Hunt Electronic

Hunt Electronic HVRM-T1600Q Install & user's guide

Portwell PIVS-6104 user manual

Portwell

Portwell PIVS-6104 user manual

AVer EXR6004 Mini Quick user guide

AVer

AVer EXR6004 Mini Quick user guide

Security Labs SLD261 owner's manual

Security Labs

Security Labs SLD261 owner's manual

EverFocus ECOR 4 instruction manual

EverFocus

EverFocus ECOR 4 instruction manual

Xoro HRK 7550 user manual

Xoro

Xoro HRK 7550 user manual

FLIR M3100E Series instruction manual

FLIR

FLIR M3100E Series instruction manual

VTRACKPRO FPRO300 user manual

VTRACKPRO

VTRACKPRO FPRO300 user manual

RMRC FPV1000 manual

RMRC

RMRC FPV1000 manual

urmet domus 1093/004AHD instructions

urmet domus

urmet domus 1093/004AHD instructions

Toshiba D-VR3SU Service manual

Toshiba

Toshiba D-VR3SU Service manual

CMOS DOTCOM ANX-1670 manual

CMOS DOTCOM

CMOS DOTCOM ANX-1670 manual

Smarty BX4000 user guide

Smarty

Smarty BX4000 user guide

manuals.online logo
manuals.online logoBrands
  • About & Mission
  • Contact us
  • Privacy Policy
  • Terms and Conditions

Copyright 2025 Manuals.Online. All Rights Reserved.

USER’S MANUAL
H.264 REAL TIME DVR
0
Swann DVR16-8900
User’s Manual
Rev. 1.0
H.264 Real-Time
Standalone DVR
Please read the safety precaution before using the product. MT16120810E
USER’S MANUAL
H.264 REAL TIME DVR
1
Safety Precaution
 Disconnect power to the DVR when
connecting or disconnecting cables or
accessing the rear panel.
 Exercise caution handling liquids around
the DVR. Don’t place cups or bottles
containing liquids on or near the DVR.
 Do not bend, twist or place heavy ob ects
on your cables.
 Do not clean using liquids, soaps or
detergents. Use a dry cloth or towel to
remove dust from the DVR as necessary.
 Do not install the DVR in areas with high
humidity, dust or smoke.
 When unplugging the power, hold the plug
and unplug slowly. Do not hold the plug
with wet hands or connect the DVR to a
loose power outlet.
 Do not disassemble or reconfigure the
DVR. Don’t remove the casing except to
change the hard drive or backup battery.
There are no other user serviceable parts
inside.
 Ensure there are no obvious dangers
where you install the DVR. Check for
moisture, damaged cables or wiring,
unstable surfaces and infrastructure and so
on. Don’t install the DVR in any location
where one or more dangerous elements is
present.
 Do not install the DVR in direct sunlight.
 Install the DVR in a cool and well ventilated
location. Don’t install the DVR in an area
near heating devices.
 Install the DVR on a sturdy, flat surface.
Don’t install the DVR in a location where it is
likely to fall.
 The power outlet the DVR uses must be
grounded, and the voltage range must be
within 10% of the rated voltage.
 Do not share the power outlet
the DVR uses
with high-current devices (such as
hair dryer,
iron, refrigerator or heating device).
 When replacing the battery, always replace
with the same type of battery as the one
pr
ovided. When disposing the battery, follow
the directions of the manufacturer
, or the law
as it applies in your locality.
 Always use new, high quality hard drives.
Older or damaged hard drives may lose
data. If this occurs, the DVR will show the
message “Error or Defective” indicating that
it cannot access information on the hard
drive. In the event this occurs, contact the
hard drive manufacturer: many have data
recovery services available.
USER’S MANUAL
H.264 REAL TIME DVR
2
CAUTION
RISK OF ELECTRIC SHOCK. DO NOT OPEN.
CAUTION! TO REDUCE THE RISK OF ELECTRIC SHOCK, DO NOT
REMOVE COVER (OR BACK). NO USER-SERVICEABLE PARTS INSIDE.
REFER SERVICING TO QUALIFIED SERVICE PERSONNEL.
Explanation of Two Symbol
The lightning flash with arrowhead symbol, within an equilateral
triangle, is intended to alert the user to the presence of un-insulated
“dangerous voltage” within the product’s enclosure that may be of
sufficient magnitude to constitute a risk of electric shock to persons.
The exclamation point within an equilateral triangle is intended to alert
the user to the presence of important operating and maintenance
(servicing) instructions in the literature accompanying the appliance.
THE GRAPHIC SYMBOLS WITH SUPPLEMENTAL
MARKING ARE ON THE BOTTOM OF THE SYSTEM.
“WARNING – TO PREVENT FIRE OF SHOCK HAZARD,
DO NOT EXPOSETHE UNIT TO RAIN OR MOISTURE”
This equipment has been tested and found to comply with the limits for a Class A digital device, pursuant
to part 15 of the FCC Rules. These limits are designed to provide reasonable protection against harmful
interference when the equipment is operated in a commercial environment. This equipment generates,
uses, and can radiate radio frequency energy and, if not installed and used in accordance with the
instruction manual, may cause harmful interference to radio communications. Operation of this
equipment in a residential area is likely to cause harmful interference in which case the user will be
required to correct the interference at his own expense.
FCC CLASS A NOTICE
USER’S MANUAL
H.264 REAL TIME DVR
3
Caution
Please read the following precautions carefully before installing the product and follow the directions for installation.
 Don’t install the DVR in a location which has high levels of dust, moisture, smoke or other contaminants.
 Avoid locations which have high or fluctuating temperatures, and avoid direct sunlight.
Do not install the product
where the temperature is ever above 104°F/40°C, or below freezing 32°F/0°C).
 Do not install the product where it is exposed to direct sunlight or close to a heating device.
 Don’t install the DVR near any magnetic fields (such as microwaves).
 Don’t place ob ects on top of the DVR. Ensure that the ventilation holes are not obstructed.
 Don’t access the rear panel or remove the DVR casing unless the power is disconnected.
 Make sure you have enough room to connect all the cables and accessories before installing the DVR.
 Ensure the location you install the DVR to is level, well ventilated and is not sub ect to vibrations of any kind.
Firmly fix the DVR in place on a stable, flat and stationary surface in a well ventilated area.
 Try not to install the DVR around other electrical devices – they can sometimes interfere with one another.
 Only qualified technicians should ever disassemble the DVR.
 Do not put heavy ob ects on top of the product.
 The power outlet must be grounded.
 If you hear any strange noises or smell any new odors around DVR, stop using the DVR immediately.
Disconnect the power supply and call the technician who installed it or technical support for help.
 Do not move or flip the DVR over while it’s turned on. Damage could be done to the spinning hard disks.
 Periodically check that the DVR is functioning properly.
 When replacing the battery, always replace with the same type of battery as the one provided. When disposing
the battery, follow the direction of the manufacturer.
 We are not responsible for the problem from misuse by the user.
USER’S MANUAL
H.264 REAL TIME DVR
4
TABLE F C NTENTS
CHAPTER 1 INSTALLATION
1-1 Product characteristics ------------------------------------------------------------ 7
1-2 Contents ---------------------------------------------------------------------------- 8
1-3 Front Panel ------------------------------------------------------------------------- 8
1-4 Rear Panel -------------------------------------------------------------------------- 9
1-5 Remote controller ---------------------------------------------------------------- 10
1-6 Connection and initial settings ------------------------------------------------- 11
1-7 RS-485 connection --------------------------------------------------------------- 11
1-8 Control port (Output) connection ---------------------------------------------- 12
1-9 Sensor (Input) connection ------------------------------------------------------- 12
1-10 Internal hard disk installation ------------------------------------------------- 13
CHAPTER 2 MAIN SYSTEM APPLICATION
2-1 Operation -------------------------------------------------------------------------- 18
Start up ................................................................................................................ 18
Shutdown .............................................................................................................. 19
2-2 Live Display ----------------------------------------------------------------------- 20
2-3 System setting -------------------------------------------------------------------- 24
System .................................................................................................................. 24
Video/Audio ........................................................................................................... 29
Event ..................................................................................................................... 34
Network ................................................................................................................. 38
User ....................................................................................................................... 42
2-4 PTZ control ------------------------------------------------------------------------ 45
2-5 Search (playback) & backup ---------------------------------------------------- 47
Time search ........................................................................................................... 47
Event search ......................................................................................................... 48
Backup .................................................................................................................. 49
USER’S MANUAL
H.264 REAL TIME DVR
5
CHAPTER 3 WEB VIEWER
3-1 Installation ------------------------------------------------------------------------ 54
1. Web viewer installation ................................................................................ 54
3-2 Functional description ----------------------------------------------------------- 56
1. Web viewer monitoring window ................................................................... 56
2. Web viewer search window ......................................................................... 57
3. Search menu ............................................................................................... 58
4. Saving as AVI file ....................................................................................... 59
CHAPTER 4 APPLE IPHONE ACCESS
4-1 Functional description ----------------------------------------------------------- 61
1. Real-time monitoring.................................................................................... 61
CHAPTER 5 APPENDIX
5-1 Check before requesting for service ------------------------------------------- 63
5-2 Recommended device to use --------------------------------------------------- 66
5-3 Initial setting list for factory default ------------------------------------------- 68
5-4 Product specification ------------------------------------------------------------ 74
USER’S MANUAL
H.264 REAL TIME DVR
6
1-1 Product characteristics ------------------------------------------------------------ 7
1-2 Contents ---------------------------------------------------------------------------- 8
1-3 Front Panel ------------------------------------------------------------------------- 8
1-4 Rear Panel -------------------------------------------------------------------------- 9
1-5 Remote Controller ---------------------------------------------------------------- 10
1-6 Connection and initial setting --------------------------------------------------- 11
1-7 RS-485 connection --------------------------------------------------------------- 11
1-8 Control port (Output) connection ---------------------------------------------- 12
1-9 Sensor (Input) connection ------------------------------------------------------- 12
1-10 Internal hard disk installation ------------------------------------------------- 13
C
CH
HA
AP
PT
TE
ER
R
1
1
I
IN
NS
ST
TA
AL
LL
LA
AT
TI
I
N
N
USER’S MANUAL
H.264 REAL TIME DVR
7
1-1. Product characteristics
 Runs a very stable, embedded version of Linux operating system.
 Stable file system recovery even after power supply is disconnected from a power outage.
 Realized small file size and high video quality by applying the H. 64.
 Supports terra byte hard disk ( up to 1.5TB )
 Supports e-SATA port to use additional external hard disk.
 Real time recording
- Maximum of 480IPS@35 X 40 at NTSC
- Maximum of 400IPS@35 X 88 at PAL
 Supports various recording resolutions and qualities.
- D1(704x480), Half D1(704x 40), CIF(35 x 40) at NTSC
- D1(704x576), Half D1(704x 88), CIF(35 x 88) at PAL
- 5 stage recording qualities (Very high, high, normal, low, and very low).
 Easy operation through various user interface and user friendly GUI system.
 Realized powerful multi-function.
- Real time video display and recording, network transmission and back up can be performed
simultaneously.
 Easy search functions.
- Date/Time search (Calendar search), event search
 Recording before event. (Can be 5 seconds).
 Recording after event. (Can be only up 10 seconds).
 The operating condition pre-check function according to the change in motion detection and
movement detection
 Can set recording quality and number of recording frames per seconds.
 Powerful recording schedule management.
 Complete synchronization of video/audio.
 Easy software upgrading through USB storage device or network.
 Maximum of 4 clients can be connected to 1 DVR at the same time.
 Band width setting is automatically set depending on the network speed connected to this device.
 Remote alarm notification via e-Mail.
 PTZ (Pen/Tilt/Zoom) operation.
 Remote control operation
 Key board control operation (optional)
 Supporting Daylight saving
 Simultaneous output to VGA and BNC
USER’S MANUAL
H.264 REAL TIME DVR
8
1-2. Contents
Software Installation CD
User’s Manual
Remote Controller
Mouse
SATA cable
HDD power cable
Power cable
Adapter
Screws
19” Rack mount
Reference: The type of components can be app ied different y by the option.
1-3. Front Pane
① Navigation buttons
“▼” button is used as navigation key, when menu is shown, on the other hand, it is used for
switching key between SEARCH and LIVE screen when menu not be shown.
② ENTER – This is used to select OSD menu and control playback.
 At power off status, it is turned on by pressing “OK” button in some seconds.
 At power on status, instant panic recording is executed by pressing “OK” button in some
seconds.
③ SETUP/ESC – This is used to open or close menu.
④ LED
 Hard disk LED – This is turned on HDD is accessed.
 Power LED – This is turned on when the power is turned on.
 Network LED – This is turned on when network is connected.
⑤ USB – This is used to connect USB storage device.
Caution
Mouse should be connected to mouse port at rear side.
⑤
①
②
③
④
USER’S MANUAL
H.264 REAL TIME DVR
9
1-4. Rear Pane
① USB port – Used to connect USB storage device, such as a flash drive.
② Main output port – It is used to connect BNC type monitor. (It outputs the same video as MAIN
output.)
③ Camera video input – These are used to connect cameras
④ Audio input port – It is used to connect audio output port of external device.
⑤ External HDD port – It is used to connect e-SATA HDD.
⑥ Sensor/Alarm/RS-485 ports – These are used to connect sensor, alarm and RS-485 serial
communication port
⑦ Mouse port – It is used to connect USB mouse.
⑧ Ethernet port – It is used to connect RJ-45 Ethernet connector. (LAN PORT).
⑨ VGA port – It is used to connect VGA monitor.
⑩ SPOT output port – It is used to connect BNC type monitor.
⑪ Audio output port – It is used to connect audio input port of external device.
⑫ Power connector – It is used to connect power adapter.