Swienty DANA api MATIC User manual

Instruction manual
DANA api MATIC


ENGLISH


2
3
ENGLISH
Table of contents
Read before use........................................................................................................................................................................5
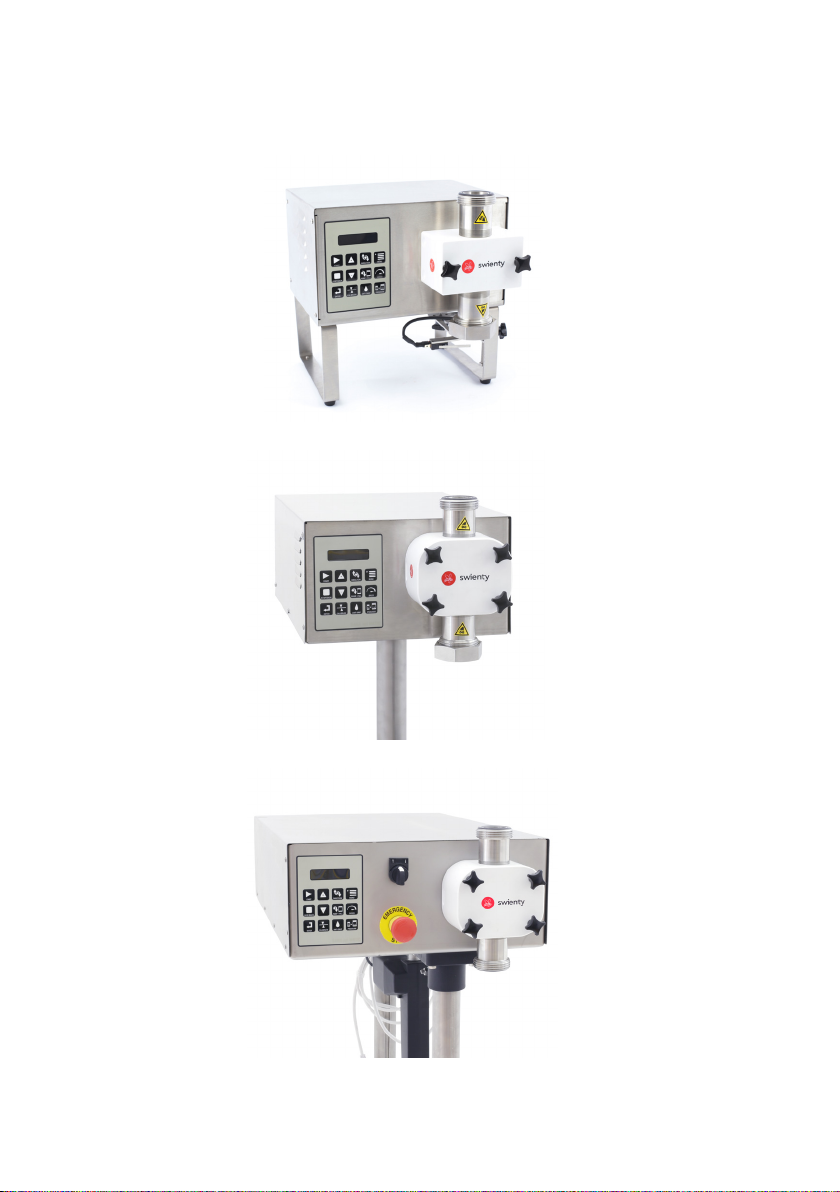
Introduction DANA api MATIC 1000................................................................................................................................6
Introduction DANA api MATIC 2000+...............................................................................................................................7
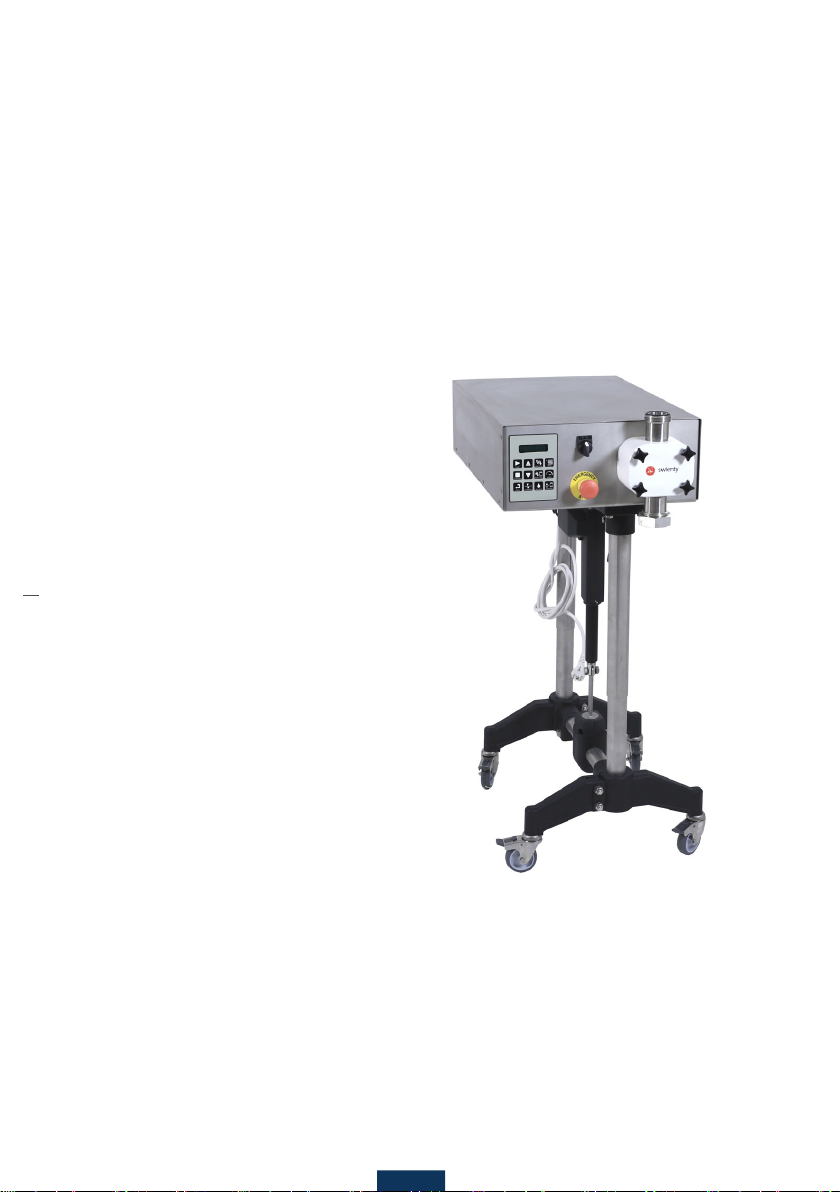
Introduction DANA api MATIC 3000................................................................................................................................ 8
Startup.......................................................................................................................................................................................... 9
Overview keyboard...............................................................................................................................................................10
Display...................................................................................................................................................................................10
Filling.......................................................................................................................................................................................11
Antidrip..................................................................................................................................................................................11
Calibration............................................................................................................................................................................11
Motor’s speed regulation..............................................................................................................................................11
Pumping.................................................................................................................................................................................11
Preparation of the machine..............................................................................................................................................12
Height adjustment (DANA api MATIC 3000)..........................................................................................................13
Preparationforlling.....................................................................................................................................................14
Calibration............................................................................................................................................................................15
Cleaning......................................................................................................................................................................................17
Cleaning with long storage..........................................................................................................................................20
Congurationoptions.........................................................................................................................................................22
Mounting the anti-drip.................................................................................................................................................23
Rubberdiaphragmforllingnozzle.......................................................................................................................24
Rubberdiaphragmwithnozzle.................................................................................................................................24
Counterowvalve............................................................................................................................................................24
Connecting equipment.......................................................................................................................................................25
Menu............................................................................................................................................................................................26
Parameters .........................................................................................................................................................................26
Log...........................................................................................................................................................................................28
Language..............................................................................................................................................................................28
Reset.......................................................................................................................................................................................28
Function diagram..................................................................................................................................................................29
Factory setting values.........................................................................................................................................................33
Maintenance.............................................................................................................................................................................31
Mounting of new sealing...............................................................................................................................................31
Mounting of new shaft seal and ball bearing ....................................................................................................31
Expansion drawings.............................................................................................................................................................33
DANA api MATIC 1000.....................................................................................................................................................33
DANA api MATIC 2000+ og 3000 ................................................................................................................................34
FAQ - Typical errors..............................................................................................................................................................35
Air in the honey................................................................................................................................................................36
O-ring in the pump housing.......................................................................................................................................36
Conversion table ................................................................................................................................................................... 37
Fittings and accessories ...................................................................................................................................................38


4
5
EMC 2004/108/EC
MD 2006/42/EF WEEE 2002/96/EF
RoHS 2011/65/EC
ENGLISH
READ BEFORE USE
This manual is an original Swienty A/S manual for DANA api 1000, 2000+ and 3000. The goal of
thismanualistoensureacorrectuse,handlingandmaintenanceofthellingmachine.The
manual has to be kept in a place accessible for users and maintenance staff. It is the owner’s
responsibilitytomakesurethateveryonethatoperates,services,maintainsorrepairsthelling
machine has read the manual; or at least the part of the manual that is relevant for their work.
Furthermoreiseveryoneoperating,servicing,maintainingorrepairingthellingmachineobliged
to look for information in the manual themselves. PICTURES OF BOTH DANA api MATIC 1000,
2000+ AND 3000 ARE USED IN THIS MANUAL, SINCE MOST PROCEDURES ARE THE SAME FOR ALL
THREE MACHINES.
Before the machine is used, it is necessary to make sure that the machine is placed on a stable
surface, the wheels on the DANA api MATIC 3000 or the separately purchased stand are locked
andthellingmachineisplacedinawell-litareasotheoperationandcleaningcanbeconduc-
tedsafely.Thepowercord(230V)shouldbeplacedinawaythatitdoesnotposeatriphazard
during operation or cleaning (possibly hang up). THE MACHINE MUST ALWAYS BE USED UNDER
SUPERVISION.
The product falls under direktive 2002/96/EF on waste electrical and electronic equipment
(WEEE).
The product may not be disposed of together with unsorted household waste. Use your local
WEEE collection point to dispose of this product and make sure that all relevant regulations are
complied with.
• Neverusethellingmachinewithsubstanceswarmerthan50degreesCelcius,sinceitcan
lead to heavy wear of the pump housing unless you have purchased additional equipment
for warm substances.
• Never take off the pump housing without unplugging the machine, since it can lead to the
exposure of moving parts.
• Thepumpmayneverrunwithoutallingsubstanceforalongerperiodoftime(i.e.without
honey or similar substance), because this may cause it to get too hot and thus damage the
gears and/or shaft seals. .
• Clean the machine after use, see page 17.
• Never connect to power before all hoses
andttingsaremountedtothepump.
• The machine should only be opened by a
qualiedtechnician.
• The machine should only be used for
honey and similar substances. When in
doubt contact Swienty.
• Never try to transport the machine
without setting the height adjustment of
the DANA api MATIC 3000 or the
seperately purchased stand to its mini-
mum position or without removing the
funnel if you are using one. Otherwise
the machine might turn over.
This machine is in compliance with the
following directives:

6
7
ENGLISH
INTRODUCTION DANA api MATIC 1000
TheDANAapiMATIC1000isallingmachinewithagearpump.AstronglowvoltageDCmotor
drives the gear pump with the help of a helical gear box. The motor is controlled by compu-
ter-basedelectronics,whichalsoensuresaperfectanti-dripfunction.Thellingmachinehas20
llingprogramswithsettingsforweight,calibrationfactorandotherllingparameters.
The machine works precisely and is easy to program for different substances. As a pump, the
machine works both ways and can be set to different speeds.
All parts that come into contact with the substance are made from food grade plastic or stainless
steel and are easy to take apart and to clean.
TECHNICAL DATA
Machine type: computer-controlled
gear pump
Filling capacity: 10 g - ∞g(honey)
Weight unit: ml/g/oz
Precision: +/- 2g
Pump capacity: approx. 270 kg/hour
Programs: 20 + options to program
Power supply: 90-264VAC50/60Hz
Power consumption: 230W
Sound level: The sound pressure level
of the pump is less than
70 dB(A)
Weight: 10.5 kg
Dimensions: 33 x 31 x 18.5 cm
Connections: 1½” BS hose connection
on both sides of the
pump

6
7
ENGLISH
INTRODUCTION DANA api MATIC 2000+
TheDANAapiMATIC1000isallingmachinewithagearpump.AstronglowvoltageDCmotor
drives the gear pump with the help of a planetary gear. The motor is controlled by computer-ba-
sedelectronics,whichalsoensuresaperfectanti-dripfunction.Thellingmachinehas20lling
programswithsettingsforweight,calibrationfactorandotherllingparameters.
The machine works precisely and is easy to program for different substances. As a pump, the
machine works both ways and can be set to different speeds.
All parts that come into contact with the substance are made from food grade plastic or stainless
steel and are easy to take apart and to clean.
TECHNICAL DATA
Machine type: Computer-controlled
gear pump
Filling capacity: 10 g - ∞g(honey)
Weight unit: ml/g/oz
Precision: +/- 1g
Pump capacity: approx. 610 kg/hour
Programs: 20 + options to program
Power supply: 90-305VAC50/60Hz
Power consumption: 575W
Sound level: The sound pressure level
of the pump is less than
70 dB(A)
Weight: 17.5 kg
Dimensions: 51.5 x 31 x 18.5 cm
Connections: 2” BS hose connection on
both sides of the pump

8
9
ENGLISH
INTRODUCTION DANA api MATIC 3000
DANAapiMATIC3000isallingmachinewithagearpump.ApowerfulACmotoraswellasa
frequency converter drive the gear pump using a planetary gear. The motor is controlled by com-
puter-basedelectronics,whichalsoensuresaperfectanti-dripfunction.Thellingmachinehas
20llingprogramswithsettingsforweight,calibrationfactorandotherllingparameters.
The machine works precisely and is easy to program for different substances. As a pump, the
machine works both ways and can be set to different speeds.
All parts that come into contact with the substance are made from food grade plastic or stainless
steel and are easy to take apart and to clean.
TECHNICAL DATA
Machine type: computer-controlled
gear pump
Filling capacity: 10 g - ∞g(honey)
Weight unit: ml/g/oz
Precision: +/- 1g
Pump capacity: approx. 950 kg/hour
Programs: 20 + options to program
Power supply: 200-240VAC50/60Hz
Power consumption: 1500W
Sound level: The sound pressure level
of the pump is less than
70 dB(A)
Weight: 40 kg
Dimensions: 62 x 42 x 18 cm
Connections: 1½” BS hose connection
on both sides of the
pump (1½“ or 2“)

8
9
ENGLISH
STARTUP
Begin by setting the machine to the language you would like to use.
Press [MENU], parameters are shown on the display, press [+] 2 times until LANGUAGE is blinking in
the display, press [ENTER] to enter the menu.
Here you can set the language to English, German, French, Spanish, Italian or Danish by pressing [+].
All messages are now shown in the chosen language. Press [ENTER] to choose a language and
[Stop/Back] to leave the menu.
Next,llthepumpheadwiththedesiredsubstancebeforeyoustartusing
themachineandconnectittothesuppliedhoseandtting.Formedium
or high viscosity we recommend a 2” hose, which is available at Swienty.
Toguaranteeahassle-freellingthecontainershouldalwaysbeplaced
over or on the same height as the pump head. The machine is activated by
connecting it to a power outlet. It is also possible to see a video guide by
scanning the QR code (the video shows the DANA api MATIC 1000, but the
procedure is the same for all three machines).

10
11
ENGLISH
[CALIBRATE] Activate the calibration process of
thesetllingamount.
[DIRECTION] Set pump direction. Can only be
changed when the motor is off.
[SPEED] Aktivate the motor’s speed settings.
[ANTIDRIP]Preventsdrippingafterthelling
stops.
[PROGRAM] Aktivate choice of program.
[PUMP/FILL]Changebetweenllingand
pumping.
[MENU] Open new settings and values.
[+] Increase a value or show the next value.
[-] Decrease a value or show the previous
value.
[START]Startthellingor
pumping process.
[ENTER] Choose the shown value and save it.
[STOP/BACK] Stop the motor
andinterruptthellingor
pumping process. Also function
as a ’back’ button.
DISPLAY
Whenthellingmachineisconnectedtothepoweroutlet,itcanforexampleshowthefollowing:
1:Programnumberthatwasusedforthelastlling.
2:Showsifthemachineissettopumporll.Hereitissettoll.
3:Fillingamountusedforthelastlling.
4:Theunitthatwasusedlast(g,oz,ml).
5:Themotor’sspeedin%.
6:Pumpdirection.
7:Amountofllings,startsfrom0whenthemachineisturnedoffandonagain.Youcanreset
theamountofllingsforasingleprogrambyholding [STOP/BACK] down for 5 seconds.
OVERVIEW KEYBOARD

10
11
ENGLISH
FILLING
When the machine is turned on, the display shows the settings that have been used for the last
lling.Pressthe[START]buttontobeginlling.Furthermoreyoucanstartthemachinewithan
externalstartimpuls,e.g.theincludedfootpedal.Inthebeginningthellingamountis0andit
then counts up to the set amount.
After that the motor stops immediately, takes a short break TIMEADRIP (se parameters) and
shortly rotates backwards.
Thispreventsthemachinefromdrippingafterthelling(seeantidripfunction[ANTIDRIP]).
Ifyouwanttoincrease/decreasetheshownamount,pressthe[+]/[-]buttons.Thellingamount
blinks on the display.
When you have reached the desired amount, press the [ENTER] button. Now this amount is
connected to the program until you set it again.
ANTIDRIP
Aproblemwithtoughliquidslikee.g.honeyusthattheycancontinuedrippingafterlling.To
preventthisfromhappening,wehavedevelopedaspecialrubbernozzlethatminimizesthis.
At the same time the motor rotates backwards for a short time to suck a small amount back in.
This amount depends on the consistency of the substance.
Press [ANTIDRIP]. The number blinking on the display stands for the return pulses. With the
[+]/[-]buttonsthenumbercanbechanged(thehigherthenumber,themorebackow).Save
with [ENTER]. If the number is too low, then the machine drips, if it is too high, then the machine
sucksintoomuchair.Withthenextllingtheairwillthenloudlybepressedoutagain.
CALIBRATION
Tomakesurethattheamountshownonthedisplaymatchedthelledamount,themachine
needs to be calibrated.
Do a testrun anf measure it on a calibrated scale. If the display shows e.g. 500g but the scale
measures 520g, the value from the scale needs to be transfered to the machine.
With the [+] button you set the value to 520. The number blinks. Instead of saving with [ENTER],
you need to press [CALIBRATE]. The number on the display jumps back to 500g. Now the machine
is calibrated (in some cases this process needs to be repeated a few times).
MOTOR’S SPEED REGULATION
In some cases it can be necessary to regulate the pump capacity and thus the motor’s speed.
Press the [SPEED] button. The speed setting blinks. Using the [+]/[-] buttons you said the desired
speedinpercentage.Savebypressing[ENTER].Canbesetin5%intervals.
Thspeedregulationcanalsobechangedwhilethemachineisllingorpumping.Inconnection
with a turn table it can be neccessary to decrease the speed to be able to follow along.
PUMPING
When the machine should be used as a pump, press [PUMP/FILL]. To change the pump direction,
press [DIRECTION]. The arrow on the display now points in the opposite direction.
Press [START] to start the pump. The pump amount starts at 0 and then counts up. To stop the
pump press the [STOP/BACK] button. The pumped amount blinks on the display. If you want to
continue pumping, press [START], then the machine begins to pump again and the pump amount
counts further up.
To reset the pump amount, stop the machine and press [STOP/BACK] again.

12
13
ENGLISH
Mount the hose to the tting. It is important to mount
the hose clamp behind the bulge and to check for
cracks in the hose after!
Tip: warm the hose up with warm water before
pushing it over the pipe. This makes the mounting
easier.
Connect to the power supply. The power cord
(100-260V) must be placed in a way that it does not
pose a tripping hazard and so that the machine can
be cleaned safely (possibly hang it up). NOTE never
connect to power before the hose tting and anti-drip
cut-off valve with nut are mounted.
Optional: connect a foot pedal. Place a jar/bowl under the pump housing. Dilute the
pump housing with the desired substance that you
would like to ll. Fill it up all the way to the edge of
the tting.
Clean the pump housing, see page 18 point 7-18. Mount the pump housing to the machine. Remember
that the clutch teeth need to be in the right position,
otherwise it cannot be put on all the way. Make sure
that the machine is placed on a stable ground before
using it.
PREPARATION OF THE MACHINE

12
13
ENGLISH
Loosen the two screws in the legs (as you can see on
the picture above). NOTE never stick your ngers into
the space that opens up! You can injure your ngers.
The button in the red circle is used to adjust the
height of the lling machine. When you have set the
desired height, tighten the screws again as can be
seen in picture 1.
Connect the hose to the tank and the machine. The ttings can be tightened without tools. Grasp the
nut (red arrow) with your left hand and the tting/
hose with your right hand. Pull clockwise on the
tting and nut. This is how to tighten the tting
without using tools. Check the tank ttings as well!
HEIGHT ADJUSTMENT (DANA api MATIC 3000)
Set the machine to pump by pressing [PUMP/FILL].
Pump for 1-2 sec. and then ll up the pump housing
to the edge again.
Tip: for optimal operation we recommend that the
tank is placed on the same level with or above the
pump housing. Shown with a funnel here, which we
recommend for small lling amounts.

14
15
ENGLISH
Set the machine to ll with the [PUMP/FILL] button.
The display shows FILL.
Set a bigger container under the pump housing. Press [START]. Pump until the air is out of the system
and then press [STOP].
Open the valve of the container.
PREPARATION FOR FILLING
After the machine stops dripping, mount the cut-off
mechanism. Can potentially be mounted rst, but not
when lling very tough substances.
Se the machine to pump by pressing the [PUMP/FILL]
button. The display must show PUMP.
Remember to check if the pump direction is set cor-
rectly. Use the [DIRECTION] button to make a change.

14
15
ENGLISH
Choose the program closest to the desired lling
amount. Use the [PROGRAM] button. Press the [+] and [-] button to nd the desired
program. Press [ENTER] to choose.
Put your jar on a scale and press [Z/T] (tara) to reset
the scale. Put the glass under the pump housing.
If necessary, press [+] and [-] to change the lling
amount. Press [ENTER] to save and exit. Before calibrating the machine, you need to start/
carry out a single lling into a bucket. Press [START].
Let the machine carry out a lling until it stops by
itself and carrries out the anti-drip function.
CALIBRATION

16
17
ENGLISH
Read the weight on the scale. Press [+] and/or [-] until the same number appears on
the display. Save by pressing [CALIBRATE].
Potentially repeat the calibration if the difference
between weight and lling amount is big. The machine is now calibrated and ready for lling.
The machine must be set to FILL and the desired
program. Press [START] or use the foot pedal. Put the lled jar back on the scale.

16
17
ENGLISH
Completely take the connection tting off. In case of dripping put a bowl or something similar
under the hose.
Unscrew the black nuts. Grasp the notches at the end of the pump housing
and gently pull the pump housing off the machine.
CLEANING
Start the machine to empty the container and hose. Loosen the connection tting so air can come into the
pump housing, but not so much that the honey starts
running out.
WARNING: Always disconnect the machine from the
power supply before taking the pump apart.

18
19
ENGLISH
Take off the cut-off mechanism. Rinse the pump with water while turning the
coupling. This loosens the honey so it is easier to
open the pump housing.
Open the pump housing. Take out the loose gear as well as the axis that are
still in the pump housing. It can be necessary to rinse
thoroughly with water to loosen the parts.
Go to the sink. Unscrew the lowest tting (nut).
This manual suits for next models
3
Table of contents
Other Swienty Industrial Equipment manuals
Popular Industrial Equipment manuals by other brands

Siemens
Siemens SIRIUS 3RA231-8X 3-1 Series operating instructions

HEIDENHAIN
HEIDENHAIN MSE 1110 installation instructions

optris
optris Top-down GIS Operator's manual

ABB
ABB Emax Link 2 UR 1558 Application guide

RaycoWylie
RaycoWylie R180 Installation and operation manual

GESTRA
GESTRA BK 45 Original Installation Instructions