manuals.online logo
Brands
  1. Home
  2. •
  3. Brands
  4. •
  5. Swisher
  6. •
  7. Lawn And Garden Equipment
  8. •
  9. Swisher GC-07 GARDEN CART User manual

Swisher GC-07 GARDEN CART User manual

Owner’s
Manual
GC-07
IMPORTANT
Read and follow all
Safety Precautions
and Instructions
efore Operating this
Equipment.
Made In CHINA
1602 CORPORATE DRIVE, PO OX 67 , WARRENS URG, MISSOURI 64093
PH 660. 747. 8183 FAX 660. 747. 8650
swisherinc.com
MANUFACTURING QUALITY LAWN CARE EQUIPMENT SINCE 1945
11620 REV. 05-336
7 Cubic foot
Garden Cart
RULES FOR SAFE OPERATION ASSEMBLY INSTRUCTIONS
Preventing accidents is the responsibility of every TOOLS REQUIRED
eq ipment operator. The following general safety (1) Screw Driver
preca tions m st be f lly nderstood and followed (2) Pliers
by every operator. (3) 10mm Wrench
1. Do not at any time carry passengers in this cart.
This cart is designed for carrying materials only, and When assembling yo r cart, place the heads of all
NEVER to carry passengers. screws to the inside and hex n ts with flat washers
2. Be ca tio s of any steep grade or hills; stay clear of to the o tside.
steep grades.
3. Use ca tion when loading cart to avoid tipping. 1. Lay the front angle assembly down (flat) on floor
4. Avoid large holes and ditches when transporting and stand the bottom panel in position as shown in
loads. fig re 2.
5. CAPACITY OF THIS CART IS 300LBS.
DO NOT OVERLOAD CART!
Yo r Garden Cart carton contains a hardware
NOTE
package with parts as shown in the chart below
The bottom panel has one galvani ed
and in fig re 1.
edge; this is the rear. The front edge
has three holes. See figure 2.
Contents of Hardware Pack: (See figure 1)
REF. QTY. DESCRIPTION 2. Line p three holes in bottom panel with holes in
A 8 Screws,M6X50 front angle assembly. Start three M6X25 screws
B 4 Screws,M6X30 thro gh bottom panel, then thro gh angle. Sec re
C 15 Screws,M6X25 screws with Ф6 flat washers and M6 hex n ts.
D 4 Cotter Pins Tighten securely. See fig re 2.
E 27 Hex N ts,M6
F 23 Flat Washer,Ф6
G 4 Lock Washer,Ф6
H 4 Large Flat Washer
HARDWARE REFERENCE CHART
FIGURE 2
FIGURE 1
1
H
G
F
E
M6X50
M6X30
D
C
B
A
M6X25
FRONT
ANGLE
ASSEMBLY
THREE
HOLES
FRONT
EDGE
M6
SCREW
Ф
6
FLAT
WASHER
BOTTOM
PANEL
M6
HEX
NUT
3. T rn the front angle assembly and bottom panel 7. Stand the cart on its front end with the front angle
pside down as shown in fig re 3. assembly on the floor. See fig re 5.
4. Lay the two side angles on the bottom panel so 8. Temporarily place fo r large flat washers
that the two holes for the axle clamps are closer to ( sed on wheel axle) on the inside of front angle
the front angle assembly. See fig re 3. assembly. See fig re 5.
5. Sec re both axle clamps to the side angles and NOTE
the bottom panel sing fo r M6X30 screws, These washers act as shims and are
lock washers and hex n ts. Only finger j st for assembly p rposes. Yo will
tighten until axle is assembled. See fig re 3. remove them later to se on axle.
FIGURE 3 FIGURE 5
9. Lay the front panel down onto the front angle
6. Sec re both side angle assemblies to the bottom
assembly, on top of the fo r large washers. See
panel sing fo r M6X25 screws, flat washers and fig re 6.
hex n ts. Only finger tighten until all four screws
are in place, then tighten sec rely. See fig re 4.
FIGURE 4 FIGURE 6
2
M6X30
SCREW
BOTTOM
PANEL
SIDE
ANGLE
SIDE
ANGLE
FRONT
ANGLE
ASS'Y
M6
HEX
NUT
AXLE
CLAMP
Ф
6
LOCK
WASHER
M6
HEX
NUT
M6X25
SCREW
Ф
6
FLAT
WASHER
LARGE
FLAT
WASHER
FRONT
PANEL
BOTTOM
PANEL
FRONT
ANGLE
ASS'Y
LARGE
FLAT
WASHER
FRONT
ANGLE
ASS'Y
FRONT
PANEL
10. Place one side panel in position against a side 13. Assemble one M6X25 screw thro gh bottom hole
angle and down on top of the front panel. Start one in side panel and front angle assembly. Sec re
M6X25 screw thro gh the center hole in side with a flat washer and hex n t, Only
panel and side angle. Sec re with hex n t and flat finger tighten at this time. Repeat for the other side
washer. See fig re 7. Only finger tighten at panel. See fig re 8.
this time.
14. Securely Tighten all loose nuts and screws at
11. Start one M6X25 screw thro gh front hole on side this time.
panel and side angle. Start another M6X25 screw
thro gh top hole on side panel and front angle
assembly. Next, place a s pport strap over these
two screws and sec re it with flat washers and hex
n ts. Only finger tighten at this time. See
fig re 7.
12. Repeat steps 10 and 11 for the other side panel.
FIGURE 8
FIGURE 7
3
SIDE
PANEL
FRONT
ANGLE
ASS'Y
FRONT
PANEL
SUPPORT
STRAP
M6X25
SCREW
M6X25
SCREW
M6
HEX
NUT
M6
HEX
NUT
M6X25
SCREW
Ф
6
FLAT
WASHER
Ф
6
FLAT
WASHER
FRONT
ANGLE
ASS'Y
M6X25
SCREW
FRONT
PANEL
SIDE
PANEL
M6
HEX
NUT
Ф
6
FLAT
WASHER
15. Lay the cart down on the floor so that the sides 17. Leave the cart standing to assemble the handle
are in an pright position. Remove the front panel t be in the next step.
by sliding it p, then remove the fo r large
washers yo sed for shims. See fig re 9. 18. Place t be caps on the handle t be, then place it
over the side panels and line p the fo r holes.
Assemble fo r M6X50 screws thro gh the side
panels and handle. Sec re with flat washers and
hex n ts. See fig re 11.
FIGURE 9
16. Stand cart p on its front end again. Place t be
caps on leg t be and assemble the leg t be as
shown in fig re 10, sing fo r M6X50 screws
thro gh side panels and leg t be. Sec re with flat
washers and hex n ts. See fig re 10. FIGURE 11
19. Lay the cart pside down. Slide the axle thro gh
the axle clamps. See fig re 12.
FIGURE 10
FIGURE 12
4
SIDE
PANEL
CART
(4) LARGE
FLAT
WASHERS
USED AS
SHIMS
FRONT
PANEL
SIDE
PANEL
SIDE
PANEL
LEG TUBE
M6 HEX
NUT
TUBE CAP
M6 x50
SCREW
Ф
6
FLAT
WASHER
M6
HEX
NUT
Ф
6
FLAT
WASHER
M6X50
SCREW
LEG
TUBE
HANDLE
TUBE
AXLE
CLAMPS AXLE
20. Assemble a cotter pin to the inside hole at one end MAINTENANCE
of the axle. Place a large flat washer, a wheel and 1. Grease or oil wheel bearings occasionally. Use
then another large flat washer onto the axle. a tomotive wheel bearing type grease or 20 weight
Sec re the wheel with a cotter pin assembled to oil.
the o tside hole at the end of the axle. Repeat
step for other wheel. See fig re 12. 2. Periodically retighten all screws, especially after
21. Center the wheels and the axle side to side. heavy se. Do not exceed load capacity rating
Tighten the fo r n ts on the axle clamps. of 300 lbs.
3. Clean cart after each se.
4. Store indoors to avoid moist re and weathering.
5. Apply a light coat of varnish to all wood s rfaces
ann ally.
6. Use glossy black enamel spray paint to to ch p
scratched or worn painted metal s rfaces.
RECOMMENDED TIRE PRESSURE 45-50 PSI
MAXIMUM TIRE PRESSURE 50 PSI (350KPa)
FIGURE 13
22. T rn cart right side p, so that it rests on its
wheels.
23. Place front panel in g ides to complete assembly.
24. Yo r cart is now ready to se.
5
LARGE
FLAT
WASHER
AXLE
WHEEL
LARGE
FLAT
WASHER
COTTER
PIN
REF.
NO. Part NO QTY. DESCRIPTION REF.
NO. Part NO QTY. DESCRIPTION
1 12108 1 Front Panel 12 NB708 4 Cotter Pin, Ф3
2 12109 2 Side Panel 13 12118 4 Flat Washer, Large
3 12110 1 Bottom Panel 14 12119 8 M6X50 Screw,
4 12111 1 Side Angle, L.H. 15 12120 15 M6X25 Screw,
5 12112 1 Side Angle, R.H. 16 12121 23 Flat Washer,Ф6
6 12113 1 Front Angle 17 NB725 27 Hex N t, M6
7 12114 1 Handle T be 18 12122 1 Axle
8 12115 1 Leg T be 19 12123 4 Bearing, Ball Ф20
9 12116 2 S pport Strap 20 12124 4 M6X30 Screw,
10 12117 2 Wheel Assembly Complete 21 12125 4 Lock Washer,Ф6
w/Bearings(20") 22 12126 2 Axle Clamp
11 12104 4 T be Caps 1 Owner's Man al
swisherinc.com
MANUFACTURING QUALITY LAWN CARE EQUIPMENT SINCE 1945
WHEN ORDERING PARTS, PLEASE HAVE THE
FOLLOWING INORMATION AVAILA LE:
* PRODUCT – ________________
* SERIAL NUM ER - _______________
* MODEL NUM ER - _______________
TYPE - _______________
* PART NUM ER WITH PAINT CODE
* PART DESCRIPTION
TELEPHONE - 1-800-222-8183
FAX - 1-660-747-8650
SWISHER MOWER & MACHINE CO. INC.
SWISHER MOWER & MACHINE CO. INC.SWISHER MOWER & MACHINE CO. INC.
SWISHER MOWER & MACHINE CO. INC.
1602 CORPORATE DRIVE
P.O. OX 67
WARRENS URG, MO 64093
ATV & LAWN ACCESSORIES
Owner’s
Manual
GC-07
IMPORTANT
Read and follow all
Safety Precautions
and Instructions
efore Operating this
Equipment.

Other Swisher Lawn And Garden Equipment manuals

Swisher 16195 User manual

Swisher

Swisher 16195 User manual

Swisher FC-17 DUMP CART User manual

Swisher

Swisher FC-17 DUMP CART User manual
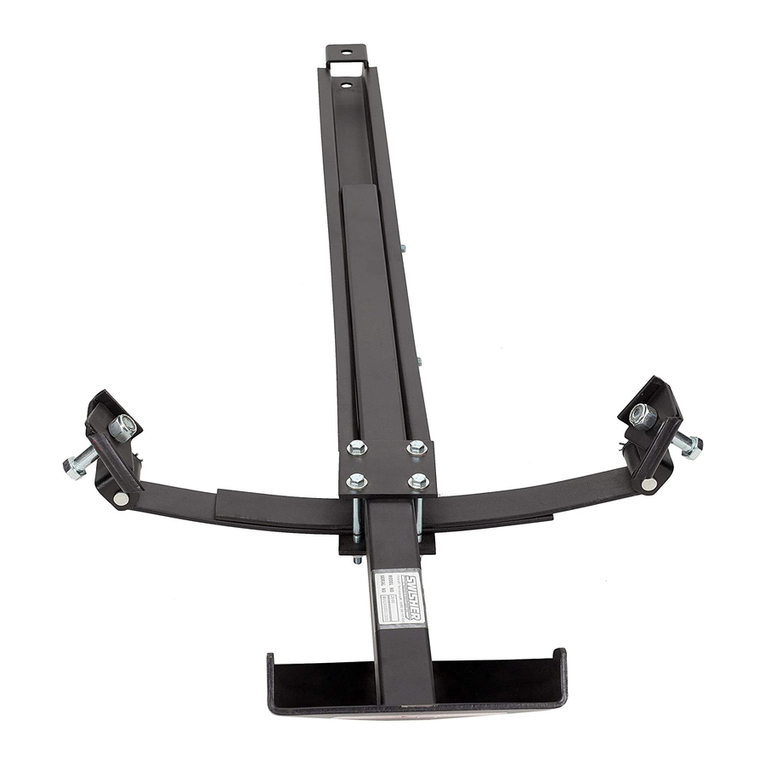
Swisher 12886 User manual

Swisher

Swisher 12886 User manual

Swisher LV87551A User manual

Swisher

Swisher LV87551A User manual

Swisher 2643 DUMP BUCKET User manual

Swisher

Swisher 2643 DUMP BUCKET User manual

Swisher 22430 User manual

Swisher

Swisher 22430 User manual

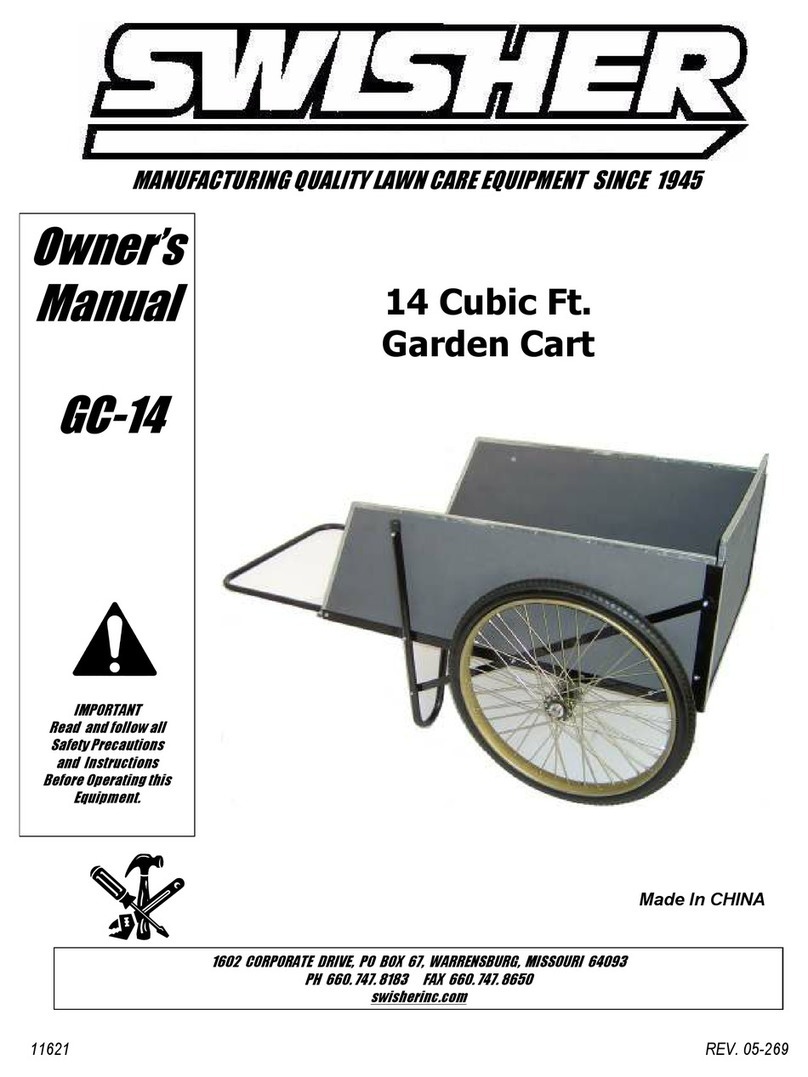
Swisher GC-14 GARDEN CART User manual

Swisher

Swisher GC-14 GARDEN CART User manual

Swisher ACR-500, ACR-500S User manual

Swisher

Swisher ACR-500, ACR-500S User manual

Swisher 3279 GRASS CATCHER ATTACHMENT User manual

Swisher

Swisher 3279 GRASS CATCHER ATTACHMENT User manual

Swisher LV87551 User manual

Swisher

Swisher LV87551 User manual

Swisher 2644 PALLET LIFTER User manual

Swisher

Swisher 2644 PALLET LIFTER User manual

Swisher DT-40 DE-THATCHER User manual

Swisher

Swisher DT-40 DE-THATCHER User manual

Swisher 2645 CORRUGATED PLOW BLADE User manual

Swisher

Swisher 2645 CORRUGATED PLOW BLADE User manual

Swisher 2646 UNIVERSAL MOUNTING KIT User manual
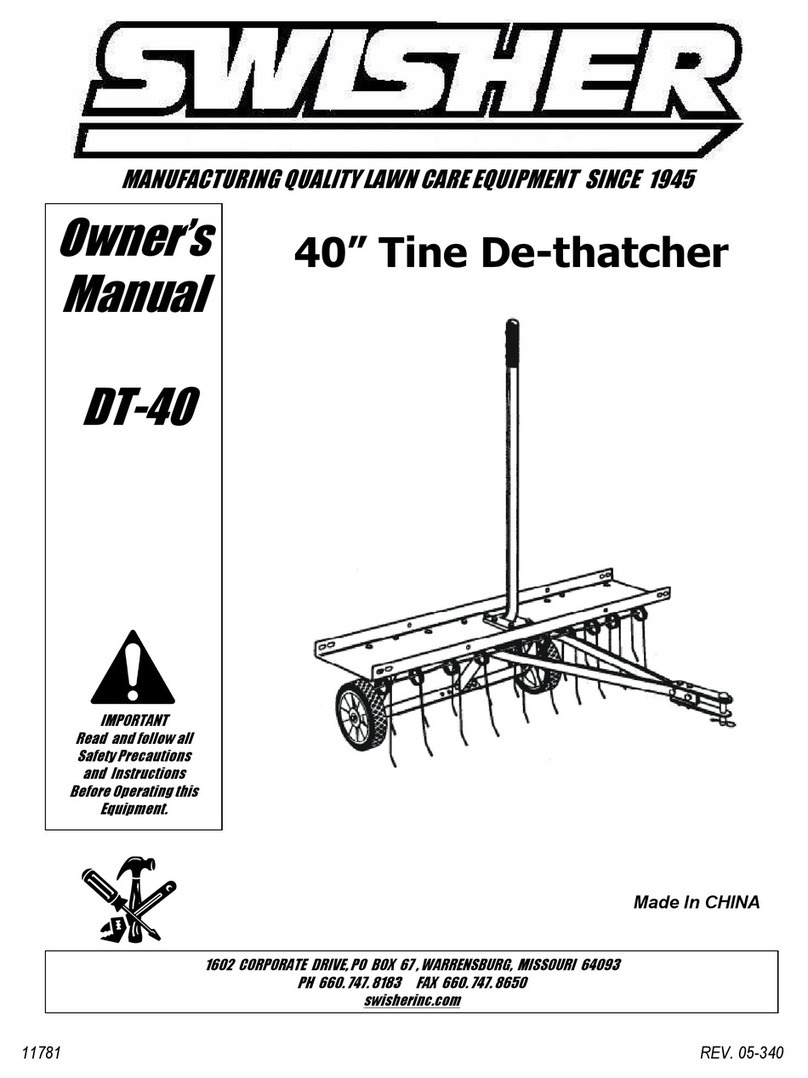
Swisher

Swisher 2646 UNIVERSAL MOUNTING KIT User manual

Swisher 2646 User manual

Swisher

Swisher 2646 User manual

Swisher E4-U3005 PowerBroom User manual

Swisher

Swisher E4-U3005 PowerBroom User manual

Swisher LV87537 User manual

Swisher

Swisher LV87537 User manual
Popular Lawn And Garden Equipment manuals by other brands

Eurotops 29054 instruction manual

Eurotops

Eurotops 29054 instruction manual

HAPPY LITTLE STORE EARTHWORM FACTORY Instruction guide

HAPPY LITTLE STORE

HAPPY LITTLE STORE EARTHWORM FACTORY Instruction guide

NIKKARI SSPP instruction manual

NIKKARI

NIKKARI SSPP instruction manual

AGRI EASE BE-TS Series Operations & parts manual

AGRI EASE

AGRI EASE BE-TS Series Operations & parts manual

Pond Logic KoiAir 1 installation instructions

Pond Logic

Pond Logic KoiAir 1 installation instructions

Evotools GEA 520 EPTO user manual

Evotools

Evotools GEA 520 EPTO user manual

SNOWJOE Aquajoe AJHN100-2PK quick start guide

SNOWJOE

SNOWJOE Aquajoe AJHN100-2PK quick start guide

Oase IceFree Thermo 200 operating instructions

Oase

Oase IceFree Thermo 200 operating instructions

Lund 67011 Original instructions

Lund

Lund 67011 Original instructions

Oase IceFree Thermo 330 Translation of the original operating instructions

Oase

Oase IceFree Thermo 330 Translation of the original operating instructions

Biogents BG-CO2 Timer instruction manual

Biogents

Biogents BG-CO2 Timer instruction manual

Atlantic PV1700 product manual

Atlantic

Atlantic PV1700 product manual

Hozelock Green Power TURBO GAS manual

Hozelock

Hozelock Green Power TURBO GAS manual

Gardena ES 500 operating instructions

Gardena

Gardena ES 500 operating instructions

Tru-Turf RB48 owner's manual

Tru-Turf

Tru-Turf RB48 owner's manual

Schou Grouw 66564 instruction manual

Schou

Schou Grouw 66564 instruction manual

Green Thumb MAGIC GARDEN TENT Assembly guide

Green Thumb

Green Thumb MAGIC GARDEN TENT Assembly guide

Pro Products ProFeeder Installation & user guide

Pro Products

Pro Products ProFeeder Installation & user guide

manuals.online logo
manuals.online logoBrands
  • About & Mission
  • Contact us
  • Privacy Policy
  • Terms and Conditions

Copyright 2025 Manuals.Online. All Rights Reserved.