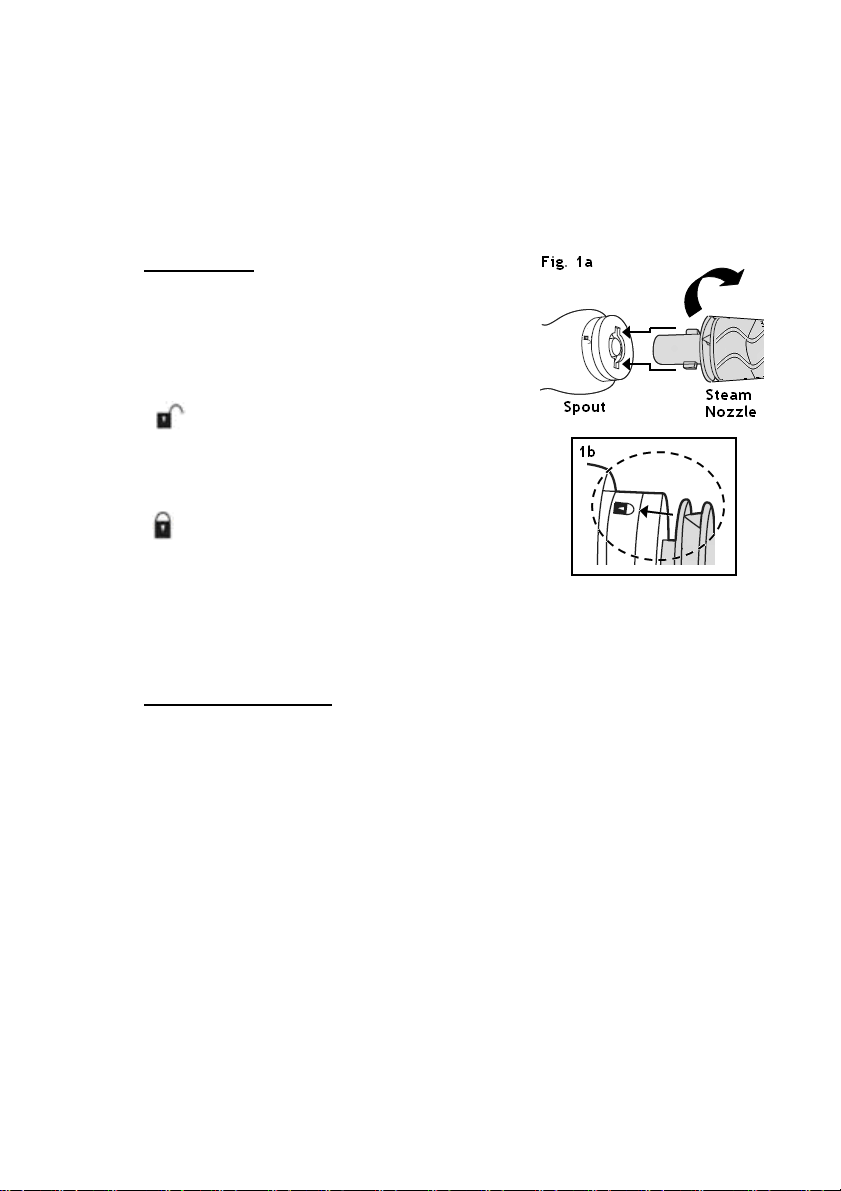
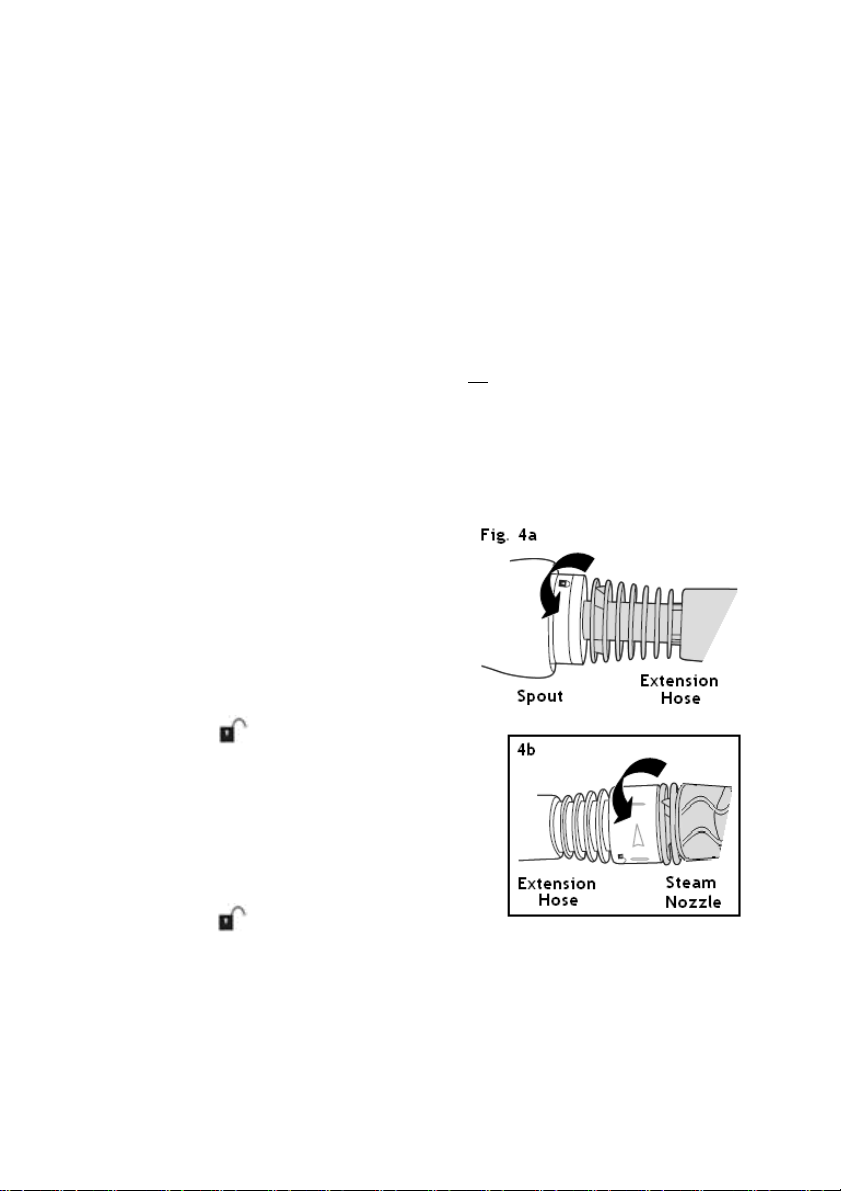
a. AttachtheExtensionHoseandSurfaceNozzleas instructedinthe
SurfaceNozzlesubsection.
b. Hook thesmalltabsonthebottomoftheWindowSqueegeeintothe
slotsonthebottomoftheSurfaceNozzle,andthenpushthetopofthe
NozzleundertheLockingTabnearthetopoftheSqueegee.
6. PlugthePowerCordintoastandard120-voltACelectricaloutlet.TheIndicator
Lightwillilluminatefor2-3minutesindicatingthattheproductisgenerating
steam.Whentheproductis readytouse,theIndicatorLightwillshut off.
NOTE: During use, the Indicator Light will cycle on and off when the product
reheats to maintain the steaming temperature.
7. HoldtheWaterTanklevelorslightlytilted,asneeded,holdtheattachment
about oneinchfromthearea/itemtobecleaned,andpress theSteamTriggerto
applysteamtoasmall,inconspicuousareaasatest.
CAUTON: DonottilttheWaterTankmorethana45° angle;otherwise,the
productmayleakhotwater.
CAUTON: Keepallattachments, except theSqueegee,atleast10 inches(25
cm)fromglass surfacestoprevent shattering.
NOTCE: Ensureareas/itemstobecleanedaresuitedforsteamcleaning,and
movetheattachment inacontinuousbackandforth motion.
NOTE: Except when cleaning glass surfaces, steam will lose pressure and heat
efficiency if the attachment is held more than one inch away from the area/item
to be cleaned.
8. ContinuecleaningbypressingandholdingtheSteamTrigger.
9. TorefilltheWaterTank:
a. Unplugtheproductfromtheelectricaloutlet,allowittocoolforfive
minutes, holddowntheSteamTriggeruntilno steamdischarges fromthe
attachment.HolddowntheSteam Triggerwhilepushingdown andtwisting
theWaterTankCapcounterclockwiseandscrewingcounterclockwiseto
removeit.
WARNNG: DonotopentheWaterTankCapwhileoperatingthe
productoruntilallpressurehasbeenreleased.
b. RepeatSteps2-4, reconnecttheplug,and thenwaitfortheIndicatorLight
toturnoffagain.
10. Afteruse,unplugtheproductfromtheelectricaloutlet, allowittocoolforfive
minutes, and holddowntheSteam Triggeruntilno steamdischargesfromthe
attachment.