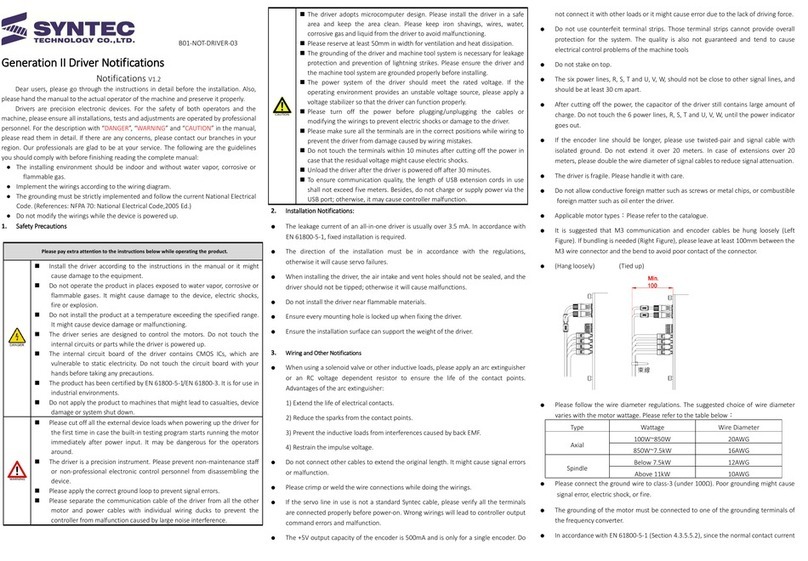
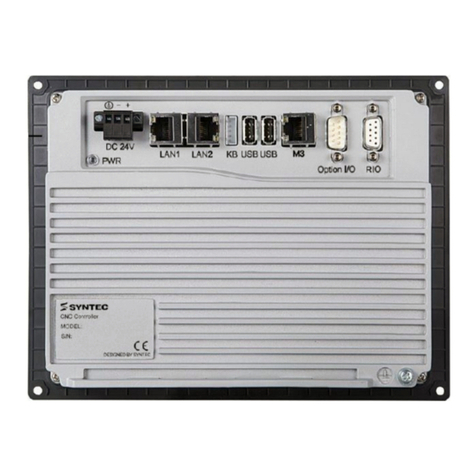
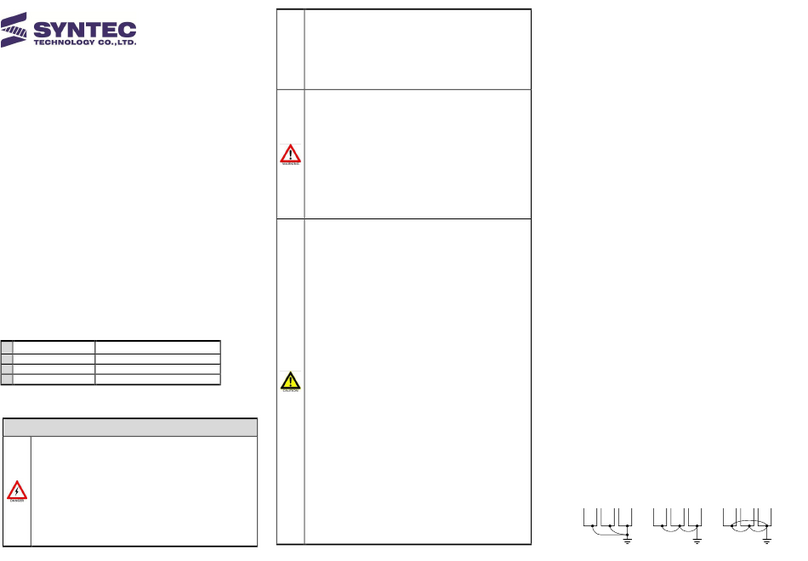
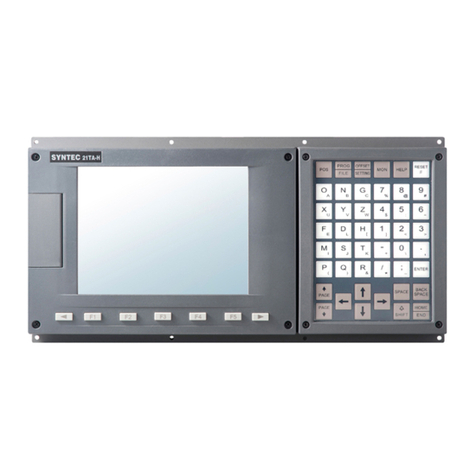
Syntec S08-SMD-24A Series User manual

B01-SMD-24A-03-03
S08-SMD-24A Series Four-in-one Driver
(T32P32)
Basic Installation Instructions V. 1.3
Dear users, please go through the instructions in detail before the installation. Also, please hand the manual
to the actual operator of the machine and preserve it properly.
Drivers are precision electronic devices. For the safety of both operators and the machine, please ensure all
installations, tests and adjustments are operated by professional personnel. For the description with “DANGER”,
“WARNING” and “CAUTION” in the manual, please read them in detail. If there are any concerns, please
contact our branches in your region. Our professionals are glad to be at your service. The following are the
guidelines you should comply with before finishing reading the complete manual:
⚫The installing environment should be indoor and without water vapor, corrosive or flammable gas.
⚫Implement the wirings according to the wiring diagram.
⚫The grounding must be strictly implemented and follow the current National Electrical Code. (References:
NFPA 70: National Electrical Code,2005 Ed.)
⚫Do not modify the wirings while the device is powered up.
1. Safety Precautions:
◼The driver adopts microcomputer design. Please install the driver in a safe
area and keep the area clean. Please keep iron shavings, wires, water,
corrosive gas and liquid from the driver to avoid malfunctioning.
◼Please reserve at least 50mm in width for ventilation and heat dissipation.
◼The grounding of the driver and machine tool system is necessary for leakage
protection and prevention of lightning strikes. Please ensure the driver and
the machine tool system are grounded properly before installing.
◼The power system of the driver should meet the rated voltage. If the
operating environment provides an unstable voltage source, please apply a
voltage stabilizer so that the driver can function properly.
◼Please turn off the power before plugging/unplugging the cables or
modifying the wirings to prevent electric shocks or damage to the driver.
◼Please make sure all the terminals are in the correct positions while wiring to
prevent the driver from damage caused by wiring mistakes.
◼Do not touch the terminals within 10 minutes after cutting off the power in
case that the residual voltage might cause electric shocks.
◼Unload the driver after the driver is powered off after 30 minutes.
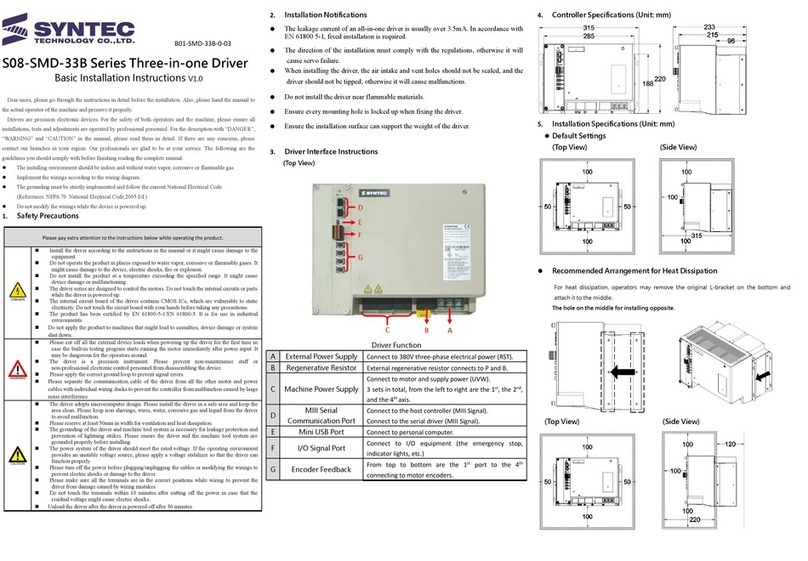
2. Installation Notifications:
The leakage current of an all-in-one driver is usually over 3.5 mA. In accordance with
EN 61800-5-1, fixed installation is required.
The direction of the installation must comply with the regulations, otherwise it will
cause servo failure.
When installing the driver, the air intake and vent holes should not be sealed, and the
driver should not be tipped; otherwise it will cause malfunctions.
Do not install the driver near flammable materials.
Ensure every mounting hole is locked up when fixing the driver.
Ensure the installation surface can support the weight of the driver.
3. Driver Interface Instructions:
(Front view)
Driver Function
A
External Power Supply
Connected to 220V three-phase AC power (RST).
B
Machine Power Supply
Connected to motor and supply power (UVW). Four sets in
total, from right to left are the first axis to fourth.
C
MIII Serial Communication Port
Connected to the host controller (MIII Signal).
Connect to the serial driver (MIII Signal).
D
Mini USB Port
Connected to personal computer.
E
I/O Signal Port
Connected to I/O equipment
(Emergency stop, indicator light…etc.)
F
Encoder Feedback
From top to bottom are the first port to the fourth.
The first to the fourth ports connect to motor encoders.
G
DA Port
Two sets of spindle D/A output interface.
H
MPG Port
Connect to MPG.
I
X1 Port
Input interface. Connect to external input termination board.
J
Y1 Port
Output interface. Connect to external output terminal board.
4. Driver Specifications(Unit:mm)
5. Installation Specifications(Unit:mm)
(Front view)(Side view)
Please pay extra attention to the instructions below while operating the product.
◼Install the driver according to the instructions in the manual or it might
cause damage to the equipment.
◼Do not operate the product in places exposed to water vapor, corrosive or
flammable gases. It might cause damage to the device, electric shocks,
fire or explosion.
◼Do not install the product at a temperature exceeding the specified range. It
might cause device damage or malfunctioning.
◼The driver series are designed to control the motors. Do not touch the
internal circuits or parts while the driver is powered up.
◼The internal circuit board of the driver contains CMOS ICs, which are
vulnerable to static electricity. Do not touch the circuit board with your
hands before taking any precautions.
◼The product has been certified by EN 61800-5-1/EN 61800-3. It is for use
in industrial environments.
◼Do not apply the product to machines that might lead to casualties, device
damage or system shut down.
◼Please cut off all the external device loads when powering up the driver for
the first time in case the built-in testing program starts running the motor
immediately after power input. It may be dangerous for the operators
around.
◼The driver is a precision instrument. Please prevent non-maintenance staff
or non-professional electronic control personnel from disassembling the
device.
◼Please apply the correct ground loop to prevent signal errors.
◼Please separate the communication cable of the driver from all the other
motor and power cables with individual wiring ducks to prevent the
controller from malfunction caused by large noise interference.

6. Mounting Hole Specifications (Unit:mm)
Please install with M5 screws.
7. Basic Wiring Diagram:
Confirm whether the wiring of the U, V, W terminals output to the motor is correct,
otherwise it may cause reversal or abnormality, and the encoder must be adjusted
again.
When wiring the host controller, either the general servo signal or the serial servo
signal can be installed.
8. Interface Configurations:
Please notice the value and the polarities of voltages.
Serial Communication Port Arrangement Mini USB Communication Port Arrangement
Encoder Feedback Arrangement
MPG Port Arrangement
I/O Communication Port Arrangement DA Port Arrangement
Notice : Contact capacity of output is DC30V,200mA. Do not use in overload condition.
X1 Port Arrangement X2 Port Arrangement Y1 Port Arrangement Y2 Port Arrangement
9. Driver Specifications
Type
S08-SMD24A20-03
Input Voltage
AC 3PH 200~230V 50/60Hz
Input Current
30A
Output Voltage
Axis1~Axis4
AC 3PH 0~230V 0~400Hz
Rated Output Current
Axis1~Axis4
7.6A
Rated Power
Axis1~Axis4
1kW
Terminal Specification
RSTG
Wire specifications:24~12AWG;Operating temperature:-40℃~+110℃;
Rated torque:0.4N‧m
GU1V1W1~
GU4V4W4
Wire specifications:24~14AWG;Operating temperature:-40℃~+115℃
I/O Signal
Port、
ADDA
Second
Feedback
Wire specifications:28~16 AWG;Operating temperature:-40℃~+115℃
Power Source Environment
TN System (1)
Allowable voltage deviation : -15% ~ +10%
Allowable frequency deviation : -5% ~ +5%
Environment
Condition
Temperature
Operating:0℃~ 55℃(Not frozen, if the ambient temperature exceeds 45 °C,
the air circulation system must be activated)
Storage/Transporting Temperature:-20~65℃(Not frozen)
Humidity
Operating:Below 90%RH(Not condensed)
Storage/Transporting:Below 90%RH (No condensed)
Surrounding Area
Indoor (Avoid direct sunlight)、avoid corrosive gas or flammable gas
Height
Operating/storage Altitude (Max.):1,000 meters
(With derating, usage is possible at the elevation between 1,000 m and 2,000 m.)
Transporting Altitude (Max.):10,000 meters
Vibration
5.9 m/s2
Pollution Degree
2
IP Level
IP20
Frame Size
W × H × D mm
220 x 186 x 315
Weight
7Kg
NOTE:
(1) TN System:The neutral point of the power system is grounded directly to earth, and the exposed metal components
are grounded by protective earthing conductors.
10. Wiring Notifications:
⚫When using the solenoid valve or other inductive loads, please apply an arc
extinguisher, an RC varistor, or a flyback diode to ensure the life of the contact
points. Advantages of the arc extinguisher:
1) Extend the life of electrical contacts.
2) Reduce the sparks from the contact points.
3) Restrain the impulse voltage.
4) Prevent the inductive loads from interferences caused by back EMF.
※Recommended Encoder Wire Diameter:
22AWG×2C+24AWG×2P
Over 90% coverage.
▲Flyback diode circuit diagram

Suppose a client wants to drive four 1.2kW motors with 1kW*4 Servo Drive
Embedded Controller, it means the gross power should supply at most 4.8kW. Then
we reverse the formula and set the power factor at 0.7. If only Servo Drive Embedded
Controllers are used, the capacity should be at least 4.8/0.7=6.85kVA. In addition,
10% of the backup capacity should be considered. Thus, 7.5kVA would be more
suitable. Moreover, if an inverter is used, and the power is supplied by an isolation
transformer, the capacity of the inverter should be considered.
Do not connect a cable with other cables to extend the length. It might cause signal
error or malfunction.
Please crimp or weld the wire connections while doing the wirings.
If the servo line in use is not a standard Syntec cable, please verify all the terminals
connected properly before power-on. Wrong wirings will lead to controller output
command errors and malfunctioning.
The +5V output capacity of the encoder is 500mA and is only for a single encoder.
Do not connect it with other loads or it might cause error due to the lack of driving
force.
Do not use counterfeit terminal strips. Those terminal strips cannot provide overall
protection for the system. The quality is also not guaranteed and tend to cause
electrical control problems of the machine tools.
The wiring of the driver and the motor cannot be pulled too tightly.
Do not stake on top.
The six power lines, R, S, T and U, V, W, should not be close to other signal lines,
and should be at least 30 cm apart.
After cutting off the power, the capacitor of the driver still contains large amount of
charge. Do not touch the 6 power lines, R, S, T and U, V, W, until the power
indicator goes out.
If the encoder line should be longer, please use twisted-pair and signal cable with
isolated ground. Do not extend it over 20 meters. In case of extensions over 20
meters, please double the wire diameter of signal cables to reduce signal attenuation.
To ensure the quality of communication, the USB extension cord in use should not
exceed 5 meters, and do not use for charging purposes to avoid controller failure.
The drive is fragile. Please handle it with care.
Do not allow conductive foreign matter such as screws or metal chips, or combustible
foreign matter such as oil enter the driver.
Applicable motors: Please refer to the selection manual.
Please comply with the wire gauge standards. The recommended wire diameter varies
with the motor wattage. Please refer to the table below:
Type
Wattage
Wire Diameter
Axial
100W~850W
20AWG
850W~7.5kW
16AWG
Spindle
Less than 7.5kW (Include)
12AWG
More than11kW (Include)
10AWG
Please connect the ground wire to class-3 (under 100Ω). Poor grounding might cause
signal error, electric shock, or fire.
The grounding of the motor must be connected to one of the grounding terminals of
the frequency converter.
In accordance with EN 61800-5-1 (Section 4.3.5.5.2), since the normal contact
current of the frequency converter is higher than 3.5 mA AC or 10 mA DC, a fixed
protective earthing connection must be used:
1) The cross-sectional area of the protective earthing wire should be coper wires of
at least 10mm2or aluminum wires of at least 16 mm2.
2) Automatically cut off the power when the protective earthing conductor is
interrupted.
3) Replace the original protective earthing conductor with a spare one that has the
same cross-sectional area.
⚫Grounding Directions:
1) The length of grounding wires should comply with the electrical equipment
regulations; the shorter the better.
2) The grounding wire of the driver should be grounded separately with
high-current loads such as electric welders or high frequency motors.
3) Please refer to the pictures below when the controller is grounded with multiple
electrical control devices. Do not make it a loop:
(a) O (b) O (c) X
(a) 良 (b) 良 (c) 不良
This manual suits for next models
1
Other Syntec Controllers manuals
Popular Controllers manuals by other brands

SMA
SMA CLCON-10 installation manual

Metso
Metso Valvcon ADC Series Installation maintenance and operating instructions

GIGAMEDIA
GIGAMEDIA GGM WCAP300 quick guide

Chino
Chino KP 2000 Series instructions

Controlli
Controlli DG501C user guide

Federal Signal Corporation
Federal Signal Corporation 2001-AC Installation and operation manual