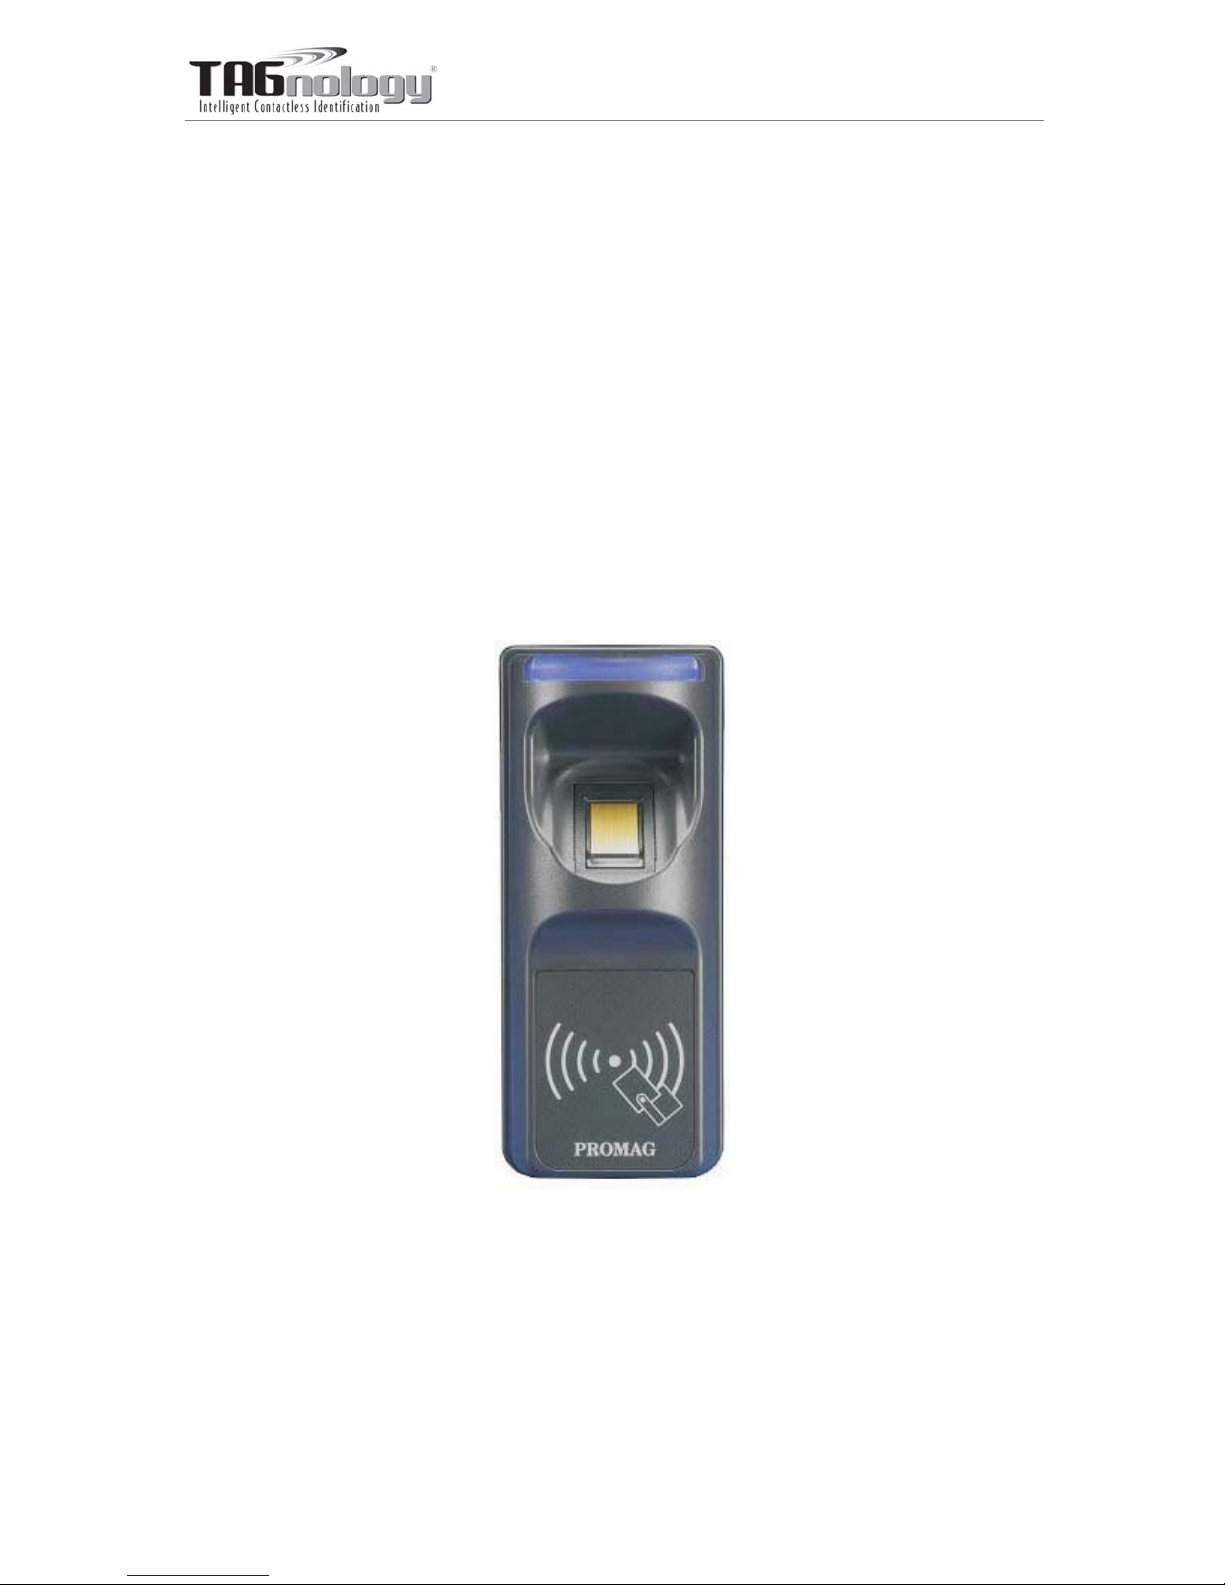
manuals.online logo
Brands
  1. Home
  2. •
  3. Brands
  4. •
  5. TAGnology
  6. •
  7. Door Lock
  8. •
  9. TAGnology SmaFinger User manual

TAGnology SmaFinger User manual

SmaFinger®
Mifare Configurable Sector Reader
User’s Manual
REV.A
October 26, 2006
TAGnology RFID GmbH | Grazer Vorstadt 142 | 8570 Voitsberg | AUSTRIA
phone: +43 (0)3142/28 9 28-10 | fax: +43 (0)3142/28 9 28-20 | [email protected] | www.tagnology.com
SmaFinger
PROMAG REV.A
2
SmaFinger is a fingerprint reader developed on the so-call contactless smart card 13.56 Mhz RFID technology. The
integration of biometric technology by fingerprint identification and 13.56Mhz RFID technology make Smafinger be
capable of biometric and contactless performance without spending large amount of expenses in running system
upgrading with fingerprint system extension. On the aspect of personal privacy issue, SmaFinger supply the high secure
of protection on privacy concern due to every fingerprint is stored on a card. Also the reader itself supports Mifare
MAD1/MAD2 format make user end be able to issue their customized ID cards.
Features:
1. Support MAD1/MAD2 standard, and support customer MAD-AID setting.
2. Support Non-MAD format with user-defined sector number.
3. Support Anti-Collision (Two cards to gether can be read at the same time).
4. Support used card with data offset and length.
5. Support Multi Sectors.
6. Support Mifare®Standard 4K or Mifare®Standard 1K card.
7. Each Reader with Reader ID for multi-link application.
8. Output interface: Wiegand (Default), ABA-TK2 and RS232.
9. Wiegand output selectable from 26 bits to 128 bits.
10. RS232 output packet can be set with Header, Reader ID and Trailer.
Application:
1. Access Control.
2. Time Attendance.
3. Guest Registration System.
4. Academic Services.
5. Info Services.
SmaFinger
PROMAG REV.A
3
Mifare®Application Directory (MAD) Support:
SmaFinger support the MAD format card, the MAD (mifare® application directory) standard proposes the
introduction of common data structures for card application directory entries. SmaFinger reader should take
advantage of this feature using those sector pointers instead of physical sector number.
Ye s
Auto Mode
Get
Application Sector#
Request
Anticollision
Is MAD
Card
AID Match
Using MF700
Non-MAD Sector#
Un-knowRead Sector Data
Output Data
No Tag
Card On Reader
No
Ye s
No
APP KEY
Authenticate NG
PASS
The SmaFinger will search the AID from mifare®
application directory (MAD) , then got a correct sector
number from MAD. If the card is not a MAD card, the
SmaFinger will use the Non-MAD Sector# (Setting by
SmaFinger Utility).
About MAD please see the web pages:
http://www.mifare.net
http://www.semiconductors.philips.com/acrobat/other/id
entification/M001824.pdf
SmaFinger
PROMAG REV.A
4
User-Data Format
SmaFinger will send out the data following the format as below, the user data length defined by the Data-Info.
At wiegand output format, the data output length is fixed (defined by Number Of Bits), so the user data would
be cut if longer than Number of Bits, or the user data would be appended with zero "0" if shorter than Number
of Bits.
Byte 0 Byte 15
Block 0 Data-Info
Block 1
Block 2
USER DATA (Max 128 Bytes)
Application
Sector #
Block 3
Data-Info
bit7 bit6 bit5 bit0
Data Type (11b) Data Length
Data Type is fixed with 11b which meets "any other data" type of "Card Holder information" as MAD standard.
And data length is including the data with ending zero "0", so the number of data byte sent by SmaFinger is
equal to data length with one less for RS232 output.
Example: Data Length is 16, SmaFinger only send out 15 bytes for RS232 output.
SmaFinger
PROMAG REV.A
5
Wires Assignment
Color Symbol I/O Description
Red VCC IN Power Input : DC 7.5V~12V
Black GND IN Power Ground
White DATA 1 OUT Wiegand Data 1 Signal / ABA TK2 Clock (Strobe)
Green DATA 0 OUT Wiegand Data 0 Signal / ABA TK2 Data
Yellow TXD OUT RS232 TXD (To Host RXD)
Blue RXD IN RS232 RXD (To Host TXD)
Orange CP OUT ABA TK2 Card Present (for SmaFinger REV.D and later)
Brown LED/BUZEER IN External LED/BUZZER Control
Connect To Reader Kit before configure the SmaFinger Reader.
To configure the SmaFinger reader you need connect the reader to the Reader-Kit first as below:
CP
GND
D1
D0
RX
TX
VCC
" """
Reader-KIT
9VDC
WAS-T0029
BLACK
WHITE
GREEN
BLUE
YELLOW
RED
ORANGE
BROWN
The above housing is for reference only
Note:
Reader-Kit is a test connection kit for SmaFinger configuration use. It is an optional item for purchasing.
SmaFinger
PROMAG REV.A
6
Mifare Reader Utility
1. Mifare Settings:
MAD-AID: (Default=4703)
MAD Application Identifier number is authorized and assigned by Mifare.net upon the customer’s request
for registered Application Identifier in a mifare® application open system (AID: 0000h~FFFFh).
Or it is also possible for the user to define the AID himself for the application in user defined closed
system without registering into MAD group. According to the AID, SmaFinger can find and read the
corresponding sector on the MAD card.
Non-MAD Sector: (Default =0)
When the card is Non-MAD format, SmaFinger will only read the "Non-MAD Sector".
(1K Card Sector: 0~15, 4K Card Sector:0~39). For the Non-MAD application, user can freely define the
Sector.
App Key (KEY_A): (Default=FFFFFFFFFFFF)
App Key must be the same as the KEY_A of the card issued. This means SmaFinger only can read the
sector data on the card with the same KEY_A.
Encrypt: (Default=None)
Fraud prevention, Select Encrypt Mode (None, Encrypt 1, Encrypt 2, Encrypt 3, Encrypt 4, Encrypt 5) to
protected your card data. (Remark: Encrypt mode must to work together with the same encrypt mode of
"Mifare Card Issuer" software.)
SmaFinger
PROMAG REV.A
7
Used Card (Not issued by "Mifare Card Issuer")
You have to indicate the data position in the card, when the card is not issued by "Mifare Card Issuer"
software. And you must set the "Offset" (Max 255, and base from zero) form the beginning of sector and
set your data "Length" (Max 128).
Example:
If your card data in the grey grid of sector, you have to set the "Offset" = 17, and set the "Length"= 20.
AID Sector (or Non-MAD Sector)
Block 0 0 1 2 3 4 5 6 7 8 9 10 11 12 13 14 15
Block 1 16 17 18 19 20 21 22 23 24 25 26 27 28 29 30 31
Block 2 32 33 34 35 36 37 38 39 40 41 42 43 44 45 46 47
SmaFinger
PROMAG REV.A
8
2. Reader Settings
Reader ID : (Default=0)
SmaFinger Reader ID for multi link application. (ID: 0~99).
Interface : (Default=Wiegand)
SmaFinger can be set as Wiegand , RS232 or ABA-TK2 output.
Read Mode: (Default=Card Data Only)
a. Card Data Only: Read card sector data only; If any error (ex. mifare key error), reader will show "Card
Invalid" status.
b. Card Data or CSN (Card Serial Number): Read card sector data, If any error (ex. mifare key error),
reader will send the CSN to host.
c. CSN Only: CSN read only.
Output Mode: (Default=Once)
a. Once: Send data (or CSN) to host once.
b. Continue: Keeping sending data (or CSN) to host till card remove.
SmaFinger
PROMAG REV.A
9
3. LED / Buzzer Settings
New SmaFinger support the LED/Alarm Configuration. Setting the LED/Buzzer to indicate the system
status for end-user.
Enable RS232 Command Set Control: (For 19200,n,8,1 Only)
RS232 LED/Buzzer command set frame as below:
STX J NUMBER (0~9) CR
02h 4Ah 30h~39h 0Dh
Command Table:
NUMBER Descriptions
0 (30h) All LED Off, Buzzer Off
1 (31h) Green LED ON
2 (32h) Green LED OFF
3 (33h) Red LED ON
4 (34h) Red LED OFF
5 (35h) Buzzer Beep 1 Time
6 (36h) Buzzer Beep 3 Time
7 (37h) Green LED ON with Beep 1 Time
8 (38h) Red LED ON with Beep 3 Time
9 (39h) All LED ON (Orange)
Remark: If Enable the RS232 Command Set Control (for LED/Buzzer), the external LED/Buzzer
control with high/low level control will be disable.
Read Idle: Show LED color after power on or idle state.
Brown wire = PULSE (or Card is valid): Show LED color and beeps to indicate the end-user when
brown wire = PULSE, or card was passed by SmaFinger reader.
SmaFinger
PROMAG REV.A
10
Brown wire = Inactive ( or Card Is invalid): Show LED color and beeps to indicate the end-user when
brown wire = Inactive, or card was failed by SmaFinger reader.
Brown wire = Active: Show LED color and beeps to indicate the end-user that brown wire = Active signal
from Host.
Brown wire Active level: Set Brown wire Active level condition with Host status.
Disable: Always disable the Brown wire. (Default), LED/Buzzer control by reader self.
High: Active High / Normal keep in Low.
Low: Active Low / Normal keep in High.
Remark:
If set Active Low, you may have to connect brow n wire to a pull-up resistor (1K~10K) with 5VDC).
Control Brown wire:
After Data Output: The brown wire will be enabling after finished output the card data or CSN. (Default)
Any Time: The brown wire enabled in any time.
Note: See Annex E, the LED/Buzzer also can be controlled externally with High/Low
level control.
SmaFinger
PROMAG REV.A
11
4. Wiegand Setting:
Number of Bit s is to set the Wiegand output type you want to meet your Host (or Terminal). It can be 26
to 128 (Default=26).
Include Reader ID1is to set the Wiegand output data to include Reader ID when it is enabled.
(Default=Disable).
Bit Sequence is to set the Wiegand output data sequence, it can be standard data sequence (MSB first)
or Reverse data sequence (LSB first). (Default=Standard).
SmaFinger
PROMAG REV.A
12
5. ABA-TK2 Settings
Number Of Digital: Set number of digital codes for TK2 output. (Default=10)
Add Reader ID: Add Reader ID into TK2 data. (Default=Disable)
Sequence: Set the TK2 data sequence. (Default=MSB First)
Data Conversion: Select card data format to convert ,
a. BIN to DEC (Default, card issue by Mifare Card Issuer Utility)
b. Decimal String (ex. "123456")
c. BCD
d. Direct (Memory Map)
SmaFinger
PROMAG REV.A
13
6. RS232 Setting:
Baudrate can be set 2400bps~57600bps (Default=19200bps)
Data Sequence can be set "LSB" first (Default) and "MSB" first.
Package2is to set the output data packet to include Header, Reader ID, Data Length, CR, LF and Trailer.
(Header:00h~FFh, Trailer : 00h~FFh). (Default = None included)
Output Format can be "Binary" or "Hex String" for output format.
Note:
(1).Wiegand output data packet with Reader ID:
(2).RS232 output data packet with Header, Reader ID and Trailer:
Header Reader ID (LSB) Data Bytes (MSB) Trailer
(3).ABA-TK2 with Reader ID:
Standard Parity( )Even Reader ID (MSB) Data Bits (LSB) Parity( )Odd
Reverse Parity( )Odd Reader ID (LSB) Data Bits (MSB) Parity( )Even
MSB First SS Reader ID (MSB) Digital Code (LSB) ES LRC
LSB First SS Reader ID (LSB) Digital Code (MSB) ES LRC
Remark:
SmaFinger all configuration items are write only, so any users can not read the configuration items from
SmaFinger to get the App Key, that is very important to protect your App Key and all configuration items.
SmaFinger
PROMAG REV.A
14
Test SmaFinger Reader after configuration
After SmaFinger configuration is completed you may use Mifare Reader Utility "Test" function to test the
SmaFinger to see if the configuration is done correctly.
1. After the configuration on the Mifare Reader Utility software is made, you should click [Update Reader] to
download the current configuration to the SmaFinger Reader.
2. After SmaFinger configuration is completed, you may click [Test] to test SmaFinger Reader.
3. Get an issued mifare®card to put on SmaFinger reader to be read and see the output data on the window
of "SmaFinger Output Test".
Wiegand 34 bits output data with standard bit sequence, example as below: (If "Bit Sequence" is standard,
Reverse will detect a wrong with parity error.)
Remark:
1. Using Reader-Kit to test Wiegand (or TK2) signal, this test may be failed if the processor of computer is
too slow.
2. Using Reader-Kit to test Wiegand (or TK2) signal, you have to connect to the physical Comm. Port.
SmaFinger
PROMAG REV.A
15
ANNEX A. Hardware Specification
SmaFinger
Major Feature Mifare®Application Directory Reader
Access Control & Security
Card Type ISO14443A, Mifare Class1
(Mifare®1K, Mifare®4K for MAD1/MAD2)
RF Frequence 13.56MHz
RF Distance250mm (Using the MFA01 Mifare®card of GIGA-TMS INC.)
DC Power 7.5VDC~12VDC (Max 200mA @ 12V)
Interface Wiegand 26~128 bits (Standard / Reverse)
RS232 2400bps~57600bps
ABA-TK2 40IPS
Power Input DC 7.5~12V
Power Consume 200mA @ 12V
Operating Temp. 0~50 degree C
Humidity 10~90% Humidity
Dimension H13.00mm x W54.00mm x D43.00mm
Note:
1. Mifare Class: Mifare Standard 1K/4K.
2. SmaFinger RF distance can reach up to 50mm with MFA01 (Mifare®Standard 1K Card)
of GIGA-TMS INC.
SmaFinger
PROMAG REV.A
16
ANNEX B. Wiegand Interface
The Data 1 and Data 0 signals are held at a logic high level unit, the reader is ready to send a data stream.
The reader places data as asynchronous low-going pulses on the Data 1 or Data 0 lines to transmit the data
stream to Host. The Data 1 and Data 0 pulses will allowable pulse width times and pulse interval times for the
SmaFinger reader.
Data 1 Signal
Data 0 Signal
` Tpw Tpi Tpw Tpi
Pulse Times
Symbol Description Typical Time
Tpw Pulse Width Time 100us +/- 3%
Tpi Pulse Interval Time 1.9ms +/- 3%
Wiegand Packet (Without Reader ID)
Standard (Default) Parity(Even) (MSB) Data Bits (LSB) Parity(Odd)
Reverse (Option) Parity(Odd) (LSB) Data Bits (MSB) Parity(Even)
Connect the Wiegand wires, example as below: (The pull high resister must >= 10K Ohm)
Optional: External LED/Buzzer Control (Brown)
(Red)
(Black)
Data 0 (Green)
Data 1 (White)
HOST/Terminal
SmaFinger
9~12VD
GND GND
10K
ohm
10K
ohm
5VDC
Pull high resistor
>=10K Ohm
SmaFinger
PROMAG REV.A
17
ANNEX C. ABA TK2 Interface
The timing for Card Present, Clock (Strobe) and Data , example as below:
000...01101001...0 0 0
Leading Zero Data Trailing Zero
STROBE Width Approximately 25~50% Of Bit Time
Bit Time 40IPS (min:280us, typ:330us, max:480us)
/DATA
/STROBE
(CLOCK)
/CARD PRESENT
DATA
The data signal is valid while the clock is low. If the Data signal is high, the bit
is a zero. If the Data signal is low, the bit is a one.
CLOCK (STROBE)
The Clock signal indicates when Data is valid. It is recommended that Data be loaded
by the user with the leading edge (negative) of the Strobe.
CARD PRESENT
Card Present will go low after flux reversals from the Reader. Card Present will return
high after the last flux reversal.
Connect the ABA TK2 wires, example as below:
Clock (White)
Data (Green)
HOST/Terminal
SmaFinger
Optional: External LED/Buzzer Control (Brown)
(Red)
(Black)
9~12VD
GND GND
Card Present (Orange)
SmaFinger
PROMAG REV.A
18
ANNEX D. RS232 Interface
Connect the RS232 wires, example as below:
HOST/Terminal
Optional: External LED/Buzzer Control (Brown)
(Red)
GND (Black)
SmaFinger
GND GND
TXD (Yellow)
9~12VD
SmaFinger
PROMAG REV.A
19
ANNEX E. External LED/Buzzer Control
SmaFinger supports the external LED/Buzzer control for Terminal (or Host) to prompt end-user the card data
is invalid or valid. Use Brown wire to control the LED/Buzzer of SmaFinger
Examples as below: (Active High)
(1) Show External Invalid Status
Data Output
Alarm Control (Brown)
(2) Show Card Valid Status
Data Output
Alarm Control (Brown)
Min 100ms
Min 100ms
Note:
1. Send one pulse to show the "Extern Invalid" LED/Buzzer Status.
2. Send three or more pulse to show the "Card Valid" LED/Buzzer status.
3. You can configure the LED/Buzzer status by Mifare Reader utility.
SmaFinger
PROMAG REV.A
20
ANNEX F. Secure Mounting Installation
1. Attach the bottom plate label on the target
position. Drill the holes to match the bottom plate
then fix SmaFinger reader.
2. After fixing SmaFinger with attached screws
(using the L-shape spanner), apply screw cover
plate for completion.
WALL
L-shape
WALL
screw cover plate
Remark:
SmaFinger is not designed for outdoor usage. Avoid the
damage from sunshine or rains.
To keep SmaFinger in good performance, it is recommended
to have regular maintenance and clearance of the physical
reader.

Popular Door Lock manuals by other brands

SECO-LARM SD-997SMB-AQ installation manual

SECO-LARM

SECO-LARM SD-997SMB-AQ installation manual

Alarm Lock T3e Series Addendum overview

Alarm Lock

Alarm Lock T3e Series Addendum overview

CodeLock Codelock 600 manual

CodeLock

CodeLock Codelock 600 manual

Allegion Falcon MA Series installation instructions

Allegion

Allegion Falcon MA Series installation instructions

PROMIX SHERIFF-1 premium operating manual

PROMIX

PROMIX SHERIFF-1 premium operating manual

Wattle MPL TOUCH/SMART WHITE manual

Wattle

Wattle MPL TOUCH/SMART WHITE manual

LOCKLY GUARD DEADBOLT 728Z user manual

LOCKLY GUARD

LOCKLY GUARD DEADBOLT 728Z user manual

Richelieu 87H2R1002524170 manual

Richelieu

Richelieu 87H2R1002524170 manual

Allegion Interflex IF-171 Technical manual

Allegion

Allegion Interflex IF-171 Technical manual

ROSTEX R4 Assembly manual

ROSTEX

ROSTEX R4 Assembly manual

DESi Utopic 2 user manual

DESi

DESi Utopic 2 user manual

Kaba C-lever quick guide

Kaba

Kaba C-lever quick guide

Kwikset Powerbolt 2 manual

Kwikset

Kwikset Powerbolt 2 manual

Wano vG-BL1Lock user manual

Wano

Wano vG-BL1Lock user manual

Salto XS4 Mini installation guide

Salto

Salto XS4 Mini installation guide

Kaba S-module quick guide

Kaba

Kaba S-module quick guide

Windsor 7059 Fitting instructions

Windsor

Windsor 7059 Fitting instructions

Yale YDM4109 user guide

Yale

Yale YDM4109 user guide

manuals.online logo
manuals.online logoBrands
  • About & Mission
  • Contact us
  • Privacy Policy
  • Terms and Conditions

Copyright 2025 Manuals.Online. All Rights Reserved.