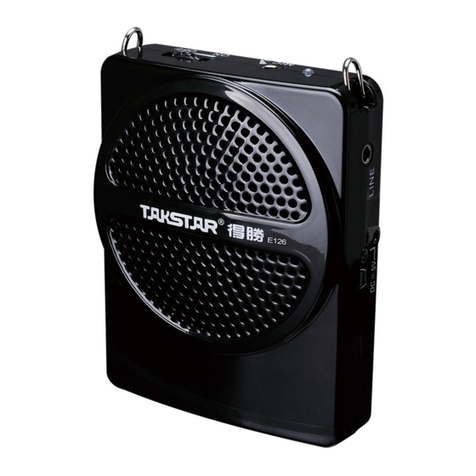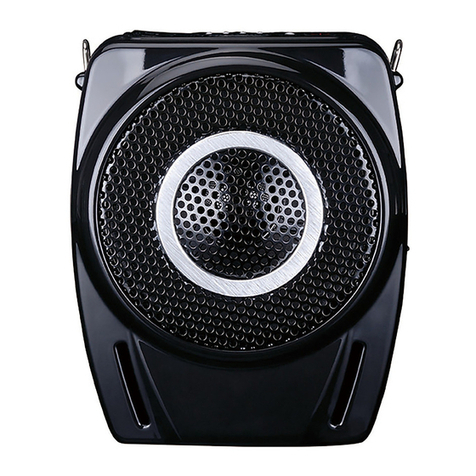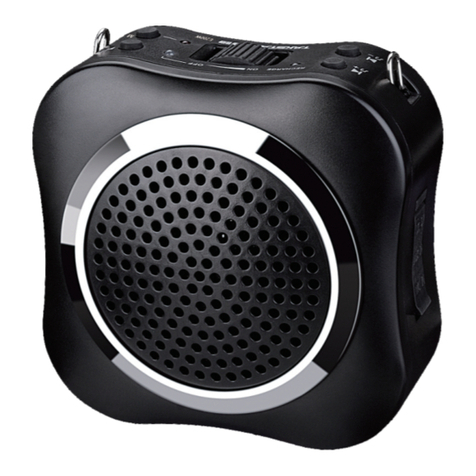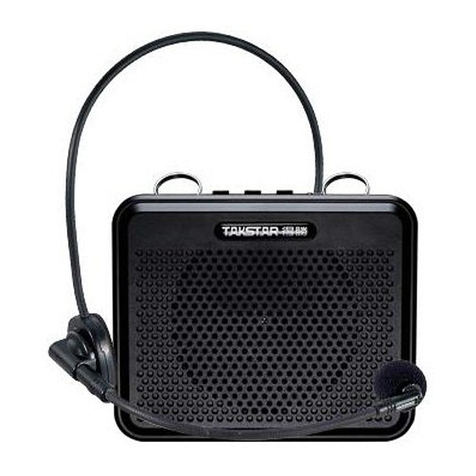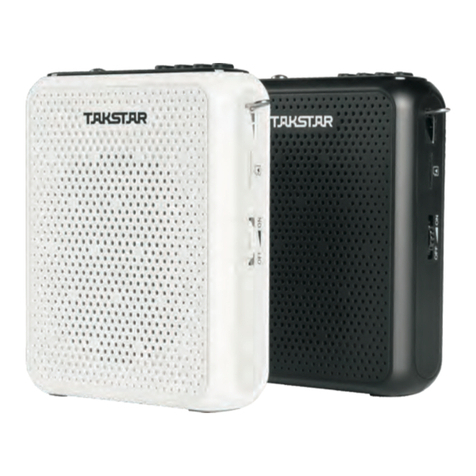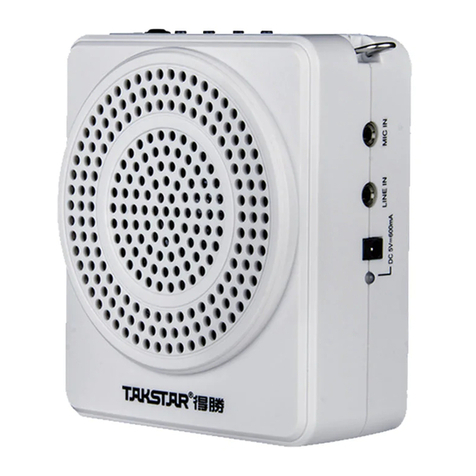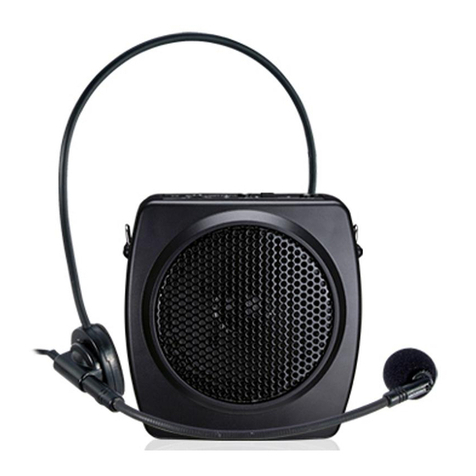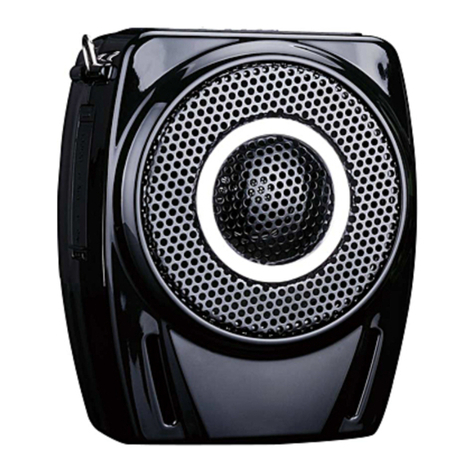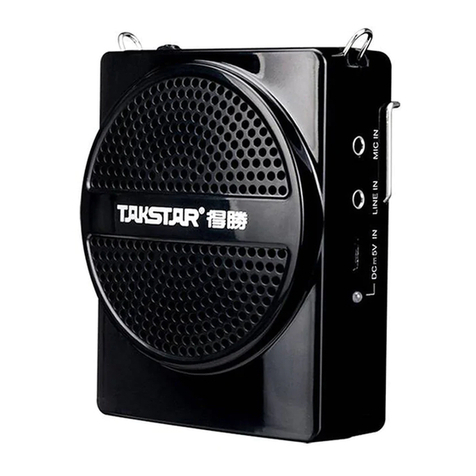
PO² digital power synthetic technique, 10W output power
Rare earth material speaker features light weight, excellent sound quality and loud
output volume
Music play function, supports the multimedia audio files play of USB disk and TF card
High brightness digital LED display for controlling the working status intuitively
Recording function controlled by one button, supports microphone and FM broadcasting
content recording
Built-in FM function to search and save the radio stations automatically
Built-in high capacity lithium-ion battery and MCU intelligent recharging management
system for secure recharge/discharge, 5 hours fast recharging time and long play time
up to 12 hours
Ergonomic design, unique and fashionable contour, comfortable operation
˙reinforcement in teaching, tour guide, propaganda, visiting, morning exercise
1413
11
12
DC 5V 150mA
15
DC 5V 600mA
Amplifier (Digital Player)
Dear Customer,
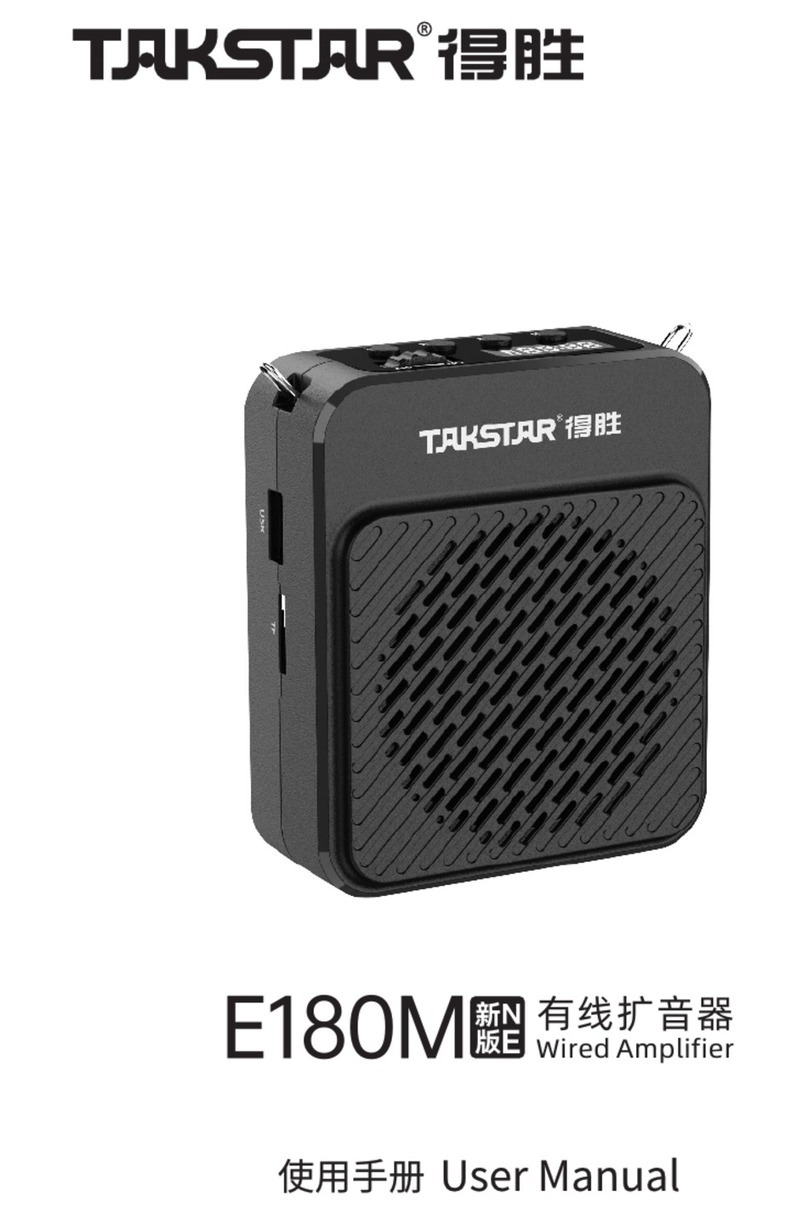
Thank you for purchasing TAKSTAR E190M wireless portable digital amplifier. Please
read the user manual carefully before operation and keep it for reference in future. If
you have any question or suggestion, please contact our local dealer.
Features
Control panel function
Caution
Operation
M
③
④
①
②
⑤
⑥
③ Function switching button: press this
button to switch frequency adjusting
mode and volume adjusting mode. If
there is no operation after 8 seconds,
the display screen automatically lights
off. Press +/- button to lights up the
display screen. When the display screen
lights up, it defaults to adjust the volume
can be adjusted to a high or low level.
④ Frequency/volume +/- button: in
frequency adjusting mode, press +/-
button to adjust FM frequency. In
volume adjusting mode, press +/-
button to adjust microphone volume.
⑤ Power LED: during operation, it lights
up blue. During recharging, it lights up
red. After being recharged fully, it lights
off.
⑥ Digital display: it shows the current FM frequency or microphone volume level.
1. Turn on the power switch of FM wireless headphone microphone. At this time, the
display shows FM frequency. Adjust frequency/volume +/- button to adjust the
frequency.
2. Wear the headphone correctly, and adjust the pickup angle (it is recommended 1-
2cm away).
3. Turn on the power switch of amplifier, and pull out the antenna. Switch to FM
operation status and adjust to proper volume.
4. Keep pressing play/pause button of the amplifier for automatic searching. After the
searching, press previous/next button to switch to the current channel for audio
reinforcement.
FM wireless headphone microphone
Frequency Response: 80Hz-12KHz
Rated Output Power: 6W
Peak Output Power: 10W
Speaker Impedance: 4Ω
Operation Voltage: 3.7V
Battery Specification: 3.7V Li-ion battery
Charger Specification: DC 5V 600mA
Amplifier Operation Time: 8-12h
Charging Time: approximate 5h
TF Card: max 16G
Media Format: MP3, WAV, WMA
Wireless Microphone Modulation: FM
Microphone Frequency Range: 87MHz-108MHz
Microphone Charging Time: <4h
Microphone Operation Time: ≥10小时
Operation Range: 15m (open area)
Specification
Product Content
Amplifier (digital player)
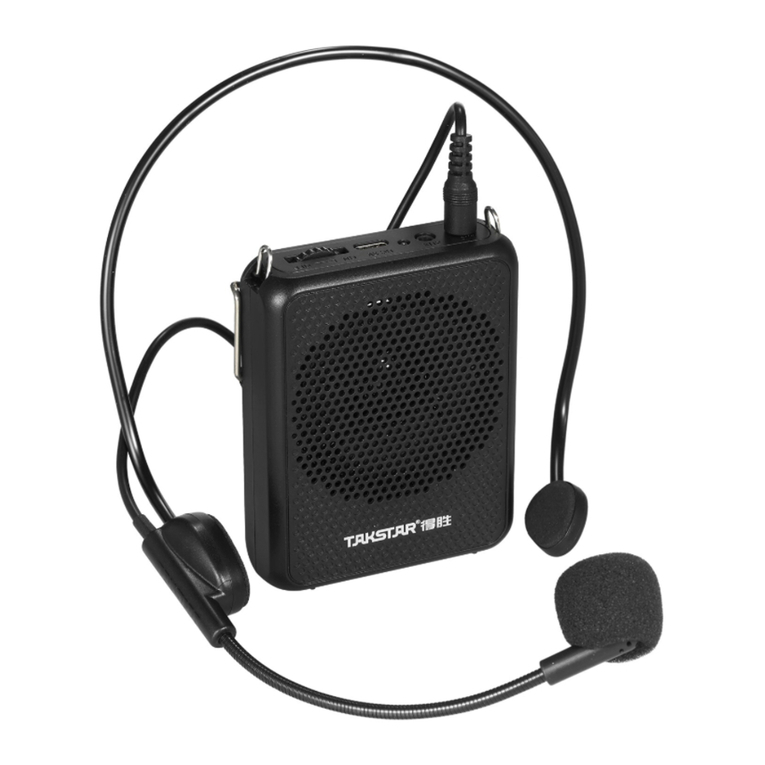
HM-100W headphone
Micro USB charging cable
Mini USB charging cable
Belt clip
Shoulder strap
User manual
Application
To avoid electric shock, over temperature, catching fire, explosion, mechanical risk and
hurt or property loss caused by improper use, please read the following items carefully
before operation:
1. Adjust the volume to proper level during operation. Do not operate at high volume
level to avoid hearing loss.
2. If abnormal phenomenon (smoke, abnormal smell) happens, please turn off the
power switch and disconnect the power plug with power socket, and send the
product to local dealer for maintenance.
3. The product and accessories should be put in dry and ventilated place rather than
humid or dusty environment. Prevent the product from fire, liquid, rain, water, over-
colliding, throwing, vibrating, vent hole covered to avoid function destroyed.
4. When the product needs to be installed on wall or ceiling, please fix it tightly to avoid
dropping risk.
5. Please abide by safety rules during operation. Do not use the product in the place
prohibited by regulation or law to avoid accident.
6. Do not disassemble or repair the product by yourself to avoid hurt. If you have
question or need service, please contact the local dealer.
7. The applicable altitude and climate condition of this product is subject to the power
supply equipment.
① Power switch: turn it to ON direction, and blue LED ⑤ lights up. The digital display
⑥ show frequency. This means the headset is turned on.
② 5V recharging port: connect one end of USB recharging cable with this port, and the
other end with USB charger output to recharge. The recharging LED lights up red. Version: V1
Guangdong Takstar Electronic Co., Ltd.
Address: No. 2 Fu Kang Yi Rd., Longxi Boluo Huizhou, Guangdong 516121 China
Tel: +86 752 6383644 Fax: +86 752 6383952 Website: E-mail: sales@takstar.comwww.takstar.com
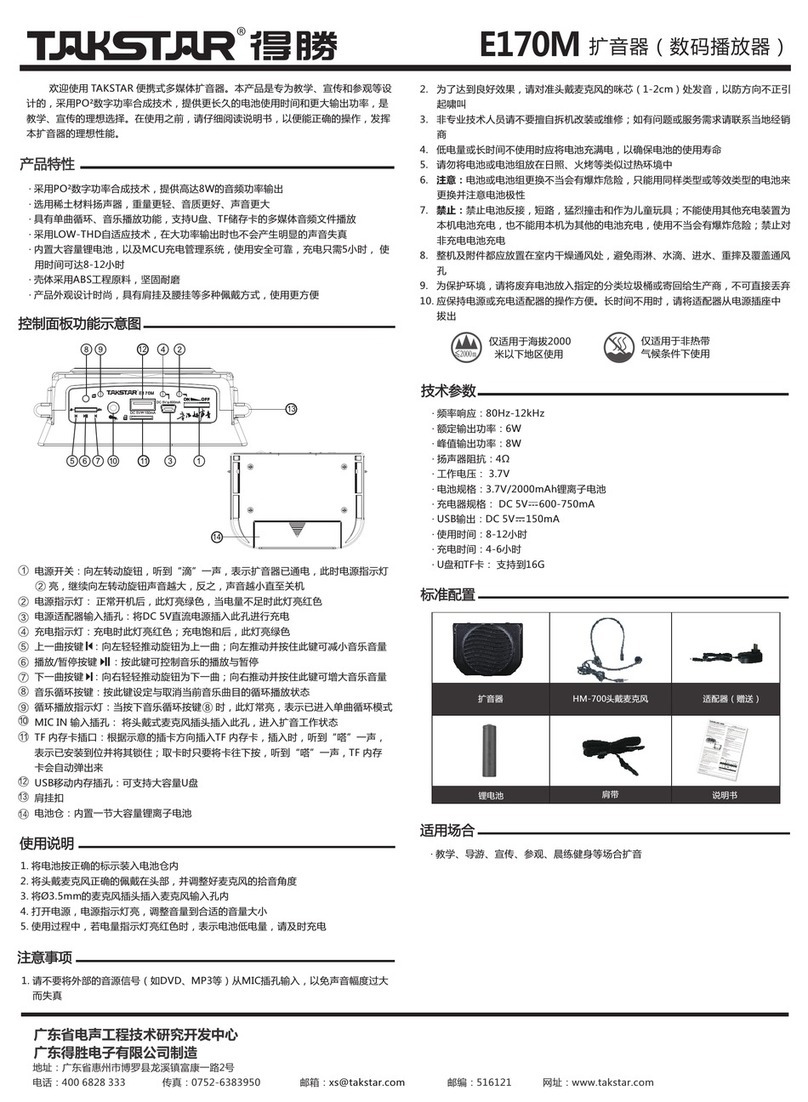
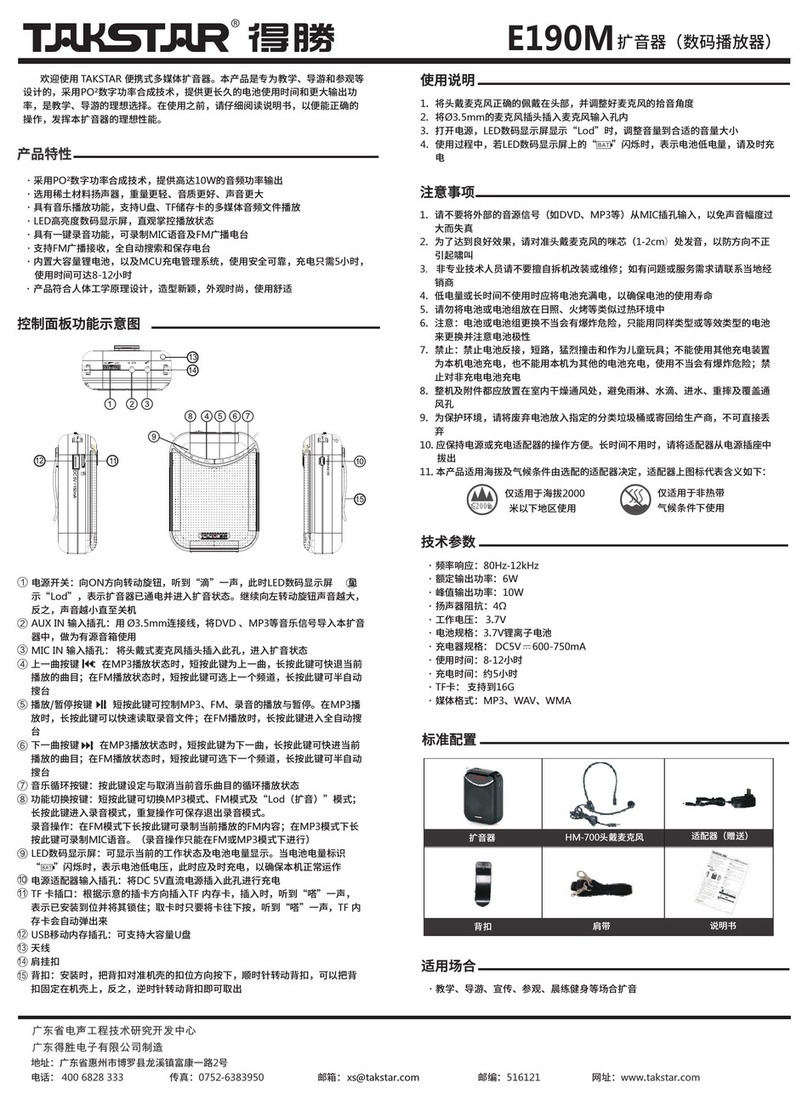
① Power Button: rotate the knob to the ON position until a “di” sound, the LED digital
display will indicate “LOD” , it means the amplifier is turned on and enter into the
amplifying status, continue rotating the knod to the left, the more, the louder.
Conversely, the smaller the sound is until it turns off.
② AUX IN Input Socket: connect DVD / MP3 music signal with the Ø3.5mm connecting
cable to the amplifier, used as an active speaker.
③ MIC IN Input Socket: insert the headset microphone plug into this port for amplifying.
④ Previous Song Button : short press this button under MP3 play mode for the
previous song. Long press for fast backward the current playing song. Short press for
the previous channel under the FM broadcasting mode. Long press this button for
automatic station searching.
⑤ Play/Pause Button : short press this button to control the MP3, FM, recording's play
and pause. Long press this button for fast playing the audio file under MP3 play mode;
when FM is broadcasted, long press this button for automatic station searching.
⑥ Next Song Button : short press this button for the next song under MP3 play mode.
Long press for fast forward the current playing song. Short press for the next channel
under the FM broadcasting mode. Long press for semi-automatic station searching.
⑦ Music Repeat Button: press this button to confirm or cancel the current music repeat
play mode.
⑧ Function Switching Button: short press this button for MP3, FM or “Lod” (amplifying)
mode switchover. Long press this button to enter the recording mode, repeat the
operation to save the recording and exit recording mode.
REC: long press this button to record the current FM broadcasting content under FM
mode. Long press this button for MIC voice recording under MP3 mode. ( Recording
function can only be operated under FM and MP3 mode)
⑨ LED Display: display the current working status and the battery level. When the battery
sign is glittering, it means battery level is low and should be recharged in time to
ensure the amplifier is working properly.
⑩ Recharging Socket: connect one end of USB recharging cable with this socket, and the
other end with USB charger output (e.g. cell phone charger, PC USB interface) to
recharge the battery.
⑪ TF Card Slot: insert a TF memory card according to the indicated direction, the card
is fixed properly and locked till a “da” sound. To take out the card, press down the
card till a “da” sound, the TF memory card will pop up automatically.
⑫ USB interface: it supports large capacity U disk.
⑬ Antenna
⑭ Hanging Buckle
⑮ Belt clip: when installed, put the belt clip align with the housing buckle, press and
clockwise rotate the belt clip to fasten it on the housing. Conversely, counterclockwise
rotate it to unfasten.
1pc
1pc
1pc
1pc
1pc
1pc
1pc

