6
How to Measure Correctly
For Accurate Measurements
Avoid subjecting the equipment to excessive shocks or vibrations.
Avoid measuring in multiple locations that have greatly differing temperatures.
Place the weighing platform on a level and stable surface.
Measurement may not be possible on a surface that is strongly vibrating.
Avoid using near equipment that emits electromagnetic waves.
To ensure accurate measurement, do not touch the user during measurement.
Always…
Scheduled Maintenance
TANITA recommends that each facility conduct periodic checks for each unit.
1. Check the following at least daily:
• That the unit is on a stable and level surface.
2. Visually inspect the following at least weekly:
• The display for any damage or contamination
• All cables, cords, and connector ends for damage or contamination
• All safety-related labelling for legibility
• All accessories (sensors, electrodes, etc.) for wear or damage
• Documentation for the current equipment model
3. Visually inspect the following at least monthly:
• Screws on equipment
Do not wipe the equipment with corrosive chemicals (benzene, cleaner, etc.).
Please use a neutral detergent to clean the equipment.
The warranty will be invalidated if an unauthorised person attempts to disassemble or repair
any of the parts of this equipment.
If the equipment malfunctions, please consult your nearest Tanita sales office or agent.
The equipment should be inspected in accordance with the regulations of your country.
Always…
GB
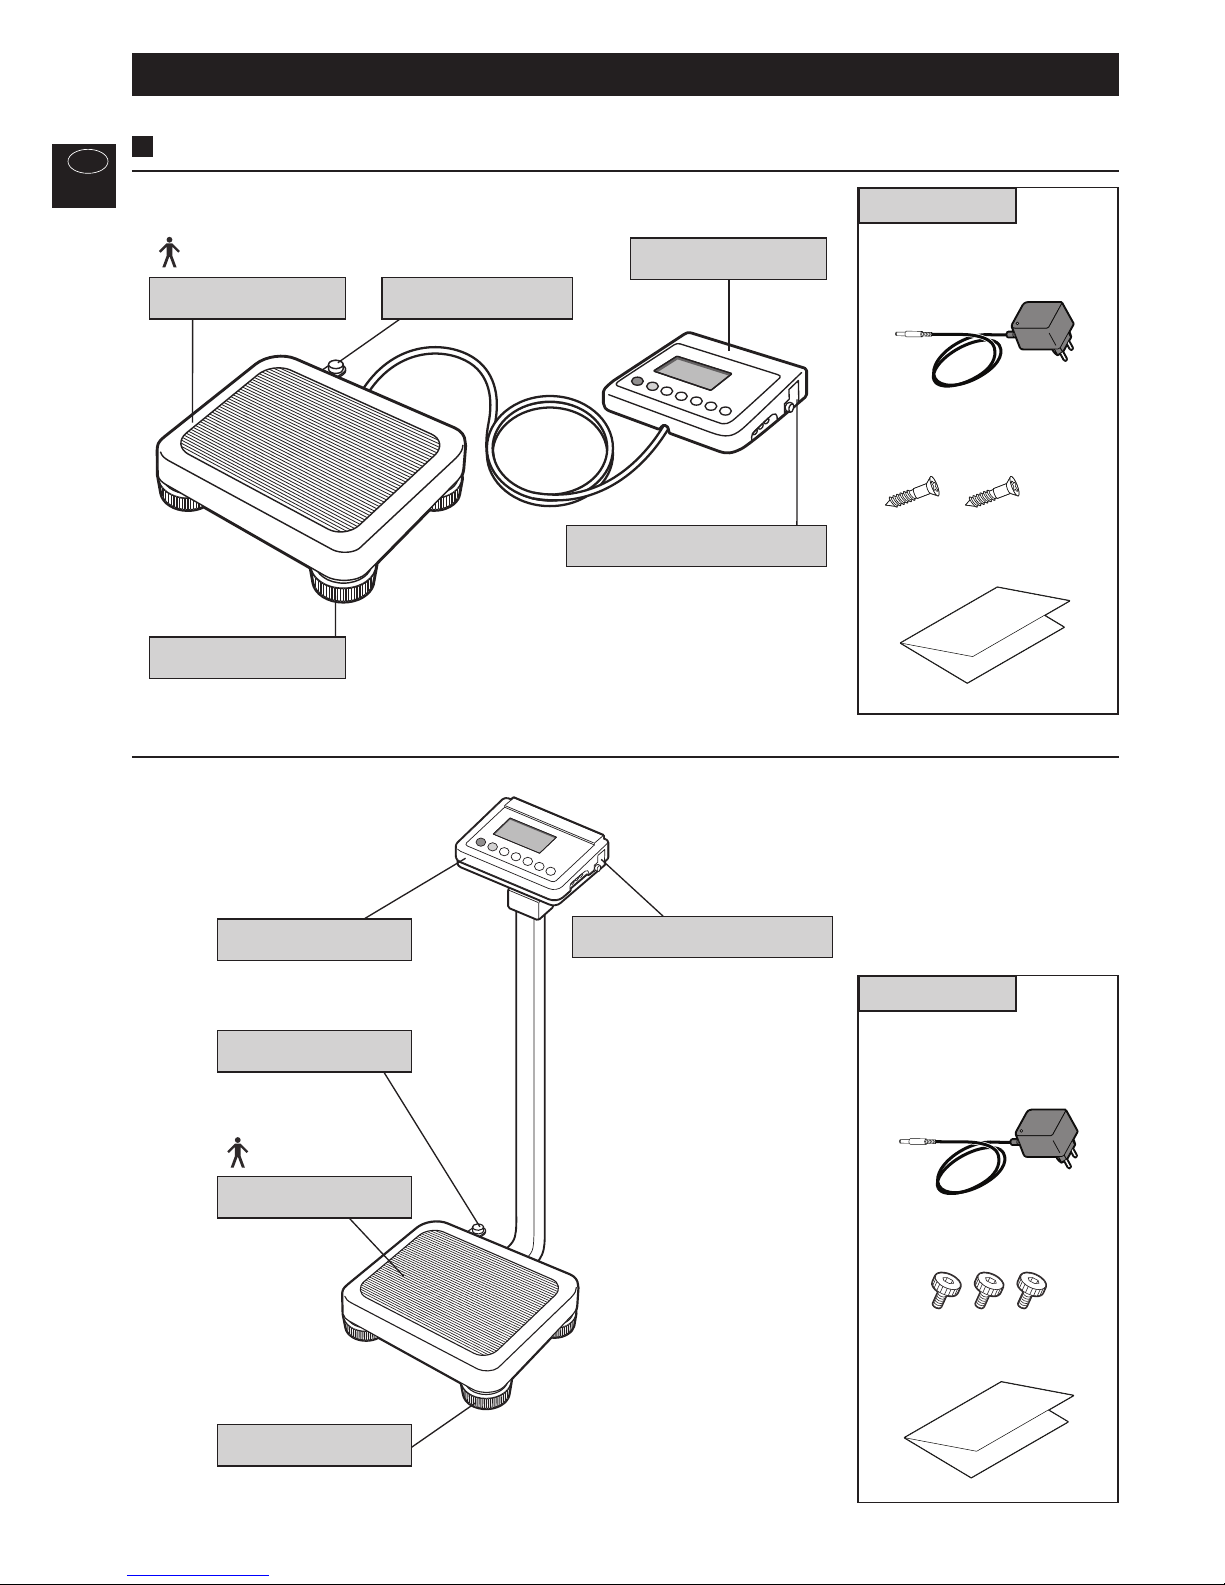
Before use
(How to Measure Correctly)
Doing so may cause inaccurate measurements. Allow the equipment to stand for
at least 2 hours before using if it is moved to a new location with a temperature
difference of 20˚C or more.
Update settings, replace items, or call for service as necessary based on the results of the
visual inspection. Do not use the unit if you see any signs of damage. Equipment that has been
damaged must be checked for proper operation by qualified personnel before using again.