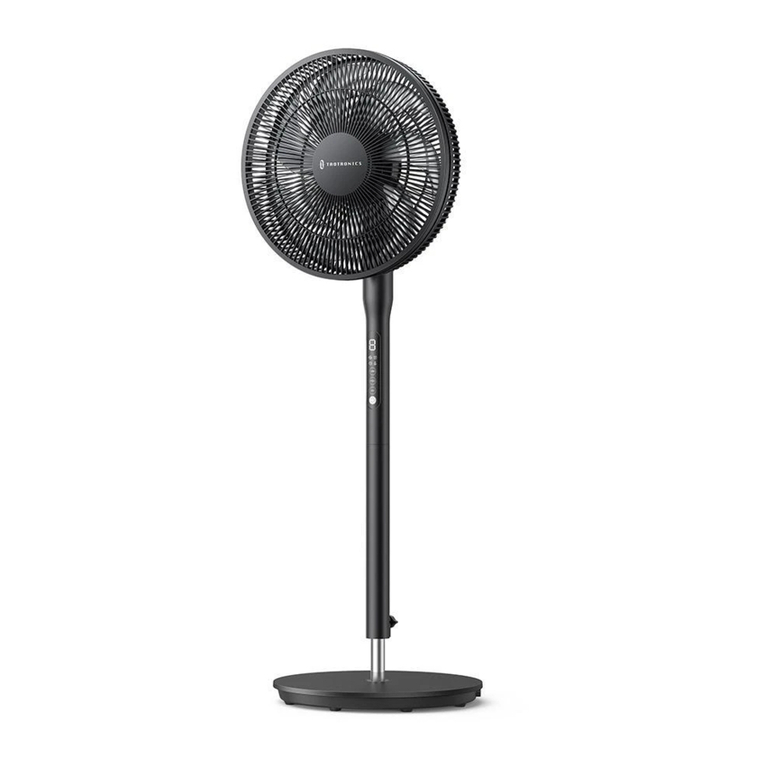
TaoTronics TT-TF010 User manual

尺寸:210mm*140
骑马钉
封面128g铜版纸覆哑膜,内页80g书纸

STAND FAN
TT-TF010
User Manual
Questions or Concerns?
support@taotroincs.com

THANK YOU
FOR BEING OUR CUSTOMER
Your purchase is truly appreciated!
We hope you are over-the-moon with our product!

1 5
3 7
2 6
4
01-03 17-18
06-09 21-22
04-05 19-20
10-16
IMPORTANT
SAFETY
INSTRUCTIONS
CLEANING AND
MAINTENANCE
ASSEMBLING
YOUR FAN
WARRANTY AND
SERVICE
IN THE BOX TROUBLE-
SHOOTING
USING YOUR
FAN

01
01
IMPORTANT SAFETY
INSTRUCTIONS
Customized Airflow,
Personalized Comfort

02 03
INTENDED USE
• This appliance is not intended for use by persons (including children) with reduced physical, sensory
or mental capabilities, or lack of experience and knowledge, unless they have been given supervision
or instruction concerning the use of the appliance by person responsible for their safety.
• Close supervision is necessary when any appliance is used by or near children. Children should be
supervised to ensure that they do not play with the appliance. Cleaning and user maintenance shall
not be done by children unless they are older than 8 and supervised.
• Use the appliance only for intended household purposes as described in this User Manual. Any other
use is not recommended that may cause fire, electric shock, or injury to persons.
BEFORE USING THIS
APPLIANCE READ
ALL INSTRUCTIONS
AND CAUTIONARY
MARKINGS IN YOUR
USER MANUAL AND
ON THE APPLIANCE
FOR HOUSEHOLD USE ONLY
READ AND SAVE
THESE INSTRUCTIONS
IMPORTANT SAFETY INSTRUCTIONS IMPORTANT SAFETY INSTRUCTIONS
DO NOT touch or hold the
mains plug with wet hands.
DO NOT block or cover air
flow to or from the Fan while
in operation.
DO NOT insert fingers or
objects through the grille
while in operation.
RELATED TO USE
• Avoid contacting moving parts. Wait until all parts have completely stopped before touching them.
• DO NOT use in a bathroom.
• Never use the product without the safety guard or with a damaged safety guard.
• DO NOT place any clothes or curtains on the product as they could be sucked into the fan during
operation and damage the product.
• During use, keep hands, hair, clothing and utensils away from the safety guard to avoid injuries and
damage of the product.
• DO NOT attempt to disassemble, repair, modify or replace any part any part of your product. All
servicing should be performed by qualified personnel only.
ELECTRICITY SAFETY
• This appliance must be provided with correct voltage via a professionally installed power socket.
Make sure the voltage indicated on the label of the appliance is the same as your local supply.
• DO NOT operate the fan with a damaged cord or plug or if the product malfunctions, is dropped or
damaged in any manner.
• To reduce the risk of fire or electric shock, DO NOT use this fan with any solid-state speed control
device.
• IMPORTANT - This appliance has a polarized plug (one blade is wider than the other). To reduce the
risk of electric shock, this plug is intended to fit in a polarized outlet only one way. If the plug does
not fit fully in the outlet, reverse the plug. If it still does not fit, contact a qualified electrician. Do not
attempt to rig this safety feature.
• This product employs overload protection (fuse). A blown fuse indicates an overload or short-circuit
situation. If the fuse blows, unplug the product from the outlet. Replace the fuse according to the
instructions in this manual (follow product marking for proper fuse rating) and check the product. If
the replacement fuse blows, a short-circuit may be present and the product should be discarded or
returned to an authorized service facility for examination and/or repair.
• Always make sure to place the Fan on a flat, level surface before operation.
• Keep the cord out of heavy traffic areas and where it will not be tripped over. To avoid fire hazard,
NEVER route cord under furniture or appliances.
• Always unplug the appliance before cleaning, making any repairs or servicing, or whenever not in
use.
• It is normal that there is noise during operation. If too loud, please set the fan to lower speed.
Have your Stand Fan checked regularly for any sign of
malfunction!
Check if
• Plug, cord or appliance is damaged.
• Excessive noise, unpleasant odor or abnormal heat.
Stop using, check FAQ and contact TaoTronics Support Team.
Regular Check

04 05
02
IN THE BOX
Customized Airflow,
Personalized Comfort
In The Box
Front Grille Small Blade Large Blade Rear Grille
Locking Clips
Pole Locking
Knob
Connection
Pole
Stand Base
Connection
Bolt
Tighten Knob
Fan Head
Assembly
Remote Control
User Manual
Grille Nut
Power Cord
& Plug
User Manual

06 07
03
ASSEMBLING
YOUR FAN
Customized Airflow,
Personalized Comfort
Base & Head
1
2
3
5
4
Connect the Pole with
the Base.
Secure with the Bolt clockwise.
Loosen the Knob on pole and
secure to the desire height.
Insert the Head Assembly
to the Pole.
Tighten with the
Knob clockwise.
Unscrew the Grill Nut
counterclockwise and set aside.
6

08 09
Position the Rear Grille onto
the Head Assembly making
sure the three alignment
holes (A,B,C) are aligned
with the three prongs.
Screw on the grill nut clockwise.
Install the large blade onto the
shaft until retaining pin fits into
the notch, then screw on the small
blade counterclockwise.
Blade & Grille
Loosen the Locking Screw and open the
Locking Bracket.
Close the Locking Bracket and secure the
grilles with the Locking Screw.
Blade & Grille
7
8
10
12 13
9
11
A B
C
Align and clip the Rear Grille into the indent
of the Locking Clips on the Front Grille.

10 11
04
USING YOUR FAN
Customized Airflow,
Personalized Comfort
Auto ON/OFF Timer
• Press repeatedly to select 0
-18h timer.
• To cancel, select 0H timer,
hold Timer button, or press
Power button to turn off
the unit.
Fan Mode
• Press repeatedly to cycle
through modes Normal-
Natural-Sleep.
Oscillation
• Short press to start / stop
oscillating.
• Long press to mute /
unmute.
Power ON/OFF
• Turn on/Standby mode
Control Knob
• Fan Speed: Turn the Knob
to select fan speed (1-12).
• Timer Control: Press Timer
button then turn the Knob
to select 0 -18h timer.
Operation and Functions

12 13
Normal Natural Sleep
Fan Mode
88 8
Fan Speed
1-12
Timer
0 -18h
Memory Function
If power is not disconnected, it will
always remember your last settings
(except timer setting) once you turn it
on again.
Auto Display OFF
If no operation is done within 1
minute when powered on, the display
will turn off automatically.
To turn the display back on, press any
button to wake it up.
LED Display
Note:
For added convenience, the
same control buttons can be
found on the remote control.
6m
Power ON/OFF
Auto ON/OFF Timer
Fan Speed / Timer -
Oscillation
Fan Speed / Timer +
Mute / Unmute
Fan Mode
Using with Remote Control

14 15
CAUTION:
• Replace with new batteries of the same type when replacement is required.
• When not using the remote control for a long time, please take out the batteries.
• Do not attempt to dismantle the batteries.
• Do not dispose the batteries in fire, batteries may explode or leak.
• DO not use rechargeable batteries.
1. Press the locking button to remove the
battery holder.
2. Replace the battery with the same type
(CR2025, 3V), making sure the (+) side
facing up.
3. Push in the holder until securely
locked into place.
Replacement of Batteries
Facing up
Height Adjustment
Loosen the Knob on
pole and secure to the
desire height.
Tilt Control
Simply move the
fan head to the
desired angle.
Height/Angle Adjustment
1
2
WARNING: Chemical Burn Hazard. Keep batteries away from children.
This product contains a lithium button/coin cell battery. If a new or used lithium button/
coin cell battery is swallowed or enters the body, it can cause severe internal burns
and can lead to death in as little as 2 hours. Always completely secure the battery
compartment. If the battery compartment does not close securely, stop using the product,
remove the batteries, and keep it away from children. If you think batteries might have
been swallowed or placed inside any part of the body, seek immediate medical attention.
The cells shall be disposed of properly, including keeping them away from children. Even
used cells may cause injury.

16 17
This fan features a fused safety plug which is designed to cut off electric
current to the fan if an electrical fault occurs. If your fan loses power and
you suspect that the fuse on your fan has blown,
1. Grasp plug and remove from the electrical outlet.
2. Slide fuse cover, located on the top of the plug, towards the prongs of
the plug.
3. Remove the blown fuse and snap a new fuse (5 Amp, 125 Volt only)
into place.
4. Slide the cover back to close the fuse compartment.
Fuse Replacement
05
CLEANING AND
MAINTENANCE
Customized Airflow,
Personalized Comfort
Specifications
Input 120V~ 60Hz
Rated Power 28 W

18 19
1. Clean with a soft cloth or sponge
dipped in diluted neutral detergent
and rinse thoroughly.
2. Completely dry before reconnecting
to a power source.
• DO NOT stick any foreign objects or your
fingers inside of the unit.
• Never immerse in water or allow water to
drip into the motor housing.
• DO NOT clean with abrasive chemicals or
flammable cleaning agents.
1. Wipe with a soft, dry cloth. If
necessary, wipe with a damp cloth.
2. Completely dry before reconnecting
to a power source.
Storage
For storage, disassemble and clean the fan as instructed. You may leave the fan covered to
protect it from dust. Store it in a cool, dry place.
Always make sure the
Stand Fan is turned off
and unplugged before
cleaning.
Cleaning and Maintenance
Do Not Wash
Washable Parts 06
TROUBLESHOOTING
Customized Airflow,
Personalized Comfort

20 21
The following troubleshooting guide addresses the most common problems. If problems
persist, feel free to contact our Customer Support at
Excessive noise.
• It is normal that there is noise during operation. If too loud, please set the
fan to lower speed.
• Check if the blades are installed properly.
Fan does not operate.
• Make sure the fan is connected to a powered electrical outlet.
• If your fan loses power and you suspect that the fuse on your fan has
blown, replace the fuse in the plug as instructed.
Fan vibrates.
• Make sure the fan is placed on a level surface.
• Clean the blades regularly.
Troubleshooting
07
WARRANTY AND
SERVICE
Customized Airflow,
Personalized Comfort

22 23
Thanks for choosing TaoTronics Stand Fan. This product is covered with
TaoTronics product and labor warranty for 12 months from the date of its
original purchase.
The warranty will not apply in cases of:
• Accident, misuse, or repairs performed by unauthorized personnel.
• Any unit that has been tampered with or used for commercial purpose.
• Normal wear and tear of wearable parts.
• Use of force, damage caused by external influences.
• Damage caused by non-observance of the User Manual, e.g. connection
to an unsuitable mains supply or non-compliance with the instructions.
• Partially or completely dismantled appliances.
• Defects caused by or resulting from damages from shipping or from
repairs, service, or alteration to the product or any of its parts that have
been performed by a repair person not authorized by TaoTronics.
We can only provide after sales service for products that are sold by
TaoTronics or TaoTronics authorized retailers and distributors. If you have
purchased your unit from a different place, please contact your seller for
return and warranty issues.
* Please have your invoice and order ID ready before contacting Customer
Support.
Warranty and Service
www.taotronics.com
Manufacturer: Shenzhen NearbyExpress
Technology Development Co.,Ltd.
Address: Floor 7, Building E, Galaxy World Phase II,
Shenzhen, China
Intertek
4003575
CONFORMS TO
UL STD.507
CM
Rev_1.5_EN

Table of contents
Other TaoTronics Fan manuals
Popular Fan manuals by other brands

Dyson
Dyson AM02 operating manual

Panasonic
Panasonic FV-15TGUZ Operating and installation instructions

Craftmade
Craftmade Wingtip WTP72 installation guide

Enviro
Enviro HP Series Installation operation & maintenance

Sygonix
Sygonix 2346563 operating instructions

Inspire
Inspire Aruba plus Assembly, Use, Maintenance Manual