manuals.online logo
Brands
  1. Home
  2. •
  3. Brands
  4. •
  5. Tascam
  6. •
  7. Measuring Instrument
  8. •
  9. Tascam DR-70D How to use

Tascam DR-70D How to use

TASCAM DR-70D 1
DR-70D Release Notes
Updates
Always use the most recent rmware for this device.
Please visit the TEAC Global Site at http://teac-global.com
to check for the latest rmware.
New functions
V1.10 additions
•
MID
has been added to the mic input gain options
MID
has been added to the
GAIN
options on the
BASIC
screen.
Options:
LOW
,
MID
(new option),
HIGH
,
HI+PLUS
• Operation has been changed so that now when
stopped and the Home Screen is open, pressing and
holding the ENTER button allows monitor selection
of the
MONITOR SEL
item on the
MONITOR
SETTING
screen.
• Changing the format
The following options have been headed to the
FORMAT
item on the
SYSTEM
screen.
Options
QUICK FORMAT
: Initializes le system
information only.
ERASE FORMAT
: Initializes le system
information and initializes by erasing all user data
areas on the SD card.
NOTE
Using the
ERASE FORMAT
option might restore an
SD card that has decreased writing performance, but
this process takes some time.
Maintenance items
V1.10 xes
• If
CAM
was selected for the
MONITOR SEL
item
on the
MONITOR SETTING
screen, noise was
sometimes output when playback was stopped. This
has been xed.
• If recording was started when
CAM
was selected
for the
MONITOR SEL
item on the
MONITOR
SETTING
screen, the monitoring mode shown on
the Home Screen at the start of recording becomes
MIX
. Before it remained
MIX
even when recording
was stopped, but this has been changed so that it
returns to
CAM
.
• Operation stability has been improved.
V1.02 xes
• A problem with not being able to show the remaining
time on the media correctly has been xed.
• For the
4CH
settings on the
INPUT
screen, if the
LIMITER
and
LOW CUT
items were set to anything
other than
OFF
, the Home Screen icon would not
change. This has been xed.
• The performance of searching backward during
playback has been improved.
• The length of the tone recorded using the auto tone
function has been adjusted.
• If media formatted by this unit was inserted in another
DR series device, there was a problem with creating
two folders (“MUSIC” and“UTILITY”). This has been
xed.
• If the
FILE TYPE
was set to
2MIX
and the
OUTPUT GAIN
was set to
CAM
, audio would be
recorded at −30 dB. This has been xed.
• Operation stability has been improved.
Confirmation of firmware version
Conrm the rmware version of your DR-70D before
conducting a rmware update.
1. Turn the unit’s power ON.
2. Press the MENU button to open the
MENU
screen.
3. Turn the DATA dial to select the
OTHERS
item, and
press the DATA dial to open the
OTHERS
submenu.
4. Turn the DATA dial to select the
INFORMATION
item, and press the DATA dial to open the
INFOR-
MATION
screen
PROJECT(1/3)
page.
5. Turn the DATA dial to open the
SYSTEM(3/3)
page
where you can check the
System Ver.
item that
shows the rmware version.
If the
System Ver.
shown here is the same or
newer than the rmware version that you planned to
update to, then there is no need to update it.
D01252100C
DR-70D Release Notes
2TASCAM DR-70D
Firmware update procedures
CAUTION
• Update mode cannot be entered if no SD card is
loaded.
• When updating the rmware, be sure that the
batteries have sucient charge or power the
unit using a TASCAM PS-P515U AC adaptor (sold
separately) or USB bus power from a computer.
The program has been set so that the update will not
be conducted if battery power is insucient.
1. Download the most recent rmware from the TEAC
Global Site (http://teac-global.com/). If the le that
you have downloaded is compressed in ZIP format, for
example, decompress it.
2. Turn the unit’s power ON and use the included USB
cable to connect it with a computer. This unit will
be recognized as an external drive (external storage
device) by the computer.
3. Copy the downloaded rmware to the“UTILITY”folder
on the DR-70D.
4. After copying has completed, disconnect the unit from
the computer following the correct procedures, and
turn the unit power OFF.
5. While pressing and holding both the MENU and 1/8
buttons, turn the unit power ON.
The unit starts up in update mode, and the update le
appears on the screen.
CAUTION
• If this screen does not appear, turn the power OFF.
Then while pressing and holding both the MENU
and 1/8buttons, turn the unit’s power ON again.
Continue to press and hold the MENU and 1/8
buttons rmly until this screen appears.
• When rmware has been copied to this unit’s “UTILITY”
folder from a Mac, in addition to the rmware le
itself, another le with “._” added to the beginning of
the rmware name is also shown. Use the le without
the “._” at the beginning of the name.
NOTE
• This screen shows a list of the rmware update les
inside the “UTILITY” folder of the unit. Also, the
screen shows the rmware copied at Step 3 above.
No Update File
appears if there is no update le
in the “UTILITY” folder.
• The screen shown is an example. The actual display
diers.
6. Turn the DATA dial to select the rmware and press
the DATA dial button to open the following screen.
The current version appears on the left and the
updated version appears on the right.
NOTE
The screen shown is an example. The actual display
diers.
7. Press the DATA dial to start the update.
8. When the update is complete,
Update Complete
appears at the bottom of the screen, and then the
power turns OFF automatically. Turn the power ON
again.
9. Follow the “Conrmation of rmware version”
instructions above to check that the
System Ver.
is now the most recent version of the rmware.
This completes the procedure for updating this unit.
10. Connect to a computer with USB and delete the
rmware update from the unit’s “UTILITY” folder.
Other manuals for DR-70D

2

Other Tascam Measuring Instrument manuals

Tascam DR-05 User manual

Tascam

Tascam DR-05 User manual

Tascam DR-100MKIII User manual

Tascam

Tascam DR-100MKIII User manual

Tascam DR-07X User manual

Tascam

Tascam DR-07X User manual

Tascam DR-100 MKIII User manual

Tascam

Tascam DR-100 MKIII User manual

Tascam DR-60D MK II User manual

Tascam

Tascam DR-60D MK II User manual

Tascam DR-10C How to use

Tascam

Tascam DR-10C How to use

Tascam DR-40X User manual

Tascam

Tascam DR-40X User manual

Tascam Professional CD-RW900SX User manual

Tascam

Tascam Professional CD-RW900SX User manual

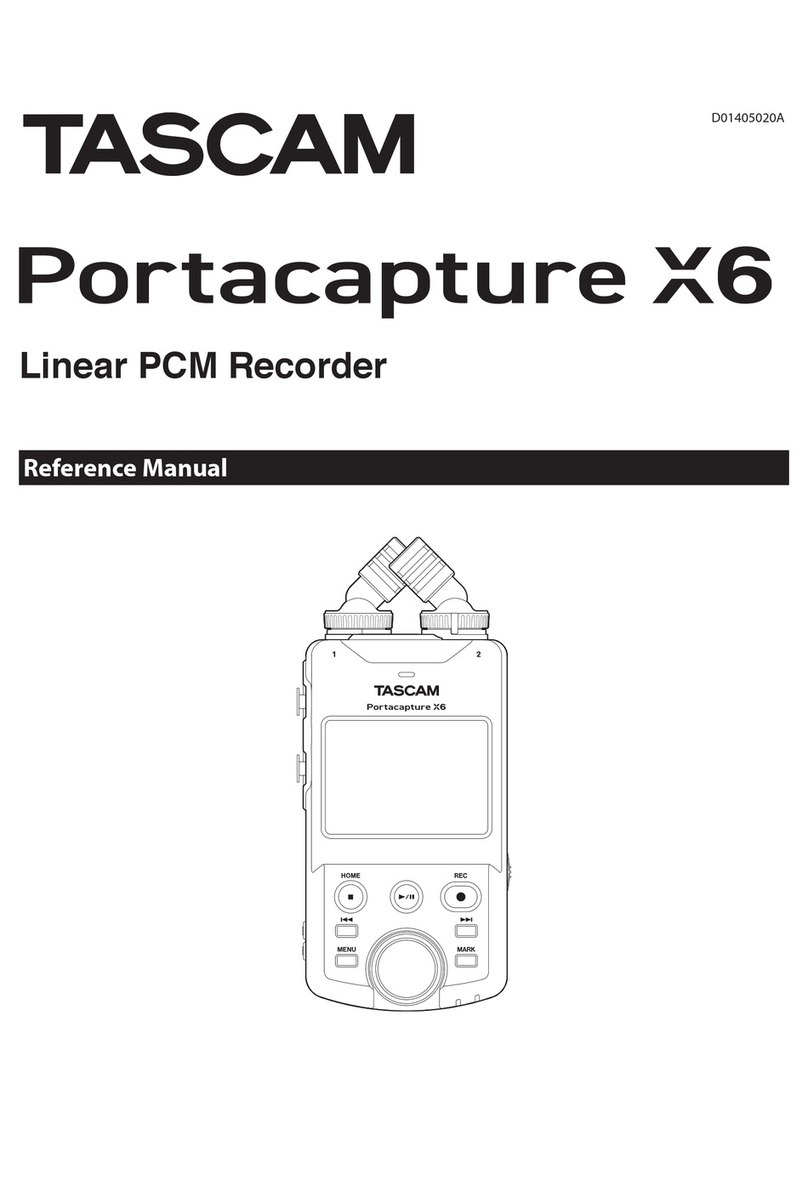
Tascam Portacapture X6 User manual

Tascam

Tascam Portacapture X6 User manual

Tascam TSR-8 Troubleshooting guide

Tascam

Tascam TSR-8 Troubleshooting guide

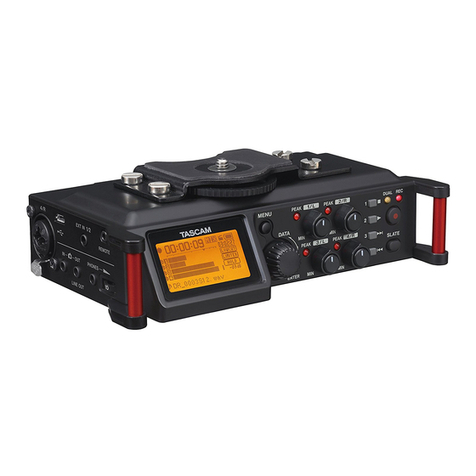
Tascam DR-70D User manual

Tascam

Tascam DR-70D User manual

Tascam DR-22WL User manual

Tascam

Tascam DR-22WL User manual

Tascam DR-22WL User manual

Tascam

Tascam DR-22WL User manual

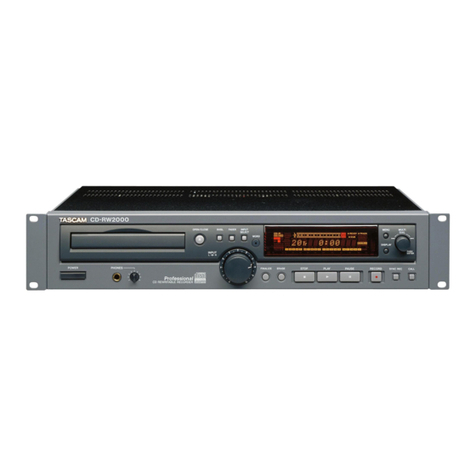
Tascam CD-RW2000 User manual

Tascam

Tascam CD-RW2000 User manual

Tascam dr-44wl User manual

Tascam

Tascam dr-44wl User manual

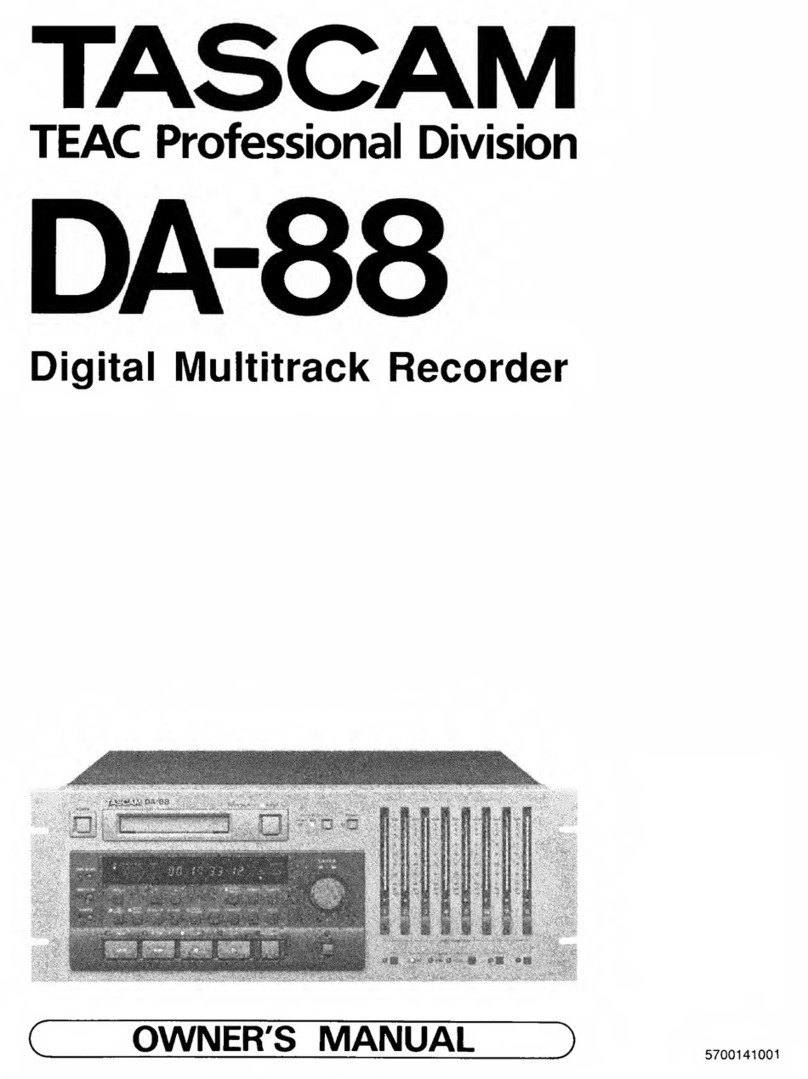
Tascam DA-88 User manual

Tascam

Tascam DA-88 User manual

Tascam DR-100 MKIII User manual

Tascam

Tascam DR-100 MKIII User manual

Tascam DR-60D Installation and operating instructions

Tascam

Tascam DR-60D Installation and operating instructions

Tascam Portacapture X8 User manual

Tascam

Tascam Portacapture X8 User manual

Popular Measuring Instrument manuals by other brands

Lumel N24S User Manual & Quick Start

Lumel

Lumel N24S User Manual & Quick Start

Hioki 3470 instruction manual

Hioki

Hioki 3470 instruction manual

ROOTECH ACCURA 2300S manual

ROOTECH

ROOTECH ACCURA 2300S manual

QED ODORGAS manual

QED

QED ODORGAS manual

Rice Lake iDimension PWD Assembly manual

Rice Lake

Rice Lake iDimension PWD Assembly manual

Keysight B1500A Series Configuration and Connection Guide

Keysight

Keysight B1500A Series Configuration and Connection Guide

Scarlet Tech WindPro user guide

Scarlet Tech

Scarlet Tech WindPro user guide

GCC Technologies LaserPro FMC280 user manual

GCC Technologies

GCC Technologies LaserPro FMC280 user manual

Endress+Hauser Cerabar S Series operating instructions

Endress+Hauser

Endress+Hauser Cerabar S Series operating instructions

Emerson Rosemount Analytical RDO manual

Emerson

Emerson Rosemount Analytical RDO manual

Gossen MetraWatt MAVO-MONITOR operating instructions

Gossen MetraWatt

Gossen MetraWatt MAVO-MONITOR operating instructions

Minebea CSD-903-73 instruction manual

Minebea

Minebea CSD-903-73 instruction manual

Liquid Controls LectroCount LCR 600 E3708 Series Installation-Parts

Liquid Controls

Liquid Controls LectroCount LCR 600 E3708 Series Installation-Parts

Steinberg Systems SBS-AM-200C user manual

Steinberg Systems

Steinberg Systems SBS-AM-200C user manual

Vimar 02963 manual

Vimar

Vimar 02963 manual

IMI SENSORS PCB Piezotronics M623C11 Installation and operating manual

IMI SENSORS

IMI SENSORS PCB Piezotronics M623C11 Installation and operating manual

Biotech AB-40010 user manual

Biotech

Biotech AB-40010 user manual

Ametek EPM 2023 user manual

Ametek

Ametek EPM 2023 user manual

manuals.online logo
manuals.online logoBrands
  • About & Mission
  • Contact us
  • Privacy Policy
  • Terms and Conditions

Copyright 2025 Manuals.Online. All Rights Reserved.