Teac WAP-4500 User manual
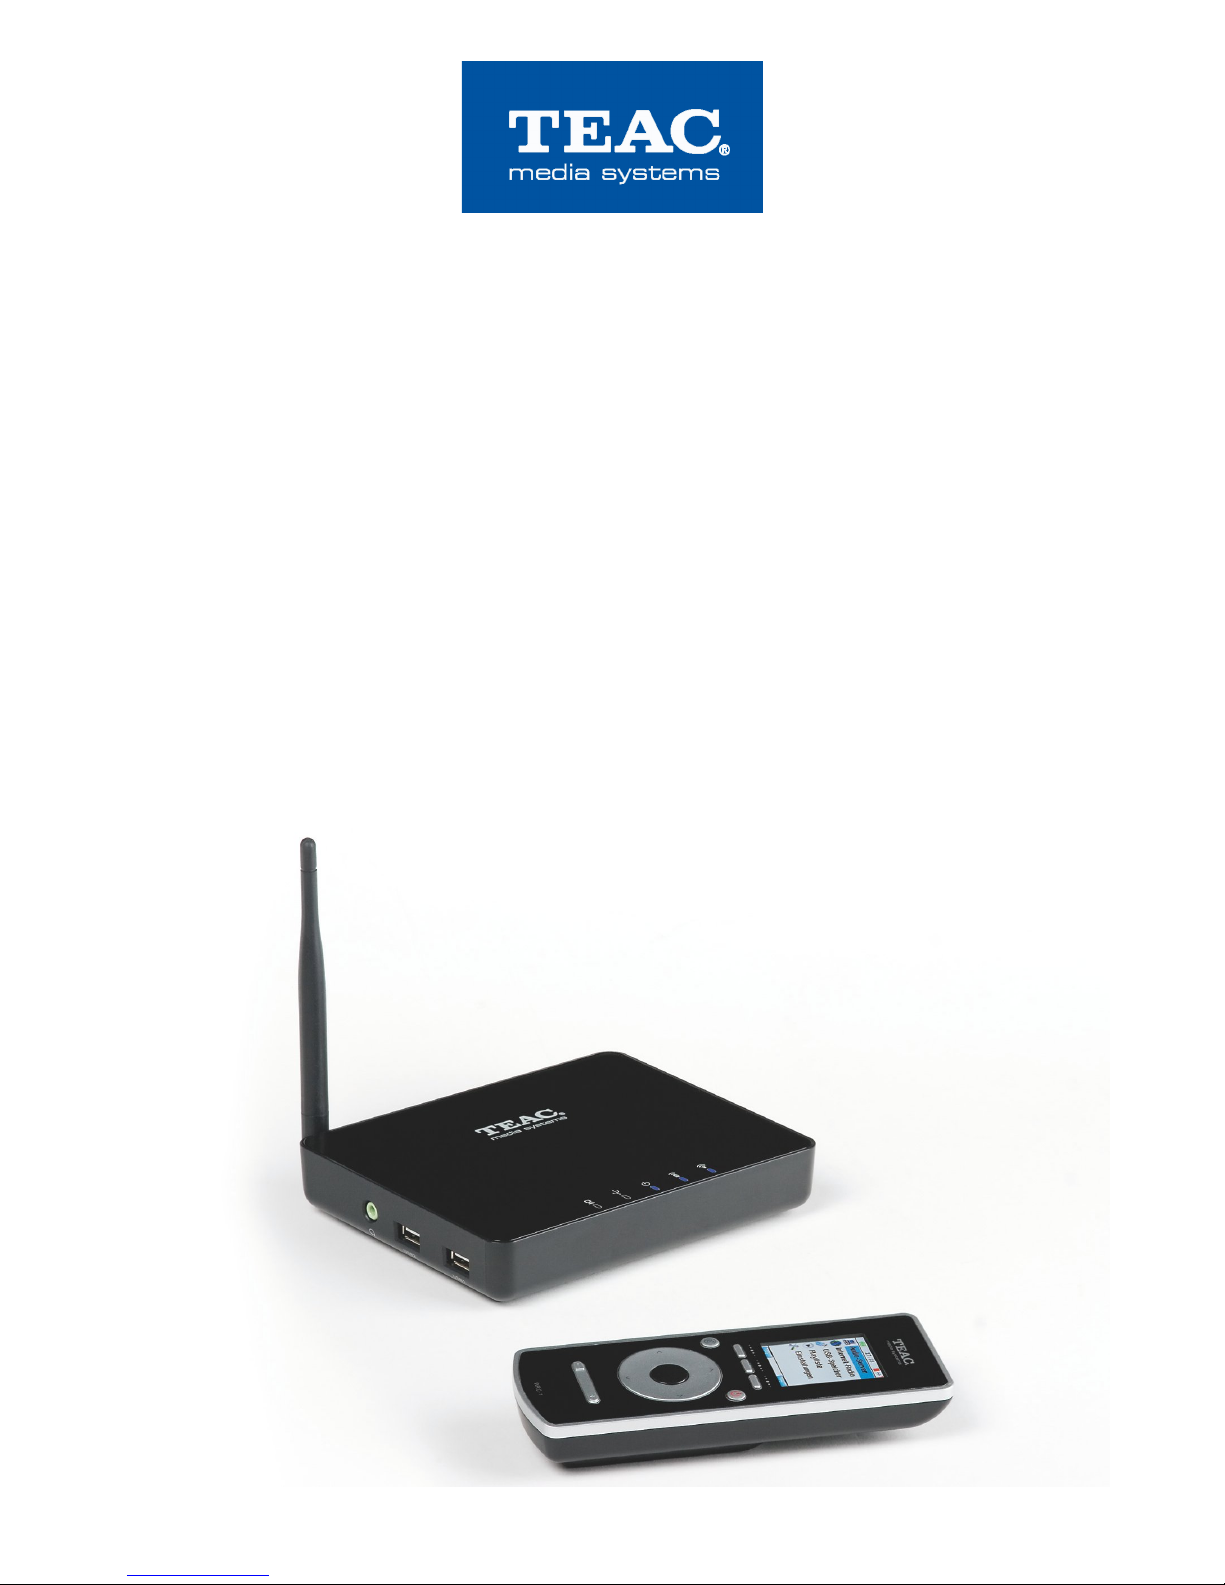
WAP-4500
INSTRUCTION MANUAL

2

WAP-4500
INSTRUCTION MANUAL
Index
1. After unpacking......................................................................................................5
2. Controls and connectors........................................................................................6
3. Assembly ..............................................................................................................7
4. B C Battery installation.........................................................................................8
5. Pairing the B C and SM ....................................................................................9
6. Operation.............................................................................................................10
6.1 Audio Server operation ....................................................................................12
6.2 Internet adio....................................................................................................13
6.3 USB Audiomanager...........................................................................................15
6.4 PLAYLIST Direkt-/Playlist toggle function .........................................................16
7. Special functions..................................................................................................17
7.1 Multiroom-operation: select the SM for control................................................17
7.2 ecording of Internet adio contents.................................................................18
7.3 Import of Internet Stations by USB storage........................................................19
8. Settings................................................................................................................20
8.1 Multiroom: .........................................................................................................20
8.2 Language: .........................................................................................................21
8.3 Screen: ..............................................................................................................21
8.4 Autostart: ...........................................................................................................21
8.5 NTP:...................................................................................................................21
8.6 Date: .................................................................................................................21
8.7 Time: .................................................................................................................21
8.8 Sleep: ................................................................................................................21
8.9 Network: ............................................................................................................22
8.9.1 Network Interface............................................................................................22
8.9.2 Wireless Connection (WLAN).........................................................................22
8.9.3 Wireless Lan Setting Wizard...........................................................................22
8.9.4 IP Settings (IP settings for LAN and WLAN)...................................................23
8.9.5 Advanced WLAN settings...............................................................................23
8.10 UPG ADE: firmware (F/W) upgrade...............................................................24
9. Troubleshooting...................................................................................................25
10. Advice on location, care and safety...................................................................27
11. Specifications:....................................................................................................28
12. CE – Declaration of conformity ....................................................................29
13. Notes on WEEE.................................................................................................29
14. Warranty request card.......................................................................................30
3

4

Dear User,
we are pleased that you have chosen a wireless media player from
TEAC media systems and congratulate you on this choice.
With your TEAC media systems WAP-4500 you have acquired a modern piece of
wireless audio technology that is in equal measure attractive and of high quality. We
are sure that this product will provide useful service and a lot of fun over the coming
years.
... your TEAC media systems team!
1. After unpac ing
After unpacking you should first check that the contents are complete. In addition to
this printed manual there should be:
●The WAP-4500 streaming media receiver (SMR in this manual)
●The WAP-4500 bidirectional remote control (BRC in this manual)
●A power supply for SM with DC connector.
●One audio connection cable with mini phone plug and CA plugs
●The installation CD. Beside the Media Server software, you will also find
latest firmware, instruction manual in PDF format and a PC background
picture to decorate your PC desktop.
5

2. Controls and connectors
Bidirectional Remote Control (BRC): Streaming Media Receiver (SMR):
1 = LC-Display A = DC connector for power supply
2, 3, 4 = Softkeys B = Ethernet cable connector ( J-45)
5 = Muting C = Left channel Line output ( CA)
6 = Standby D = ight channel Line output ( CA)
7 = OK Play Pause E = S/PDIF optical digital output
8 = go Left / Fast ewind F = Antenna
9 = go ight / Fast Forewind G = Headphones output (Mini Phono)
10 = go Up / Previous item H = USB connector 2
11 = go Down / Next item I = USB connector 1
12 = Volume down (-) J = Power switch
13 = Volume up (+) K = LED LAN connection
14 = Battery bay L = LED USB device connected
M = LED power (blue)/ Standby (red)
N = B C connection
O = LED WLAN connection
6

3. Assembly
Basic assembly of this system is very easy to do.
Please connect all components only when they are switched off.
●Connect the SM from backside audio outputs to your audio system by the
supplied audio cable - or connect your headphone to the appropriate
outputs at the left side of the SM .
●Setup and connect your computer network, if required.
●Connect the SM to the SM power supply (DC connector).
●Before connections, check your mains power system to be appropriate to
the WAP-4500 power supply.
●Connect the power adaptor to mains supply.
●Switch on the main power switch at the right side of the SM .
●Insert the Batteries into the B C (refer item 4).
●Switch on the B C by short press the Power button (6).
●A “Pairing“ screen appears. Select your SM „WAP-4500“ and confirm by
OK button (7). by this, B C and SM are linked together (refer item 5).
●By another push on the Power button (6), the whole WAP-4500 system
(B C and SM ) is switched into standby.
Switching standby on/off as well as volume and all other control functions of your
WAP-4500 system can be done by the buttons of the B C. The LC display in the
B C does not only display the received commands but it can also receive contents
from SM such as music track playback data, cover pictures etc, all displayed in the
remote control right in your hand!
Since WAP-4500 can playback audio files from LAN, WLAN, Internet adio and
connected USB storages, there are various settings possible. Please read the
related chapters to setup your WAP-4500 correctly for best performance with all
sources.
Tip: please visit www.teac.de to check for new firmware for your WAP-4500. New
firmware contains latest corrections and often it adds essential new features into
your device!
-- We do recommend, always to update for the latest firmware! --
TEAC is always active to offer you the best possible features for your WAP4500!
7
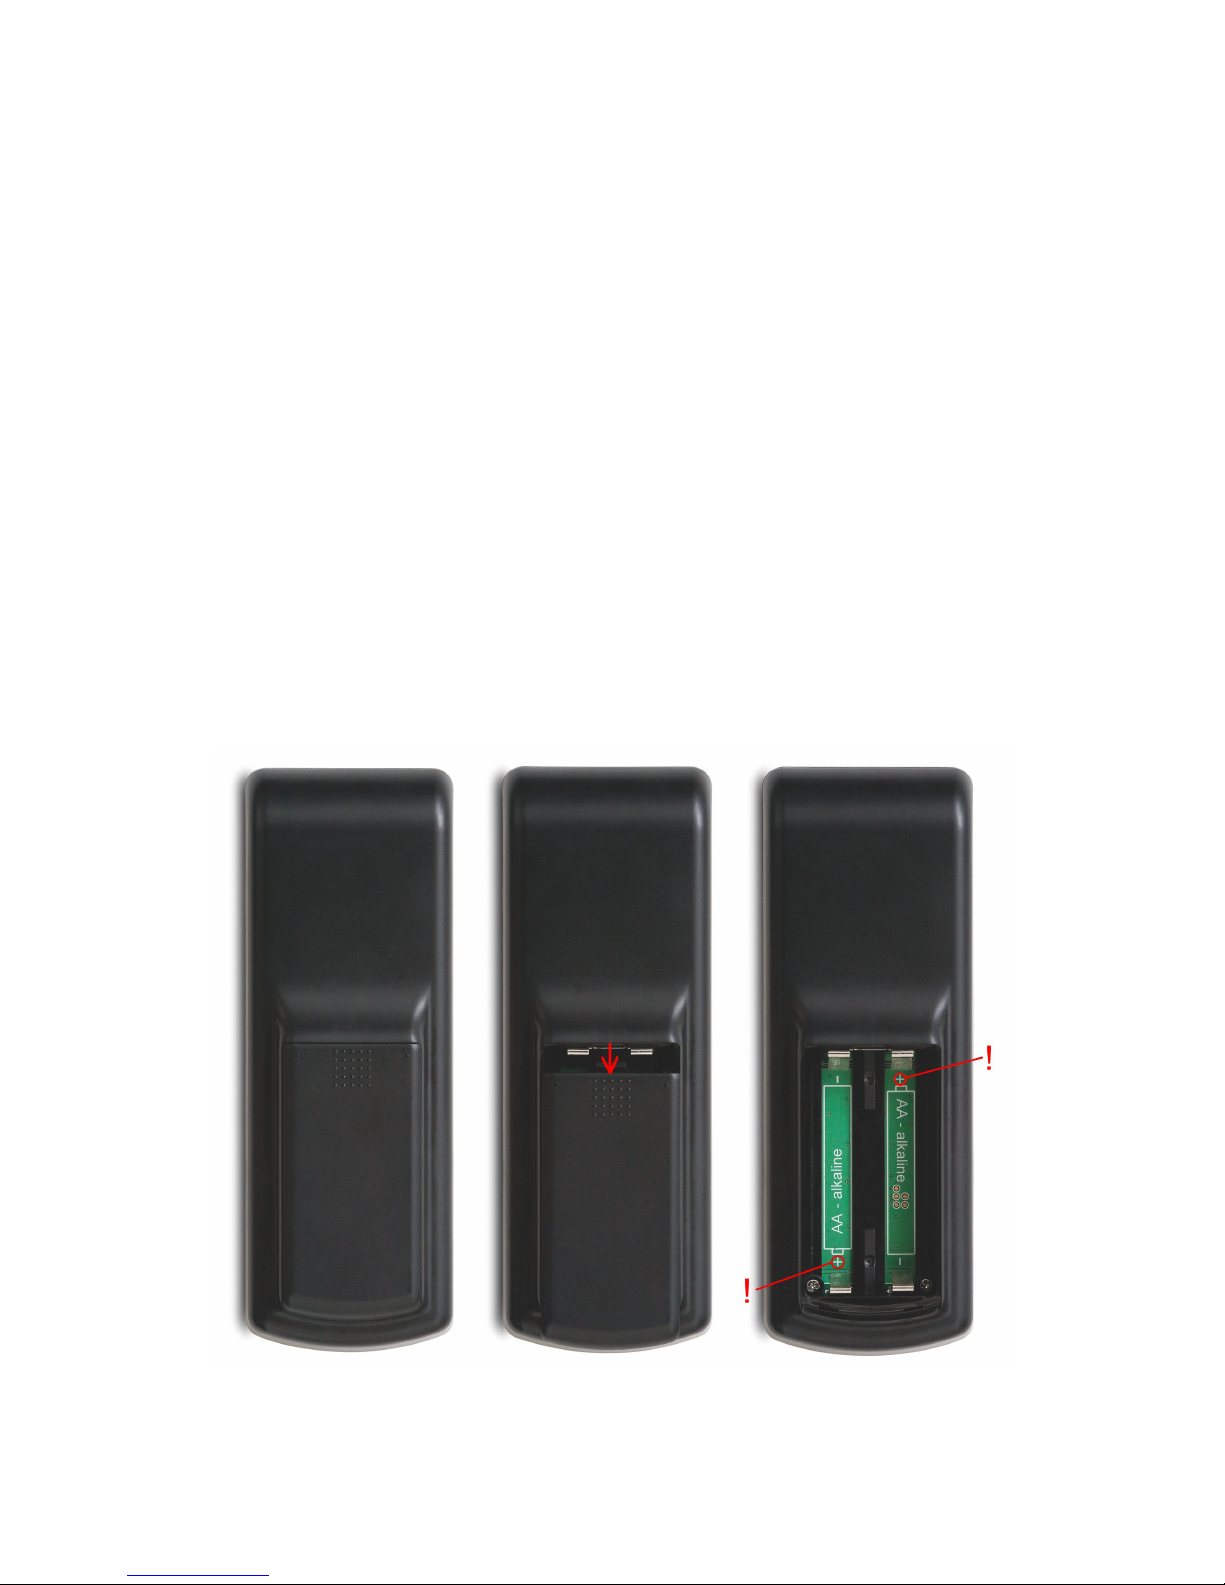
4. BRC Battery installation
The B C is powered by two “Mignon“ AA batteries. A fresth set of batteries can
achieve several weeks of normal usage (base settings) thanks to the integrated
energy saving functions of the WAP-4500 B C.
We do recommend to utilize common Alkaline Batteries.
●The Battery compartment is placed at the back of the B C cabinet.
●The battery cover slider can be unlocked by slight pushing the cover at the
dotted area and shifting down for apprx. 5mm. After unlocking, the cover
can easily be removed.
●Please care to insert the batteries according to the markings in the battery
case and on the batteries itself. Wrong polarity might damage the B C.
●Then lay the battery cover back on the opening and slide-in until you
recognize it was locked again.
●The B C now is ready to use.
Note: It is possible to utilize rechargeable AA-type batteries (NiMH or NiCd).
However, rechargeable batteries have higher self-discharge and less cell tension,
causing shorter operation time. Therefore we do not recommend to use
rechargeable batteries.
8

5. Pairing the BRC and SMR
The data interchange between B C and SM of the WAP-4500 is realized by a
data radio transmission system. Benefits of the radio transmission are the definite
identification between the connected partners and the transmission by radio signals,
which do not require visible connection between transmitter and receiver. B C and
SM can both transmit and receive data. You may even control your WAP-4500
from a neighbour room, if you placed your speakers there.
After first power on, the B C shows a “pairing” screen. This screen appears when
there is no known connection between B C and SM or in case you call it to add
another new connection (refer item 7.1 Multiroom operation).
Place your B C close to your SM (< 1m). Select “Pair” to start the pairing
procedure. B C and SM communicate to find a suitable connection. The
procedure takes apprx one minute. In case the B C found more than one WAP
SM base station, select your WAP-4500 SM by the scrollbar and confirm your
selection by short pressing the right softbutton (4) or the OK button (7).
Now you will be back to the main menu which displays the name of the selected
SM device at the head of the menu list.
Note: In case you have more than one WAP device in your environment, the
wireless radio system ensures only the one paired SM is controlled by the paired
B C at a time!
9
6. Operation
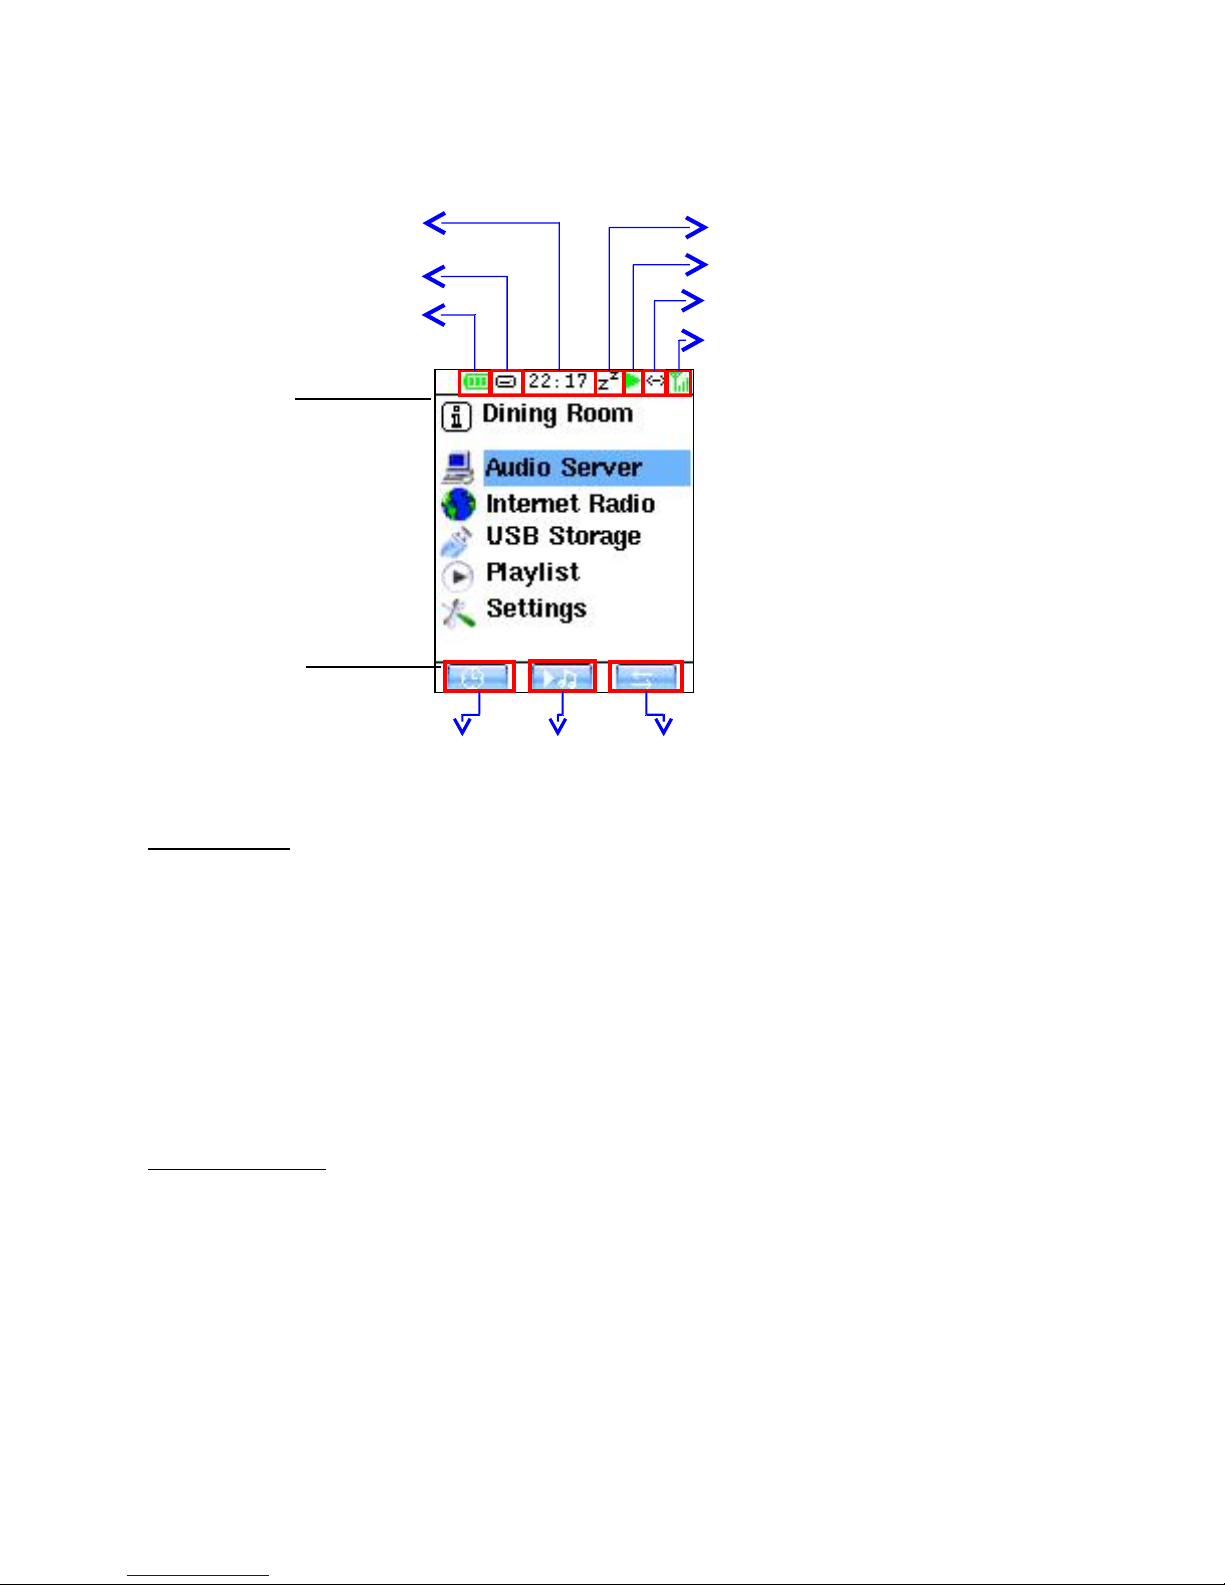
The main screen contains three areas:
status area (headline) – menu scroll list (center) - soft- eys (bottom)
● Status area - this line will display various system informations:
Battery status (flash for charging, condition: low=red, medium=yellow, full=green)
USB status (connected/disconnected)
Time
Sleep mode
Playback function (Stop/Play/Pause/Muting)
Playback option ( epeat1/ epeat all/Shuffle)
Networking status (connected/disconnected)
WLAN connection quality (poor=red, medium=yellow, good=green)
● Menu scroll list – main functions are:
1. Audio Server: to browse media server and choose tracks to listen.
2. Internet Radio for listing and “My Favorite Station” management.
3. USB Storage: to browse USB disk content and choose tracks to listen, to call
previously stored playlists and Internet- adio-playlists from PC, to store Internet
adio recordings as well as device settings and playlists created by WAP-4500.
4. Playlist: toggle between direct und playlist playback mode.
5. Settings: language, screen, date, time, network settings and system upgrade.
Simply scroll by up (10) / down (11) buttons and press OK (7) button to select.
10
WLAN Signal Strength
USB Disk Internet Status
Time
Play status
Battery status
Left Middle Right
Soft eys
Status Icons
Menu Area
Sleep
Table of contents
Other Teac Media Player manuals

Teac
Teac UR-Stream User manual

Teac
Teac NS-X1 User manual

Teac
Teac MP-8000 User manual

Teac
Teac MP-4000 User manual

Teac
Teac NT-503 Installation and maintenance instructions

Teac
Teac NP-H750 User manual

Teac
Teac NT-503 User manual

Teac
Teac NT-505 User manual

Teac
Teac MP-470 User manual

Teac
Teac MP-10 User manual

Teac
Teac ShowMe User manual

Teac
Teac ITV-D500 User manual

Teac
Teac WAP-8600 User manual

Teac
Teac NT-503 Installation and maintenance instructions

Teac
Teac NT-503DAB User manual

Teac
Teac NT-505-X User manual

Teac
Teac WAP-V6000 User manual

Teac
Teac Esoteric UX-3 Pi User manual

Teac
Teac NT-505 User manual

Teac
Teac HA-P90SD Installation and operating instructions


