manuals.online logo
Brands
  1. Home
  2. •
  3. Brands
  4. •
  5. Team Losi
  6. •
  7. Motorized Toy Car
  8. •
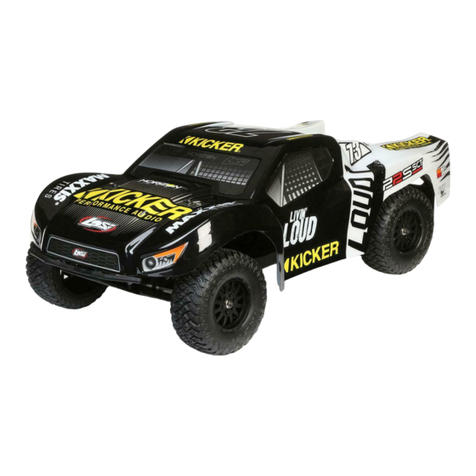
  9. Team Losi LOSB0012LE User manual

Team Losi LOSB0012LE User manual

Other Team Losi Motorized Toy Car manuals
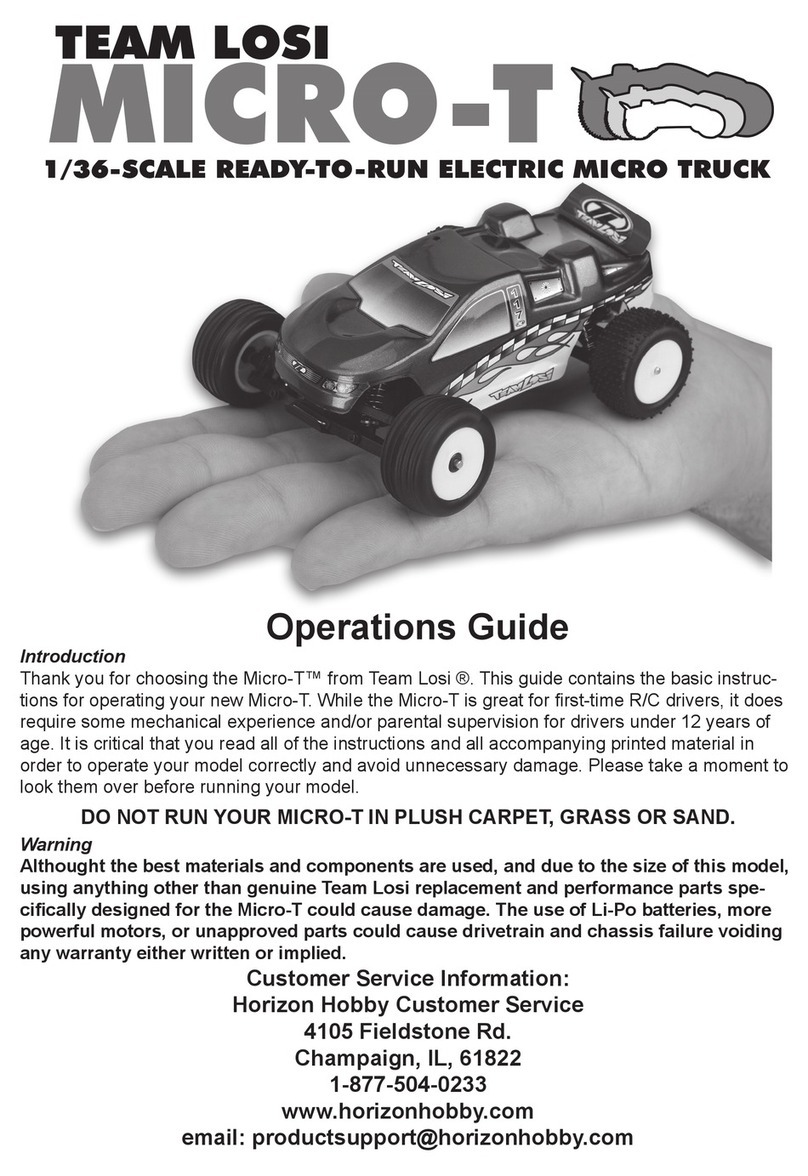
Team Losi XXT S.S User manual

Team Losi

Team Losi XXT S.S User manual

Team Losi LXT Racing Monster Truck User manual

Team Losi

Team Losi LXT Racing Monster Truck User manual

Team Losi Mini rally RTR-LOS01008 User manual

Team Losi

Team Losi Mini rally RTR-LOS01008 User manual

Team Losi Double-XT User manual

Team Losi

Team Losi Double-XT User manual

Team Losi XXX-T Sport User manual

Team Losi

Team Losi XXX-T Sport User manual

Team Losi XXX-SCB User manual

Team Losi

Team Losi XXX-SCB User manual

Team Losi 8ight RTR User manual

Team Losi

Team Losi 8ight RTR User manual

Team Losi EIGHT-E User manual

Team Losi

Team Losi EIGHT-E User manual

Team Losi Mini-Late Mode User manual

Team Losi

Team Losi Mini-Late Mode User manual

Team Losi 8ight RTR User manual

Team Losi

Team Losi 8ight RTR User manual

Team Losi MICRO 4X4 User manual

Team Losi

Team Losi MICRO 4X4 User manual

Team Losi Mini 8IGHT-T User manual

Team Losi

Team Losi Mini 8IGHT-T User manual

Team Losi Mini Sprint User manual

Team Losi

Team Losi Mini Sprint User manual

Team Losi mini SCT User manual

Team Losi

Team Losi mini SCT User manual

Team Losi Night Crawler SE User manual

Team Losi

Team Losi Night Crawler SE User manual

Team Losi Desert Buggy XL-E 2.0 User manual

Team Losi

Team Losi Desert Buggy XL-E 2.0 User manual

Team Losi LST XXL User manual

Team Losi

Team Losi LST XXL User manual

Team Losi Mini Rock Crawler Pro User manual

Team Losi

Team Losi Mini Rock Crawler Pro User manual

Team Losi LX-T User manual

Team Losi

Team Losi LX-T User manual

Team Losi MINI-T 2.0 RTR User manual

Team Losi

Team Losi MINI-T 2.0 RTR User manual

Team Losi Mini-LST User manual

Team Losi

Team Losi Mini-LST User manual

Team Losi Mini-T User manual

Team Losi

Team Losi Mini-T User manual

Team Losi 8IGHT-E 2.0 User manual

Team Losi

Team Losi 8IGHT-E 2.0 User manual

Team Losi XXX-SCB User manual

Team Losi

Team Losi XXX-SCB User manual

Popular Motorized Toy Car manuals by other brands

Reely Dune Fighter 3S operating instructions

Reely

Reely Dune Fighter 3S operating instructions

REVELL 1970 Chevelle SS 454 manual

REVELL

REVELL 1970 Chevelle SS 454 manual

Jamara Mercedes-AMG GLE 63 Instruction

Jamara

Jamara Mercedes-AMG GLE 63 Instruction

Eduard Humber Scout Car Mk.I exterior quick start guide

Eduard

Eduard Humber Scout Car Mk.I exterior quick start guide

Jamara VW T1 Bus Instruction

Jamara

Jamara VW T1 Bus Instruction

REVELL 68 CHEVY CHEVELLE SS 396 manual

REVELL

REVELL 68 CHEVY CHEVELLE SS 396 manual

Schumacher Pro Cat instruction manual

Schumacher

Schumacher Pro Cat instruction manual

Tamiya TT-01 TYPE E instruction manual

Tamiya

Tamiya TT-01 TYPE E instruction manual

Eduard Krupp Protze 6x4 1/48 quick start guide

Eduard

Eduard Krupp Protze 6x4 1/48 quick start guide

New Bright 61072UEP quick start guide

New Bright

New Bright 61072UEP quick start guide

Team Durango DEX410v5 manual

Team Durango

Team Durango DEX410v5 manual

Jamara Mercedes Actros Muldenkipper 2,4 GHz Instruction

Jamara

Jamara Mercedes Actros Muldenkipper 2,4 GHz Instruction

PLAYMOBIL 9536 manual

PLAYMOBIL

PLAYMOBIL 9536 manual

Atomic BZ3 instruction manual

Atomic

Atomic BZ3 instruction manual

Jamara McLaren Senna 2,4GHz instructions

Jamara

Jamara McLaren Senna 2,4GHz instructions

Aiyaplay 370-290V00 user manual

Aiyaplay

Aiyaplay 370-290V00 user manual

ZEROTRIBE Zetricks ZT1144 instruction manual

ZEROTRIBE

ZEROTRIBE Zetricks ZT1144 instruction manual

INJUSA 412 Assembly instructions

INJUSA

INJUSA 412 Assembly instructions

manuals.online logo
manuals.online logoBrands
  • About & Mission
  • Contact us
  • Privacy Policy
  • Terms and Conditions

Copyright 2025 Manuals.Online. All Rights Reserved.

Page 1
GETTING STARTED
GETTING STARTED
NOTE:
Before you start running your Mega Baja™, read your engine break-in and operating
instructions.If you run your Mega Baja without following proper break-in procedure,
you may damage or fail to get maximum performance from your engine, and void the
warranty.
The Limited Edition Aftershock includes a 6-volt
rechargeable battery pack.This needs to be charged before
running.Follow the charger manufacturer’s instructions to
charge it with a preferred charge rate of no more than 1 amp.
Find the antenna tube in the plastic bag with the
Operations guide.Thread the black antenna wire attached
to the receiver through the mounting boss (fig.1A) on the
right side of the radio box and through the antenna tube.
Push the antenna tube (fig. 1B) into the mounting boss on
the side of the radio box.
Install the 4 AA-size alkaline batteries in the transmitter
making sure the positive (+) and (-) negative ends are
oriented correctly. Use only quality alkaline or rechargeable
NiMH (nickel-metal hydride) AA size cells.
After the receiver battery is charged plug the red plug from
the battery into the mating red plug that goes into the radio
box. Note that the plugs are constructed so they will only
fit one way easily. Use the black plastic clip on the chassis
to secure the wires so they do not touch any of the hot or
moving parts.
Radio Batteries
1A
3
1B 2
Receiver Battery Charging
Antenna Tube
NOTE:
Before you start running your Limited Edition Aftershock, read your engine
break-in and operating instructions. If you run your Limited Edition Aftershock
without following proper break-in procedures, you may damage or fail to get the
maximum performance from your engine, and void the warranty.
4
Images shown may vary from your model.
Page 2
Fill your fuel bottle by squeezing the sides together and
inserting the filler tube into the open container and into the
fuel.When you release the pressure on the sides it will draw
fuel up into the fuel bottle.After filling the fuel bottle with fuel,
lift the lid of the fuel tank and fill the tank (fig.6A). Make sure
you put the lid back on both the fuel bottle and the jug of fuel.
Press down on the primer button several times (fig.6B) until
you see the fuel move through the fuel line to the carburetor.
Do not pump the primer after the fuel reaches the carburetor
or you will flood the engine and make it difficult to start.
Turn on the transmitter and check for proper voltage (fig. 5A). Slide the
switch on the side of the radio box to the “ON”position.With the front
tires off the ground (fig. 5B), turn the steering wheel on the transmitter
from left to right.The wheels should turn smoothly and with ease. Also
operate the throttle and brake (fig. 5C), checking for quick, smooth
operation. Do not try to operate your truck if any of the servos or any
part of the radio is not operating correctly. If the servos operate slowly,
the batteries are low and must be recharged. Never try to operate your
model if either the transmitter or receiver batteries are low.
Operations Check
5A 5B
5C
6A 6B
Fueling
Throttle
Steering
Page 3
O-ring
end
Using the Pull Start
Attach the glow plug igniter (not included) to the glow plug
and, if metered, make sure the needle is in the green or good
condition. Pull the start cord (no more than 4 or 5 inches)
firmly.The engine should start. If the engine does not turn over,
it is probably flooded.Use a glow plug wrench to loosen the
glow plug at least two turns and try again.
Raw fuel should come out around the plug.Tighten the plug
and resume starting procedure. Follow the engine break-in
procedure before attempting any racing or high-performance
operation. Use caution when adding fuel while the engine is
running.Do not over-fill or spill fuel outside the tank.
Slide the battery access panel opposite the hand strap back
and remove the cover. Remove hex starter shaft from the back
side of the cover (fig. 8B) and press the O-ringed end into
the drive cup. Slide a charged 7.2-volt 6-cell“stick pack”(not
included) into the Spin-Start and plug it in. Note that the
plug is made such that it can only be plugged in one way.
Carefully tuck the plug wires under the battery access panel
and slide shut.
Start Your Engine
7A
7B
8A 8B
Optional Spin-Start Use & Preparation
Page 4
Caution HOT!
When you are done running your Limited Edition Aftershock,
push the primer button down to stop the engine (fig.10A).
It may be necessary to push the primer button down
several times. If the engine does not stop, use the handle
of a screwdriver or a rag to cover the exhaust pipe exit
(fig.10B), being EXTREMELY careful not to burn your hand as
this will be hot.
Using the Spin-Start
Put the standard hex end (with the O-ring) of the starter shaft
into the Spin-Start. Slide your hand under the strap of the
starter so that your index finger is on the switch at the bottom.
Place the machined end of the starter shaft into the matching
hex socket in the backplate of the engine. Holding the starter
securely, press on the switch button and the engine should
turn over and start up. If the engine does not turn over, it is
probably flooded or the battery in the starter needs to be
recharged. Use a glow plug wrench to loosen the glow plug at
least two turns and try again.
Raw fuel should come out around the plug.Tighten the plug
and resume the starting procedure. Follow the engine break-in
procedure before attempting any racing or high-performance
operation. Use caution when adding fuel while the engine is
running.Do not over-fill or spill fuel outside the tank.
Stopping the Engine
10A 10B
9
©2010 Losi, a division of Horizon Hobby, Inc.
Printed 10/09 17203
800-0404