4.
Face the light towards the desired location.
Then position the ground spike and press firmly
to secure the solar garden light into the ground.
Adjust the light accordingly once installed.
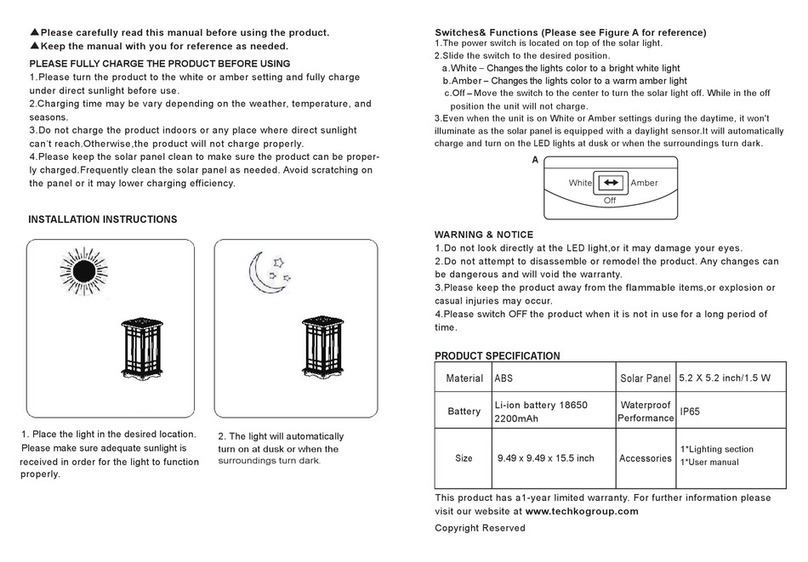
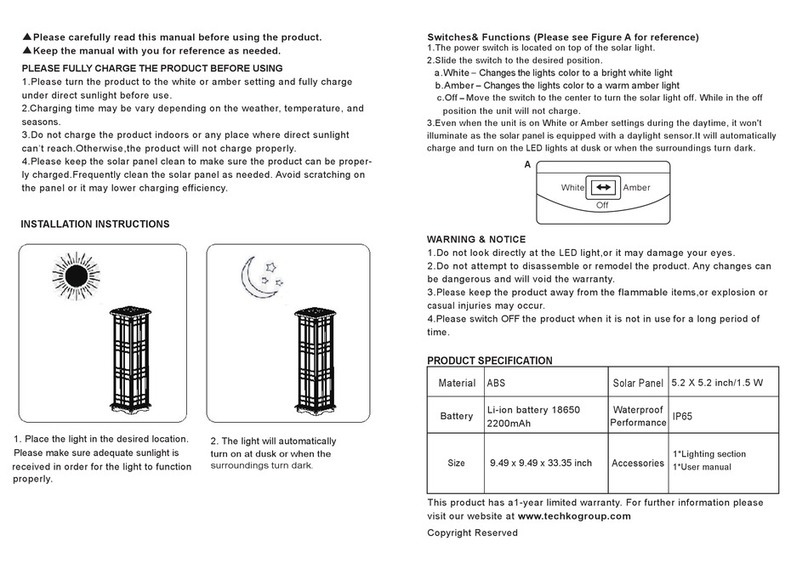
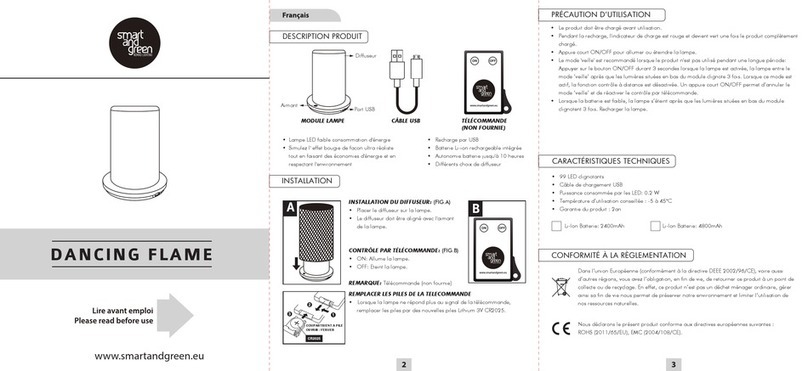
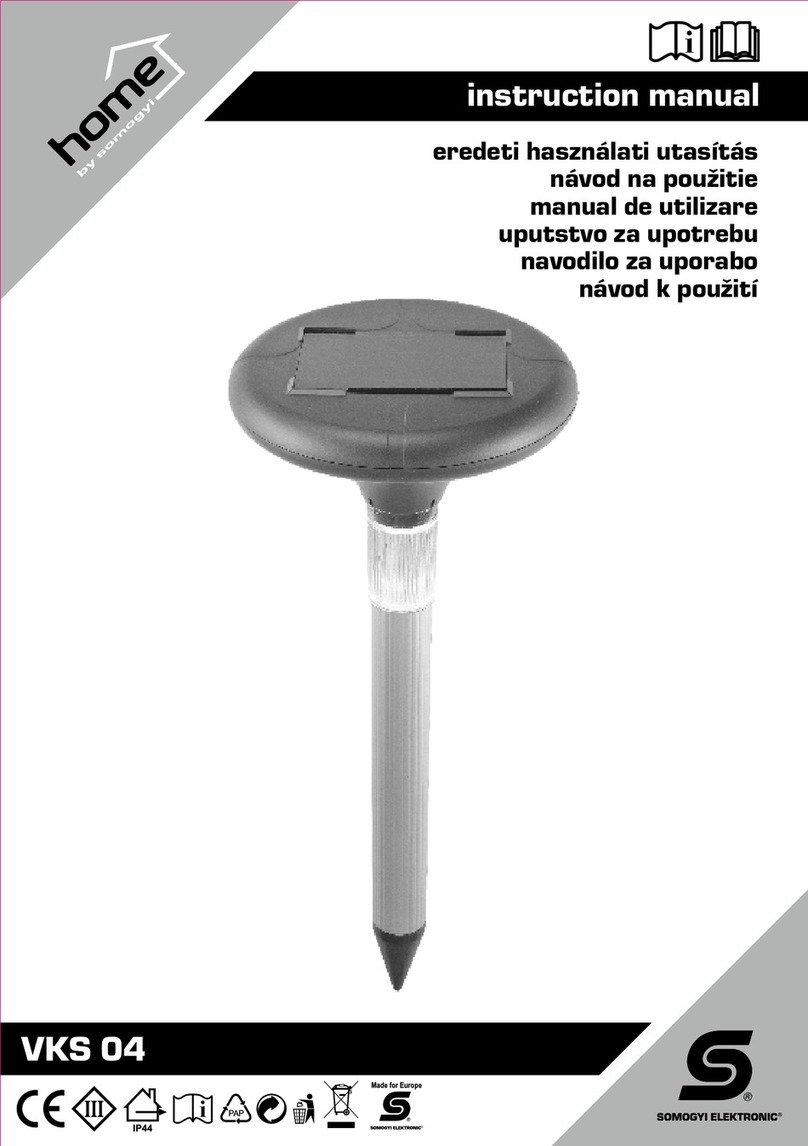
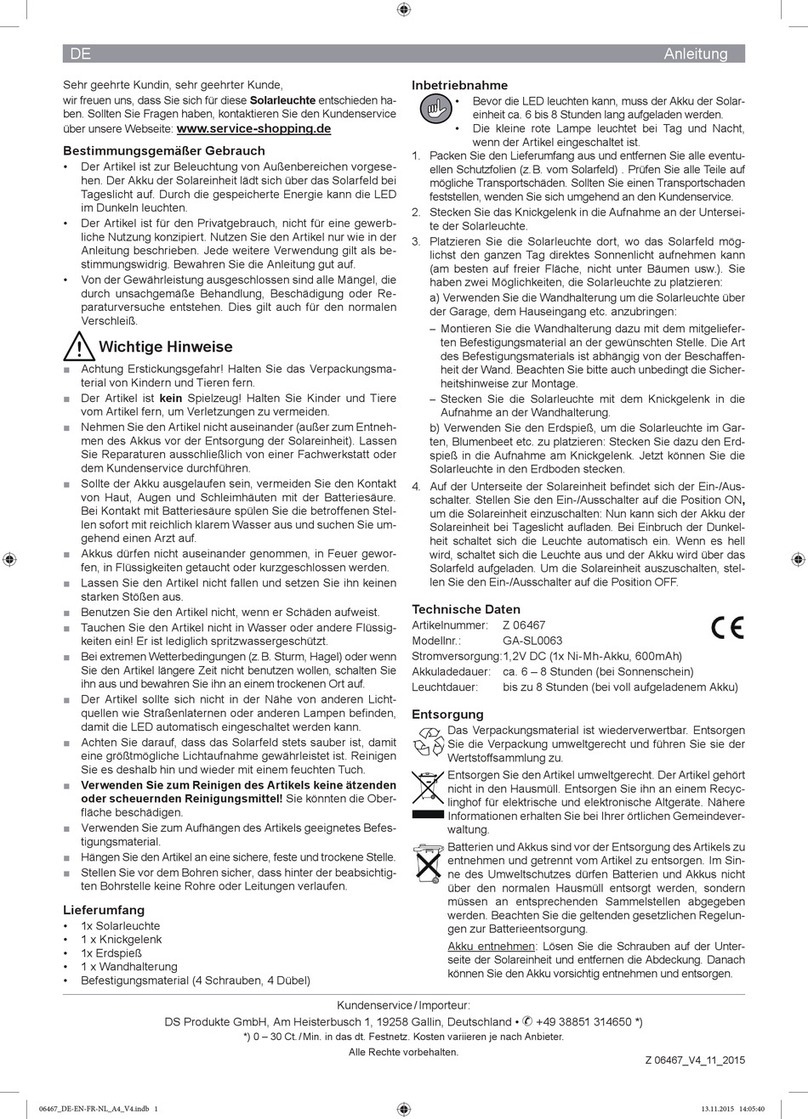
Please carefully read this manual before using the product.
Switches & Functions(Please see Figure A for reference)
Keep the manual with you for reference as needed. 1.The power switch is located on top of the solar light.
PLEASE FULLY CHARGE THE PRODUCT BEFORE USING
2.Slide the switch to the desired position.
a.White - Changes the lights color to a bright white light
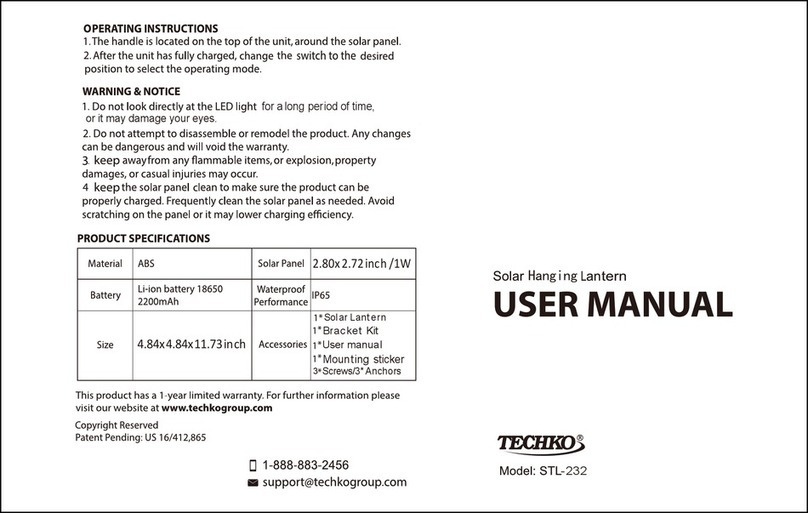
1.Please turn the product to the white or amber setting and fully charge
b.Amber- Changes the lights color to a warm amber light
under direct sunlight before use.
c.Off - Move the switch to the center to turn the solar light off. While in the off
2.Charging time may be vary depending on the weather, temperature, and
seasons.
position the unit will not charge.
3.Even when the unit is on White or Amber settings during the daytime, it won't
3.Do not charge the product indoors or any place where direct sunlight illuminate
as the solar panel is equipped with a daylight sensor. It will automatically
can't reach.Otherwise, the product will not charge properly. charge and turn on the LED lights at dusk or when the surroundings turn dark.
4.Please keep the solar panel clean to make sure the product can be proper-
ly charged. Frequently clean the solar panel as needed. Avoid scratching on
the panel or it may lower charging efficiency.
White
Amber
Off
INSTALLATION INSTRUCTIONS
Note:
Please ensure that the soil where the spike is to be placed is soft enough
WARNING & NOTICE
A
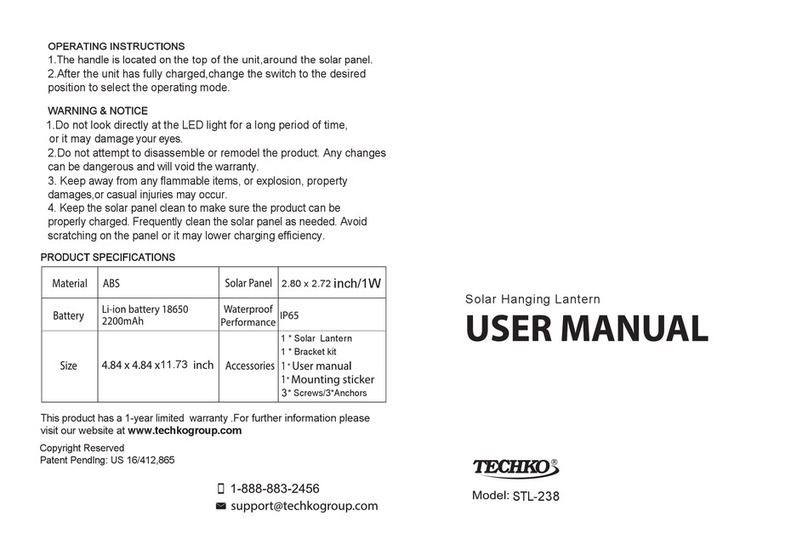
1. Do not look directly at the LED light, or it may damage your eyes.
to insert in order to prevent any damage to the stake/poles when installing.
2.Do not attempt to disassemble or remodel the product. Any changes can
This can be done by adding water to the soil to help soften the installation
be dangerous and will void the warranty.
site or gently breaking up soil with a tool before installation.
3.Please keep the product away from the flammable items, or explosion or
4. Please switch OFF the product when it is not in use for a long period of
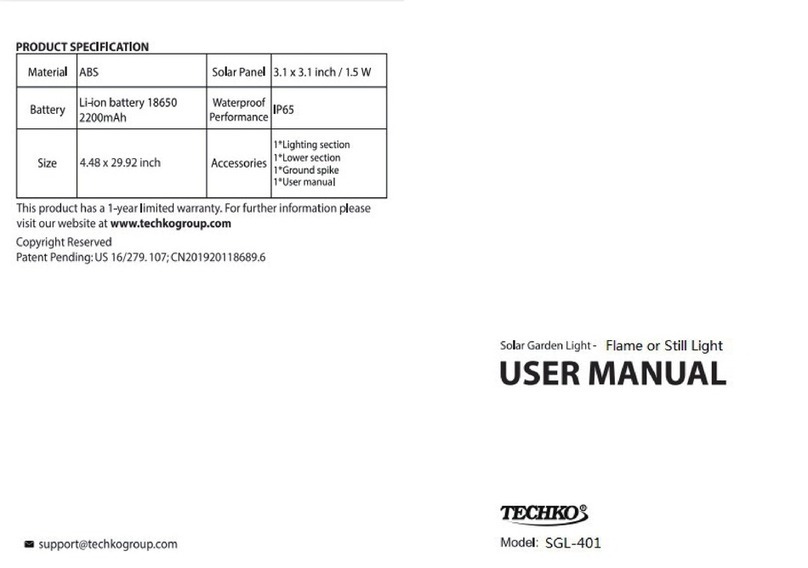
PRODUCT SPECIFICATION
Material
ABS
time.
casual injuries may occur.
Solar Panel
3.5 X 3.5 inch / 1.5 W
1. Pull the ground spike out from inside
Battery
Li-ion battery 18650
2200mAh Performance
Waterproof
Accessories
2. Carefully insert the ground spike
1*Lighting section
the lower section. into the lower section matching the
notches together.
5.47 x 29.37 inch
1*Lower section
1*Ground spike
1*User manual
This product has a 1-year limited warranty. For further information please
visit our website at www.techkogroup.com
Copyright Reserved
Patent Pending:US 16/279.107;CN201920118689.6
3.Carefully insert the lighting section
into the lower section matching the
notches together.
Size
IP65
