manuals.online logo
Brands
  1. Home
  2. •
  3. Brands
  4. •
  5. Technics
  6. •
  7. Speakers
  8. •
  9. Technics SB-T300 User manual

Technics SB-T300 User manual

Speaker
System
Enceintes
acoustiques
SB-T300
Operating
Instructions
Manuel
d’utilisation
Before
operating
this
unit,
please
read
these
instructions
completely.
Please
save
this
manual.
II
est
recommande
de
lire
atlentivement
le
present
manual
avant
d'utiliser
I’appareil.
Conserver
ce
manuel.
Dear
customer
Thank
you
for
purchasing
this
product.
User
memo;
DATE
OF
PURCHASE_
DEALER
NAME_
DEALER
ADDRESS_
TELEPHONE
NUMBER,
The
model
number
and
serial
number
of
this
product
can
be
found
either
on
the
back
or
the
bottom
of
the
unit.
Please
note
them
in
the
space
provided
belowr
and
keep
for
future
reference.
MODEL
NUMBER_
SERIAL
NUMBER_
Location
The
sound
reproduced
by
a
speaker
system
is
easily
influenced
by
such
factors
as
room
acoustics
and
the
system’s
location
in
the
room.
Before
finally
deciding
where
the
speakers
are
to
be
placed,
please
read
the
following
information
carefully.
•
The
bass
sound
will
be
increased
if
the
speakers
are
placed
on
the
floor
or
close
to
a
wall
due
to
the
reflection
of
sound,
It
is
therefore,
possible
to
adjust
the
bass
sound
to
some
extent
by
adjusting
the
speaker’s
distance
from
the
wall
and/or
the
floor.
•
Undesirable
resonance
will
occur
if
the
speakers
face
a
hard
wall
or
window.
Curtains
or
simitar
materials
can
be
used
to
prevent
this.
•
To
prevent
possible
acoustic
feedback,
the
speaker
systems
should
be
kept
away
from
the
turntable.
This
feedback
(howling)
can
result
from
vibrations
from
the
speakers.
The
turntable
should,
therefore,
never
be
placed
on
the
same
surface
as
the
speaker
system.
A
thick
piece
of
fell
or
similar
material
can
be
used
under
the
turntable
to
reduce
this
problem.
Closing
the
turntable’s
cover
also
reduces
this
problem.
Cher
client
Nous
vous
remercions
d’avoir
arrete
votre
choix
sur
cet
appareil
Technics.
Homologation:
II
est
recommand6
de
noter,
dans
I’espace
pr6vu
ci-dessous,
le
num6ro
de
models
et
le
numero
de
serie
inscrits
h
I’arri6re,
ou
sous
le
fond
de
I'appareil,
et
de
conserver
ce
manuel
pour
reference
ult6rteure.
NUMERO
DE
MODELE_
NUMERO
DE
SERIE_
Positionnement
Le
rendu
d'une
enceinte
est
facilement
affecte
par
de
nombreux
facteurs
tels
que
les
proprietes
acoustiques
de
la
pi^ce
et
son
emplacement.
Avant
de
decider
de
I’emplacement
d'une
enceinte,
prendre
en
consideration
les
6l6ments
suivants.
•
La
reponse
dans
les
graves
sera
indOment
accentu^e
si
les
enceintes
sont
placees
directement
sur
le
plancher
ou
trop
pr6s
d’un
mur;
en
effet,
les
basses
frequences
seront
r6fl6chies
par
ces
surfaces.
II
est
done
possible
de
modifier
quelque
peu
le
rendu
dans
les
graves
en
modifiant
la
distance
entre
I’enceinte
et
le
mur
et{ou)
le
plancher.
•
Une
resonance
indesirable
sera
produite
si
I’enceinte
est
placde
face
k
un
mur
ou
une
fenetre.
Pour
pallier
ce
probleme,
recouvrir
le
mur
ou
la
fen§tre
de
rideaux
ou
d’un
matbriau
absorbant.
•
Afin
de
prevenir
tout
probIfeme
de
retroaction
acoustique,
ne
pas
placer
d'enceintes
&
proximitd
d’un
tourne-disque.
Cette
retroaction
est
gendralement
causae
par
les
vibrations
induites
par
les
haut-parleurs.
II
est
done
recommande
de
ne
jamais
placer
un
tourne-disque
sur
la
meme
surface
que
des
haut-
parleurs.
Pour
attenuer
le
probleme,
placer
un
morceau
de
feufre
ou
un
materiau
amortisseur
simllaire
dessous
le
tourne-disque.
Le
fait
d'abaisser
le
couvercle
du
tourne-disque
peut
aussi
contribuer
a
attenuer
le
probleme.
[pp
RQTJ0085
Connections
□
•
Before
making
the
connections,
switch
OFF
the
power
to
the
amplifier.
•
Be
sure
to
connect
only
positive
{+)
wires
to
positive
terminals,
and
negative
(—)
wires
to
negative
{—)
terminals.
m
Connection
of
speaker
cables
Note:
To
prevent
damage
to
circuitry,
never
short-circuit
positive
(-t-)
and
negative
(—)
speaker
wires.
Do
not
remove
the
short
bars
((a))
if
this
method
is
used.
13
If
using
a
commercially
available
4
mm
plug
cable
Fully
tighten
the
speaker
terminal
nut.
and
then
insert
the
end
of
the
plug
cable
into
the
top
of
the
nut.
13
Bi-wiring
connection
This
method
can
be
used
when
the
power
amplifier
is
equipped
with
two
sets
of
speaker
terminals
(«A»
and
»B»,
or
“MAIN®
and
«REMOTE")
however,
regular
sound
will
be
reproduced.
For
superior
sound
reproduction,
the
receiver
or
amplifier
has
to
be
equipped
with
«HF»
(high-frequency)
and
«LF»
(low
frequency)
terminals.These
are
capable
of
sound
reproduction
from
separate
internal
amplifiers
for
HF
and
LF.
Note:
If
bi-wiring
is
used
.
remove
the
short
bars
((^)
from
the
terminals
of
both
speakers.
(Keep
the
short
bars
in
a
safe
place
so
that
they
do
not
get
lost.)
Note
■
Notes
on
excessive
input
In
the
following
instances,
be
sure
to
reduce
the
volume
of
the
amplifier
to
avoid
damage
to
circuits
or
other
malfunctions;
•
The
maximum
output
could
be
exceeded,
as
when
the
high
or
low
settings
of
the
amplifier's
tone
control
or
equalizer
are
increased;
•
The
amplifier’s
power
is
turned
on
or
off;
•
The
following
signals
are
input
continuously;
a)
Noise
from
FM
broadcasts.
b)
High-pitched
playback
sounds
from
a
tape
deck
during
cue
and
review,
c)
High-pitched
howling
caused
by
a
microphone
or
record
player,
d)
Continuous
signals
from
an
oscillator,
electronic
instrument,
or
test
record.
■
Other
notes
t.
Although
these
speakers
are
designed
to
be
anti-magnetic,
their
position
may
cause
discoloration
on
the
TV.
To
correct
this,
turn
the
TV
off
for
15—30
minutes.
If
this
doesn’t
correct
the
problem,
move
the
speakers
further
away
from
the
TV.
2.
Do
not
touch
the
diaphragms.
To
do
so
might
cause
distortion.
3.
Avoid
placing
in
areas
as
follows:
•
In
direct
sunlight
•
Near
heating
appliances
or
other
sources
of
heat
•
Where
there
is
high
humidity
4.
If
the
speaker
enclosures
become
dirty,
use
a
soft,
dry
cloth
to
wipe
them
clean.
If
the
dirt
is
excessive,
soak
a
soft
cloth
in
a
weak
solution
of
soap
and
water,
wring
it
thoroughly
before
use.
A
soft
dry
cloth
should
then
be
used
to
wipe
it
dry.
Never
use
alcohol,
paint
thinner,
benzine
or
other
similar
chemicals
to
clean
the
unit
as
they
may
damage
the
finish.
5.
Do
not
attach
these
speakers
to
walls
or
ceilings.
Raccordements
□
•
Avant
de
faire
les
raccordements,
couper
le
contact
sur
I’amplificateur.
•
S’assurer
de
raccorder
les
fils
positifs
(-r)
aux
bornes
positives,
(-r)
et
les
fils
negatifs
(—)
aux
bornes
negatives
(—).
13
Raccordements
des
cables
Nota:
Afin
de
prpvenir
tout
dommage,
ne
jamais
provoquer
de
court-circuit
entre
les
fils
positifs
(+)
et
negatifs
(^—).
Ne
pas
retirer
les
courtes
tiges
((g))
si
un
tel
raccordement
est
utilise.
B
Avec
cable
muni
d’une
fiche
de
4
mm
Bien
serrer
le
boulon
de
la
borne,
puis
introduire
rextrpmite
du
cdble
dans
le
haul
du
boulon.
[3
Raccordement
bifilaire
Un
tel
raccordement
peut
etre
utilisb
lorsque
I’amplificateur
est
muni
de
deux
jeux
de
bornes
de
haut-parleurs
(“A"
et
«B»,ou
«MAIN"
et
«REMOTE»).
Cependant,
cela
n’aura
aucun
effel
sur
la
reproduction
sonore.
Pour
obtenir
une
meilleure
sonority,
le
recepteur
ou
I’amplificateur
doit
posseder
des
bornes
«
HF"
(haute
frequence)
et
des
bornes
«LF"
(basse
frequence).
Cela
permet
aux
amplis
internes
s6par6s
de
prendre
en
charge
la
reproduction
en
haute
et
basse
frequences.
Nota:
Avant
d’utiliser
le
raccordement
bilifaire,
retirer
les
courtes
tiges
((B))
des
bornes
des
enceintes.
(Conserver
les
courtes
tiges
dans
un
endroit
sur
pour
usage
ultprieur.)
Nota
■
Remarques
concernant
une
puissance
d’entree
excessive
Dans
les
cas
decrits
ci-dessous.
baisser
le
volume
sur
I’amplificateur
afin
de
proteger
les
circuits
et
dviter
tout
probIfeme
de
fonctionnement:
•
La
puissance
admissible
pourrait
etre
d6pass6e
lorsque,
par
example,
les
r6ponses
dans
les
graves
et
les
hautes
ont
6te
accentuees
au
moyen
des
commandes
de
tonality
de
I’amplificateur
ou
de
I’^galiseur;
•
Le
contact
est
coupe
ou
r^tabli
sur
I’amplificateur;
•
Les
signaux
suivants
sont
continus;
a)
Bruit
de
fond
dans
la
bande
FM;
b)
Sons
haute
frequence
lors
du
defilement
rapide
d’une
bande
enregistr6e;
c)
Retroaction
acoustique
caus6e
par
un
micro
ou
un
tourne-disque;
d)
Signaux
emis
par
un
oscillateur,
un
instrument
electronique
ou
un
disque
de
test.
■
Autres
remarques
1.
Bien
que
ces
enceintes
sont
congues
pour
ne
pas
engendrer
d’interfPrence
magnetique,
leur
positionnement
a
proximite
d’un
tel6viseur
pourrait
en
affecter
le
rendu
chromatique.
Dans
un
tel
cas,
couper
le
contact
sur
le
televiseur
pendant
15
d
30
minutes.
Si
le
probleme
persiste,
eloigner
les
enceintes
du
televiseur.
2.
Ne
pas
toucher
aux
diaphragmes;
cela
pourrait
provoquer
une
forte
distorsion.
3.
Eviter
de:
•
exposer
I’enceinte
aux
rayons
solaires
directs;
•
placer
I’enceinte
d
proximitP
d’une
source
de
chaleur;
•
placer
I’enceinte
dans
un
endroit
humide.
4.
Nettoyer
le
coffret
de
I’enceinte
avec
un
chiffon
doux
et
sec.
Si
I’enceinte
devient
encrassee,
la
nettoyer
avec
un
chiffon
doux
humectP
d’une
solution
savonneuse,
puis
I’essuyer
avec
un
chiffon
sec.
Ne
jamais
utiliser
d’alcool,
de
diluant
pour
peinture,
de
benzdne
ou
de
produits
chimiques
similaires
pour
nettoyer
I’unite,
ils
peuvent
endommager
le
fini.
5.
Ne
pas
fixer
ces
enceintes
au
mur
ou
au
plafond.
Speaker
impedance
and
allowed
input
Impedance:
812
Allowed
input;
100
W
(DIN)
Caution:
These
speakers
should
only
be
connected
to
amplifiers
that
have
output
rating
equal
to,
or
less
than,
the
above.
You
risk
blowing
either
the
amplifier
or
your
speakers
if
you
use
a
stronger
amplifier.
This
may
result
in
fire.
If
equipment
is
damaged
in
any
way.
or
unexpected
trouble
occurs
during
playback,
unplug
the
system
from
its
outlet
and
call
an
authorized
servicentre
for
assistance.
Impedance
et
puissance
admissible
Impedance:
812
Puissance
admissible;
100
W
(DIN)
Mise
en
garde
Ne
raccorder
ces
enceintes
qu‘a
un
amplificateur
dont
I’impedance
et
la
puissance
nominales
de
sortie
sont
egales
ou
inferieures
aux
valeurs
indiqu6es
ci-dessus.
Le
raccordement
a
un
amplificateur
trop
puissant
pourrait
endommager
tant
Tenceinte
que
I’amplificateur
lui-meme
et
representer
un
risque
d'incendie.
Dans
I'6ventualit6
oil
I’^quipement
subirait
des
dommages
ou
qu'un
probleme
surviendrait
inopin^ment,
dbbrancher
I'appareil
et
communiquer
avec
un
centre
de
service
agrbe.
Speaker
cables
(not
included)
Cables
de
raccordement
(vendus
s6par6ment)
Twist
/
Torsader.
NO!
NON!
(right)
(Droite)
Speaker
cables
(not
included)
cables
de
raccordement
(vendus
separement)
(^^uche)
i
^
|(
)
W
Amplifier
{+)
(-)(-)
(+)
(not
included)
-
Amplificateur
i
\
(vendu
s6par6ment)
SPEAKERS
IA
(or
HF)
(-)
(+)
B
(orLF)
WH
HW
Speaker
cables
(not
included)
Cables
de
raccordement
(vendus
s6par6ment)
Protection
circuitry
This
unit
incorporates
speaker
protection
circuitry
to
protect
the
speakers
from
damage
caused
by
excessive
input
or
abnormal
signals;
when
excess
input
is
detected,
the
input
Is
automatically
interrupted.
■
If
sound
is
interrupted
or
changed...
1.
Reduce
the
volume
of
the
amplifier.
2.
Check
the
sound
source
and
connections
for
any
problems.
If
there
is
no
problem,
the
protection
circuitry
will
reset
in
a
few
minutes.
■
After
the
protection
circuit
is
reset...
Take
care
not
to
increase
the
amplifier’s
volume
too
high.
Circuit
de
protection
Cette
enceinte
est
bquipee
de
circuits
de
protection
afin
de
prevenir
tout
dommage
provoque
par
une
entree
excessive
ou
des
signaux
anormaux.
Lorsqu’une
entree
excessive
est
ddtectee,
I’entrde
est
automatiquement
interrompue.
■
Si
ie
son
est
interrompu
...
1.
Baisser
le
volume
sur
Ie
rdcepteur
(ou
I’amplificateur).
2.
Verifier
la
source
sonore
et
les
raccordements.
Si
tout
semble
normal,
le
circuit
de
protection
sera
rearme
aprbs
quelques
minutes.
■
Suite
au
rearmement
du
circuit
de
protection...
Prendre
garde
b
ne
pas
trop
monter
le
volume
sur
le
recepteur.
Technicai
specifications
SB-T300
Donnees
techniques
SB-T300
Type
3
way,
4
speaker
system,
bass
reflex
Type
Enceinte
3-voies
a
4
haut
parleurs
avec
event
reflex
Speakers:
Woofer
Tweeter
Super
tweeter
Impedance
Input
power
Output
sound
pressure
level
Crossover
frequency
Frequency
range
Dimensions
(W
X
H
X
D)
Weight
14
cm
(5-1/2”)
cone
type
x
2
2.5
cm
(1")
dome
type
Leaf
type
8
200
W
(Music)
100
W
(DIN)
86dB/V\/(1.0
m)
3
kHz,
10
kHz
36
Hz
-
70
kHz
(-16
dB)
40
Hz
-
60
kHz
(-10
dB)
216
X
1,105
X
315
mm
(8-1/2”
X
41-11/32”
X
12-13/32”)
17.0
kg
(37.4
lbs)
Haut-parleurs
Graves
Aigus
Super
aigus
Impedance
Type
^
cone
de
14
cm
(5-1/2
po)
x2
Type
A
dome
de
2,5
cm
(1
po)
Lamelle
8Q
Puissance
d’entree
200
W
(Musique)
Niveau
de
pression
sonore
de
sortie
100
W
(DIN)
Frequence
de
croisement
86
dB/W
(1,0
m)
Gamme
de
frdquence
3
kHz,
10
kHz
36
Hz~70
kHz(^—16dB)
Dimensions
(L
X
H
X
P)
40
Hz
-
60
kHz
(b—10
dB)
216
X
1105
X
315
mm
Poids
(8-1/2
po
X
41-11/32
po
X
12-13/32
po)
17,0
kg
(37,4
tb)
Note:
Specifications
are
subject
to
change
without
notice.
Weight
and
dimensions
are
approximate.
Product
service
Do
not
attempt
to
remove
the
cover(s)
or
repair
the
unit
yourself.
Refer
servicing
to
qualified
personnel
only.
Product
information
For
product
service,
product
information
or
assistance
in
product
operation,
refer
to
the
servicentre
directory.
For
detailed
instructions,
contact
an
authorized
servicentre
in
the
U.S.A.
and
Panasonic
Canada
Inc.
Customer
Care
Centre
in
Canada.
In
the
U.S.A.
1-800-332-5368
or
web
site
(http://www.panasonic.com)
In
Canada
905-624-5505
or
web
site
www.panasonic.ca
Remarque:
Sujet
S
changements
sans
prdavis.
Le
poids
et
les
dimensions
sont
approximatifs.
Service
apres-vente
Ne
pas
tenter
de
retirer
les
panneaux
ni
de
reparer
I’appareil
soi-meme.
Consulter
un
centre
de
service
agree.
Informations
techniques
Pour
tout
renseignement
ou
service,
consulter
la
liste
des
centres
de
service
agreds
ci-jointe.
Pour
de
plus
amples
details,
contacter
le
Service
d
la
clientele
de
Panasonic
Canada
Inc.
au
(905)
624-5505
ou
notro
site
web
h
www.panasonic.ca
Panasonic
Consumer
Electronics
Company,
Division
of
Matsushita
Electric
Corporation
of
America
One
Panasonic
Way
Secaucus,
New
Jersey
07094
/7ffp;//iviviv.panason/c,
com
Panasonic
Sales
Company
Division
of
Matsushita
Electric
of
Puerto
Rico,
Inc.
("PSC”)
Ave.
65
de
Infanteria.
Km.
9.5
San
Gabriel
Industrial
Park,
Carolina,
Puerto
Rico
00985
Panasonic
Canada
Inc.
(6^
5770
Ambler
Drive
Mississauga,
Ontario
L4W
2T3
iviviv.panason/c.
ca
RQTJ0085
C2209
A
Other Technics Speakers manuals

Technics SB-M500 User manual

Technics

Technics SB-M500 User manual

Technics SB-M5 User manual

Technics

Technics SB-M5 User manual

Technics OTTAVA S SC-C50 User manual

Technics

Technics OTTAVA S SC-C50 User manual

Technics SC-C50 Installation and service instructions

Technics

Technics SC-C50 Installation and service instructions

Technics OTTAVA S User manual

Technics

Technics OTTAVA S User manual

Technics Ottava S SC-C30 Technical specifications

Technics

Technics Ottava S SC-C30 Technical specifications

Technics OTTAVA S SC-C50 Installation and service instructions

Technics

Technics OTTAVA S SC-C50 Installation and service instructions

Technics SB-SL101 User manual

Technics

Technics SB-SL101 User manual

Technics SB-CS65 User manual

Technics

Technics SB-CS65 User manual

Technics SC-HD51 User manual

Technics

Technics SC-HD51 User manual

Technics SB-T300 User manual

Technics

Technics SB-T300 User manual

Technics SB-L300 User manual

Technics

Technics SB-L300 User manual

Technics OTTAVA S Series User manual

Technics

Technics OTTAVA S Series User manual

Technics OTTAVA S SC-C50 Technical specifications

Technics

Technics OTTAVA S SC-C50 Technical specifications

Technics SB-AFC410 User manual

Technics

Technics SB-AFC410 User manual

Technics SB-G920 User manual

Technics

Technics SB-G920 User manual

Technics SDS948 - HOME ENT. SYSTEM User manual

Technics

Technics SDS948 - HOME ENT. SYSTEM User manual

Technics SB-MP481 Installation guide

Technics

Technics SB-MP481 Installation guide

Technics SC-CH570 User manual

Technics

Technics SC-CH570 User manual

Technics OTTAVA S SC-C50 User manual

Technics

Technics OTTAVA S SC-C50 User manual

Technics SB-E100 User manual

Technics

Technics SB-E100 User manual

Technics SB-S80 User manual

Technics

Technics SB-S80 User manual

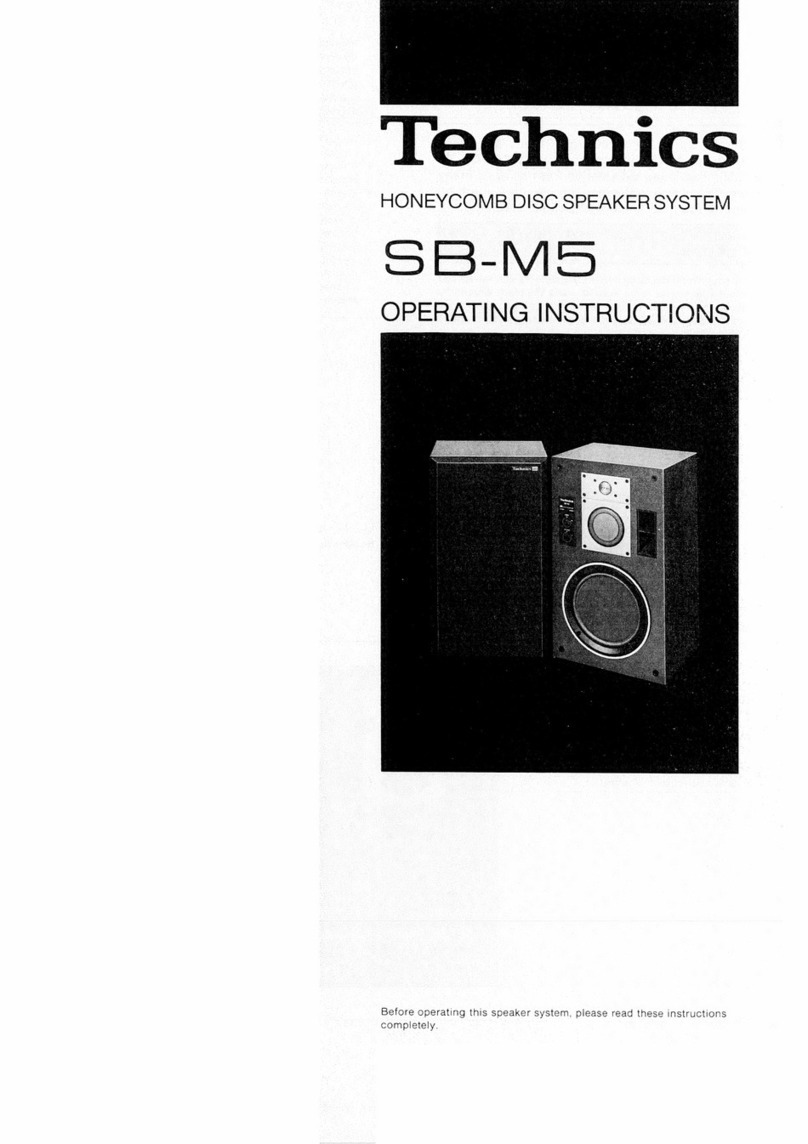
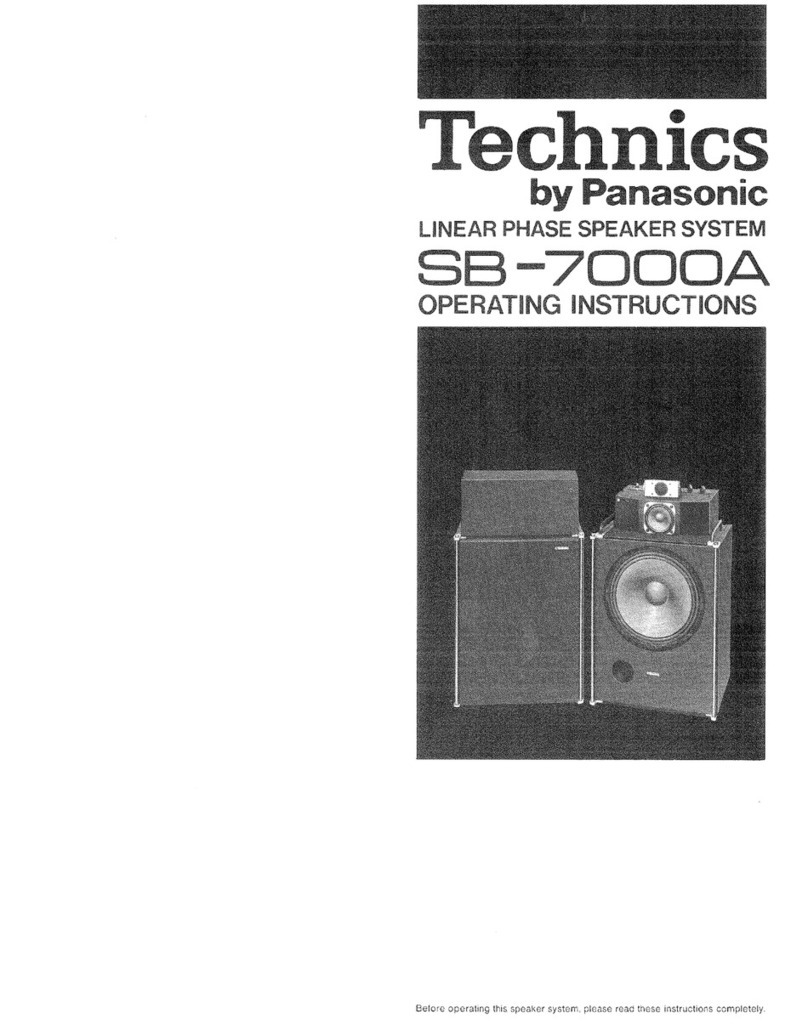
Technics SB-7000A User manual

Technics

Technics SB-7000A User manual

Popular Speakers manuals by other brands

Yaesu SP-10 Installation

Yaesu

Yaesu SP-10 Installation

LG XG9QBK Simple manual

LG

LG XG9QBK Simple manual

RCF MQ 50i-W user manual

RCF

RCF MQ 50i-W user manual

Electro Depot Edenwood OCTAVE REPETTTO Instructions for use

Electro Depot

Electro Depot Edenwood OCTAVE REPETTTO Instructions for use

Mission PULSE Spesifications

Mission

Mission PULSE Spesifications

RetroSound RetroMod owner's guide

RetroSound

RetroSound RetroMod owner's guide

Audica median ic165 installation manual

Audica

Audica median ic165 installation manual

LAMAX Sounder2 user manual

LAMAX

LAMAX Sounder2 user manual

Nokia MD-7W - Bluetooth Speakers Portable user guide

Nokia

Nokia MD-7W - Bluetooth Speakers Portable user guide

Behringer B212A user manual

Behringer

Behringer B212A user manual

Celestion Classic Series G12 Century Vintage Specifications

Celestion

Celestion Classic Series G12 Century Vintage Specifications

COTODAMA LS1 instruction manual

COTODAMA

COTODAMA LS1 instruction manual

Miglia Diva 2.1 user guide

Miglia

Miglia Diva 2.1 user guide

AmazonBasics Micro instruction manual

AmazonBasics

AmazonBasics Micro instruction manual

Teufel Concept G 850 THX Technical description and operating instructions

Teufel

Teufel Concept G 850 THX Technical description and operating instructions

Whelen Engineering Company COYOTE Series manual

Whelen Engineering Company

Whelen Engineering Company COYOTE Series manual

Fender FIGHTER 10 owner's manual

Fender

Fender FIGHTER 10 owner's manual

Lithe Audio LWF1 instruction manual

Lithe Audio

Lithe Audio LWF1 instruction manual

manuals.online logo
manuals.online logoBrands
  • About & Mission
  • Contact us
  • Privacy Policy
  • Terms and Conditions

Copyright 2025 Manuals.Online. All Rights Reserved.