TECO TFF210WNTBM User manual

USER’S MANUAL
FROST FREE
REFRIGERATOR
IMPORTANT NOTE:
Thank you for selecting a TECO quality Refrigerator. Read this
manual carefully before installing or operating your new unit.
Make sure to save this manual for future reference.
The design and specifications are subject to change without prior
notice for product improvement. Consult with the sales agency
or manufacturer for details.
Model:
TFF210WNTBM

2
Thank you for purchasing our product and thank you for placing your
confidence in us.
Read this manual carefully before use. Follow instructions and
keep the manual for future reference.
Follow the operating instructions and safety notices in this manual.
If any trouble arise, do not attempt to fix it yourself. Please contact
TECO service on 1300 660 037 (8:30am - 4pm Mon~Fri AEST).
This refrigerator is designed and approved for use with flammable
R600a refrigerant.
The appliance is specifically constructed for domestic
use and is therefore suitable for the refrigeration and storage
of fresh and frozen foods and the production of ice-cubes.
The appliance has not been designed or manufactured for
professional use. TECO declines all responsibility for damage
deriving from improper use of the appliance. The refrigerator
has undergone the necessary tests on the tightness of the
refrigeration circuit and complies with the safety regulations
for electrical appliances.
All images, illustrations and photos contained in this manual are for
illustration purposes only and may differ from your appliance.
WARNING ICON
This symbol indicates information concerning your personal
safety
CAUTION ICON
This symbol indicates information on how to avoid damaging
the appliance
FLAMMABLE ICON
R600a WARNING LABEL
CAUTION
WARNING
R600a

3
TABLE OF CONTENTS
Safety Information.....................................................
Name of Parts and Usage ........................................
Packing List ..............................................................
Transporting the Appliance & Installation .................
Operating Instructions ..............................................
Temperature Settings ...............................................
Energy Saving Tips ..................................................
Reversing The Door .................................................
Maintenance ......................................... ..................
Disconnection of the Appliance ...............................
Troubleshooting ......................................................
Specifiations ...........................................................
Repairs, Service & Warranty ....................................
4
6
7
8
9
9
10
11
13
15
15
17
19
Back
cover
SPECIAL FEATURES
◊Frost Free
◊Internal LED Lighting
◊Electronic Temp. Control with LED Display
◊Spill Proof Tempered Glass Shelves
◊Twist Ice Cube Maker
◊Vegetable Crisper with Humidity Control
Warranty Information ................................................

4
R600a Isobutane Refrigerant
Hydrocarbon refrigerants have excellent refrigerant
properties and minimal low global warming potential and
no ozone depletion potential.
This appliance contains a small quantity of flammable, non-
synthetic R600a refrigerant:
Hydrocarbon refrigerants cannot be ‘retrofitted’ to the appliance
that has not been designed and approved to use that type of
refrigerant.
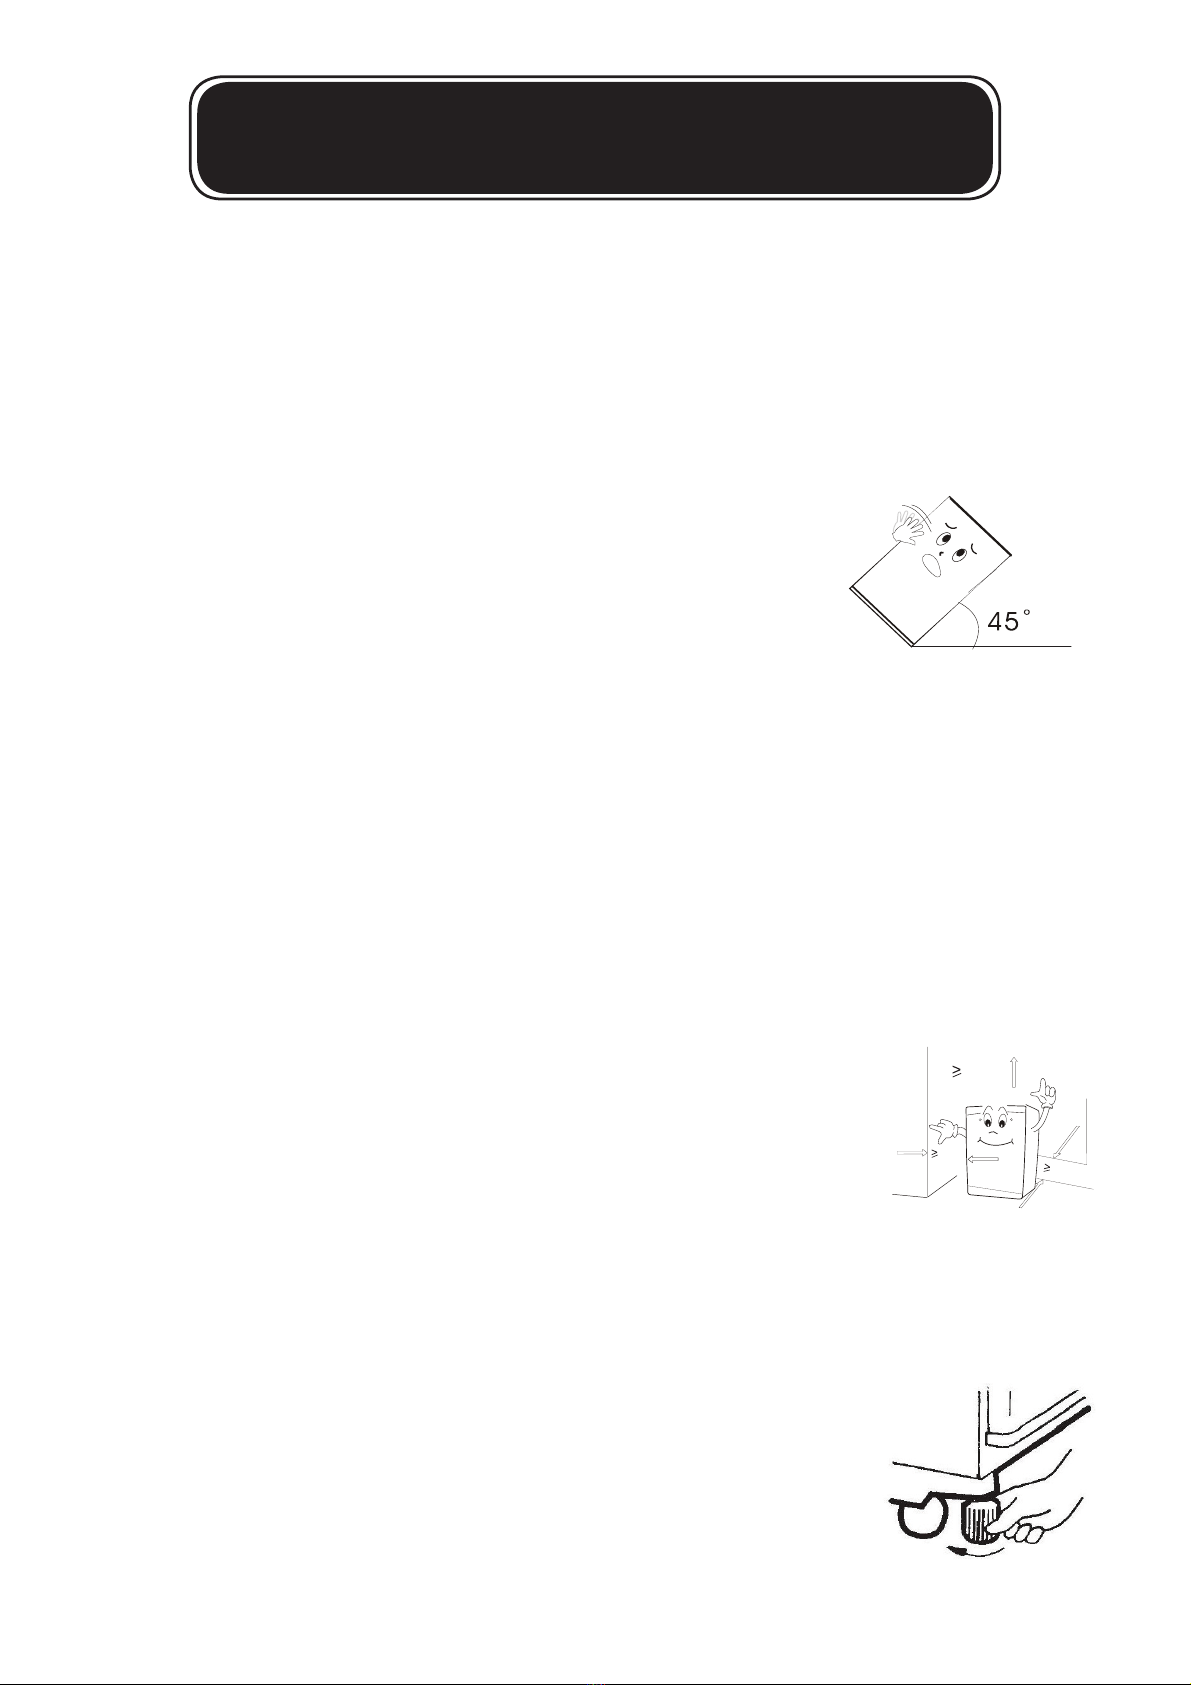
Ensure that the tubing of the refrigerant circuit is not damaged
during transportation and installation.
Leaking refrigerant may cause eye injuries or could ignite.
The room for installing the appliance must be at least 1m3per 8g
of refrigerant. The amount of refrigerant in the appliance can be
found on the rating plate attached to the appliance.
Risk of fire
If the refrigerant circuit should become damaged. Avoid open
flames and sources of ignition. Disconnect the appliance from the
mains power. Thoroughly ventilate the room in which the
appliance is situated for several minutes.
SAFETY INFORMATION
•The refrigerator is designed to operate on a single phase power
supply within a voltage range of 220~240V/50Hz.
• The refrigeration system contains refrigerant. Do not allow any
sharp objects to come in contact with the refrigerant system to
avoid damage the refrigerant circuit.
• This product is for indoor use only.
• Do not place electrical items or cooking equipment nearby.
Keep away from substances which could cause ignition and good
ventilation shall be always maintained.
• Do not place objects on top of the appliance which are magnetic,
heavy or filled with water.
• If the supply cord is damaged, it must be replaced by authorised
TECO service personal, service agent or similarly qualified persons
in order to avoid a hazard.
• Do not store flammable, explosive, volatile and highly corrosive
materials in the refrigerator. Containers with flammable gases or
liquids can leak at low temperature. There is a risk of explosion or fire.
WARNING
WARNING

5
• Do not splash water on the appliance. It may cause malfunction or
electric shock.
• Always switch off and unplug appliance before cleaning.
• This appliance is not intended for use by persons (including children)
with reduced physical, sensory or mental capabilities, or lack of
experience and knowledge, unless they have been given supervision
or instruction concerning use of the appliance by a person responsible
for their safety.
• WARNING: Keep ventilation openings, in the appliance enclosure or in
the built-in structure, clear of obstruction.
• WARNING: Do not use mechanical devices or other means to accelerate
the defrosting process, other than those recommended by the
manufacturer.
• WARNING: Do not damage the refrigerant circuit.
• WARNING: Do not use electrical appliances inside the food storage
compartments of the appliance.
• For appliances which use flammable insulation blowing gases, Please
keep the products away from the fire or similar glowing substance before
you dispose of the refrigerator.
• This appliance is intended to be used in household and similar
applications such as:
- staff kitchen areas in shops, offices and other working environments;
- farm houses and by clients in hotels, motels and other residential type
environments;
- bed and breakfast type environments;
- catering and similar non-retail applications.
Safety of children
• Young children should be supervised to ensure that they do not
play with the appliance.
• Packing (e.g. wraps, polystyrene etc.) can be dangerous
for children. There is a risk of suffocation. Keep packaging
materials away from children.
• Contact your local authorities for correct method of disposal.
Dispose of all packaging in a responsible manner in accordance
with local regulations.
Dispose of old appliances in accordance with local regulations.
Remove the doors, cut off the main cable, break or remove
spring or bolt catches if fixed to prevent children getting trapped
or involve themselves in other dangers.
WARNING

6
12. Freezer Door
13. Freezer Door Rack
14. Middle Hinge
15. Refrigerator Door
16. Small Refrigerator Door Rack
17. Large Refrigerator Door Rack
18. Bottom Hinge
1. Cabinet
2. Freezer Air Duct
3. Freezer Glass Shelf
4. Freezer Vent Adjustment
5. Cold Compartment
6. Refrigerator Air Duct
7. Refrigerator Control Panel
8. Refrigerator Glass Shelf
9. LED Internal Light
•The refrigerator you purchased is subject to continuous improvement,
which may not be completely consistent with the manual, however, the
functions and operating methods will not change.
•If you use the refrigerator for the first time, remove the adhesive tapes
from all surfaces, drawers, shelves, trays, etc.
•Do not pull or push the vegetable crisper or shelves forcefully during
use as this may result in damage to the appliance.
1
2
3
5
6
8
10
11
12
13
14
16
17
18
15
7
9
4
NAME OF PARTS AND USAGE
10. Vegetable Crisper Glass Shelf
11. Vegetable Crisper

7
PACKING LIST
Check the packing list that all items have been included.
Note: Product specifications are subject to
change without prior notice.
Item
User’s Manual
Top Hinge Cover 1 Piece
1 Copy
2
1
Part No.

8
TRANSPORTING THE APPLIANCE &
INSTALLATION
The appliance must be transported only in a vertical position. The packing
must be intact during the transportation.
When unpacking and re-packing the appliance, please memorise the
position of each accessory of the appliance when unpacking it. When
re-packing the appliance for transportation, ensure all accessories are
secured before transportation.
Do not lift or pull the doors during transportation.
When moving the appliance, do not tilt >45 degrees
(the angle of the vertical direction). Please avoid strong
vibration and impacts that could cause damage to the appliance.
The refrigerator should be located on a firm and flat surface. An uneven
surface may cause excess operating noise or vibration.
(a) The noise may be increased if the floor is not firm.
(b) If the appliance is to be positioned on carpet flooring and heat
emitted from the appliance is a concern, place a solid sheet
under the appliance.
Choose a location which is not exposed to sunlight, high temperature or
humid, as humidity may cause staining or damage.
It is recommended a clearance of at least 50mm away
from objects and walls on both sides and back. Ensure the
clearance above the appliance is not less than 100mm and
160° clear for the doors to swing open.
If the appliance is unstable, rotating either of the front two legs in a
clockwise direction will raise the appliance.
When adjusting the front legs, ensure the appliance
slopes backwards slightly to keep the door closed.
Remove all internal packaging before operating.
●
●
●
●
●
●
●
●
●
●
100mm
50mm
50mm

9
OPERATING INSTRUCTIONS
Note: Before first use, let the refrigerator stand for at least 2 hours
before connecting the power. Leave 4 to 5 hours after connecting
power before placing fresh or frozen food into the refrigerator.
PLACEMENT OF FOOD
There should always be some space between
items inside for air circulation.
Food should be kept in sealed packaging to
avoid becoming dry or spoilt.
Hot food should be cooled down before placing
into the appliance. Otherwise, the interior
temperature and power consumption will increase.
Reduce opening the door frequently.
This will increase the appliance effi
ciency and reduce
power consumption.
Do not use any electronic equipment inside the appliance.
Do not store objects which are costly or subject to temperature
variations. e.g. medication or chemicals.
Do not adjust shelving once food has been placed on them.
TEMP
. SETTINGS
Controlling the temperature of the refrigerator compartment can be set by
the control panel. Refer to item 7 on Pages 6.
Refrigerator Temperature Controls:
1) Temp. Setting 1 - LED1 (Warmest)
2) Temp. Setting 2 - LED2
3) Temp. Setting 3 - LED3
4) Temp. Setting 4 - LED4
5) Temp. Setting 5 - LED5 (Coldest)
Buttons:
A) SET Button
●
●
●
●
WARNING
ŚśŜŝŞ
A

10
LED DISPLAY
When the refrigerator is powered on, for three (3) seconds the display
will show all temp. indicators and then display the current temp. setting.
This display will also be used to display error codes if a fault should
occur (refer to Page 16).
REFRIGERATOR TEMP. SETTING
Locate the temp. control panel (refer to item 7 on Page 6) and repeatedly
press the SET Button (refer to Button A on Page 9) to cycle through the
temp. settings. Each press of the SET Button (A) will increase the temp.
setting by one (1). When the maximum temp. setting has been reached,
pressing the SET Button again, will return the temp. setting to the
minimum setting (Temp. Setting 1).
FREEZER TEMP. SETTING
Locate the Freezer Temp. control at the rear of the
freezer section. Turn the dial to adjust the temp.
setting between Cold (minimum) and Colder
(maximum).
Note: It is recommended to keep the dial in
the central position for normal operation and avoid set to
Colder (maximum) position for an extended period of time.
ICE MAKING
To make ice cubes, fill the twist Ice tray with clean drinking water and
place back to the twist ice maker in freezer section.
To remove the cubes from the tray, twist the twist Ice tray to invert the
tray. The ice cubes will fall into the container below. Be careful opening
and closing the freezer door until the ice cubes are completely frozen to
avoid spilling water.
ENERGY SAVING TIPS
Adjust the temperature control to a setting that is acceptable for the
storage of the food. This will reduce the power consumption.
Only open the door when required and ensure all doors are closed
securely. Frequently opening or doors left open will increase power
consumption. To maintain good air circulation, keep the shelves and
crisper of the refrigerator as supplied, and do not block air outlets.

11
REVERSING THE DOOR
Follow these steps to reverse the door from the supplied position.
Before proceeding, ensure the appliance is unplugged, turned off
and empty of all contents.
STEP 1. Top Hinge
A) Locate and remove the top hinge cover, screws and hinge from
the right side.
B) Remove the screw hole cover from the left side in preparation.
C) Remove the top hinge and lift the door upward off the middle
hinge. Place the door in a safe location to avoid damage.
STEP 2. Middle Hinge
A) Once the door has been placed
aside carefully, unscrew and
remove the right middle hinge.
B) Lift the door off the bottom hinge.
Place the door in a safe place to
avoid damage.
C) Relocate the hinge to the left side.
Take the two screws from A) and
fasten the left middle hinge in
place. Before proceeding to STEP
3, to access the bottom hinge, the appliance will need to be tilted
backward. Do not tilt >45oor lay flatasthismaydamagethe
refrigeration system. Lean the appliance back on a solid object or
have someone hold the appliance as the bottom hinge is accessed.
1
2

12
STEP 3. Bottom Hinge
A) Remove both adjustable feet by completely
unscrewing them.
B) Remove the screws holding the bottom hinge and
remove the bottom hinge.
STEP 4.
A) Screw the adjustable foot into the right side.
B) Fasten the bottom hinge into place on the left side.
NOTE: Do not fasten completely until after the door has been
correctly positioned. Allow for minor adjustment and gasket seal.
C) At the bottom of the door, remove the hinge assembly and fasten
the door stop and hinge assembly by screwing into place.
D) Place the freezer door onto the bottom hinge.
STEP 5.
A) Place the top hinge into position on the left side.
B) Fasten the top hinge and ensure the door gasket seals correctly.
C) Align the door in place, ensure it can open/close without
obstruction and securely seals.
D) Tighten the hinge screws for both top, middle and bottom hinges.
E) Replace the top hinge cover (refer to item 1on Page 7) and clip
in place.
35

13
MAINTENANCE
The appliance should be maintained and cleaned frequently. For your
safety, unplug the appliance from the mains power source before
performing any maintenance.
1.Interior and exterior maintenance
Clean the interior of the appliance with clean water and wipe it dry
with a piece of dry cloth.
Cleansers such as soap powder, abrasive cleaning powder, alkali
cleansers, chemical cloth, thinners, alcohol, acid petroleum products
and hot water should not be used to clean the refrigerator as they
may damage the painted cover and plastics.
2. Smearing can age the interior plastic components, so remove it as soon
as possible.
3. Wipe the door gasket clean, it is easy to damage the door gaskets if
polluted by stains, e.g. oil, sauce, etc.
4. Interior light
The refrigerator is fitted with several LED internal lights, that are not
replaceable. If the lights stop working, please contact TECO Service
(refer to page 19).
5. Empty the drip tray
Do not attempt to remove the drip tray from the rear of the refrigerator.
Be careful not to bump the refrigeration tubing. The tray may have water
in it, be careful not to spill it while removing any water in the tray. This
should be carried out at least once a year. Use a sponge or towel to
soak up the water from the drip tray into a bucket. Discard the water
appropriately.
6. Please check the points below after maintenance:
1) Is there any damage or loss of the power lead?
2) Can the power plug be inserted into the power socket correctly?
3) Is the power plug and/or lead heating up?

14
COMPARTMENT, CRISPER & RACK MAINTENANCE
Please be careful when handling and removing compartment, crisper and
racks. Follow the steps below to remove, clean and replace each of the
refrigerator items.
GLASS SHELVES & DOOR RACKS
To remove glass shelves for cleaning, pull the shelf out as far as possible
and then lift slightly. The shelf should lift away easily. (Refer to Fig. 1).
Clean the shelf completely, allow to dry before replacing.
To remove the door racks, grasp the rack with both hands and gently lift.
Once removed, clean and allow to dry before replacing. (Refer to Fig. 2).
Fig. 1 Fig. 2
Fig. 3
VEGETABLE CRISPER, DRAWERS
To remove the vegetable crisper, gently slide the crisper out.
Refer to Fig. 3.

15
DISCONNECTION OF THE APPLIANCE
If a power failure occurs, even in summer, the refrigerator could store food
normally for some time.
1, Power failure
During a power failure, do not put additional food in the appliance and
reduce opening the door frequently.
Place several ice cubes into a container if power failure is anticipated
beforehand, and place it in the top of the fridge.
2, Power failure during vacation
Before departure of a short vacation, remove any items that could spoil
if a power failure occurs. Ensure the door is closed firmly.
If going on a long vacation, remove all items, clean and wipe dry the
internal of the appliance, prior to disconnecting the power and leave the
door open.
3, Storage of appliance
If the refrigerator will be stopped for a long period of time (storage),
remove all items, clean and wipe dry the internal of the appliance,
unplug the appliance from the power outlet. The door should be kept
open in order to prevent unpleasant odours.
Unplugging the appliance from the power outlet, please
leave at least 5 minutes before reconnection.
TROUBLESHOOTING
The following cases are not malfunctions:
1. Moisture may form as condensation on the outside of the appliance
during humid conditions. To remove excess moisture, wipe clean.
2. The flow of refrigerant through the pipeline coil could cause gurgling,
similar to water boiling. This is the normal function of the appliance.
3. It is normal that the sides of the appliance will get warm as a result of
the refrigeration system operation.
4. The appliance operation could cause electrical interference to electrical
equipment.
SYMPTOM: The refrigerator does not work.
SUGGESTION: It may not be connected to the power supply (plug, power
failure or blown fuse) and switched on. Check that the temperature dial is
not set to the minimum position.

16
SYMPTOM: The refrigerator does not work efficiently as expected.
SUGGESTION: It may be caused by heavy frost, warm temperature
setting, frequently opening the door or low voltage.
SYMPTOM: It makes an unusual noise.
SUGGESTION: It may be caused by an unbalanced appliance or unstable
surface, bottles are incorrectly placed and rattling, vibration from an object
on top of, behind or beside the appliance.
SYMPTOM: The compressor keeps working for a long period.
SUGGESTION: The environment temperature may be too high. The doors
may be opened frequently or they are left open. The temperature setting
may increase the working time of the compressor. Large amounts of warm
food recently placed in the appliance may also cause this symptom.
SYMPTOM: Unpleasant odours.
SUGGESTION: Interior may need cleaning. Some foods produce strong
odours, some containers can also cause odours. Food should be packed
tightly before being placed inside the appliance. Check if any food has
spoilt in the appliance.
SYMPTOM: Heavy frost occurs in the freezer compartment.
SUGGESTION: Make sure the door is correctly closed and the seal is not
obstructed.
SYMPTOM: Refrigerator temperature is too cold.
SUGGESTION: Check the position of the temperature dial.
ERROR CODES
Refer to the Refrigerator Temp. Indicators on Page 9
DISPLAY DESCRIPTION
LED1 & 2 on Freezer temp. sensor error
LED1 & 3 on Freezer defrost sensor error
LED1 & 4 on Ambient temp. sensor error

220-240
42
47.5
TFF210WNTBM
17

18
Did you know?
TECO Australia’s product range also includes:
Top Load Clothes Washers
Front Load Clothes Washers
Twin Tub Clothes Washers
Auto Sensing Condenser and Vented Clothes Dryers
Refrigerators
Chest and Vertical Freezers
Bar Fridges
Dehumidifiers
Televisions
Air Curtains and Air Conditioners
Visit www.teco.com.au for our full range.

REPAIRS, SERVICE & WARRANTY
It is hazardous for anyone installing, removing, altering, repairing,
servicing, testing or certifying the gas system of a gas device (i.e.
charging, discharging or breaking into the refrigeration system that uses
hydrocarbon refrigerants).
Only an Authorised Service Person can carry out servicing or repairs to
this appliance. In Queensland the authorised person must hold a Gas
Work Authorisation for hydrocarbon refrigerants, before carrying out
servicing or repairs which involve the removal of covers.
Individuals will need to hold appropriate refrigeration/air conditioning
competencies and also training in hydrocarbon refrigerants. This type of
authorisation is provided to individuals only.
IF SERVICE IS REQUIRED:
If you have a problem, and the problem persists after you have made the
checks mentioned in this manual, contact:
TECO Australia’s Service on 1300 660 037 (8:30am-4pm Mon~Fri AEST)
For warranty details please visit www.teco.com.au
19

www.teco.com.au
JBH-V1
Table of contents
Other TECO Refrigerator manuals

TECO
TECO TBF86WMTAG User manual

TECO
TECO THCF200WMGM User manual

TECO
TECO TFF270WNTBM User manual

TECO
TECO TFF470WNTA User manual

TECO
TECO TSXS582SNCM User manual

TECO
TECO TBF75WMDA User manual

TECO
TECO TFF400WNTBM User manual

TECO
TECO TFF203WNTDM User manual

TECO
TECO TSXS580WNA User manual

TECO
TECO TFF536WNMATEBF User manual

TECO
TECO TAF230WMPCM User manual

TECO
TECO TBF117WMDE User manual

TECO
TECO THCF145WMGM User manual

TECO
TECO THF268WNTAM User manual

TECO
TECO TFF411WNBRM User manual

TECO
TECO TFF210WNTAM User manual

TECO
TECO TFF400WNTCM User manual

TECO
TECO TFF278WNTAG User manual

TECO
TECO TBF84WMTA User manual

TECO
TECO TAF237WMPA User manual