Frontline Technical Support: Phone +1-434-984-4500 or email tech_support@fte.com
4. Configure the Datasource
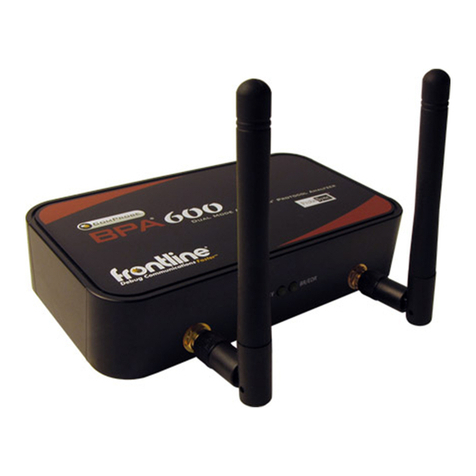
Once the ComProbe BPA 600 software starts a Control window and the BPA 600 datasource window will open. Clicking the Discover
Devices icon will automatically detect any devices in Discovery Mode and store their addresses (BD_ADDR) in a database. You also
have the option of manually entering a device's BD_ADDR that will also be saved in the device database.
Roleless Connection: In Classic Bluetooth BPA 600 will automatically detect the master and slave devices in a link. This applies to BPA
600 Classic only Single Connection, Dual Mode, and Classic Only Multiple Connection modes. BPA 600 datasource window uses arrows
to show the master/slave relationship. The tail of the arrow is the master device and the point of the arrow is the slave device. A
two-headed arrow indicates the relationship is not established or in transition.
There are several other datasource controls and indicators that are important for encrypted data sniffing.
lFor Classic encryption: In the Classic Encryption section enter either the Pin Code in ASCII or HEX (this is for legacy pairing).
The link key is necessary to decrypt Secure Simple Pairing (SSP). If one of the devices in a link is in Sniffer Debug Mode, the BPA
600 will automatically calculate the same link day as the devices used during device pairing.
lFor low energy encryption: In the LE Encryption section enter the New Long Term Key to decrypt if the low energy link is using
encryption.
5. Start Capturing Data
lClick the Start Sniffing icon on the BPA 600 datasource toolbar.
lAs data is being captured, the Capture Status message in the Control window indicates the
synchronization status of the ComProbe BPA600 analyzer as well as the Master-Slave relationship.
The colored arrows change depending on the synchronization state and the direction of the arrow
points from Master (arrow tail) to Slave (arrow head).
When you are capturing data, there are several important concepts to consider.
lFiles are placed in My Capture Files by default and have a .cfa extension. Choose Directories from the Options menu on the
Control window to change the default file location.
lWatch the status bar on the Control window to monitor how full the file is. When the file is full, it begins to wrap , which means
the oldest data will be overwritten by new data.
lClick the Stop icon to temporarily stop data capture. Click the Start Capture icon again to resume capture. Stopping capture
means no data will be added to the capture file until capture is resumed, but the previously captured date remains in the file.
6. Analyze the Data
From the Control window toolbar select the following icons to
view and analyze the captured data.
lEvent Display - for framed data, used to conduct
byte-level analysis.
lFrame Display - for framed data, used to conduct protocol-level analysis.
lMessage Sequence Chart (MSG) - Displays information about messages passed between protocol layers.
lBluetooth Timeline - Graphically displays Bluetooth packet information with emphasis on time and payload throughput.
lCoexistence View - Graphically displays Classic Bluetooth,Bluetooth low energy, and 802.11 packet information with
emphasis on time and payload throughput.
lBluetooth low energy Timeline - Graphically displays Bluetooth low energy packet information with emphasis on time and
payload throughput.
