Teledyne FLIR
Infrared Camera OEM
9
Equipment described herein is subject to US export regulations and may require a license prior to export. Diversion contrary to US law is prohibited.
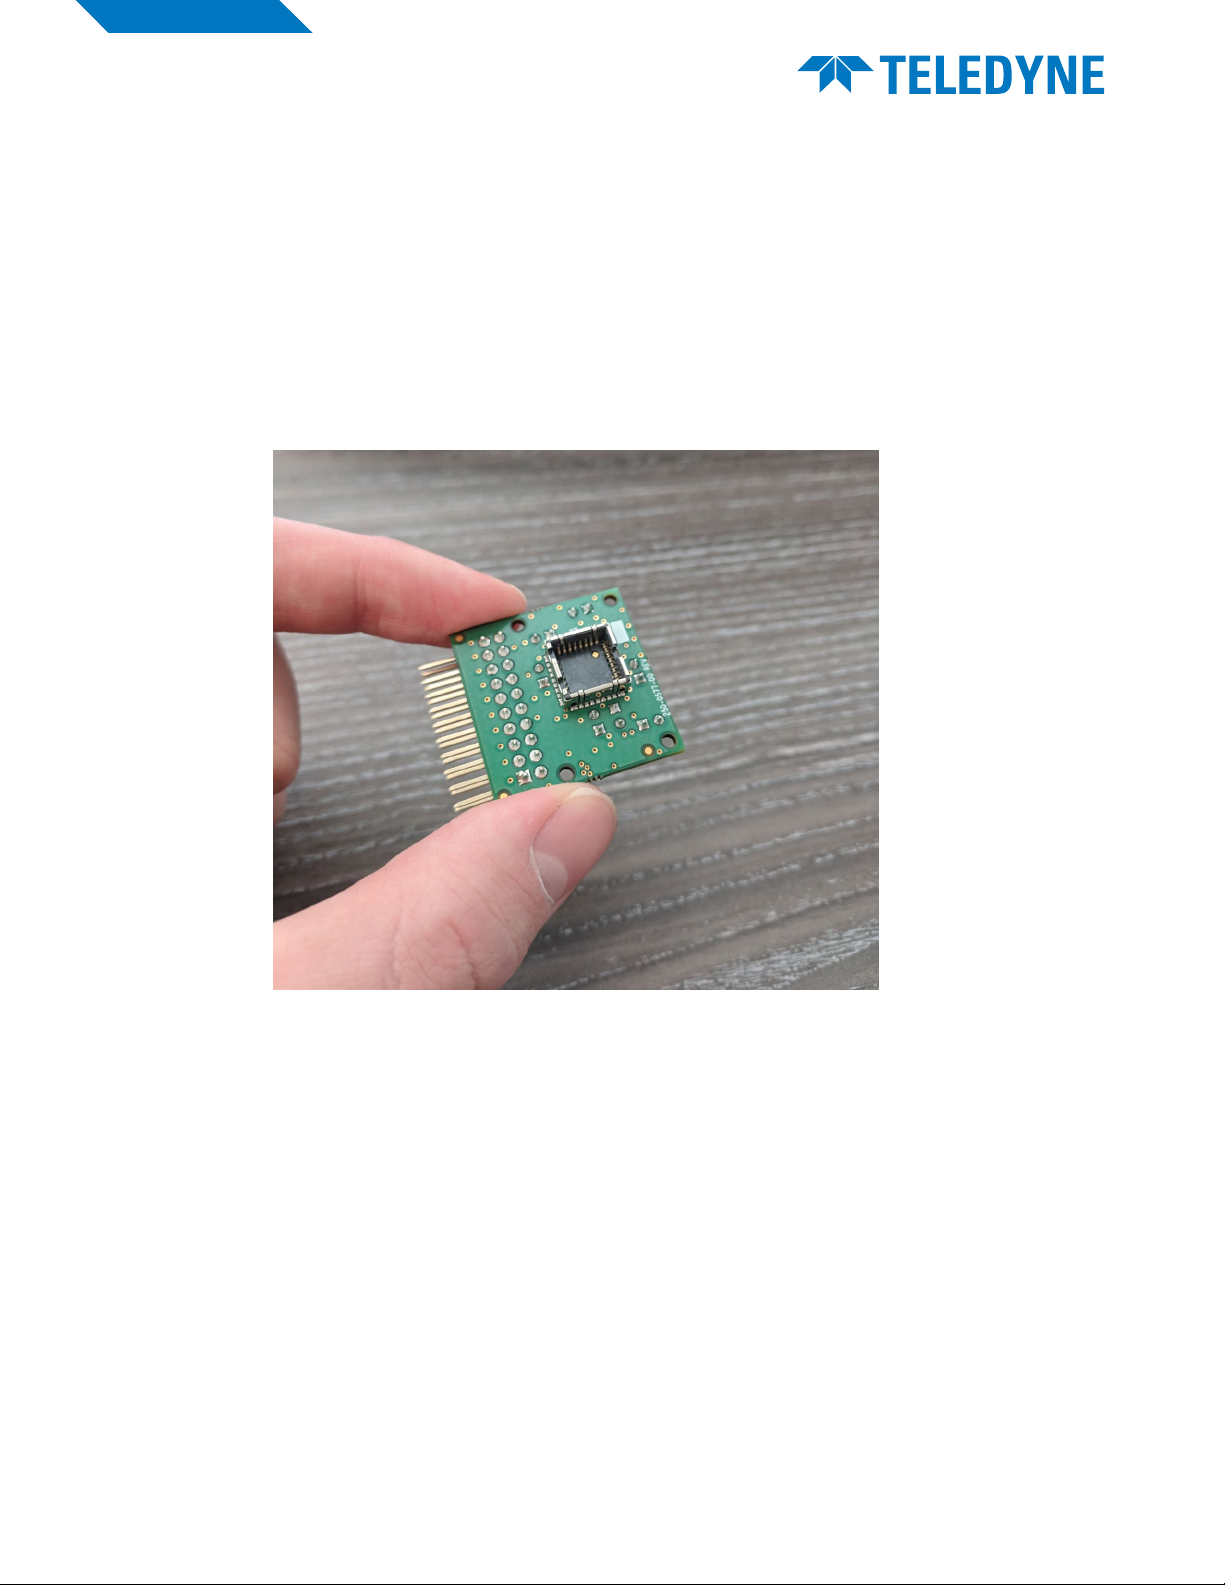
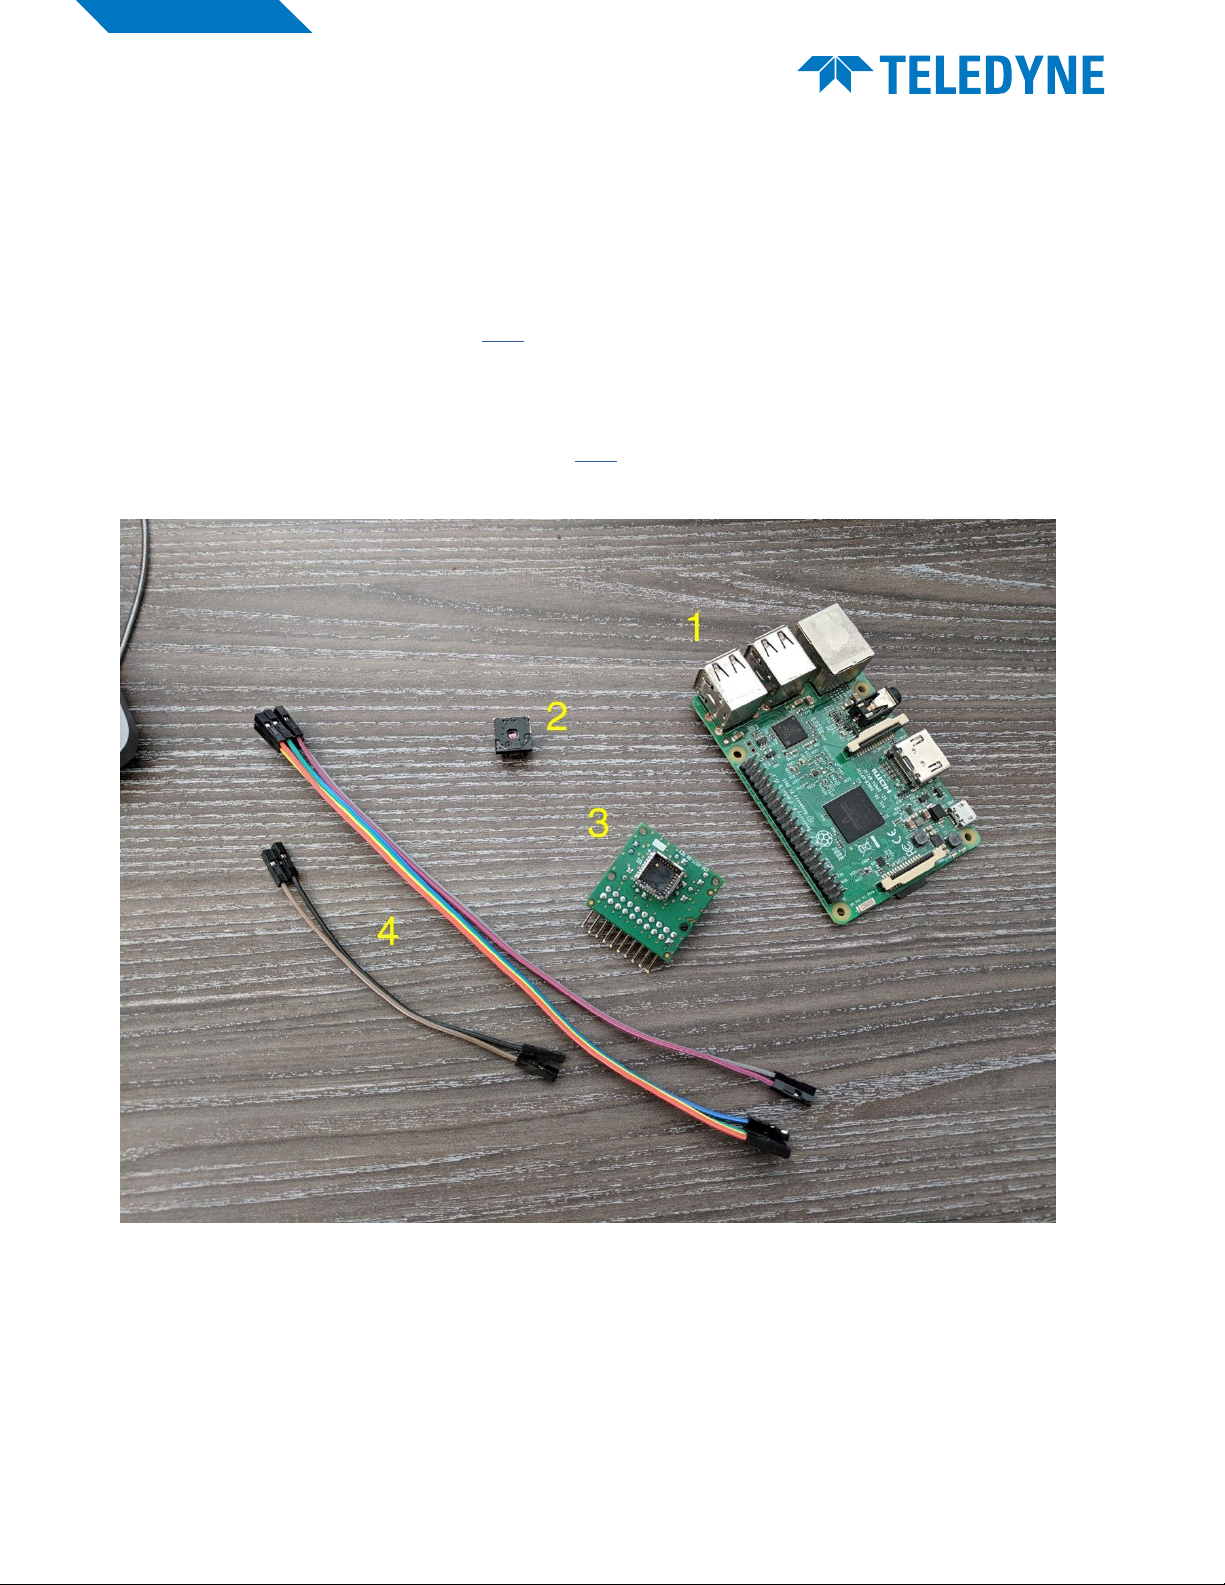
Imagery for illustration purposes only. Specications are subject to change without notice. Rev. 100.
© 2021Teledyne FLIR LLC. Approved for public release.Teledyne FLIR Approved [FLIRGTC-SBA-005]. All rights reserved.
You can use the lepton_data_collector application to capture grayscale images from the video device.
You will also need to make that too.
cd ~/RaspberryPi/lepton_data_collector/
make
• It consumes raw subframes via the V4L2 /dev/videoN device le (/dev/video0 by default) and
extracts the pixel data.
• For Lepton 3.X (with the command-line argument -3) it assembles four subframes into a single
larger video frame.
• If you are using a Lepton 2.X, use the command line argument -2 instead.
• The image les are named after a prex specied with the -o command-line argument, followed
by a 6-digit (prexed with 0’s for smaller numbers) frame counter and a .gray extension.
• To reduce latency, it is a good idea to have it store frames into memory instead of to a ash de-
vice, so mount a tmpfs directory somewhere and prepend the path to the prex.
Here is an example:
cd ~/RaspberryPi/lepton_data_collector/
sudo su
mkdir /tmp/capture
mount -t tmpfs tmpfs /tmp/capture
./lepton_data_collector -3 -c 50 -o /tmp/capture/frame_
When complete, there should be 50 images captured from Lepton 3.X (about 5 seconds worth at ~9 fps)
named /tmp/capture/frame_000000.gray through /tmp/capture/frame_000049.gray.
These images can be viewed on a Linux system using the ImageJ Java application, available from here.
From the File menu, select Import->Raw..., and set image type to 16-bit unsigned along with the width
and height (80x60 for Lepton 2.X, 160x120 for Lepton 3.X) in the dialog box that appears after selecting
the le name.The entire sequence can be placed into an image stack if the Open all les in folder check-
box is checked. Loading the les into an image stack makes it possible to produce a .avi movie from the
frames using File->Save As->AVI... and setting the frame rate to 9 fps.