manuals.online logo
Brands
  1. Home
  2. •
  3. Brands
  4. •
  5. Teledyne
  6. •
  7. Controllers
  8. •
  9. Teledyne SofTA 300S ELSD User manual

Teledyne SofTA 300S ELSD User manual

SofTA 300S ELSD
Quick Start Guide
Overview
This quick start guide will take you through the steps
to successfully set up and use your SofTA 300S ELSD.
Please see the SofTA 300S ELSD User Manual for more
information regarding this product.
Connections
●Exhaust: The ELSD exhaust is a ½” O.D. stainless
steel tube. Use the supplied exhaust adaptor and
additional tubing to connect to a fume hood dur-
ing operation.
●Communication: An output jack can be found on
the back of the ELSD for connection to a chart
recorder, computing integrator, or computer-
ized data system. The maximum signal output is
1 V.
●Gas Connections: Connect a supply of clean, dry,
inert gas regulated to 65 psi to the GAS INLET port
on the back of the unit. The internal gas regula-
tor maintains the gas pressure at the factory set
value displayed on the front panel.
●Power Connection: The ELSD operates at either
120 V or 240 V, 50/60 Hz.
●Fluid Connections: Connect the outlet from your
HPLC injector to the inlet line on the front of the
unit. The length and volume between the injec-
tor outlet and the detector inlet should be kept
as short as possible to avoid unnecessary band
broadening.
●Thermo-Split Drain: Place the ¼” stainless steel
drain adapter, provided in the accessory kit, on
the drain port located on the front of the instru-
ment. Direct the outlet of the tube to a collec-
tion vessel below the drain. Place the open end
of the flexible ¼” elastometric tubing in a suit-
able waste container, and trim the length as nec-
essary. Watch the liquid level in the container
during operation and empty it when it is full
(especially when running the spray chamber at
sub-ambient temperature).
Location
All components of the system should be placed on a
sturdy table or bench in a room with a room tempera-
ture of 20 ± 5 °C. The detector is designed to fit
alongside an HPLC system. The detector must be placed
with at least 4” of clearance on the right and back of the
detector to allow for proper air flow through the
detector. Access to the back of the unit is required to
make the appropriate connections and provide for safe
removal of the power cord.
Operation
Instrument Controls
The ELSD is controlled via six touch-sensitive keys
on the front panel labeled PWR (power), A/Z (A/Z), ESC
(escape), ▲ (up), ▼ (down) and ENT (enter) found
behind the front panel. The touch-sensitive keys are
activated by lightly placing a finger over the light repre-
senting the key. An audible beep is heard when the key
is activated. Touching the ▲or ▼keys will circulate the
parameters section to review operation conditions. If
there is a * at the upper right corner, touching ESC key
will bring up a screen to explain what’s wrong.
Menu
Touching the ENT key will bring up the MENU screen.
SC = Spray Chamber (setpoint: 10 °C to 60 °C; readout
range: -10.0 °C to 120.0 °C)
DT = Drift Tube (setpoint: 22°C to 120°C; readout
range: -10.0 °C to 120.0 °C)
OC = Optical Cell (setpoint: 22 °C to 70 °C; readout
range: -10.0 °C to 120.0 °C)
RST= Reset baseline to about 20 mV.
BLN = Baseline reading (5000.000 – 0.000 mV)
GAS = Gas (0.0 to 130.0 psi)
FLT or BFT = Baseline Filter (OFF, weight 1 to 10)
FS = Full Scale (1 V or 10 mV)
GAIN = Gain (Normal or Low)
CAL = Calibration (50% to 200%)
Start-up
1. Make all connections (gas, liquid, power, com-
munications, exhaust, and drain) as described
above. Do not turn on the gas supply yet.
2. Press the MENU | Power key to begin self-diag-
nostic tests. When the tests are complete, press-
ing the MENU | Power key again will exit standby
mode.
3. Confirm that the correct conditions are set by
touching the ▲or ▼keys to cycle through the
parameters. If not, touch the MENU | Power key
to display the MENU screen. Touch the ▲or ▼
keys to select set points. Touch MENU | Power
key to accept the changes. The AUTOZERO key
functions as an escape key, and abandons any
changes made.
4. Start your HPLC pump to deliver 1 mL/min
mobile phase to the detector. When you see liq-
uid coming out of the drain port, the internal “p”
trap is filled with the mobile phase. (This may
Instruction Sheet 8-243109
May 2016
Teledyne Isco
P.O. Box 82531, Lincoln, Nebraska, 68501 USA
Toll-free: (800) 775-2965 • Phone: (402) 464-0231 • Fax: (402) 465-3001
E-mail: [email protected]
Teledyne Isco is continually improving its products and reserves the right to change product
specifications, replacement parts, schematics, and instructions without notice.
take up to 10 minutes.) Stop the pump at this
time.
5. Before conditions are met, a * blinks at the
upper right corner of the display and the green
light above Ready is not lit. Press the
MENU | Power key to display the error condition.
Allow up to 30 minutes for temperatures to reach
their set points and the electronics to stabilize.
6. Start the gas flow.
7. When the gas flow is stable, start the mobile
phase flow.
8. When the READY light illuminates, press the
AUTOZERO key to reset the baseline. Cycle
through the settings to BLN. This is the voltage
offset by the AUTOZERO button. Record this value.
It is important to record this value for each set of
operating conditions. If the value is high (greater than
500 mV), the mobile phase is not being evaporated and
the detector temperatures should be modified. Monitor
your data system and ELSD signal for stability. The
signal should be stable within 2 mV. When stable, begin
your analysis.
Shut Down Procedure
Stop the flow of mobile phase to the system. Wait for
the pump pressure to return to zero. Select the ENTER
STANDBY button from the HOME page or activate the
power key and follow the on screen directions. Allow the
standby timer to count down. In standby, the gas flow is
shut off and the laser and heaters are turned off.
Choosing Operating Conditions
The drift tube temperature and the Thermo-Split
spray chamber temperature are selected to provide the
maximum detector response with minimum baseline
noise. The temperatures are selected based on the sol-
vent volatility and mobile phase flowrate. Some
experimentation will be required to optimize the ELSD.
When setting the ELSD temperatures for a new
method, select 25 °C for spray chamber temperature
and 55 °C for drift tube temperature. These tempera-
tures should then be adjusted for the best
signal-to-noise ratio during method optimization. A
mobile phase that is highly organic and volatile will
require a moderately high drift tube temperature and an
ambient or elevated spray chamber temperature. Highly
aqueous or high boiling point organic mobile phases will
perform best at moderate drift tube temperatures and
sub-ambient spray chamber temperatures.
Each mobile phase can require a different set of oper-
ating conditions to achieve the best detector
performance. The following table can provide a starting
point for some common mobile phases. Optimization for
the best signal-to-noise ratio will provide the best
sensitivity.
Solvent @ 1.0mL/min DT, °C SC, °C
90/10 Water/METHANOL 45 15
90/10 Methanol/WATER 65 50
50/50 Methanol/Water 60 30
Acetonitrile 60 50
Methanol 60 50
Water 45 10

Other Teledyne Controllers manuals

Teledyne RCPF-1000-CO User manual

Teledyne

Teledyne RCPF-1000-CO User manual

Teledyne THCD-101 User manual

Teledyne

Teledyne THCD-101 User manual

Teledyne Foxy Jr User manual

Teledyne

Teledyne Foxy Jr User manual

Teledyne LXT-220 User manual

Teledyne

Teledyne LXT-220 User manual

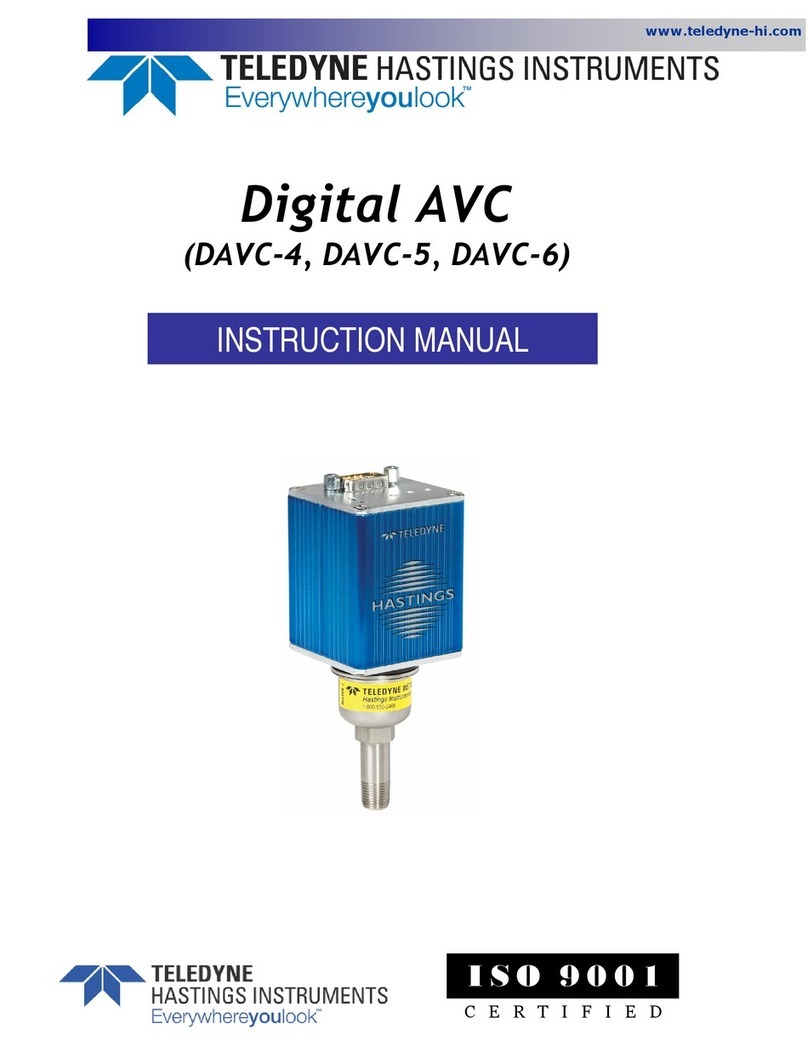
Teledyne DAVC-4 User manual

Teledyne

Teledyne DAVC-4 User manual

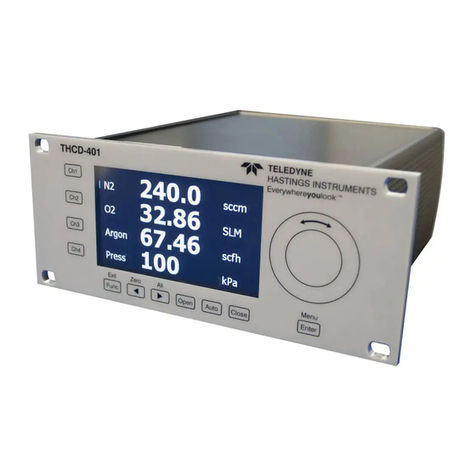
Teledyne THCD-401 User manual

Teledyne

Teledyne THCD-401 User manual

Teledyne Foxy R1 User manual

Teledyne

Teledyne Foxy R1 User manual

Teledyne RCP2-1100 User manual

Teledyne

Teledyne RCP2-1100 User manual

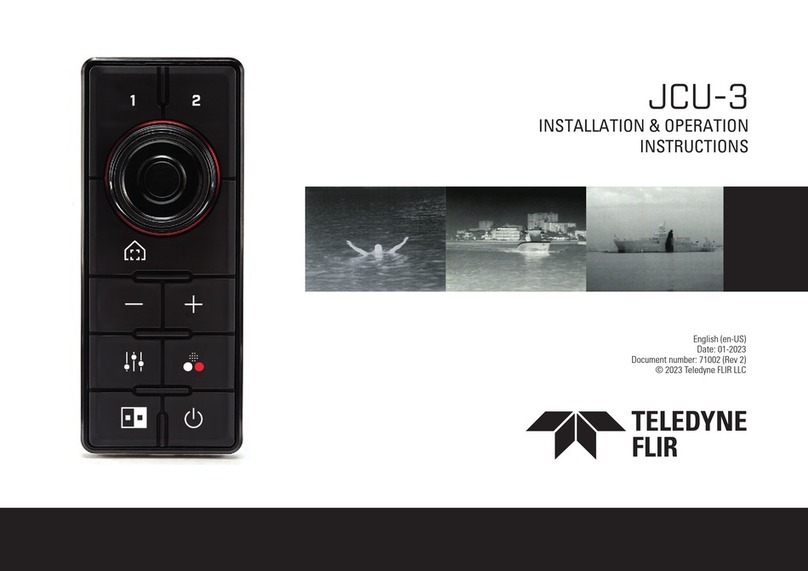
Teledyne JCU-3 Installation instructions

Teledyne

Teledyne JCU-3 Installation instructions

Teledyne Oldham MX 16 User manual

Teledyne

Teledyne Oldham MX 16 User manual

Popular Controllers manuals by other brands

System air SYSVRF AHU 5HP S Installation & owner's manual

System air

System air SYSVRF AHU 5HP S Installation & owner's manual

Interphase 4538 Hardware reference manual

Interphase

Interphase 4538 Hardware reference manual

EP Solar Tracer-1206RN instruction manual

EP Solar

EP Solar Tracer-1206RN instruction manual

ONV ONV-IoT9000 product manual

ONV

ONV ONV-IoT9000 product manual

Targetti Chroma-Cue installation guide

Targetti

Targetti Chroma-Cue installation guide

HIMA HIMatrix MI 24 01 manual

HIMA

HIMA HIMatrix MI 24 01 manual

Mitsubishi Electric MR-J5 Series user manual

Mitsubishi Electric

Mitsubishi Electric MR-J5 Series user manual

NEC N8190-148 user guide

NEC

NEC N8190-148 user guide

MR tapcon 240 operating instructions

MR

MR tapcon 240 operating instructions

Profire Energy PF3100 Series Software setup guide

Profire Energy

Profire Energy PF3100 Series Software setup guide

Phocos CXNup 2B user manual

Phocos

Phocos CXNup 2B user manual

Horton C2150 Setup & troubleshooting

Horton

Horton C2150 Setup & troubleshooting

Yamatake DigitroniK DCP32 user manual

Yamatake

Yamatake DigitroniK DCP32 user manual

rotork CQP Installation Commissioning Maintenance Manual

rotork

rotork CQP Installation Commissioning Maintenance Manual

AIC	Wireless Aurora-AX Sedona AUR-WIO-4DI installation instructions

AIC Wireless

AIC Wireless Aurora-AX Sedona AUR-WIO-4DI installation instructions

Enerpac VFC3 instruction sheet

Enerpac

Enerpac VFC3 instruction sheet

AuCom Modbus RTU Card instructions

AuCom

AuCom Modbus RTU Card instructions

Johnson Controls FW-08 quick start guide

Johnson Controls

Johnson Controls FW-08 quick start guide

manuals.online logo
manuals.online logoBrands
  • About & Mission
  • Contact us
  • Privacy Policy
  • Terms and Conditions

Copyright 2025 Manuals.Online. All Rights Reserved.