Telekom T-Comfort 630 User manual
T-Comfort 630/730/830
Systemtelefon
User Guide


T-Comfort 630 Systemtelefon
T-Comfort 730 Systemtelefon
E-Mail Toggle Cenference Follow me Secretary
&Herrmann
2ABC 3DEF
4GHI 5JKL 6MNO
7PQRS 8TUV 9WXYZ
0
1
ZURÜCK OK
LÖSCHEN
MENU
MENU ZURÜCK OK
ABC
LÖSCHEN
R
E-Mail
Toggle
Conference
Follow me
Secretary
2
ABC
3
DEF
4
GHI
5
JKL
6
MNO
7
PQRS
8
TUV
9
WXYZ
0
1
Internal dialling 14:30
&31
Charges
Telephone lock
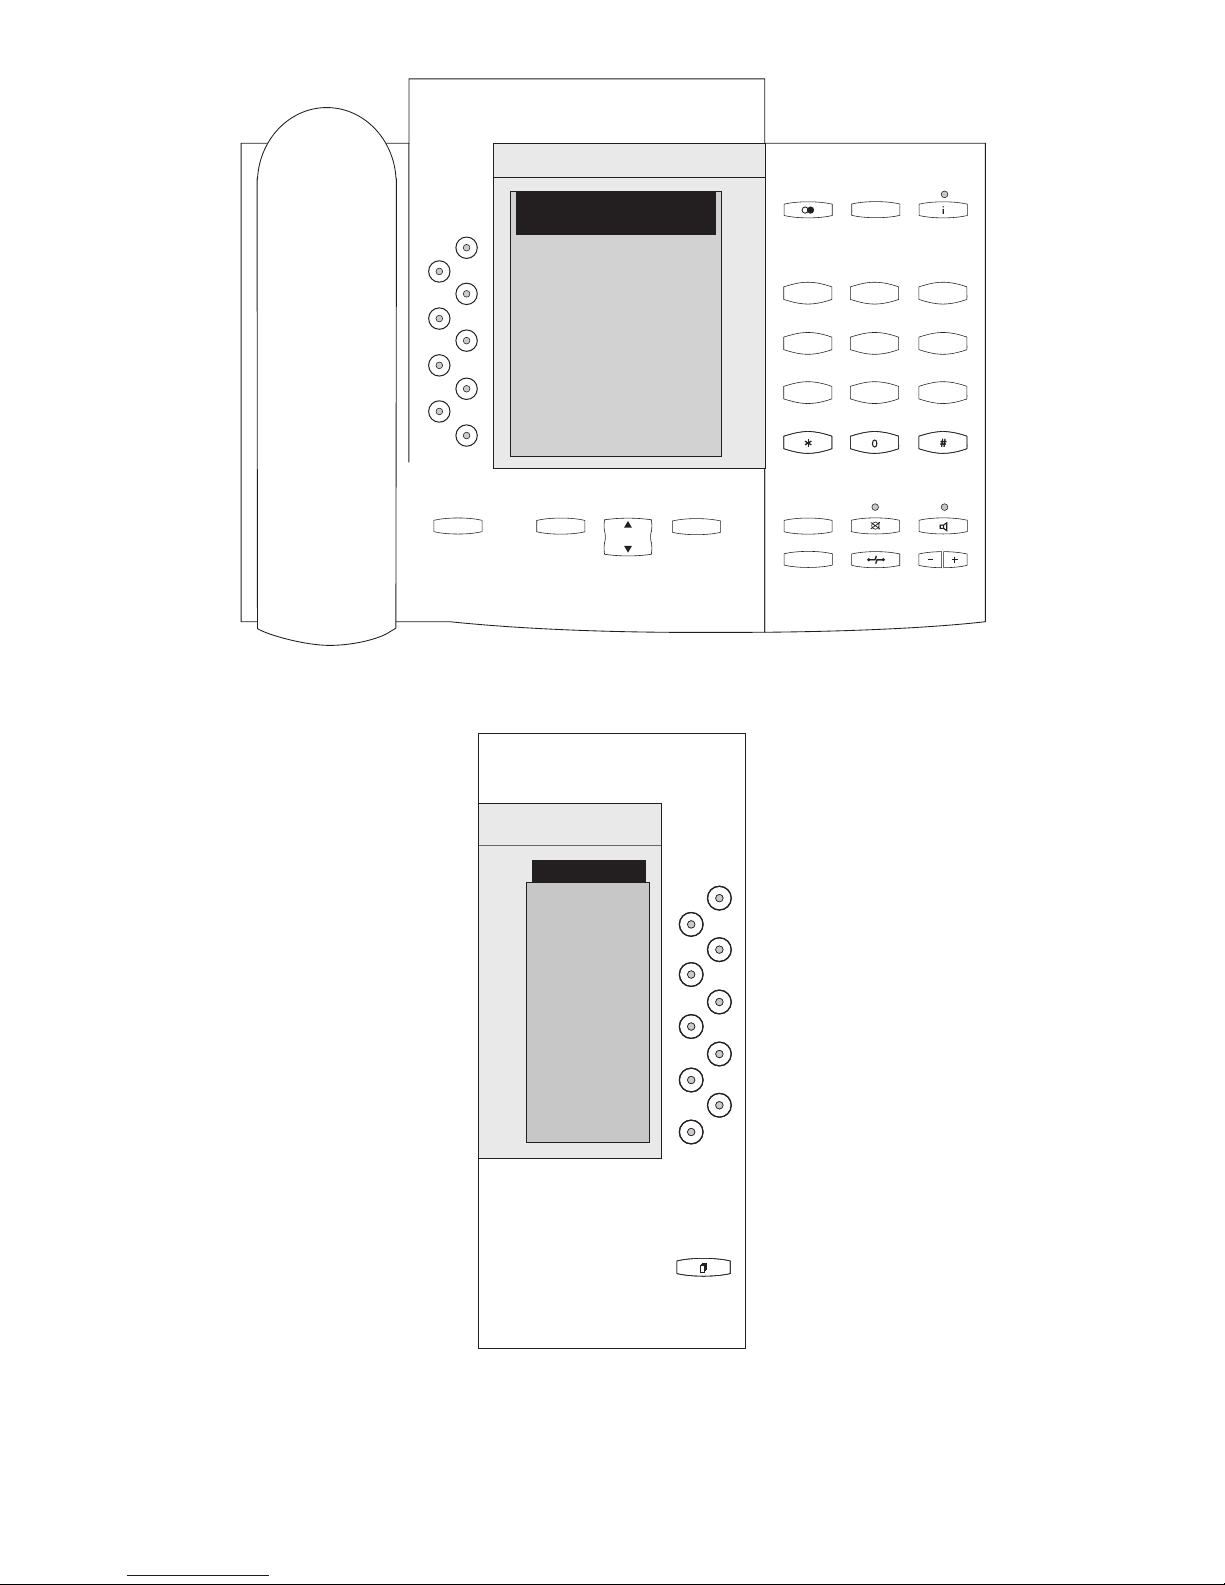
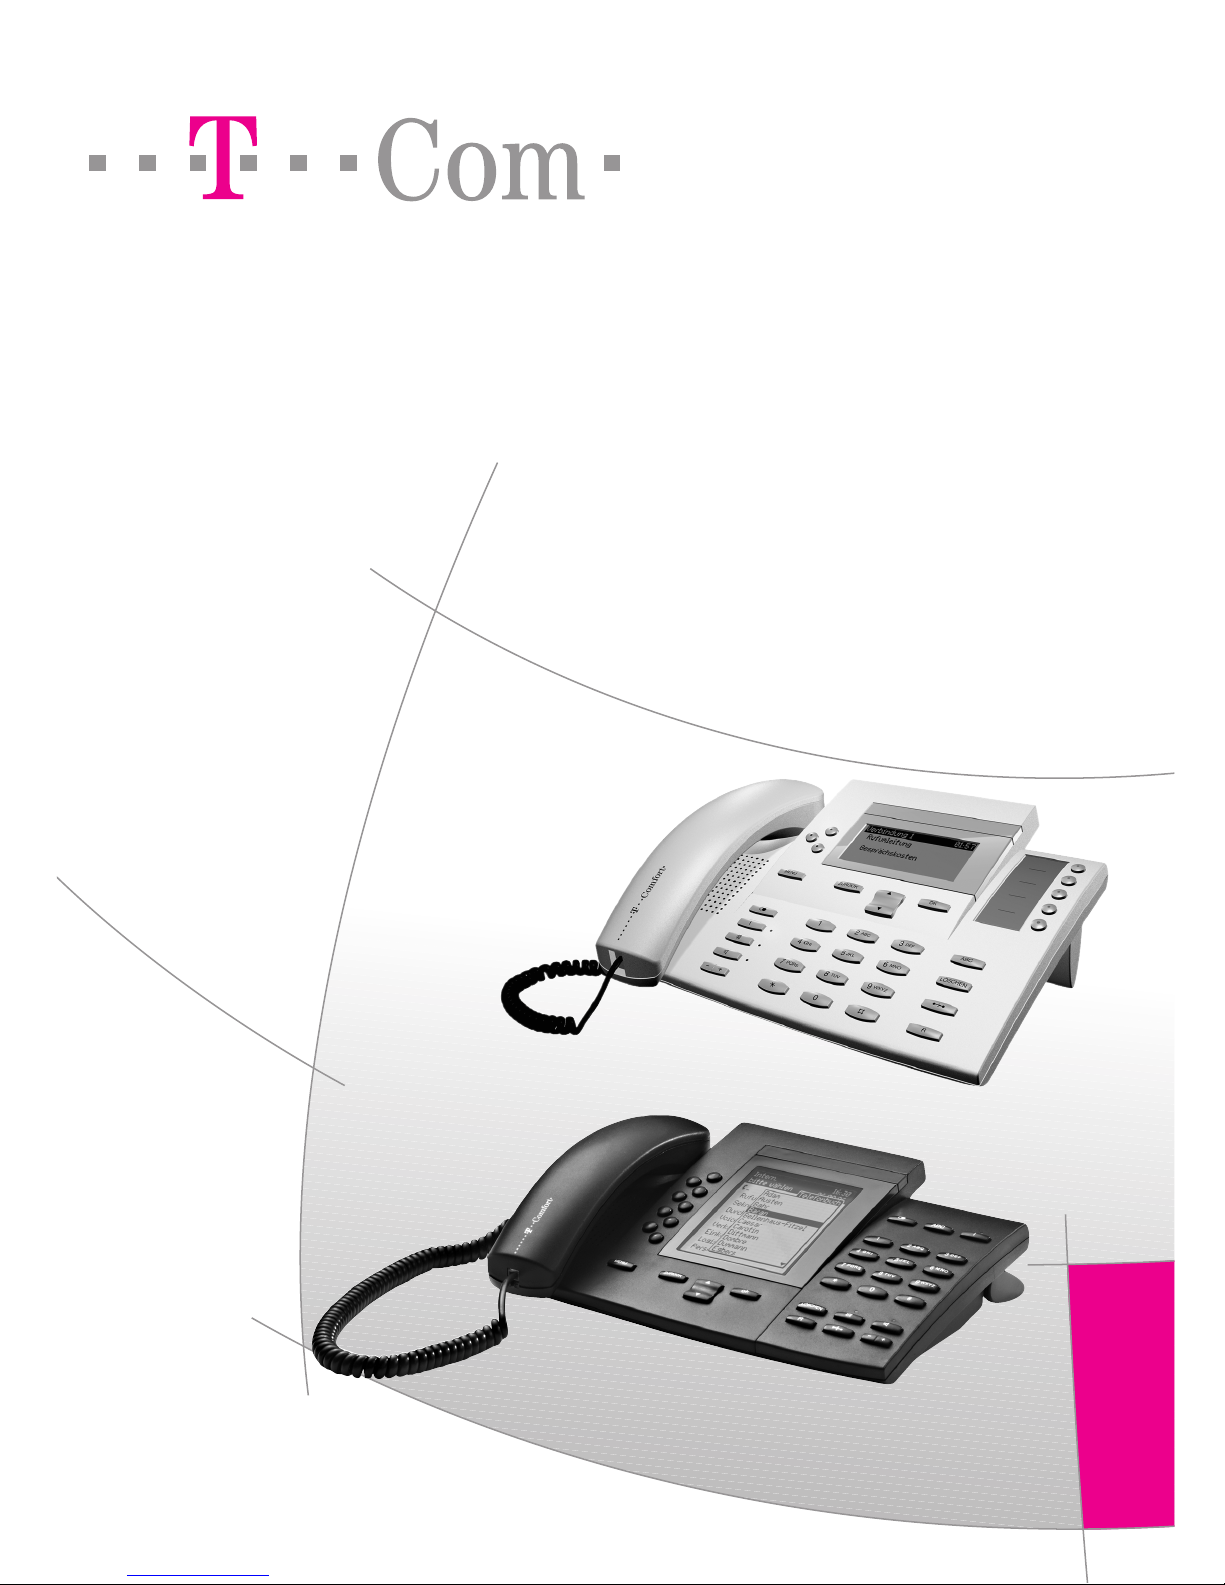
T-Comfort 830 Systemtelefon
Keypad module for a T-Comfort 830 Systemtelefon
&33
Missed calls
E-Mail
Appointments
Voicebox mess.
Transfer
Charges
Messenger
Time control
Internal dialling 12:35
Fri.22.Feb.02
ABC
LÖSCHEN
R
2ABC 3DEF
4GHI 5JKL 6MNO
7PQRS 8TUV 9WXYZ
0
1
MENU ZURÜCK OK
Charges
Toggle
Conference
E-Mail
Appointments

1
Contents
Using Your Telephone . . . . . . . . . . . . . . . . . . . . . . . . . . . . . . . . . . . 6
■Safety Precautions . . . . . . . . . . . . . . . . . . . . . . . . . . . . . . . . . . . 6
■Installation Site . . . . . . . . . . . . . . . . . . . . . . . . . . . . . . . . . . . . . . 6
■Cleaning. . . . . . . . . . . . . . . . . . . . . . . . . . . . . . . . . . . . . . . . . . . . 7
■Adjusting the Inclination . . . . . . . . . . . . . . . . . . . . . . . . . . . . . . 7
■Wall Mounting. . . . . . . . . . . . . . . . . . . . . . . . . . . . . . . . . . . . . . . 7
■Labelling the Keys . . . . . . . . . . . . . . . . . . . . . . . . . . . . . . . . . . . 8
Add-ons . . . . . . . . . . . . . . . . . . . . . . . . . . . . . . . . . . . . . . . . . . . . . . . . 9
■Upn Adapter. . . . . . . . . . . . . . . . . . . . . . . . . . . . . . . . . . . . . . . . 11
■Audio Adapter. . . . . . . . . . . . . . . . . . . . . . . . . . . . . . . . . . . . . . 12
Key Assignments . . . . . . . . . . . . . . . . . . . . . . . . . . . . . . . . . . . . . . . 14
■Dial Keypad with ABC Assignment. . . . . . . . . . . . . . . . . . . . 14
■Call Key 1 of the Telephone . . . . . . . . . . . . . . . . . . . . . . . . . . 14
■Call Keys with Other Telephone Numbers. . . . . . . . . . . . . . 15
■MenuCard Key . . . . . . . . . . . . . . . . . . . . . . . . . . . . . . . . . . . . . 15
■Info Key. . . . . . . . . . . . . . . . . . . . . . . . . . . . . . . . . . . . . . . . . . . . 15
■ABC Key . . . . . . . . . . . . . . . . . . . . . . . . . . . . . . . . . . . . . . . . . . . 16
■Arrow Keys. . . . . . . . . . . . . . . . . . . . . . . . . . . . . . . . . . . . . . . . . 16
■OK Key . . . . . . . . . . . . . . . . . . . . . . . . . . . . . . . . . . . . . . . . . . . . 16
■Redial Key . . . . . . . . . . . . . . . . . . . . . . . . . . . . . . . . . . . . . . . . . 16
■Enquiry Key . . . . . . . . . . . . . . . . . . . . . . . . . . . . . . . . . . . . . . . . 17
■Hands-Free/Open-Listening Key. . . . . . . . . . . . . . . . . . . . . . 17
■Disconnect Key. . . . . . . . . . . . . . . . . . . . . . . . . . . . . . . . . . . . . 17
■Muting Key. . . . . . . . . . . . . . . . . . . . . . . . . . . . . . . . . . . . . . . . . 17
■Löschen Key (Clear Key). . . . . . . . . . . . . . . . . . . . . . . . . . . . . 17
■Plus/Minus Key. . . . . . . . . . . . . . . . . . . . . . . . . . . . . . . . . . . . . 17
■Zurück Key (Escape Key) . . . . . . . . . . . . . . . . . . . . . . . . . . . . 18
■Programmable Keys with LED Display. . . . . . . . . . . . . . . . . 18
Display and MenuCards. . . . . . . . . . . . . . . . . . . . . . . . . . . . . . . . . 20
■Changing the Language . . . . . . . . . . . . . . . . . . . . . . . . . . . . . 20
■Info Line(s). . . . . . . . . . . . . . . . . . . . . . . . . . . . . . . . . . . . . . . . . 20
■Key Lines . . . . . . . . . . . . . . . . . . . . . . . . . . . . . . . . . . . . . . . . . . 21
■MenuCard Display . . . . . . . . . . . . . . . . . . . . . . . . . . . . . . . . . . 22
■Invoking MenuCards and Selecting Items from the List. . 23
■Setting Windows and their Characteristics . . . . . . . . . . . . . 24
■Toggling . . . . . . . . . . . . . . . . . . . . . . . . . . . . . . . . . . . . . . . . . . . 25
■Entering/Deleting Digits . . . . . . . . . . . . . . . . . . . . . . . . . . . . . 25
System Telephones on the Comfort Pro S/T-Comfort 930 DSL 5
This manual suits for next models
2
Table of contents
Other Telekom IP Phone manuals


