Telos TWOx12 User manual

TELOS TWOx12
Advanced All Digital Dual Hybrid Multiline Broadcast Telephone System
USER’S MANUAL
Manual Version 2.0 for software version 3.0 and later
16 July, 2003
II TABLE OF CONTENTS
Customer Service
We support you...
By phone/Fax in the USA.
Customer service is available from 9:30 AM to 6:00 PM USA Eastern Time, Monday through
Friday at +1 216.241.7225. We’re often here at times outside of these, as well – please feel
free to try at any time! Fax: +1 216.241.4103.
By phone/Fax in Europe.
Service is available from Telos Europe in Germany at +49 81 61 42 467.
Fax: +49 81 61 42 402.
By E-Mail.
Via World Wide Web.
The Telos Web site has a variety of information which may be useful for product selection.
The URL is: http://www.telos-systems.com.
Feedback
We welcome feedback on any aspect of the Telos TWOx12 or this manual. In the past, many
good ideas from users have made their way into software revisions or new products. Please
contact us with your comments.
Telos Systems
2101 Superior Avenue
Cleveland, OH 44114
USA
+1 (216) 241-7225
Fax: +1 (216) 241-4103
Telos Europe
Johannisstra βe 6
85354 Freising
Germany
+49 81 61 42 467
Fax: +49 81 61 42 402

TELOS TWOX12 USER’S MANUAL
54 CHAPTER 3
GETTING UP & GOING – SYSTEM CONFIGURATION
i
ISDN TIP!
1. Incorrectly entered SPIDs are the most common problem users in the USA &
Canada have placing ISDN calls. Compare the SPIDs you have entered with the
SPIDs provided to you on by the phone company to be certain that you have entered
them correctly. Do not add anything to your SPIDs.
2. Note that there are no hyphens, dashes (- ), or spaces in SPIDs so the system will
not allow you to enter any non- numeric characters. If your installer has included
them in the SPID, ignore them.
3. For a list of known working SPIDs by Telephone Company see the appendix.
4. See Section 7.3.2 for numerous tips about SPIDs and ISDN protocol settings.
5. If you have any questions about your SPIDs, call your phone company.
6. If you have PTP (AT&T Point- to- Point) or ETS300 (Euro- ISDN) Telco mode, you
should not enter anything in the SPID fields.
h
HOT TIP!
The Directory Numbers or DNs (sometimes called Listed Directory Numbers or LDNs)
are your 7- digit phone number as would be found in the Telephone Directory. They
normally do not include the area code.
In some cases, you may need to enter 10 digits for your DNs. If you have difficulties
with incoming calls try doing so.
In some cases ISDN lines configured to "hunt" will use a single DN for all channels
that hunt. In that case, you must enter that DN repeatedly.
w
IMPORTANT!
Each directory number (DN) will correspond to one SPID. You must enter them to
reflect this relationship. The DN corresponding to SPID1 must be entered as DN1
while the DN corresponding to SPID2 must be entered as DN2.
If you experience problems only with incoming calls check your DNs.
3.4 Analog phone line setup (If you ordered an ISDN TWOx12 see section 3.3)
You can identify that your TWOx12 is equipped with POTS (analog) telephone lines
by examining the rear panel. If four interface cards with three RJ-11 style connectors
each are present (in slots A, B, C, & D), then the unit supports analog operation.
No configuration is necessary when POTS lines are used. In this case, the Tel menu
will look as follows:

TELOS TWOX12 USER’S MANUAL
GETTING UP & GOING – SYSTEM CONFIGURATION
CHAPTER 3 5
5
Audio Settings
Telco Natl.I-1
Slot A POTS
Slot B POTS
Slot C POTS
If you have a mixed system, you will see some slots labeled in this menu as “ISDN” rather
than “POTS”. You’ll need to follow the steps in Section 3.3 to configure those slots.
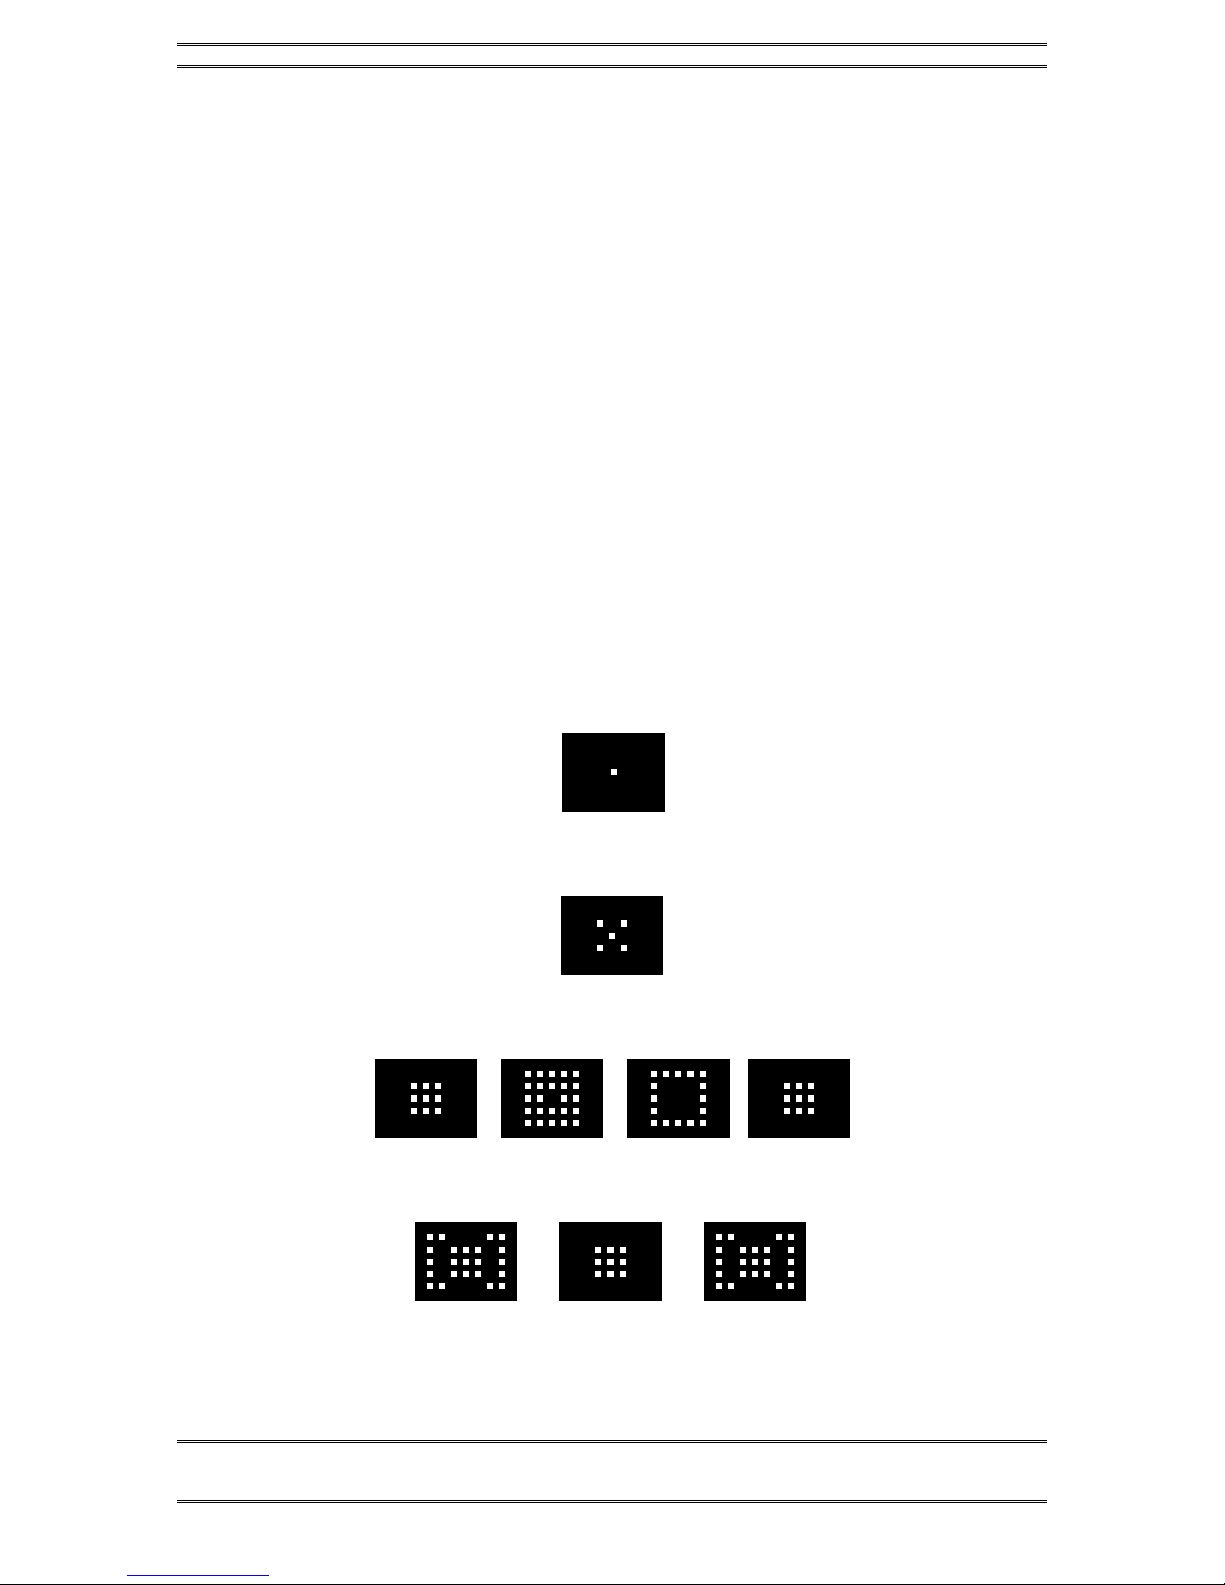
3.5 Is the ISDN working?
Successful initialization of a line will be indicated by the idle line state
on the Desktop Director (for more detailed information look in the
status menu). The idle line state looks as follows:
Press the Status button then press the 6button. You should see a
screen that says Slot A - Status at the top. If you do not see this screen don’t panic, just
repeatedly press the 5or 6button until you see this screen.
If you do not see “READY” for each ISDN channel on the Slot Status screens try rebooting
the system from the SYSTEM/SOFTWARE UPDATE menu (see Section 7.3.3). If you still
do not get READY you may need to go back to Section 3.3 and check both your ISDN
settings and set-up information. If the information there does not help, there is in-depth
troubleshooting information in Section 8.
w
IMPORTANT!
Users in the USA & Canada should see READY status for each line whenever the
system is idle. On certain ETS- 300 ISDN lines the lines may go from READY to
DEACTIVATED after an idle period. This is no cause for alarm and you can proceed
with the following steps.
Once you see “READY ” for each channel on the appropriate Slot - Status screens we can
proceed to make a call and verify that the ISDN lines are, in fact, working. We will start out
with the simplest case, a call from your “line 1” to your “line 2”as follows:
• Confirm that the Desktop Director™ you will be using has power and says “Talent” at
the top of the screen. If it says “Producer” follow the directions in Section 4.4.2 to
change this Director to “Talent” mode.
• First pick up the handset and push each line button in the left row listening for dial
tone. If this does not happen, see Section 8 for information on troubleshooting your
problem.
• Next, pick up the handset and press the left Line 1 button to select that line for dialing.
You should now hear dial tone on the handset.
Telco Settin
g
s

TELOS TWOX12 USER’S MANUAL
56 CHAPTER 3
GETTING UP & GOING – SYSTEM CONFIGURATION
• Enter the phone number for line 2 using the numeric keypad.
• You should now hear a ringing sound and see the ringing Status Symbol (an
expanding square) on Line 2. Push the right Line 2 button to answer this call. The
→Icon should appear for line one.
• Drop this test call by pressing the right Drop button .
• If this happens, your “lines” 1 and 2 are working (if you are using ISDN BRI circuits
you have now tested the first BRI). If this does not happen see Section 8 for
information on troubleshooting your problem.
• Now repeat this test by calling from “Line 2” to “Line 3”, “Line 3” to “Line 4” etc
until all lines have been tested.
• If you do not plan on proceeding to the next section and setting your levels now, be
sure to push the Drop button after the final call.
h
HOT TIP!
Many phone lines have per- minute usage charges. Don’t forget to drop the call once
your testing and configuration are complete.
3.6 Levels, Levels, Levels
Ok, we assume that you just made a call to yourself in Section 3.5, above (if not, please
follow those steps now). Congratulations, you just have some tweaking to do and your
basic installation & configuration will be complete!
• Bring up some audio on the console (mixing desk). Spoken word is best, as it tends
to have a lot of dynamics, but music will work. While tone will work for the coarse
adjustments (set it to the red-green boundary point), we do not recommend using it
for final adjustments. Adjust the levels on the board to the levels set by your typical
operator! For now make sure the faders for both of the hybrids are TURNED OFF.
NOTE: If your board operators typically run “into the red”, you should do the same!
w
IMPORTANT!
If your board operators typically run “in the red”, you should do the same!
If the levels are too high, and the input or A/D converter is clipped, hybrid performance will
be significantly diminished and leakage may occur.
• Set the left LED meter to STUDIO IN, if necessary, by pressing the button located
on this meter. You should see the audio from your console on these meters (the

TELOS TWOX12 USER’S MANUAL
GETTING UP & GOING – SYSTEM CONFIGURATION
CHAPTER 3 57
send-to-hybrid 1 audio will be on the LED bargraph labeled 1and the send-to-
hybrid 2 will be on the LED bargraph labeled 2.
• Observe the levels on these two meters. You will note that the highest peak level
reading is represented by a “floating” LED that persists near the top of the meter.
Since our goal is to set the levels so that peak levels do not hit 0dBfs, this peak
reading is what we need to watch. Section 7.1 has more information on the
TWOx12’s metering.
• First set the Input Gain selection found in the Audio Settings menu to a nominal
level close to that used in your facility (i.e. –7, 0, +4, or +8 dBu). This control sets
the level for both inputs. If the inputs are not reading identically, you will need to
adjust them at the output of the console. Note that the lower this selection is set,
the higher the levels on the unit’s meters, as this setting represents nominal input
level.
Next, adjust your console output (mixing desk) level (for the mix-minus) if
necessary. We suggest that you keep the peak level below a -6 to -7 reading, this
will allow some room for error on the part of your operators. If you are using a tone
to set levels, you may need to set them considerably lower. NOTE: Clipping must
be avoided or hybrid performance will suffer.
• Set the right meter to STUDIO OUT, if necessary, by pressing the button located on
the meter. You should see the audio from the phone line on these LED bargraphs
(since we are connected hybrid 1 to hybrid 2 the audio will be reversed. The audio
sent to hybrid 1 will return on hybrid 2 and will be on the LED bargraph labeled 2
and the audio sent to hybrid 2 will return on hybrid 1 and will be on the LED
bargraph labeled 1. Bring up the fader for hybrid 1 on your console.
• Adjust the TWOx12’s Output Gain adjustment found in the Audio Settings screen.
This sets the level for both outputs. Once you have set hybrid 1 pull that fader
down and bring up the fader for hybrid 2. If the sources are not reading identically
you will need to adjust the input trim of the console on one of the two input
channels.
• You can drop the call you made in the previous section. Push the right Drop
button.
3.7 Time to test it out!
Ok, you made it! Another hour and you can go home for the day! First we will check that
the mix-minus for each hybrid is correct. Then we will make a test call.
• Confirm that the Desktop Director you will be using has power and says “Talent”
at the top of the screen. If it says “Producer” follow the directions in Section 4.1.3
to change this Director to “Talent” mode.
• Next, pick up the handset and press the left Line 1 button to select that line for
dialing. You should now hear dial tone on the handset.
• Enter the phone number for a telephone line which has audio present, using the dial
pad (calling either the time or weather service works well for this).
• Press the left Line 1 button and hang up the handset to place the call on hybrid 1.
• Bring up hybrid 1 on the console. You should hear the audio from the phone line.

TELOS TWOX12 USER’S MANUAL
58 CHAPTER 3
GETTING UP & GOING – SYSTEM CONFIGURATION
• Look at the left meter on the TWOx12 and verify that this audio is not present on
the “1” LED bargraph. If this audio is present here you are not feeding hybrid 1 a
mix-minus and you must fix this problem before you proceed.
w
IMPORTANT!
If you are using one of the routing schemes that requires only a single mix- minus you
should not have seen audio on either the “1” or “2” bargraphs in the previous test. In
that case you can skip the next test.
See Section 7.3.1 for detailed information about the TWOx12’s routing options.
Now we will verify the second mix-minus.
• Press right Line 2 button to move the call made above to hybrid 2.
• Bring up hybrid 2 on the console. You will hear the audio from the phone line.
• Look at the left meter on the TWOx12 and verify that this audio is not present on
the “2” LED bargraph. If this audio is present here, you are not feeding hybrid 2 a
mix-minus and you must fix this problem before you proceed.
• Drop the call by pushing the Drop button .
Ok, now we just need to test the system as whole. We suggest calling your spouse or
partner and reporting that you will be home for dinner after all!
1. Confirm that the Desktop Director you will be using has power and says “Talent”
at the top of the screen. If it says “Producer” follow the directions in Section 4.1.3
to change this Director to “Talent” mode.
2. Press the left Line 1 button to select that line for dialing. You should now hear dial
tone through the console (mixing desk).
3. Enter the phone number for the line you wish to call.
4. Bring up hybrid 1 on the console. You will hear the audio from the phone line.
5. Put on some headphones, bring up the microphone, and greet the party at the far
end.
6. Your voice should sound normal in your headphones, without any tinny or hollow
artifacts, and the caller should sound clear.
7. Move the call to Hybrid 2 by pressing the right Line 1.
8. Repeat steps 4 through 6 using hybrid 2.

TELOS TWOX12 USER’S MANUAL
GETTING UP & GOING – SYSTEM CONFIGURATION
CHAPTER 3 59
What now?
Your basic installation is complete. Next you will want to look over other sections of this
manual to familiarize yourself with the system and decide how to set up the following
parameters:
• Desktop Director Setup See Section 4
• Desktop Director Operation (Talent mode) See Section 6
• Desktop Director Operation (Producer Mode) See Section 5
• Receive EQ, AGC & Noise Gate See Section 7.5
• Duplex Level (caller ducking) See Section 7.5
• Feedback Control (when using open speakers) See Section 7.5
• Send EQ, AGC See Section 7.5
• Internal Audio Routing See Section 7.3.1
• Using SPLIT Mode to use the TWOx12 in two studios
SeeSection7.4

TELOS TWOX12 USER’S MANUAL
60 CHAPTER 3
GETTING UP & GOING – SYSTEM CONFIGURATION
This page is intentionally left devoid of useful information, except, of course, this message!
TELOS TWOX12 USER’S MANUAL
DESKTOP DIRECTOR – GENERAL OPERATION
CHAPTER 4 61
4 Desktop Director™- General operation
4.1 General Description
The Telos Desktop Director™ acts as a studio telephone while at the same time acts
as a control surface for putting lines on either of the Telos TWOx12’s built-in
hybrids. The Desktop Director™ has two modes of operation – Producer (Screener)
mode and Talent mode. This section gives general information while Sections 5 and
6 give complete details on using the TWOx12 and Desktop Director™ in Producer
and Talent modes, respectively.
Those sections should be duplicated and distributed for your staff to read.
4.2 Status Symbol™ Icons & What They Mean
The Desktop Director™ breaks new ground in broadcast telephone control surfaces
with the use of easy to understand Status Symbol™ Icons displayed on the LCD
matrixes located between the two rows of line selectors. In most cases the meaning of
each symbol is easily and effortless understood without study. However, to be
complete, here is what each sequence means.
This line is on-hook ready for incoming or outgoing calls (Idle)
This line is in use by another studio (split mode only)
Line is ringing
Call is on hold

TELOS TWOX12 USER’S MANUAL
62 CHAPTER 4
DESKTOP DIRECTOR – GENERAL OPERATION
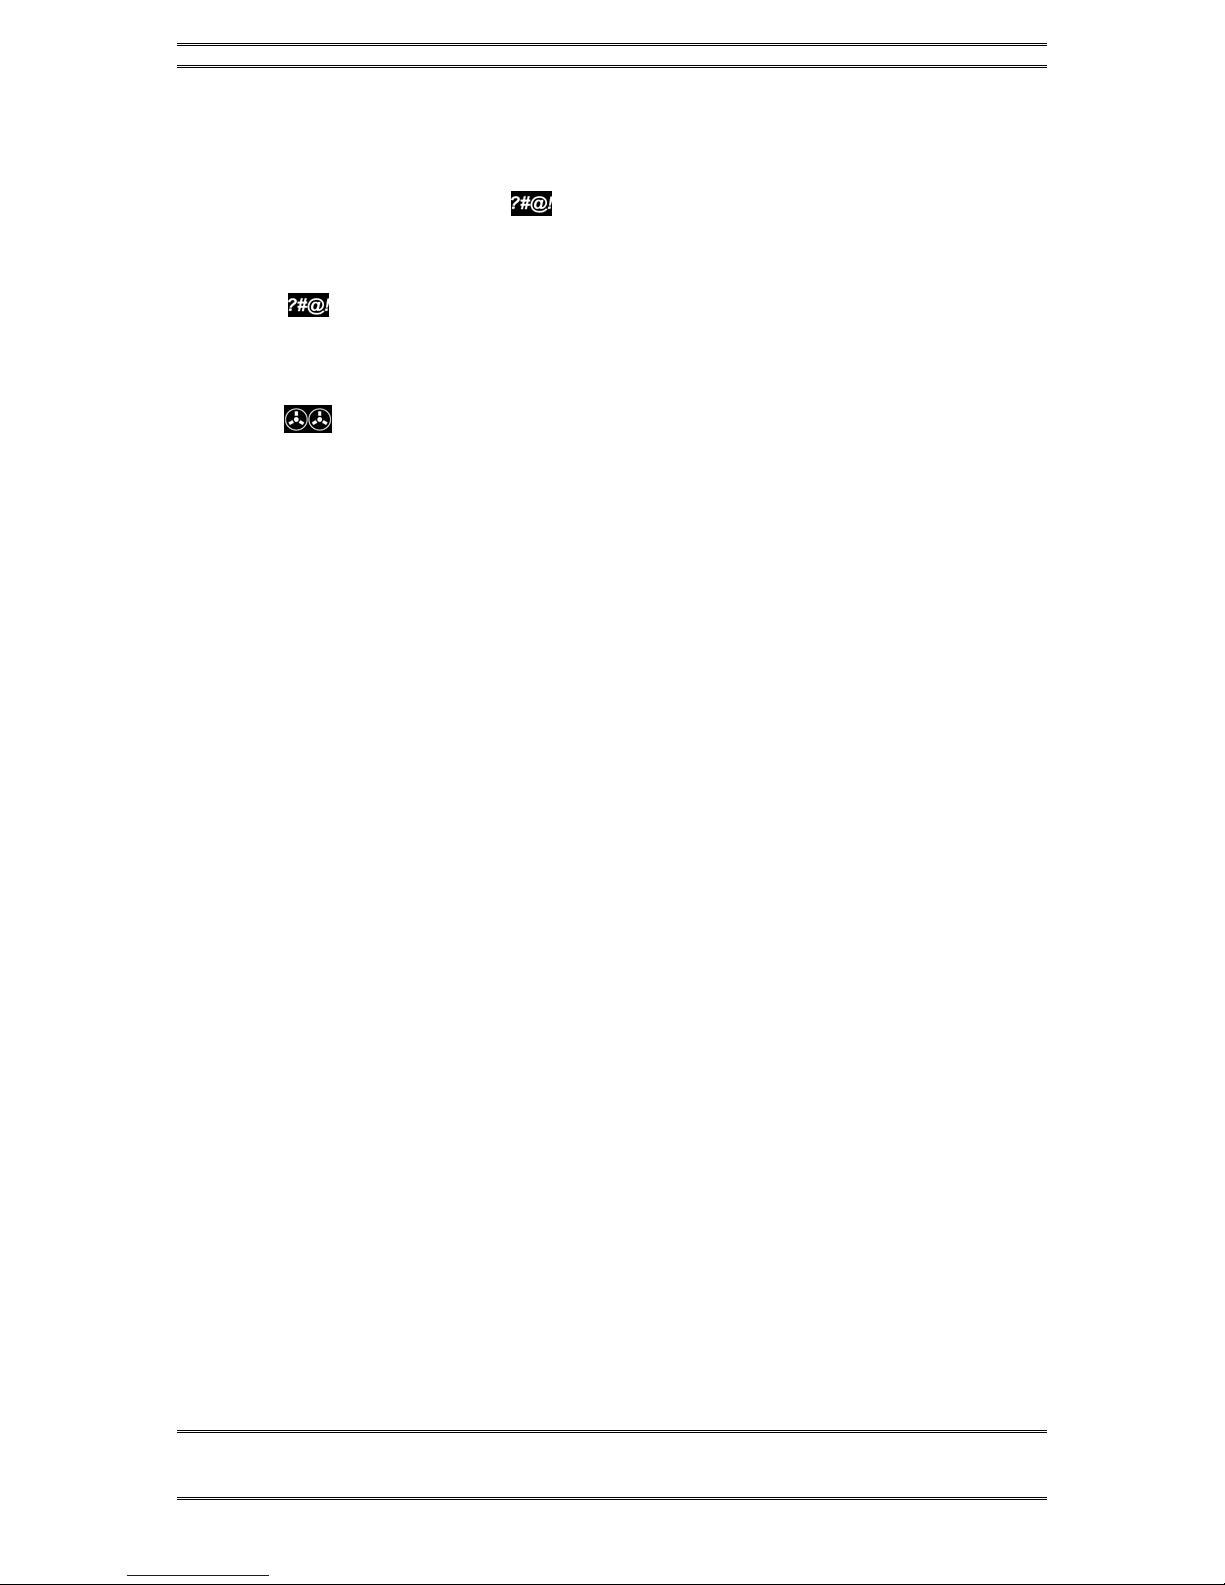
Call is On-Air – Caller 1 Fader
Call is On-Air – Caller 2 Fader
Call is On-Air & Locked – Caller 1 Fader.
Call is in locked mode and cannot be dropped or placed on hold. To unlock, push button to
the left of this ICON.
Call is On-Air & Locked – Caller 2 Fader.
Call is in locked mode and cannot be dropped or placed on hold. To unlock, push the
button to the Right of this ICON.
Screened Hold - Call is on hold and has been screened.
Call is on hold, has been screened, and is Next.
Press Next button to put this line On-Air
Block All Mode.
Press X Button to cancel

TELOS TWOX12 USER’S MANUAL
DESKTOP DIRECTOR – GENERAL OPERATION
CHAPTER 4 63
Handset Mode.
Call is on the handset
Speakerphone Mode.
Call is on the speakerphone
Line is not operational
4.3 Buttons
The functions of most of the buttons are self-evident. Again, we have used easy to
understand symbols wherever possible. A brief explanation of the buttons follows:
w
IMPORTANT!
Since certain functions work differently in “Talent” versus “Producer” mode it is
important that your staff understand that there are two modes, and how to switch
between them. This is covered later in this section (see menu navigation) and again
in Sections 5 and 6.
4.3.1 Line Control Buttons
Line buttons-
These work differently depending on whether the Desktop Director™ is in Talent or
Producer mode.
In Talent mode each line has 2 buttons, the left column for Caller 1 (or whatever you
choose to label the fader for hybrid 1) and right column called Caller 2. Pressing a
line button places the caller on that line on-air on the corresponding hybrid.
NOTE: When the TWOx12 is split between two studios (see section 7.4), only the
left column will be active and will control the designated hybrid.
Pressing a Line button when caller is already on-air locks the caller. To unlock press
that Line button a third time.
If the handset is picked up, or the LED next to the hands free button is illuminated,
the Left row of buttons will control the line to be used on the telephone. The right

TELOS TWOX12 USER’S MANUAL
64 CHAPTER 4
DESKTOP DIRECTOR – GENERAL OPERATION
row of buttons will continue to control the caller 2 hybrid as usual. To place a caller
currently on the handset on the air, press either the left (caller 1 hybrid) or right
(caller 2 hybrid).
In Producer mode the left row of buttons is used to answer calls on the handset (or
headset). Pressing a left Line button during a call on the handset, or in hands free
mode, locks the caller. To unlock press that Line button a third time.
The right row of buttons is used to place a caller on screened hold. For more details
on how screened hold works, see the section on the Next button, below.
Hold & Drop
(Hold) and (Drop) - You know what these do! In Talent mode these affect
only the corresponding bank of buttons above them. A locked line will not be
affected unless you unlock it first (by pushing the corresponding LINE button). All
unlocked lines in that column will be dropped.
In Producer mode the left hold button is normal hold while the right hold button
places a caller on “screened hold”. For more details on how screened hold works, see
the section on the Next button, below. This right-hand hold button may be replaced
by with a keycap labeled with a check mark if the Desktop Director in question
will be used primarily for screening.
Next
(Next) button- This button works differently in Producer versus Talent mode.
In Talent mode, this button will direct the call designated by the screener as NEXT
to Caller 1 hybrid. When NEXT is pressed, any unlocked caller on the Caller 1
Hybrid will be dropped. It is also possible to configure the system to put the caller
back hold instead (see ‘Hold on Next’ feature, Section 7.3.3).
If a Call Screener is used, s/he may place a caller on screened hold (see above) and
the check mark icon will be displayed. This indicates that the caller has been checked
by the Screener, and s/he is ready to go on air.
Calls placed on screened hold in this manner are being queued up from the first
selected to the last one selected by the Screener. The NEXT caller line icon is
represented by a blinking check mark. See “In Producer Mode”, below, for more.
If a screener is not used, the line which has been ringing the longest will be selected
instead. If no line is ringing, the line on hold the longest will be selected.
Note that if the handset is off-hook the caller will be directed to the handset, using the
same priorities outlined above.
In Producer mode the NEXT button will select the line which has been ringing
longest. If no line is ringing, it selects the line that has been on (standard) hold
longest.
When NEXT is pressed, any unlocked caller will be dropped. It is also possible to
configure the system to put the caller back hold instead (see ‘Hold on Next’ feature,
Section 7.3.3).

TELOS TWOX12 USER’S MANUAL
DESKTOP DIRECTOR – GENERAL OPERATION
CHAPTER 4 65
Block All
(Block All) - Pressing this key will clear all lines with the only exceptions being
lines on-air, on the handset, on hold and direct dial-in “priority” lines such as the
studio hotline. This allows you to prevent early callers from getting in on contests
until after the DJ has made the announcement and turned off Block All.
Ringing lines, other than “priority” lines, will be dropped. Those lines will then be
blocked from accepting any calls. For ISDN lines, the caller may get a busy signal, or
they may continue to hear ringing. For analog lines, the ringing calls will be
connected to a silent audio channel. Further calls will get a busy signal.
Pressing (Block All) again will release the lines and allow incoming calls.
h
HOT TIP!
As you may know, there have been several lawsuits regarding to the “fairness” of radio
contests. By consistently activating the Block All feature before announcing a contest
your staff will reduce the liability for the station.
4.3.2 Telephone Mode Buttons
Dial pad buttons
These are used for dialing out, as with any telephone. They remain active during a
call for use accessing voice mail and other services.
Speaker phone button
(Speaker phone) – This button places a call that is on the handset onto this
Desktop Director’s built-in speaker phone. If the handset is on-hook this button
places the next line selected on the left column on the speaker phone.
Mute button
(Mute) – This button mutes the handset microphone and hands free microphone
on the Desktop Director™. The LED beside this button will light to indicate that
these microphones are muted. Pressing this button again will cancel the muting
function.
(Hook flash/Transfer) This button performs a hook flash (briefly interrupts
loop current) on POTS lines. Depending on the telephone lines used, this key may
serve to activate features such as “transfer” or “3-Way Calling. The duration of the
flash is programmable, see Section 7.3.2. This key does nothing if the line selected is
an ISDN line.
TELOS TWOX12 USER’S MANUAL
66 CHAPTER 4
DESKTOP DIRECTOR – GENERAL OPERATION
4.3.3 User Function Buttons –
These buttons can be used for control of equipment external to the Telos phone
system. For instance, the button may used to control your obscenity delay dump,
etc.
For details on the output circuitry and pin-outs for these buttons see Section 2.9.1.
(user button) – This button controls an output on the parallel control port. This
output will go low for the duration that the button is pressed. This output can control
equipment external to the TWOx12 such as the “delay dump” input on an obscenity
delay unit.
(Record Control)
SINGLE MODE
This is intended to control an external recording device to easily capture
conversations from callers. It operated the external equipment by pulsing the “Record
Start” (pin 3) and “Record Stop” (pin 4) outputs of the Parallel Control port. These
pins are pulsed for approximately 1 second. For details on the electrical
characteristics of these outputs, please see Section 2.9.1.
Pressing the button once when nobody is on air, “arms” the recording feature (LED
blinking).
Once armed, placing a caller on either of the two hybrids starts the recorder
automatically (LED solid). If no caller is on either hybrid, the “Record Stop” output
will be pulsed to stop the recorder and the system will re enter the “armed” state.
Pressing the button, once when somebody is on air, starts the recorder (LED solid)
immediately instead of entering the armed state.
While recording (LED solid), pressing the button stops the recorder and puts the
system back in the armed (LED blinking).
When in armed state (LED blinking), pressing the button cancels the recording
feature.
DUAL SHOW MODE
When the TWOx12 is used in any of the dual studio modes, the Record logic will
only operate from Desktop Directors accessing Show 1 (Hyb 1). The RECORD
button is disabled for any DD connected to SHOW2 (Hyb 2).
4.4 Desktop Director™ LCD Screen & Menu Navigation Buttons
The LCD status is used for general status information and for configuring the
Desktop Director™. Items can be selected and changed using the 6 buttons
immediately below the LCD screen. The buttons in the row immediately below the
LCD screen are “soft buttons”. The function of these buttons will be indicated on the
bottom row of the screen.
TELOS TWOX12 USER’S MANUAL
DESKTOP DIRECTOR – GENERAL OPERATION
CHAPTER 4 67
DD1 Hybrid1&2 [Talent]
menu lcd volume
The default Desktop Director LCD Screen
w
IMPORTANT!
Since certain functions work differently in “Talent” versus “Producer” mode it is
important that your staff understand that there are two modes, and how to switch
between them. This is covered below and again in Sections 5 and 6.
4.4.1 Menu Navigation
The LCD screen and menu navigation buttons are used to set volume settings, LCD
screen backlight and contrast, and to select menus allowing to access some of the
TWOx12 configuration parameters. The function of the three “soft keys”,
immediately below the LCD screen will vary depending on context, and will always
be displayed on the screen. In most cases, the left softkey offers a BACK function.
The BACK function takes you back to the default screen without saving unconfirmed
changes, except for volume and LCD settings.
The 6& 5buttons scroll through the options in a menu while the Select button
chooses a menu selection or confirms an entry.
4.4.2 Changing from Producer to Talent mode
At any given time, each Desktop Director™ is in either Producer or Talent mode.
This can be changed at any time for each Director in the system. Producer mode can
be thought of as “Screener phone” mode while Talent mode can be thought of as “on-
air control” mode. As discussed earlier, the function of certain buttons is different in
these two modes. To change from Producer mode to Talent mode:
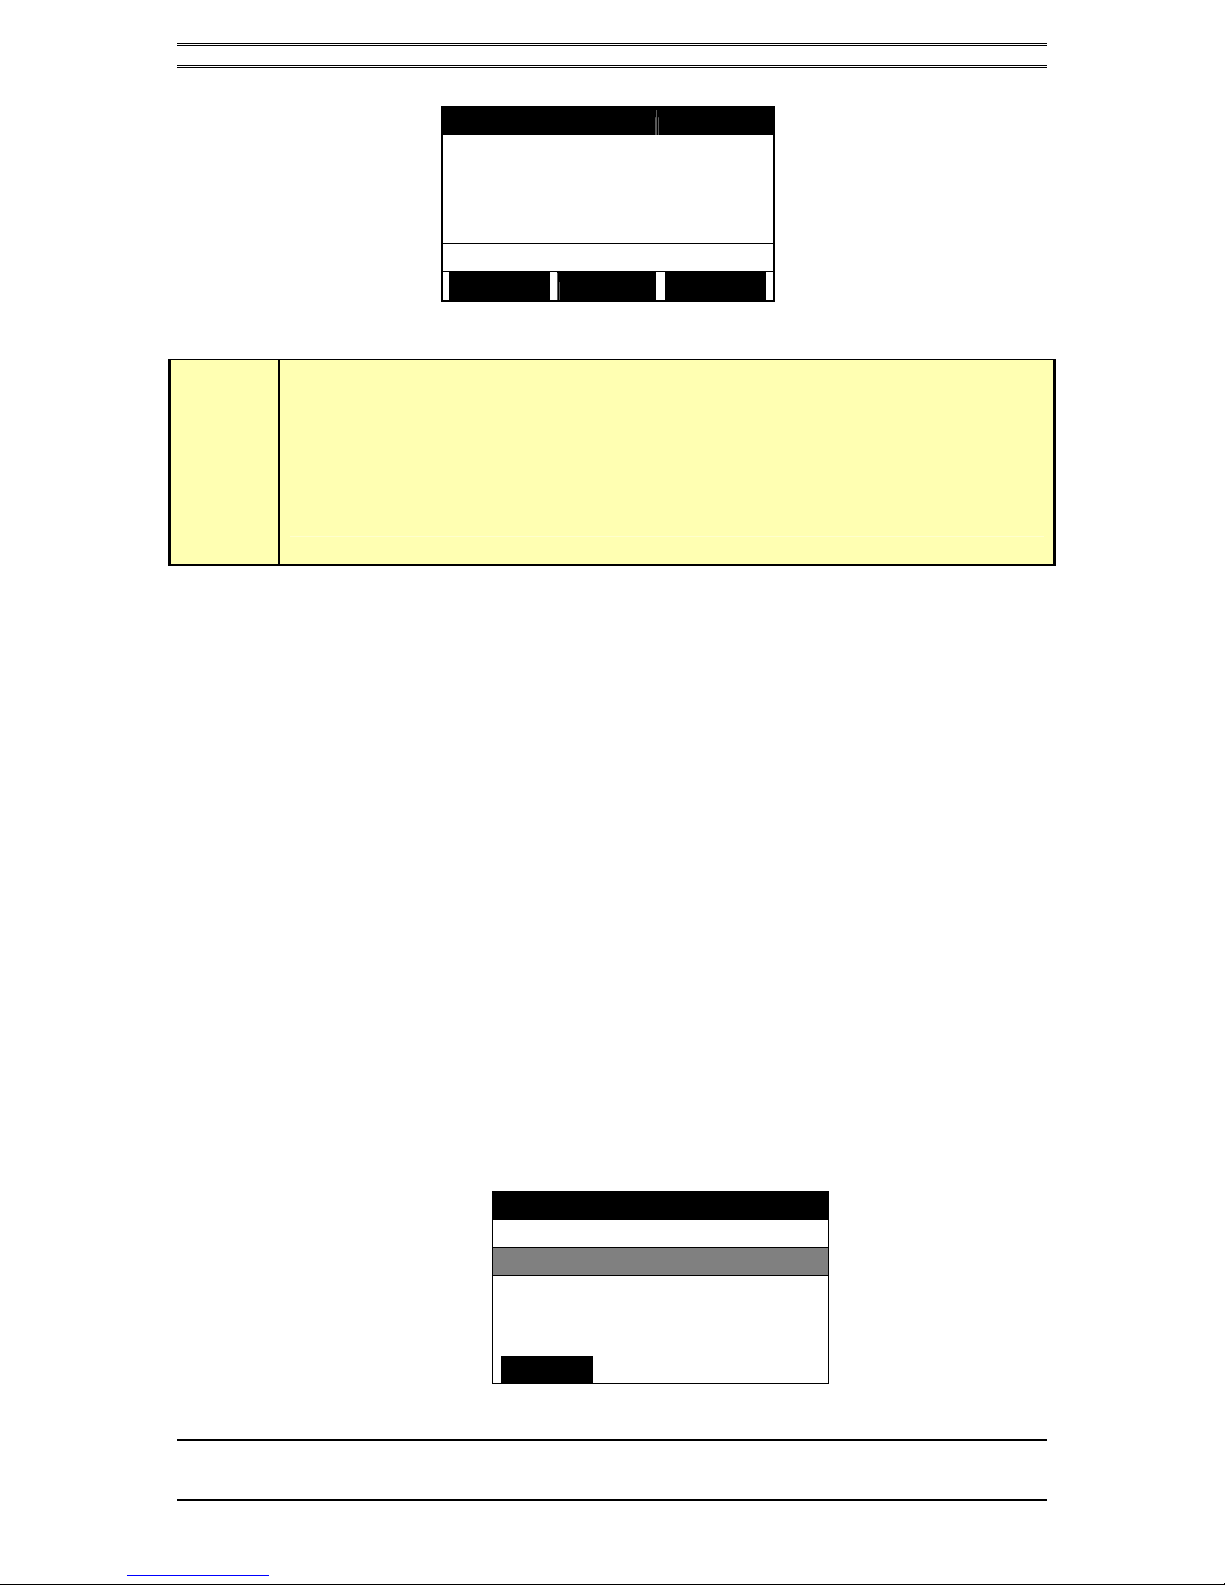
• Press the soft key button below the word menu. You should now see a screen
that looks similar to the following:
Main menu
Change Director Mode
Select Ringer
Configure Shows
▼Adjust LCD Panel
back

TELOS TWOX12 USER’S MANUAL
68 CHAPTER 4
DESKTOP DIRECTOR – GENERAL OPERATION
• The words Change Director Mode should be highlighted by a black cursor
bar and the black text will change to white.
• Now press the SELECT button
• You will now see a screen that looks like:
Select Director Mode
Producer (screener)
Talent (on air)
back
• Press 6or 5to change the setting.
• Press SELECT to confirm your choice or just press the soft key below the
word BACK to return the main menu without the change taking effect.
4.4.3 Volume Menus
Pressing the soft key button below the word volume will display the following screen.
Adjust Volume
Ringer 5
Speaker 5
Handset 5
back [-] [+]
Press •or • to select the level to be adjusted. Pressing <-> will decrease, while
pressing <+> will increase the volume level for the item displayed. The change will
take place immediately. Pressing the soft key button under the word BACK or the
SELECT button will return you to the main screen. The following volume levels can
each be individually adjusted:
• Ringer
This adjusts the volume of the ringer. Note that the ringer will usually be turned
off whenever a microphone channel is on. See Section 2.9.1 for information on
the ringer mute input.
• Speaker
This adjusts the level of the built in speaker for the Desktop Director’s hands-free
option.
• Handset
This sets the level of the caller on the handset. If you are using a headset attached
to the Desktop Director, this will adjust the level in the headset as well.
TELOS TWOX12 USER’S MANUAL
DESKTOP DIRECTOR – GENERAL OPERATION
CHAPTER 4 69
4.4.4 Other Menu options
When selecting the menu from the main LCD screen, the following other options are
offered.
• Select Ringer
It is possible to change the ringer tone on each Desktop director. There are four
different choices. Press SELECT to apply your changes.
• Configure Shows
This feature gives access to the TWOx12-Split functions, where each hybrid is
assigned to each of two studios. See Section 7.6.
• Adjust LCD Panel
It gives access to the same menu as the lcd button on the main screen.
• Diagnostics
This feature gives a status of the connection between the Desktop Director and
the TWOx12 unit to which it is connected. Two values are given:
• Near End: gives the number of lost or corrupted data packets in the TWOx12
to Desktop Director direction since this Director was powered on.
• Far End: gives the number of lost or corrupted data packets in the Desktop
Director to TWOx12 direction since this Director was powered on.
h
HOT TIP!
The Desktop Director Near End value reports the same information as the TWOx12
Status menu's Far End value and vice- versa.
For more information about this statement, refer to the detailed Desktop Director
status menu from the TWOx12 LCD front panel (see Section. 7.2).
• Version
This feature gives the currently running TWOx12 software version number, and
the currently running Desktop Director software version number for easy
reference. For information on the most recent software version see the Telos
Systems web site,
• About
Information about the product.

TELOS TWOX12 USER’S MANUAL
70 CHAPTER 4
DESKTOP DIRECTOR – GENERAL OPERATION
4.4.5 The Console Director
Telos provides electronic sub-assemblies to a number of console manufacturers,
allowing them to sell a console mounted control surface compatible with the
TWOx12 and Series 2101. The “Console Directors” works very much like the
Desktop Director in TALENT mode. A diagram of the Console Director and its
function is shown below:
Line Buttons
Caller 1
on-air
line
controls
Line Buttons
Caller 2
on-air
line
controls
Hold
Buttons
Places any
unlocked calls
in that column
on hold.
Drop
Buttons
Drops any
unlocked calls
in that
column.
Block
All
Causes
lines t o
become
"blocked"
(engaged)
to incoming
callers.
Next
Places
the next
caller on
Caller 1
Fader.
Telos Console Director
TM
(Telos Electronics Package 0320-0000)
Operator's Guide
Status Symbols
For additional information see Desktop Director Guide for Talent in the Us er's Manual
[] []
88
*#
DTMF Dial Pad
for dialing
r
Telos Electronic Package 0320-0000 is distributed as
part of complet e assemblies available from major
console manufacturers.
- T he Console Director operates in Talent Mode
only.
-For use with Telos TWOx12 and Series 2101 only.
-Console Directors are connected to the T elos
interface in the same manner as the T elos Desktop
Director. See Section 2.7 for details.
TELOS TWOX12 USER’S MANUAL
DESKTOP DIRECTOR GUIDE FOR CALL SCREENERS
CHAPTER 5 PLEASE COPY THIS SECTION AND GIVE TO YOUR CALL SCREENERS 71
5 Telos Desktop Director™ - Guide for Call Screeners
(Copy and distribute this information to your staff)
5.1 General Description
The Telos Desktop Director™ acts as a studio telephone or it acts as a control surface
for putting lines on either of the Telos TWOx12’s built-in hybrids. The Desktop
Director™ has two modes of operation – Producer (screener) mode and Talent mode.
Section 4 gives general information while sections 5 and 6 give complete details on
using the TWOx12 and Desktop Director™ in Producer and Talent modes,
respectively.
These sections should be duplicated and distributed for your staff to read.
5.2 Status Symbol™ Icons & What They Mean
The Desktop Director breaks new ground in broadcast telephone control surfaces
with the use of easy to understand Status Symbol™ Icons displayed on the LCD
matrixes located between the two rows of line selectors. In most cases the meaning of
each symbol is easily and effortless understood without study. However, to be
complete, here is what each sequence means.
This line is on-hook ready for incoming or outgoing calls (Idle)
This line is in use by another studio (split mode only)
Line is ringing
Call is on hold
Other manuals for TWOx12
2
Table of contents
Other Telos Telephone manuals


