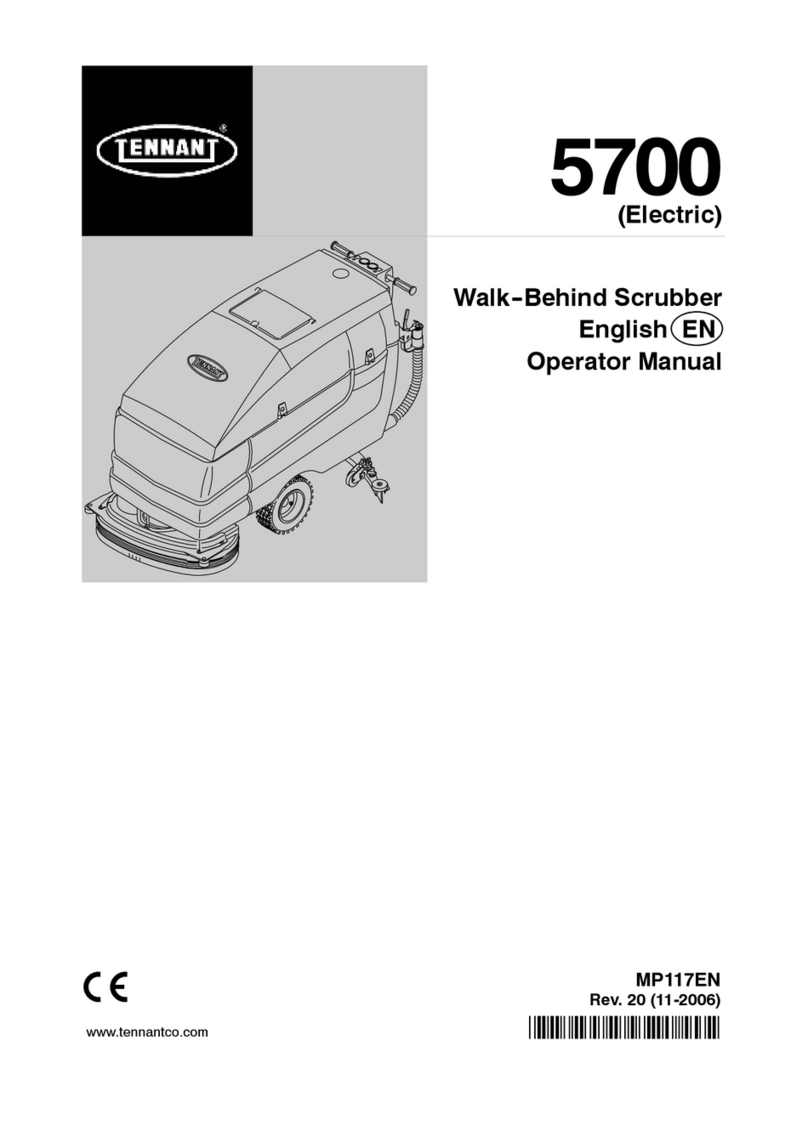
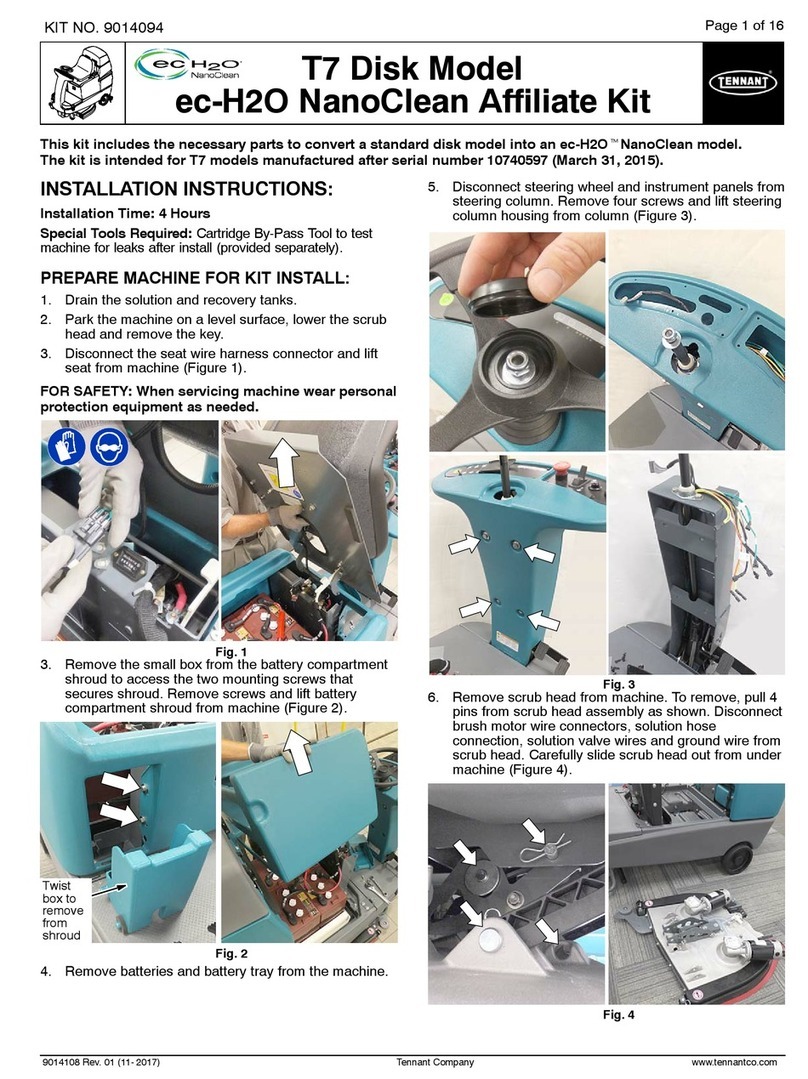
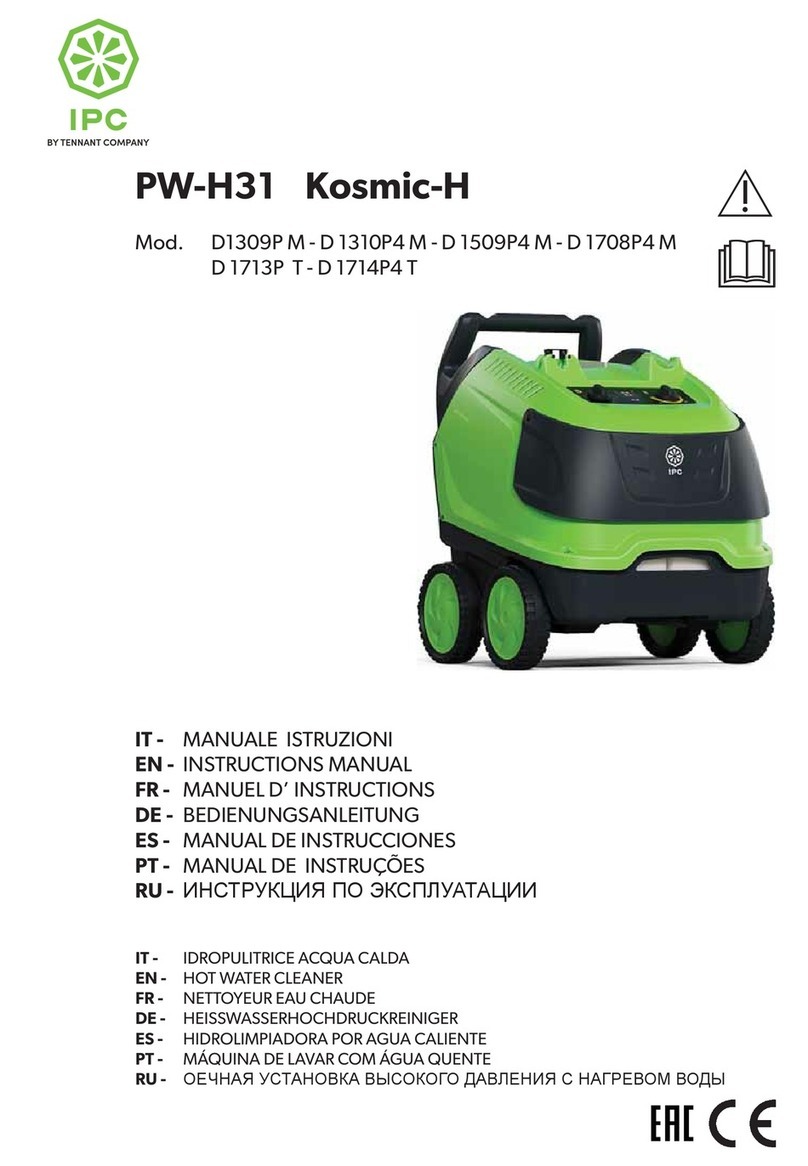
Tennant M17 Series User manual

M17
(Battery)
Sweeper Scrubber
Operator Manual
9017351
Rev. 06 (12-2019)
*9017351*
North America / International
For the latest Parts Manuals and other
language Operator Manuals, visit:
www.tennantco.com/manuals
ES®Extended Scrub System
Tennant True®Parts
IRIS®a Tennant Technology
Pro-Panel™ Controls
Insta-Fit™ Adapter

INTRODUCTION
This manual is furnished with each new model. It provides necessary operation and maintenance instructions.
Read this manual completely and understand
the machine before operating or servicing it.
This machine will provide excellent service. However, the best results will be obtained at minimum costs if:
• The machine is operated with reasonable care.
• The machine is maintained regularly - per the machine maintenance instructions provided.
• The machine is maintained with manufacturer supplied or equivalent parts.
PROTECT THE
ENVIRONMENT
Please dispose of packaging
materials, used components such
as batteries and fluids in an
environmentally safe way
according to local waste disposal
regulations.
Always remember to recycle.
INTENDED USE
The M17 is an industrial rider machine designed to wet scrub and sweep both rough and smooth hard surfaces (concrete, tile, stone, synthetic, etc).
Typical applications include schools, hospitals / health care facilities, office buildings, and retail centers. Do not use this machine on soil, grass,
artificial turf, or carpeted surfaces. This machine is intended for indoor use only.This machine is not intended for use on public roadways. Do not use
this machine other than described in this Operators Manual.
Tennant Company
PO Box 1452
Minneapolis, MN 55440
Phone: (800) 553-8033
www.tennantco.com
DFS (Dual Force Sweeping), PerformanceView, Pro-ID, Pro-Check, Perma-Filter, ShakeMax, Zone Settings, SmartRelease, QAControls, 1−Step,
Dura−Track, Touch−N−Go, Duramer, are trademarks of Tennant Company.
Specifications and parts are subject to change without notice.
Original Instructions, copyright©2016 - 2019 TENNANTCompany, Printed in U.S.A.
MACHINE DATA
Please fill out at time of installation for future
reference.
Model No. -
Serial No. -
Installation Date -

3
M17 9017351 (12-2019)
CONTENTS
CONTENTS
Contents................................................................3
Important Safety Instructions - Save These
Instructions............................................................7
For Safety: .................................................7
Operation.............................................................13
Machine Components...................................13
Controls And Instruments..............................14
Standard Control Panel.................................15
Pro-Panel Controls........................................16
Symbol Definition..........................................17
Operation Of Controls - Standard Panel.......20
Battery Discharge Indicator......................20
Hour Meter...............................................20
Recovery Tank Full Indicator....................20
Solution Tank Indicator.............................20
Contrast Control Button............................21
Configuration Mode Button ......................21
1-Step Button...........................................21
Sweeping Side Brush Button ...................22
Sweeping Vacuum Fan Button.................22
Sweeping Main Brush Button...................22
Scrubbing Side Brush Button (Option).....22
Scrubbing Vacuum Fan / Squeegee Button.
23
Scrubbing Main Brush Button ..................23
Solution On / Off Button...........................23
Severe Environment Switch (Option).......24
Filter Shaker Switch.................................24
Operation Of Controls - Pro-Panel................25
Pro-Id Login Screen.................................25
Machine Status Button.............................25
Changing The Default Button...................26
1-Step Button...........................................27
Sweeping Main Brush Button...................27
Sweeping Vacuum Fan Button.................27
Sweeping Side Brush Button ...................28
Scrubbing Main Brush Button ..................28
Scrubbing Vacuum Fan / Squeegee Button.
28
Scrubbing Side Brush Button (Option).....28
Solution On / Off Button...........................29
Filter Shaker Button .................................29
Screen Lock.............................................29
Severe Environment Button (Option).......30
Zone Control Buttons...............................31
Rearview Camera Button.........................31
Help Button ..............................................32
Video Help Button....................................34
Completing The Pro-Check
Pre-Operation Checklist......................35
Operation Of Controls - All Machines............36
Emergency Shut-Off Button ....................36
Directional Switch.....................................36
Operating / Hazard Light Switch
(Option) ...............................................36
Propel Pedal.............................................37
Brake Pedal..............................................37
Parking Brake Pedal ................................37
Operator Seat...........................................37
Seat Belts (Deluxe Seat Option Only)......37
Rear Bumper Door / Step.........................38
How The Machine Works..............................39
Brush And Pad Information...........................40
While Operating The Machine.......................41
Pre-Operation Checklist................................42
Starting The Machine....................................43
Filling The Detergent Tank (Option)..............43
Filling The Solution Tank...............................44
Conventional Scrubbing Mode.................44
Ec-H2o Scrubbing (Ec-H2o Mode)..........44
Es (Extended Scrub) Mode - Manual Tank
Fill........................................................45
Auto-Fill (Option)......................................45
Ec-H2o Button (Option)................................46
Es (Extended Scrub) Button (Option) ...........47
Scrub Brush Pressure ..................................48
Setting The Brush Pressure - Standard
Panel...................................................48
Setting The Brush Pressure -
Pro-Panel ............................................48
Solution Flow ................................................49
Setting The Solution Flow -
Standard Panel....................................49
Setting The Solution Flow -
Pro-Panel ............................................49
Scrubbing / Sweeping - Standard Panel.......50
Scrubbing / Sweeping - Pro-Panel................51
Double Scrubbing .........................................52
Water Pickup Mode (No Scrubbing)..............54
Stop Cleaning ...............................................54
Emptying The Hopper ..................................55
Emptying The Hopper -
Standard Panel....................................55
Emptying The Hopper -
Pro-Panel ............................................56
Engaging The Hopper Support Bar...............58
Disengaging The Hopper Support Bar..........58
Draining And Cleaning The Recovery Tank ..59
Draining And Cleaning The Solution Tank.....62
Turn Off The Machine...................................63

4M17 9017351 (12-2019)
CONTENTS
Faults / Alerts ................................................64
Fault / Alert Indicators -
Standard Panel....................................64
Fault / Alert Indicators -
Pro-Panel ............................................64
Fault / Alert Indicators ..............................65
Options..........................................................67
Spray Nozzle (Option)..............................67
High Pressure Washer (Option)...............68
Wet Vacuum Wand (Option).....................71
Live Wand (Option) ..................................73
Operating The Live Wand
(Off Machine).......................................73
Emptying The Live Wand Vacuum Debris
Tray .....................................................74
Clean The Live Wand Vacuum Filter........75
Slide Out Battery (Option)........................76
Rear Squeegee Guard (Option)...............77
Adjusting Backup Alarm Volume (Option)77
Machine Troubleshooting.........................78
Maintenance........................................................81
Yellow Touch Points ......................................85
Lubrication ....................................................85
Steering Chain .........................................85
Steering Gear Chain ................................85
Drive Wheel Pivot.....................................85
Hopper Chains.........................................85
Hopper Lift Arm Pivots .............................86
Hopper Chains..............................................86
Hydraulics.....................................................87
Hydraulic Fluid .........................................87
Hydraulic Hoses.......................................87
Battery...........................................................88
Flooded (Wet)And Maintenance-Free
Sealed Lead-Acid Batteries.................88
Checking The Electrolyte Level................88
Maintenance-Free Batteries.....................89
Checking Connections / Cleaning............89
Lithium-Ion Battery Pack..........................89
Charging The Battery...............................90
To Charge With Tennant Branded Charger..
91
To Charge With Enersys Battery Charger93
Opportunity Charging (Option).................95
Weekly Equalization Charge
(Lead Acid Battery Only).....................96
Battery Watering System (Option)............98
Fuel Cell Battery (Option) .............................99
Circuit Breakers, Fuses, And Relays ..........100
Circuit Breakers......................................100
Fuses .....................................................101
Relays....................................................101
Electric Motors............................................101
Solution Supply Filter..................................101
Hopper Dust Filter / Perma-Filter................102
Removing / Replacing The Hopper Dust
Filter ..................................................102
Cleaning The Hopper Dust Filter............103
Thermo-Sentry.......................................103
Inspecting / Cleaning The Perma-Filter..103
Main Scrub Brushes....................................104
Disk Brushes And Pads..........................104
Replacing Disk Scrub Brushes Or Pad
Drivers...............................................104
Replacing Disk Scrub Pads....................105
Cylindrical Scrub Brushes......................106
Replacing Cylindrical Scrub Brushes.....106
Main Sweep Brushes..................................108
Replacing The Dual Force Main Sweeping
Brushes.............................................108
Replacing The Direct Throw Main
Sweeping Brush (Option)..................109
Side Brush(Es)............................................110
Replacing The Sweeping Side Brushes.110
Adjusting The Sweeping Side Brushes..110
To Adjust Sweeping Side Brush - Standard
Panel.................................................111
To Adjust Sweeping Side Brush - Pro-Panel
112
Replacing The Scrubbing Side Brush
(Option) .............................................113
Squeegee Blades........................................114
Replacing (Or Rotating) The Rear
Squeegee Blades..............................114
Leveling The Rear Squeegee ................118
Adjusting The Rear Squeegee Blade
Deflection ..........................................119
Replacing Or Rotating The Side Squeegee
Blades ...............................................120
Replacing Or Rotating The Scrubbing Side
Brush Squeegee Blades (Option)......121
Skirts And Seals..........................................123
Sweeping Recirculation Skirts................123
Sweeping Side Skirts.............................123
Recovery Tank Seal ...............................123
Solution Tank Seal .................................123
Scrub Head Skirts (Disk Scrub Heads Only)
124
Hopper Dust Filter Seal..........................124
Hopper Seals .........................................124
Live Wand Vacuum Seals (Option) ........124
Belts............................................................125
Sweeping Brush Drive Belts...................125
Cylindrical Brush Drive Belts..................125
5
M17 9017351 (12-2019)
CONTENTS
Brakes.........................................................125
Tires............................................................126
Pushing, Towing, And Transporting The
Machine................................................126
Pushing Or Towing The Machine ...........126
Transporting The Machine .....................126
Machine Jacking.........................................128
Ec-H2o Module Flush Procedure ...............129
Storage Information ....................................131
Freeze Protection...................................131
Preparing The Machine For OperationAfter
Storage..............................................133
Priming The Ec-H2o System..................135
Specifications ....................................................138
General Machine Dimensions/Capacities...138
General Machine Performance...................139
Power Type.................................................139
Tires............................................................140
Scrubbing Side Brush Solution Flow Rate
(Option).................................................140
Ec-H2o System (Option).............................140
High Pressure Washer (Option)..................141
Machine Dimensions...................................141
Supervisor Controls...........................................142
Pro-Panel Supervisor Controls ...................142
Entering The Supervisor Mode - First Time
Use Only............................................142
Entering The Supervisor Mode ..............143
Supervisor Setting Screen / Screen Icons ...
144
Setting / Changing The Screen Lock .....145
Adding / Editing Profiles.........................146
Setting / Changing The DateAnd Time..147
Programming The Zone Control Buttons150
Enabling The Login ................................151
Changing The Rear View Camera Settings .
151
Disabling The Login ...............................152
Disabling / Enabling The Pre-Operation
Checklist............................................153
Changing Battery Type...........................154
Calibrating The Touch ............................155
Checklist Setup......................................155
Exporting Checklists...............................156

6M17 9017351 (12-2019)
CONTENTS

7
M17 9017351 (12-2019)
SAFETY
IMPORTANT SAFETY INSTRUCTIONS
- SAVE THESE INSTRUCTIONS
The following precautions are used throughout this
manual as indicated in their descriptions:
WARNING: To warn of hazards or
unsafe practices that could result in
severe personal injury or death.
CAUTION: To warn of unsafe practices
that could result in minor or moderate
personal injury.
FOR SAFETY: To identify actions that
must be followed for safe operation of
equipment.
The following information signals potentially
dangerous conditions to the operator. Know
when these conditions can exist. Locate all safety
devices on the machine. Report machine damage
or faulty operation immediately..
WARNING: Lead-acid batteries emit
hydrogen gas. Explosion or fire
can result. Keep sparks and open
flame away. Keep covers open when
charging.
WARNING: Flammable materials can
cause an explosion or fire. Do not use
flammable materials in tank(s).
WARNING: Flammable materials or
reactive metals can cause an explosion
or fire. Do not pick up.
WARNING: Raised hopper may fall.
Engage hopper support bar.
WARNING: Lift arm pinch point. Stay
clear of hopper lift arms.
WARNING: Heavy object. Back injury
could result from improper lifting. Use
hoist when removing.
WARNING: Do not spray people or
animals. Severe personal injury can
result. Wear eye protection. Hold
sprayer with two hands.
WARNING: Electrical Hazard
−Disconnect Battery Cables and
Charger Plug Before Servicing Machine.
−Do Not Charge Batteries with
Damaged Power Supply Cord. Do Not
Modify Plug.
If the charger supply cord is damaged or broken,
it must be replaced by the manufacturer or its
service agent or a similarly qualified person in
order to avoid a hazard.
This machine may be equipped with technology
that automatically communicates over the cellular
network. If this machine will be operated where
cell phone use is restricted because of concerns
related to equipment interference, please contact
a Tennant representative for information on how to
disable the cellular communication functionality.
FOR SAFETY:
1. Do not operate machine:
- Unless trained and authorized.
- Unless operator manual is read and
understood.
- Under the influence of alcohol or drugs.
- While using a cell phone or other types of
electronic devices.
- Unless mentally and physically capable of
following machine instructions.
- With brake disabled.
- Without filters in place or with clogged filters.
- In dusty environments without the vacuum
fan on.
- If it is not in proper operating condition.
- With pads or accessories not supplied or
approved by Tennant. The use of other pads
may impair safety.
- In outdoor areas. This machine is for indoor
use only.
- In areas where flammable vapors/liquids or
combustible dusts are present.
- In areas that are too dark to safely see the
controls or operate the machine unless
operating / headlights are turned on.
- In areas with possible falling objects unless
equipped with overhead guard.
- With the rear bumper door / step in the
lowered position.
2. Before Starting Machine:
- Check machine for fluid leaks.
- Make sure all safety devices are in place
and operate properly.
- Check brakes and steering for proper
operation.
- Check parking brake pedal for proper
operation.
- Adjust seat and fasten seat belt (if
equipped).

8M17 9017351 (12-2019)
SAFETY
3. When using machine:
- Use only as described in this manual.
- Use brakes to stop machine.
- Do not pick up burning or smoking debris,
such as cigarettes, matches or hot ashes.
- Go slowly on inclines and slippery surfaces.
- Do not scrub or sweep on ramp inclines that
exceed 10.5% / 6° grade for Dual Force and
5% / 3° for Direct Throw. Do not transport on
ramp inclines that exceed 13% / 7.5° grade
for Dual Force and 5% / 3° for Direct Throw
(with hopper lowered).
- Reduce speed when turning.
- Keep all parts of body inside operator station
while machine is moving.
- Always be aware of surroundings while
operating machine.
- Do not access the video / help screens while
the machine is moving. (Pro-Panel)
- Use care when reversing machine.
- Move machine with care when hopper is
raised.
- Make sure adequate clearance is available
before raising hopper.
- Do not raise hopper when machine is on an
incline.
- Keep children and unauthorized persons
away from machine.
- Do not carry passengers on any part of the
machine.
- Always follow safety and traffic rules.
- Report machine damage or faulty operation
immediately.
- Follow mixing, handling and disposal
instructions on chemical containers.
- Follow site safety guidelines concerning wet
floors.
- Do not leave machine unattended when
filling solution tank with auto-fill feature.
- Park machine on level surface when filling
solution tank with auto-fill feature.
4. Before leaving or servicing machine:
- Stop on level surface.
- Set parking brake.
- Turn off machine and remove key.
5. When servicing machine:
- All work must be done with sufficient lighting
and visibility.
- Keep work area well ventilated.
- Avoid moving parts. Do not wear loose
clothing, jewelry and secure long hair.
- Block machine tires before jacking machine
up.
- Jack machine up at designated locations
only. Support machine with jack stands.
- Use hoist or jack that will support the weight
of the machine.
- Do not push or tow the machine without an
operator in the seat controlling the machine.
- Do not push or tow the machine on inclines
with the brake disabled.
- Use cardboard to locate leaking hydraulic
fluid under pressure.
- Do not power spray or hose off machine
near electrical components.
- Disconnect battery connections and charger
cord before working on machine.
- Do not pull on battery charger cord to
unplug. Grasp plug at outlet and pull.
- Do not use incompatible battery chargers
as this may damage battery packs and
potentially cause a fire.
- Inspect charger cord regularly for damage.
- Do not disconnect the off−board charger’s
DC cord from the machine receptacle when
the charger is operating. Arcing may result.
If the charger must be interrupted during
charging, disconnect the AC power supply
cord first.
- Avoid contact with battery acid.
- Keep all metal objects off batteries.
- Use a non−conductive battery removal
device.
- Use a hoist and adequate assistance when
lifting batteries.
- Battery installation must be done by trained
personnel.
- Follow site safety guidelines concerning
battery removal.
- All repairs must be performed by a trained
service mechanic.
- Do not modify the machine from its original
design.
- Use Tennant supplied or approved
replacement parts.
- Wear personal protective equipment as
needed and where recommended in this
manual.
For Safety: wear hearing protection.
For Safety: wear protective gloves.
For Safety: wear eye protection.
For Safety: wear protective dust mask.

9
M17 9017351 (12-2019)
SAFETY
6. When loading/unloading machine onto/off truck
or trailer:
- Use ramp, truck or trailer that will support
the weight of the machine and operator.
- Drain tanks before loading machine.
- Empty debris hopper before loading
machine.
- Do not drive on slippery ramp.
- Use caution when driving on a ramp.
- Do not load/unload Direct Throw machines
on ramp inclines that exceed 13%/ 7.5°. Do
not load/unload Dual Force machines on
ramp inclines that exceed 20%/ 11°.
- Lower scrub head and squeegee before
tying down machine.
- Stop on a level surface, set parking brake
and leave the key in the ON position until all
tie-down straps are secure.
- Block machine tires.
- Tie machine down to truck or trailer.
7. When using Lithium- ion Battery Model:
- Battery service to be performed by Tennant
Service only.
- Do not attempt to lift battery by hand or by
any other unauthorized method.
- Battery pack is designed exclusively for
specific Tennant machine applications.
Do not install battery pack in unapproved
machines.
- Dispose of battery in accordance with local
regulations. Contact Tennant Service.
- Contact Tennant Service or your local
regulatory authorities for proper transporting
instructions of lithium- ion batteries.
- Disconnect battery cable connector, battery
management system (BMS) connector and
charger cord before working on machine.
- Use only OEM approved battery charger
supplied with lithium- ion battery.
- Do not expose battery to temperatures
below -22°F (-30°C), above 140°F (60°C).
- Do not use machine immediately after long-
term extreme temperature storage. Before
use, return battery module temperature
range to 50°F (10°C)~95°F (35°C).
- Do not operate or store battery in hazardous
environment (electrically charged, humidity,
extreme temperatures and magnetic fields).
- Do not expose battery to flame or plasma.
- Do not disassemble or mistreat battery. Do
not tear seal tape or will void warranty.
- Do not drop, crush or subject battery to
impact, as it may cause battery to heat up or
catch fire.
- Do not put battery in fire or water to avoid
battery explosion.
- Do not touch battery with wet hand, avoid
electric shock.
- Stop using or charging the battery
immediately if battery has abnormal
temperature, leakage or other abnormal
conditions.

10 M17 9017351 (12-2019)
SAFETY
The following safety labels are mounted on the
machine in the locations indicated. Replace
damaged / missing labels
Located on electrical panel.
WARNING LABEL - Flammable
materials or reactive metals
can cause explosion or fire.
Do not pick up.
WARNING LABEL - Flammable
materials can cause explosion or fire.
Do not use flammable materials in tank.
FOR SAFETY LABEL - Do
not operate machine with the
rear bumper door / step in
the lowered position. Do not
carry passengers on any pat
of the machine.
Located on solution tank
cover, recovery tank cover
and detergent tank (option).
Located on rear bumper
door / step.
FOR SAFETY LABEL - Authorized
Service Mechanic Only.
Located on circuit board cover
and electrical panel.

11
M17 9017351 (12-2019)
SAFETY
WARNING LABEL - Batteries emit
hydrogen gas. Explosion or fire
can result. Keep sparks and open
flame away. Keep covers open when
charging.
Located on electrical panel. Located on hopper support bar.
Located on both lift arms.
Located on bottom of
battery compartment cover
on models equipped with
wet lead acid (flooded) and
sealed AGM batteries.
WARNING LABEL - Lift
arm pinch point. Stay
clear of lift arms.
WARNING LABEL - Raised hopper may
fall. Engage hopper support bar.
FOR SAFETY LABEL - Read
manual before operating machine.

12 M17 9017351 (12-2019)
SAFETY
WARNING LABEL - Heavy
object. Back injury could
result from improper lifting.
Use hoist when lifting.
Located under high
pressure washer cover. Located on high pressure
washer cover.
WARNING LABEL - Do not
spray people or animals.
Severe personal injury can
result. Wear eye protection.
Hold sprayer with two
hands.
LITHIUM-ION BATTERY CAUTION LABEL
Located on top of battery pack.

13
M17 9017351 (12-2019)
OPERATION
OPERATION
MACHINE COMPONENTS
A
EF
CG
H
I
J
K
L
N
M
P
Q
X
Y
Z
S
T
U
V
W
B
D
O
AA
AB
R
A. Hopper
B. Hopper cover
C. Solution tank
D. Solution tank cover
E. Battery compartment cover
F. Backup alarm / flashing light (Option)
G. Recovery tank cover
H. Recovery tank
I. Left shroud
J. Rear bumper door / step
K. Rear squeegee
L. Overhead guard (Option)
M. Steering wheel
N. Operator seat
O. ec−H2O System Module compartment
(Option) −located behind right shroud
P. Right shroud
Q. Hopper dust filter - located under hopper
cover
R. Sweeping side brushes
S. Sweeping main brushes
T. Scrubbing side brush (Option)
U. Scrub head
V. Scrubbing main brushes
W. Side squeegees
X. Recovery tank drain hose
Y. Vacuum hose
Z. Solution tank drain hose
AA.High pressure washer (Option)
AB.Live wand dry vacuum (Option)

14 M17 9017351 (12-2019)
OPERATION
CONTROLS AND INSTRUMENTS
K
J
I
L
A
BE
D
Standard Control Panel
H
F
G
C
A. Key switch
B. Directional switch
C. Emergency shut-off button
D. Operating lights / hazard lights switch
(Option)
E. Spray nozzle switch (Option) / High
pressure washer (Option)
F. Parking brake pedal
G. Brake pedal
H. Propel pedal
I. Hopper raise / lower switch
J. Filter shaker switch
K. Severe environment switch (Option)
L. Hopper rollout switch

15
M17 9017351 (12-2019)
OPERATION
STANDARD CONTROL PANEL
A
B
J
K
V
D
C
I
E
F
G
H
M
L
V
Z
WXY
RN
P
Q
S
T
UO
(S/N 000000-010999)
E
G
D
I
A. Horn
B. Fault/Alert indicator light
C. Contrast control button
D. Battery discharge indicator
E. Hour meter
F. Configuration mode button
G. Recovery tank full indicator
H. LCD display
I. Solution tank indicator
J. Main scrub brush pressure button
K. Main scrub brush pressure indicator lights
L. 1−STEP button
M. ec−H2O / ES (Extended Scrub) button
(Option)
N. Scrubbing buttons (Indicated in blue)
O. Scrubbing main brush button
P. Scrubbing vacuum fan / squeegee button
Q. Scrubbing side brush button (Option)
R. Sweeping buttons (Indicated in brown)
S. Sweeping main brush button
T. Sweeping vacuum fan button
U. Sweeping side brush button
V. Solution on / off buttons
W. Solution decrease button (−)
X. Solution flow indicator lights
Y. Solution increase button (+)
Z. USB port (Service only)

16 M17 9017351 (12-2019)
OPERATION
PRO-PANEL CONTROLS
A
R
W
B
DC
E
F
Z
U
X
YV
Z
K
L
J
G
H
N
M
Q
P
S
I
O
T
A. Horn
B. Fault / alert indicator button
C. ec−H2O / ES (Extended Scrub) button
D. Severe environment button (Option)
E. Machine status button
F. Help button
G. Filter shaker button
H. Main scrub brush pressure access button
I. Sweeping buttons (Indicated in brown)
J. Sweeping main brush button
K. Sweeping vacuum fan button
L. Sweeping side brush button
M. Rearview camera button
N. Solution control access button
O. Scrubbing buttons (Indicated in blue)
P. Scrubbing main brush button
Q. Scrubbing vacuum fan / squeegee button
R. Scrubbing side brush button (Option)
S. 1−STEP button
T. Video help
U. Zone control 1 button
V. Zone control 2 button
W. Zone control 3 button
X. Hopper control button
Y. USB port (Service only)
Z. Solution on / off buttons

17
M17 9017351 (12-2019)
OPERATION
SYMBOL DEFINITION
These symbols are used on the machine to identify
controls, displays, and features.
Horn Solution decrease (-)
Fault/Alert indicator Solution increase (+)
Recovery tank Solution flow
Solution tank Solution On / Off
Main scrubbing brush pressure On
1-STEP Off
ES (Extended Scrub) (Option) Emergency shut-off
ec-H2O (option) Filter shaker
Scrub mode Operating lights / Hazard light
Sweeping side brush Hazard light
Sweeping vacuum fan Spray nozzle (Option) /
High Pressure washer (Option)
Sweeping main brush Severe environment (Option)
Scrubbing side brush Circuit breaker
Scrubbing vacuum fan / squeegee Jack point
Scrubbing main brush Forward / Reverse

18 M17 9017351 (12-2019)
OPERATION
Standard Panel Symbols
Severe environment short
detergent boost Severe environment long
detergent boost
Raise hopper Battery charge
Lower hopper Contrast control
Roll hopper out Hour meter
Roll hopper in Configuration control
Pro-Panel Symbols
Help Hopper control access
Zone setting 1 Raise hopper
Zone setting 2 Lower hopper
Zone setting 3 Roll hopper out
Battery discharge indicator Roll hopper in
Hopper control access Alert / Fault
Hour meter Checklist item unconfirmed
Login Checklist item confirmed
Logout Select

19
M17 9017351 (12-2019)
OPERATION
Pro-Panel Symbols
Supervisor settings Rotate machine view
Supervisor menu Camera settings
Start-up video Control help
Video help About
Video button Backspace
Video list button Rearview camera
Home (main operating screen) Up arrow
Battery type Down arrow
Disable login Back arrow
Add / Edit profiles Enable login
Operator Calibrate touch
Supervisor Checklist setup
Edit profile Export all
Add profile Export new
Delete profile Export checklists
Copy profile Screen lock
Enter Date / Time set

20 M17 9017351 (12-2019)
OPERATION
OPERATION OF CONTROLS - STANDARD
PANEL
BATTERY DISCHARGE INDICATOR
The battery discharge indicator displays the
charge level of the batteries while the machine is
operating.
When the batteries are fully charged, all five bars
are lit. Recharge the batteries when there is only
one bar shown in the display. Do not allow the
batteries to discharge below 20% (last bar).
NOTE: The reading on the battery discharge
indicator is not accurate when the machine is first
powered on. Operate the machine a few minutes
before reading the charge level of the batteries.
NOTE: Machines equipped with the fuel cell option
will have the display on the fuel cell pendant.
NOTE: Lithium- ion Battery Model - Do not store
the machine for an extended period if battery is
discharged to the last bar, the battery may further
discharge to a level that is unrecoverable.
HOUR METER
The hour meter records the hours the machine
was operated. Use this information to determine
machine service intervals.
RECOVERY TANK FULL INDICATOR
The recovery tank full indicator displays FULL
when the recovery tank is full. All scrubbing
functions will stop when the recovery tank is
full. Empty the recovery tank when the indicator
displays FULL.
SOLUTION TANK INDICATOR
The solution tank indicator displays the amount of
liquid in the solution tank. Refill the solution tank
when there are no longer any bars shown in the
display. The machine will stop scrubbing when the
solution tank is empty.
Other manuals for M17 Series
11
Table of contents
Other Tennant Scrubber manuals

Tennant
Tennant 7300 Training manual

Tennant
Tennant T17 Series Training manual

Tennant
Tennant T17 Series Training manual

Tennant
Tennant T3 User manual

Tennant
Tennant 5700XP User manual

Tennant
Tennant 550 User manual

Tennant
Tennant CS5 User manual

Tennant
Tennant 5300 User manual

Tennant
Tennant 510E Training manual

Tennant
Tennant T291 User manual

Tennant
Tennant SpeedGleam 7 User manual

Tennant
Tennant T391 User manual

Tennant
Tennant T17 Series User manual

Tennant
Tennant M20 User manual

Tennant
Tennant t500e User manual

Tennant
Tennant 7100 Training manual

Tennant
Tennant T291 User manual

Tennant
Tennant T291 User manual

Tennant
Tennant T5 User manual

Tennant
Tennant T5 User manual