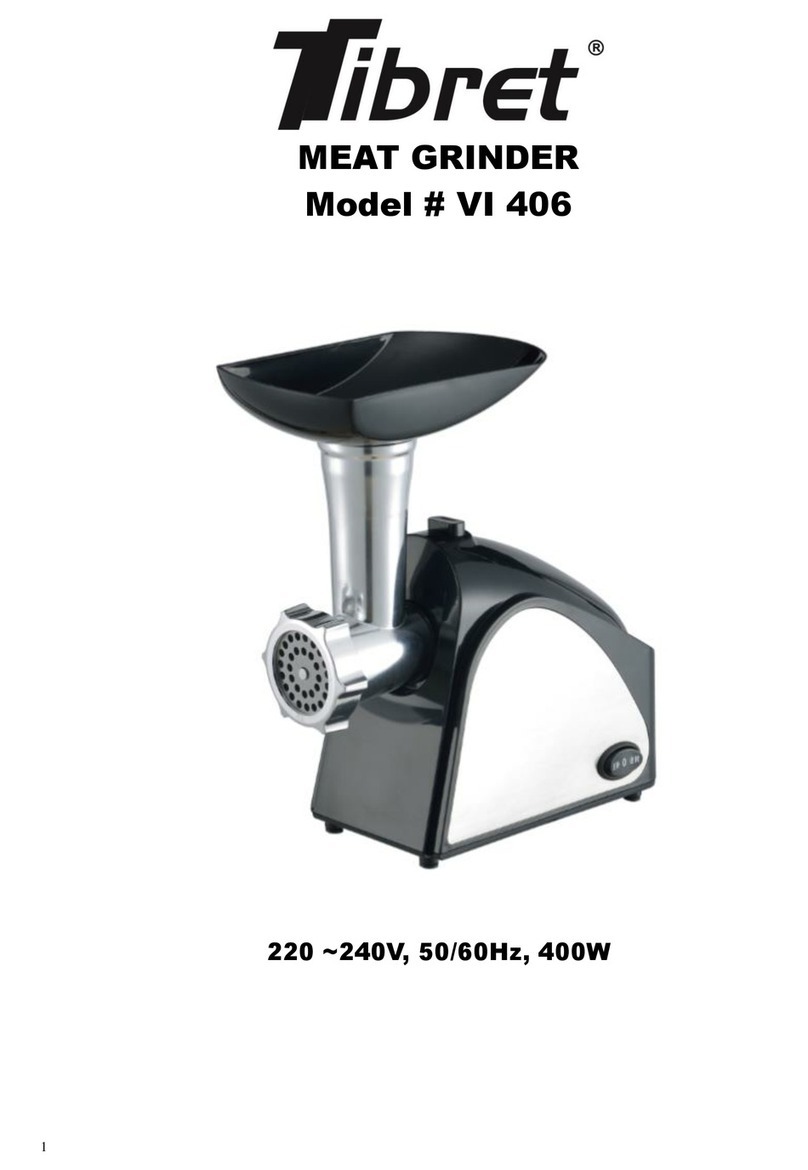
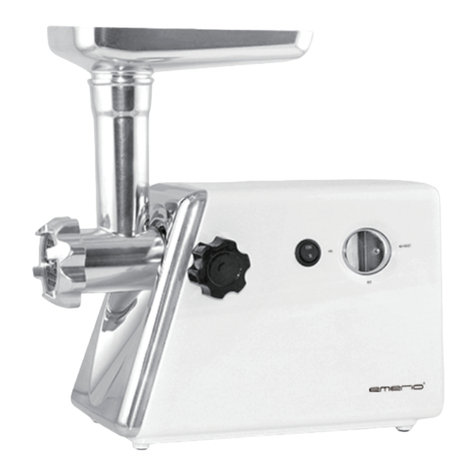
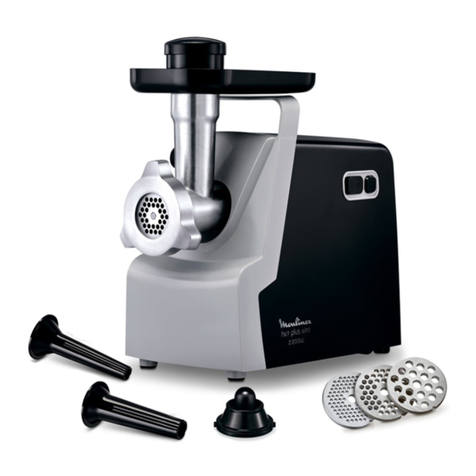
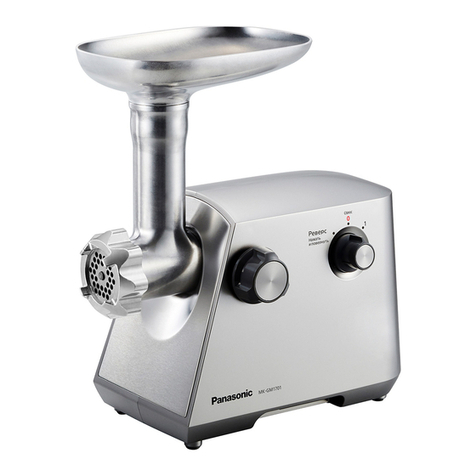
The Sausage Maker TSM-8 User manual

R
TSM-8 Electric Grinder
Item #64350
1500 Clinton St., Bldg. 123
Buffalo, NY 14206-3099
Customer Service: (716) 824-5814
8:30 am - 4:30 pm EST, Monday-Friday
Fax: (716) 824-6465
www.sausagemaker.com
customerservice@sausagemaker.com
Operating Manual

Contents:
• Parts List
• Introduction
• Important Safeguards
• How to Use Your Appliance
• Tips
• How to Clean Your Appliance
• Technical Specications
Parts List:
A. Meat Pusher
B. Tray
C. Cutter Housing
D. Release Button
E. Motor Unit
F. Switch Button
G. Reversal Button (REV)
H. Light
I. Fine Grinding Plate
J. Medium Grinding Plate
K. Auger
L. Knife
M. Coarse Grinding Plate
N. Screw Ring
O. Spacer
P. Stufng Tube
Q. Former
R. Cone
S. Release Lever
Introduction:
This appliance is equipped with a thermostat system. This system will automatically cut
off the power supply to the appliance in case of overheating.
If your appliance suddenly stops running:
1. Pull the main plug out of the socket.
2. Press the switch button to turn off the appliance.
3. Let the appliance cool down for 60 minutes.
4. Put the main plug in the socket.
5. Switch the appliance on again.
Please contact the dealer or an authorized service center if the thermostat system is
activated too often. If you plug the appliance in, the indicator light will be on.
CAUTION: In order to avoid a hazardous situation, this appliance must never be con-
nected to a timer switch.
Important Safeguards:
1. Read these instructions for use carefully and look at the illustrations before using the
appliance.
2. Keep these instructions for future reference.
3. Verify that the voltage indicated on the appliance corresponds to the local main voltage
before you connect the appliance.
4. Never use any accessories or parts from other manufacturers. Your guarantee will
become invalid if such accessories or parts have been used.
5. Do not use the appliance if the main cord, the plug or any other parts are damaged.
6. If the main cord of this appliance is damaged, it must always be replaced by the manu-
facturer or an authorized service center in order to avoid hazardous situations.

Important Safeguards (cont’d)
7. Thoroughly clean the parts that will come into contact with food before using the appli-
ance for the rst time and after every subsequent use.
8. Unplug the appliance immediately after use.
9. Never use your nger or any other object to push ingredients down the feed tube while
the appliance is running. Only the pusher is to be used for this purpose.
10. Keep the appliance out of reach of children.
11. Never let the appliance run unattended.
12. Switch the appliance off before detaching or installing any accessory.
13. Wait until all moving parts have stopped running before removing any part of the ap-
pliance.
14. Never immerse the motor unit in water or any other liquid or rinse it under the tap.
Use only a moist cloth to clean the motor unit.
15. Do not attempt to grind bones, nuts or other hard items.
16. Never reach into the cutter housing. Always use the pusher.
17. Never operate the appliance continuously for more than 3 minutes at 575 W.
How to Use Your Appliance:
Grinder
1. Insert the auger into the cutter housing, plastic
end rst.
Place the knife onto the auger. The at edge of
the knife should be ush to the grinder plate.
Place the medium grinding plate or coarse grind-
ing plate, depending on the consistency you
prefer, onto the auger. (Make sure the notch of
the grinding disc ts onto the projections of the
grinder head.)
Turn the screw ring in the direction of the ar-
row onto the cutter housing until it is properly
fastened.
2. Attach the cutter housing to the motor unit.
3. Place the tray on the upright part of the cutter
housing.
4. The appliance is now ready for grinding.
Grinding
Cut the meat into small pieces. Remove bones,
pieces of gristle and sinews as much as possible.
(Never use meat that is frozen solid!)
Put the meat in the tray. Use the pusher to gently
push the meat into the cutter housing. (For steak
tartare, grind the meat with the medium grinding
disc twice.)

Tips:
• Lash down the power cord and put it into the space
indicated by the diagram below.
• If the appliance is locked, press the Reversal Button
(REV). The meat locked in cutter housing will come
loose so that the appliance can begin running again.
• Parts P, Q, R, and S can be stored in the pusher.
Making Sausages:
1. After grinding the meat, insert the auger into
the cutter housing, inserting the plastic end rst.
Place the spacer in the cutter housing.
Place the stufng tube onto the cutter housing
and screw the ring on the cutter housing.
2. Attach the cutter housing to the motor unit.
3. Place the tray on the upright part of the cutter
housing.
4. The appliance is now ready for making sau-
sages.
Put the ingredients in the tray. Use the pusher to
gently push the meat into the cutter housing.
Slide the properly prepared casing onto the stuff-
ing tube. Push the seasoned ground meat into
the cutter housing.
For detailed information on sausage making, visit
us online: www.sausagemaker.com.
Polish Sausage Recipe:
To make 25 Lbs. of Fresh Polish Sausage, use
the following ingredients:
• 25 Lbs. pork butts
• 35-38 MM hog casings or 32 MM fresh collagen
casings
• The Sausage Maker Polish Sausage Seasoning
(half package)
• Water to mix seasoning

How to Clean Your Appliance:
Meat left behind in the cutter housing may be removed from the inside of the appliance by
passing a slice of bread through the cutter housing.
1. Before you clean the appliance, switch the appliance off and remove the plug from the
socket.
2. Press the release button and turn the whole cutter housing in the direction of the arrow.
Remove the pusher and the tray.
3. Unscrew the screw ring and remove all parts of the cutter housing. Do not clean the
parts in the dishwasher!
4. Wash all parts that have come into contact with meat in hot soapy water. CLEAN
THEM IMMEDIATELY AFTER USE.
5. Rinse them with clear, hot water and dry them IMMEDIATELY.
6. We advise you to lubricate the cutter unit and the grinding plates with a food grade
silicone spray.
Technical Specications:
• 120 V, 575 W
• 3/16”, 5/16”, 1/8” Grinding Plates
• 2 1/8” diameter Chopper Knife
• 1” Plastic Stufng Tube
• Meat Pusher
• Stainless Steel Meat Tray, Plates and Auger
• Unit Weight: 10 lbs.
• Overall Dimensions: 13” L x 7” W x 14” H
• UL Approved
Don’t forget...The Sausage Maker is your source for everything you need to make
sausage! Find everything from casings and seasonings to sausage stuffers and
smokehouses. Have questions about sausage making? Our product specialists can
help answer them for you!
(716) 824-5814, 8:30 am - 4:30 pm, EST, Monday-Friday

The Sausage Maker, Inc.
1500 Clinton St., Bldg. 123
Buffalo, NY 14206-3099
(716) 824-5814
www.sausagemaker.com
Table of contents
