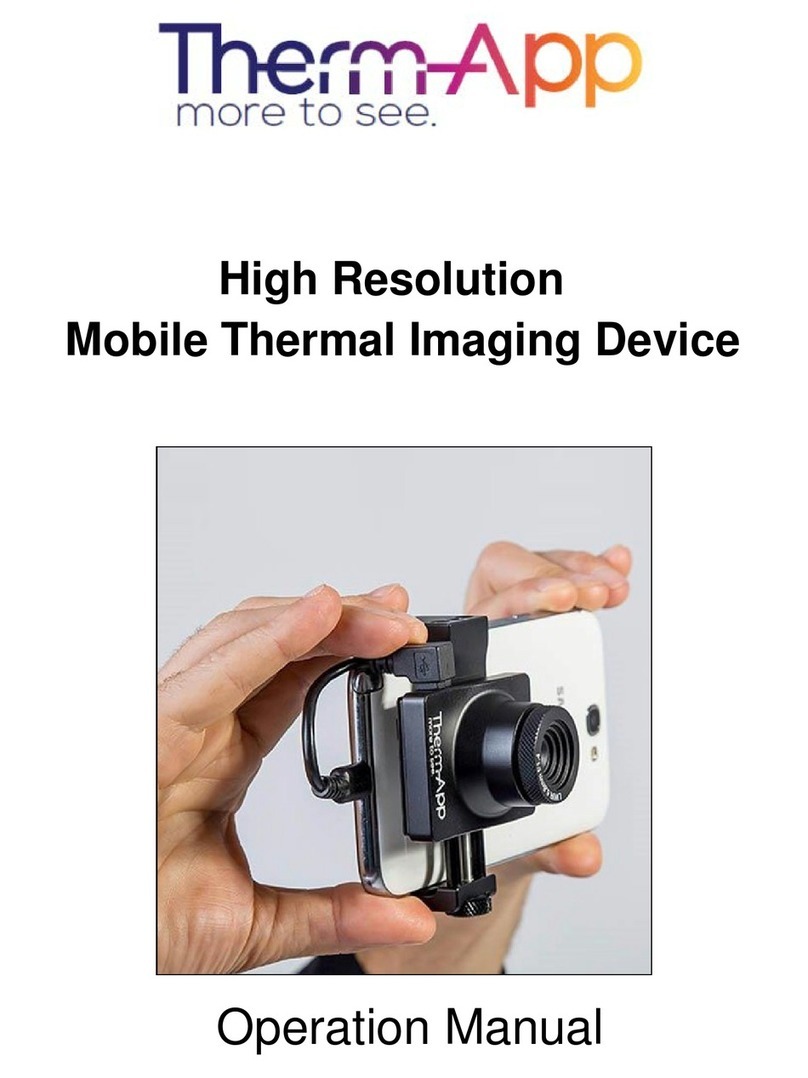
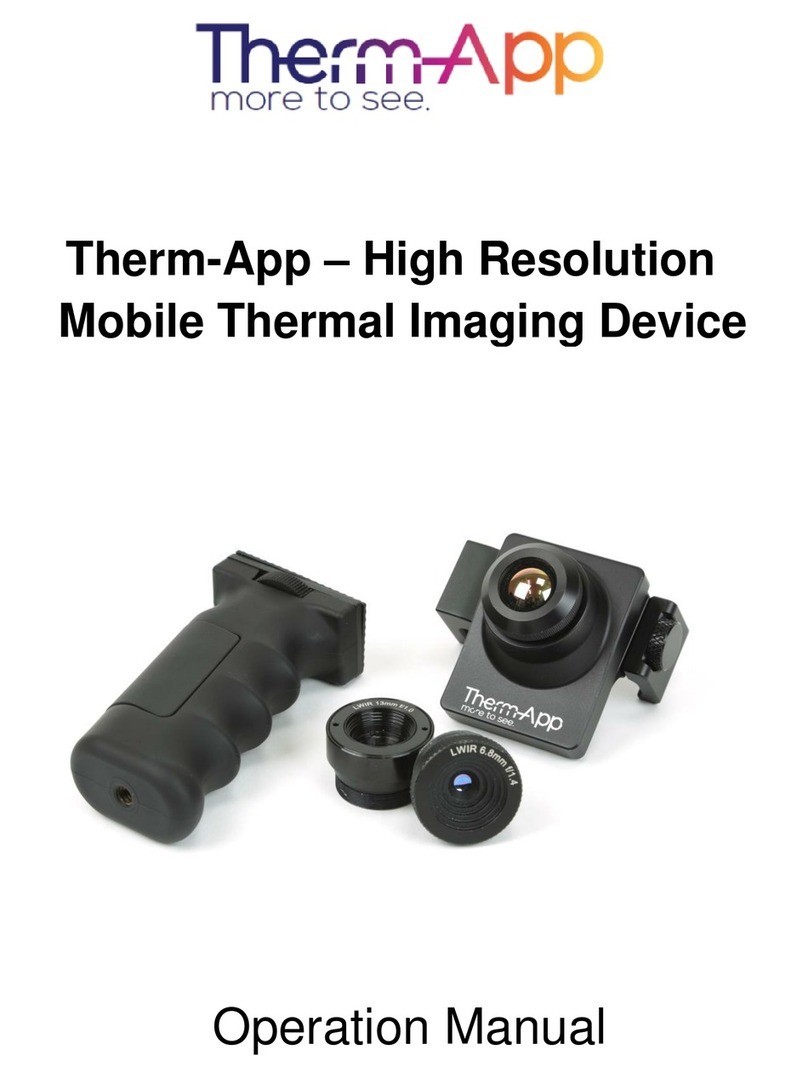
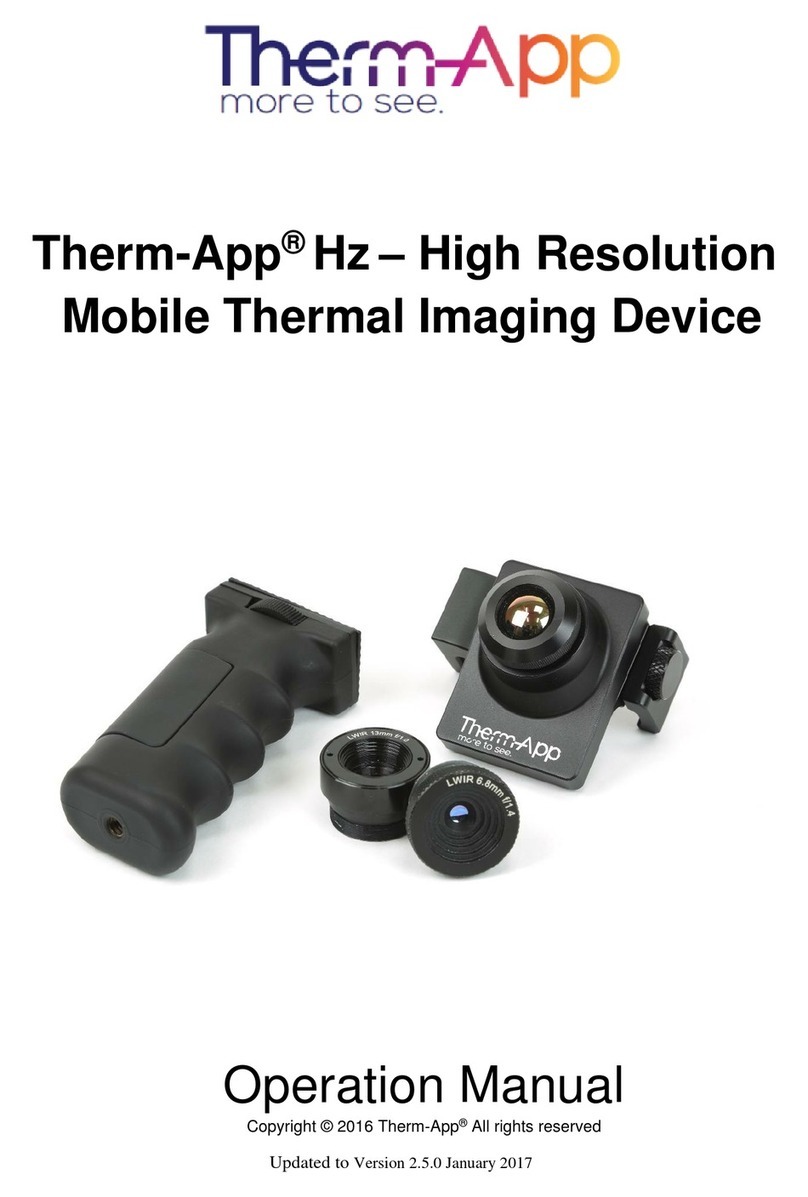
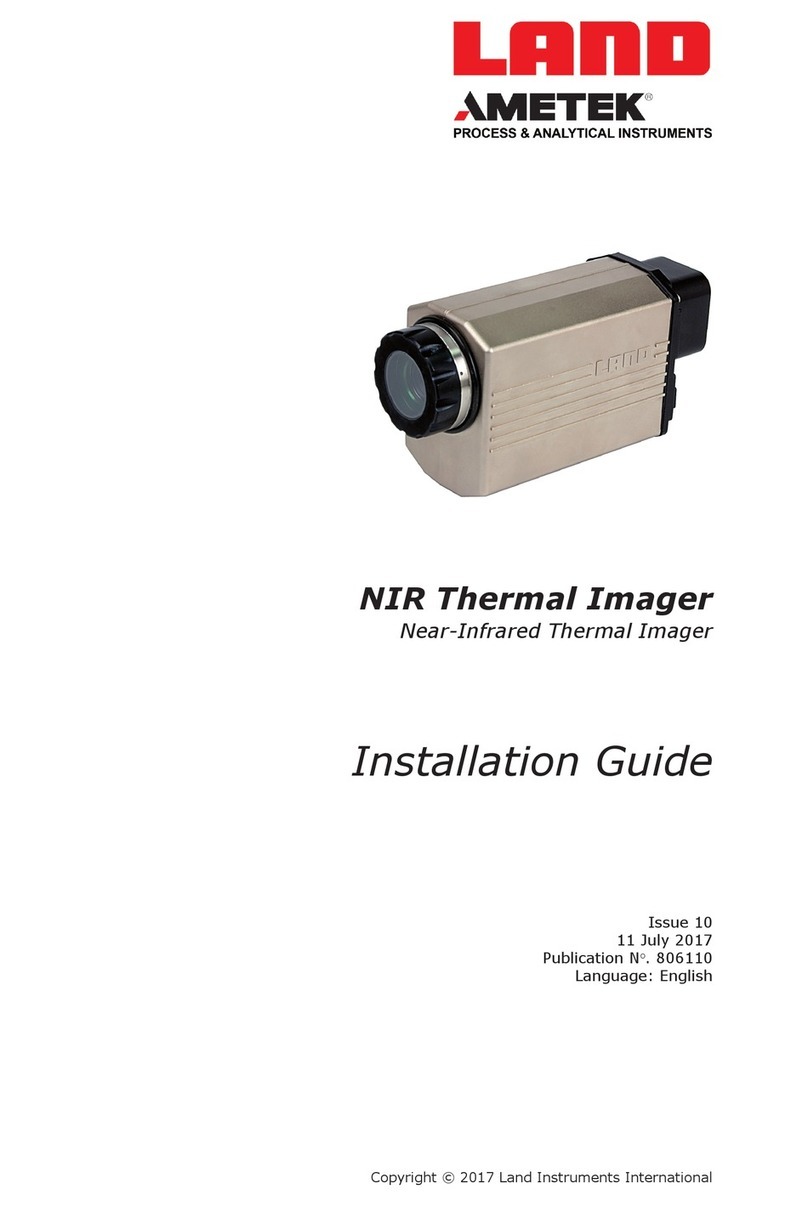
Therm-App MD User manual

User Manual
This document discloses data in which Opgal Inc. has proprietary rights. Neither the furnishing, receipt, nor possession thereof
confers upon or transfers any right to reproduce or disclose the document, any part thereof, or any information therein except
by written permission from, or written agreement with, Opgal Inc.

Therm-App MD User Manual
-------------------------------------------------------------------------------------------------------------------------------------------------------------------------
------------------------------------------------------------------------------------------------------------------------------------------------------------
Page 2 of 23
Table of Contended
1Overview...............................................................................................................................................3
2Disclaimer..............................................................................................................................................3
3installation ............................................................................................................................................3
3.1 Installing the Application ..............................................................................................................3
4Application Operation...........................................................................................................................4
4.1 Initialization...................................................................................................................................4
4.2 Selecting Night Vision / Thermography Color Palettes.................................................................5
4.3 App Screen Layout ........................................................................................................................6
4.4 Upper Toolbar...............................................................................................................................6
4.5 Image Display................................................................................................................................7
4.6 Lower Toolbar...............................................................................................................................8
5Settings..................................................................................................................................................9
5.1 Preparation ...................................................................................................................................9
5.2 Quick Access Menu.....................................................................................................................10
5.3 Main Therm-app®Settings Menu................................................................................................11
5.4 Main Menu options.....................................................................................................................12
5.5 Thermography Settings...............................................................................................................13
5.6 General Settings..........................................................................................................................14
5.7 Export/Save Options ...................................................................................................................17
5.8 Maintenance...............................................................................................................................17
6Help.....................................................................................................................................................18
7About...................................................................................................................................................18
8FAQ and Troubleshooting ...................................................................................................................19
9Terms and Conditions .........................................................................................................................20

Therm-App MD User Manual
-------------------------------------------------------------------------------------------------------------------------------------------------------------------------
------------------------------------------------------------------------------------------------------------------------------------------------------------
Page 3 of 23
Congratulations!
You are now the owner of a new Therm-App® MD world-class thermal imaging device which includes
hardware and software components (the “Product”).
1Overview
Therm-App® MD is an Android-supported thermographic imaging device for elevated body temperature
(EBT) measurement, specifically calibrated to measure temperature. The Therm-App sensor is based on
α- Si bolometer 17µ 384x288 pixels.
2Disclaimer
Therm-App MD does not detect fevers or illness in any way. It is not a medical diagnostic tool and has
not been approved by a medical professional. Any individual tested and flagged should be double-
checked using an approved medical device.
Notes:
1) The measurement should not be solely or primarily relied upon to diagnose or exclude a
diagnosis of COVID-19, or any other disease.
2) Elevated body temperature in the context of use should be confirmed using secondary
evaluation methods (e.g., an NCIT or clinical grade contact thermometer)
3Installation
3.1 Installing the Application
Visit the Opgal website to download the latest
Therm-App MD update for free.
https://www.opgal.com/products/therm-app-
MD-customers
Scan the QR code to link directly to
the Opgal website.
The operating system (OS) of the Android device
should be installed with the latest official version of
Android. The Therm-App application is compatible
with the last three official Android releases. The
device must support USB On-The-Go (OTG).

Therm-App MD User Manual
-------------------------------------------------------------------------------------------------------------------------------------------------------------------------
------------------------------------------------------------------------------------------------------------------------------------------------------------
Page 4 of 23
4Application Operation
4.1 Initialization
When first connecting Therm-App® to the
Android device, proceed as follows:
Select Use by default for this USB device
checkbox and tap OK. The Therm-App®
application will automatically start and display
the Terms and conditions screen.
Review and accept the Terms and Conditions.
The application will download the calibration files
(a download progress bar will appear on the
screen).
While operating Therm-App®, you can change
modes between Night Vision and Thermography.

Therm-App MD User Manual
-------------------------------------------------------------------------------------------------------------------------------------------------------------------------
------------------------------------------------------------------------------------------------------------------------------------------------------------
Page 5 of 23
4.2 Selecting Night Vision / Thermography Color Palettes
On each imaging mode, the Therm-App® device
image can be displayed using one of several
palettes.
To change the selected palette, swipe your finger
or select by the mouse across the image on the
main screen:
Available palettes:
Spotter
Black, White, Red (Available using Night Vision)
Rainbow
Blue, Green, Yellow, Red
(Available using Thermography and Night Vision)
Iron
Purple, Yellow (Available using Thermography and
Night Vision)
Vivid
Purple, Aqua, Pink, Yellow
(Available using Thermography and Night Vision)
PSY
Purple, Blue, Green, Yellow, Red
(Available using Thermography and Night Vision)
Lava
Black, Blue, Red, Yellow
(Available using Thermography and Night Vision)
Green Light
Black, Dark Green, Bright Light Green (Available
using Thermography and Night Vision)

Therm-App MD User Manual
-------------------------------------------------------------------------------------------------------------------------------------------------------------------------
------------------------------------------------------------------------------------------------------------------------------------------------------------
Page 6 of 23
4.3 App Screen Layout
4.4 Upper Toolbar
◼
Upper toolbar [1]
◼
Image display [2]
◼
Lower toolbar [3]
Settings button [1] –For configuring
Therm-App® settings
Temperature bar (Thermography mode)
[2] –Presents the range of temperatures
currently being viewed. The minimum and
maximum temperatures are displayed on both
sides of the bar.
Temperature reading (Thermography
mode) [3] –Displays the temperature at the
selected point on the screen (marked by a little
box).
Quick Settings Menu [4] –Allows
selection of mode, emissivity, temperature alerts,
and palette.

Therm-App MD User Manual
-------------------------------------------------------------------------------------------------------------------------------------------------------------------------
------------------------------------------------------------------------------------------------------------------------------------------------------------
Page 7 of 23
4.5 Image Display
◼
Full Screen Mode
By tapping the screen twice quickly, you can
switch between standard and full screen modes.
The screen mode allows landscape configuration
for use of HDMI screens.
◼
Digital Zoom & Pan
By making a pinching motion on the screen, the
image will zoom in or out. In zoom mode, a
magnifying glass with the zoom level appears on
the top left corner of the thermal image. While
zooming, the image can be panned up, down,
left, or right.
(Only available in touch screen)

Therm-App MD User Manual
-------------------------------------------------------------------------------------------------------------------------------------------------------------------------
------------------------------------------------------------------------------------------------------------------------------------------------------------
Page 8 of 23
4.6 Lower Toolbar
◼
Gallery [1] –Displays pictures stored on the
Android device using the default album application.
◼
Snapshot [2] –Takes a snapshot of the image
displayed on the screen.
◼
Video Recording [3] –Records a video stream of
the image displayed on the screen.
◼
Live Video Streaming [4] –Stream the video of
the image displayed on the screen.

Therm-App MD User Manual
-------------------------------------------------------------------------------------------------------------------------------------------------------------------------
------------------------------------------------------------------------------------------------------------------------------------------------------------
Page 9 of 23
5Settings
5.1 Preparation
For best performance, the ambient room temperature should be 25°c (77°F).
For optimal performance wait 40 minutes or more from start-up to allow the Therm-App to reach an
initial steady temperature state.
In order to establish a baseline temperature, have three healthy people with regular temperatures pass
in front of the camera. Calculate from the highest temperature of the three people and raise the
temperature dial 1.5°c (34.7°F) (see Configuring the Alert for instructions). This will be the threshold for
the alert for an individual with a fever.

Therm-App MD User Manual
-------------------------------------------------------------------------------------------------------------------------------------------------------------------------
------------------------------------------------------------------------------------------------------------------------------------------------------------
Page 10 of 23
5.2 Quick Access Menu
This menu allows you to quickly select:
◼
Imaging Mode [1] –Thermography or Night Vision mode.
◼
Emissivity and Reflected Temperatures [2]
(see thermography settings).
◼
Turn on Temperature alerts [3]
◼
Palette [4]
◼
Configure Temperature Alerts [5]
After you have turned on temperature alerts [3], you can set the
Therm-App® to flash a red alert when it finds something below a
certain temperature (snowflake icon) or above a certain
temperature (flame icon). The box flashes red once a subject inside
it crosses the preset temperature. In the image, the temperature
alert has been set to go off for anything above 20.6°c (69.08°F), and
the box is red because the subject/area inside the box is 41.9°c
(107.42°F).
Click on Alert
◼
Two boxes will appear on the screen with small circles on each
corner.
◼
Click and drag the boxes to the region of interest. Each box can
be dragged to any position on the screen.
◼
Click and drag the corners of the boxes to resize the area of
interest.
◼
In case of overlap between the boxes, the alert will function
mutually in the overlapped area.
◼
To cancel alerts, press the NONE option.

Therm-App MD User Manual
-------------------------------------------------------------------------------------------------------------------------------------------------------------------------
------------------------------------------------------------------------------------------------------------------------------------------------------------
Page 11 of 23
5.3 Main Therm-app®Settings Menu
Tap the Settings button located on the upper toolbar.
The settings screen includes:
◼Imaging Mode –Switches between "Night Vision"
and "Thermography" modes.
◼Thermography Settings –Enables selection of
temperature units, emissivity, reflected
temperature, and camera output options (available
only when in "Thermography mode").
◼General Settings –See page 12 for full menu
description.
◼Export/Save Option –Select how photos and videos
will be saved. (See page 12 for full walkthrough).
◼Maintenance –Performs bad pixel repair and resets
all parameters to default.
◼Help –Link to User Manual, Therm-App® Support,
and Terms of Use.
◼About –General application and device version
information.

Therm-App MD User Manual
-------------------------------------------------------------------------------------------------------------------------------------------------------------------------
------------------------------------------------------------------------------------------------------------------------------------------------------------
Page 12 of 23
5.4 Main Menu Options
Imaging Mode
◼Night Vision –This mode maximizes the difference
between hot objects and their surrounding and is used for
night-time detection of various targets. Imaging Mode –
switches between "Night Vision" and "Thermography"
modes.
◼Thermography –Image pixels are colored in relation to
their temperature. On the default rainbow palette, blue
indicates the coldest measured temperature and red
represents the hottest temperature measured. This mode
is used for searching for temperature differences on the
scanned scene.

Therm-App MD User Manual
-------------------------------------------------------------------------------------------------------------------------------------------------------------------------
------------------------------------------------------------------------------------------------------------------------------------------------------------
Page 13 of 23
5.5 Thermography Settings
◼Units –select between Celsius and Fahrenheit.
◼Emissivity –Emissivity is the ability of the surface of a
material to emit energy as thermal radiation. The
emissivity value (0 –1) represents the ratio of energy
radiated by the observed material to the energy
radiated by a black body at the same temperature.
Typical emissivity for human skin is: 0.98.
To adjust the emissivity ratio:
1. Tap the EMISSIVITY option on the screen.
2. Scroll to the correct emissivity ratio and tap the
SET button
◼Reflected Temperature –Reflected temperature
represents the energy emitted by the surrounding
objects and reflected by the measured surface.
To adjust the reflected temperature:
•Tap the Reflected Temperature option on
the screen.
•Scroll to the correct temperature and tap
the SET button
◼Scale Truncation –Within every image frame, the
temperature span is calculated and displayed on
the top of the thermography image. Use this
parameter to define the minimum number of
pixels (defined by percentage) required to affect
the temperature span calculation.
◼To adjust the truncation value:
•Tap the Scale Truncation option on the
screen.
•Scroll to the correct temperature and tap
the SET button.

Therm-App MD User Manual
-------------------------------------------------------------------------------------------------------------------------------------------------------------------------
------------------------------------------------------------------------------------------------------------------------------------------------------------
Page 14 of 23
5.6 General Settings
◼Disable Screen Timeout –Allows the device’s default screen
timeout to be disabled to enable ongoing use of Therm-App®
(only valid when Therm-App® is connected and image is shown).
◼Gain Limit Mode -Therm-App® is using noise filter by averaging
frames for temporal noise reduction.
◼Alert Mode Settings –Allows you to configure Alert Mode
settings.
➢Action - Allows you to define Snapshot, Video Recording,
Video Streaming, Vibrate and Play Alert.
oSnapshot - A snapshot is taken every time the preset
temperature threshold is met
oVideo Recording: Will record video for as long as the
temperature meets the preset value. (recordings are
stored under date and time file name).
oVideo Streaming: Will stream to a pre-set location for as
long as the temperature meets the assigned value.
oVibrate: Will vibrate every time the preset temperature
threshold is met.
oPlay alert: Plays an audio file alert every time the assigned
temperature threshold is met.
➢Advanced Parameters:
oDetection Duration (Seconds): Sets how long the object
needs to be in the set field to trigger the alert.
oAlert Delay (Seconds): How long Therm-App® should wait
to send consecutive alerts after the first alert is triggered
(time between alerts).
oRecording Time After Detection: How long you want to
continue recording after the person or object leaves the
field of view.
oObject Size: Sets the minimum size of the object that will
trigger the alert:
(“Small”- 4x4 pixels, “Medium small”- 8x8 pixels, “Medium
big”- 16x16 pixels, or “Big”- 32x32 pixels).

Therm-App MD User Manual
-------------------------------------------------------------------------------------------------------------------------------------------------------------------------
------------------------------------------------------------------------------------------------------------------------------------------------------------
Page 15 of 23
General Settings (continue)
◼Video Snapshot Orientation –This lets you choose your
viewing orientation, both while using the device and while
viewing onscreen (on a display).
oLive Screen Position: Allows you to set the viewing
orientation for the live screen.
oVideo/Snapshot Orientation: Allows you to set the
viewing orientation for videos or snapshots.
oFixed Video: Blocks screen rotation (if supported by the
device).
◼Record and stream - This mode will allow you to record IR Image
or the Screen. In addition to video recording it is possible to add
Audio recording (only for devices that have built in microphone).
Recordings files will be stored in hard disc with date and time
files names.
➢Stream Mode: Share just the image, or your full screen.
-IR Image (just the thermal image).
-Screen (thermal video, app screen details, and temperature
reading).
➢Record and Stream Audio:Check box to record audio with
video
Video streaming means that live video will be sent over an Internet
connection from the android device to any other device (SBC,
Tablet, Smartphone) connected to The Internet. Multiple devices
can view the stream from a single Therm-App®. A solid Internet
connection is required to obtain good video quality.
To activate streaming:
◼On your Therm-App® application, click the icon on the
bottom right side.
◼Choose the way(s) you wish to share your stream with
your friends. A message with a link will be sent to them.
◼To watch the live stream on a computer, tablet, or
smartphone, click the link.
*Please note that some browsers will have problem showing
the video since an add-on is required.
◼Alternatively, go to http://live.therm-app.com and in the
room number field, enter your device serial number
(appears on the settings menu).

Therm-App MD User Manual
-------------------------------------------------------------------------------------------------------------------------------------------------------------------------
------------------------------------------------------------------------------------------------------------------------------------------------------------
Page 16 of 23
General Settings (continue)
◼Language –Select your preferred interface language (Match
Phone, English, Chinese, Thai, German, French, Russian, or
Spanish). Match phone is the default. If this feature is selected,
the Therm-App® application will detect the language on your
phone and attempt to match it.

Therm-App MD User Manual
-------------------------------------------------------------------------------------------------------------------------------------------------------------------------
------------------------------------------------------------------------------------------------------------------------------------------------------------
Page 17 of 23
5.7 Export/Save Options
5.8 Maintenance
◼Following extensive operation of the thermal
sensor, or due to mechanical shock, some pixels
may need digital repair. Bad pixels are observed as
pixels that are darker or brighter than their
surroundings. To eliminate these "bad pixels" press
Run Bad Pixel Repair > Start, and then follow the
onscreen instructions.
Under Cloud Accounts options you will find the Dropbox
option.
◼Dropbox –allow you to upload files to Dropbox.
oDownload Dropbox Application and install it.
oCreate a Dropbox account.
oBy clicking on Dropbox icon link between your
Dropbox account and the device.

Therm-App MD User Manual
-------------------------------------------------------------------------------------------------------------------------------------------------------------------------
------------------------------------------------------------------------------------------------------------------------------------------------------------
Page 18 of 23
6Help
7About
In the About section you will find information
about the device, including serial number,
application version, firmware version, and
hardware version.
In the Help heading you will find options for:
◼Manual
◼Therm-App® support
◼Terms of use

Therm-App MD User Manual
-------------------------------------------------------------------------------------------------------------------------------------------------------------------------
------------------------------------------------------------------------------------------------------------------------------------------------------------
Page 19 of 23
8FAQ and Troubleshooting
1) Does the camera work on other operating systems (iOS, Windows)? Therm-App is designed
exclusively to work on Android OS and Linux.
2) How do I get my hands on the Software Developer’s Kit for this? We are happy to provide the
SDK for you. Contact your account manager to request the SDK agreement. Once signed we will
provide you with the SDK.
3) Why is the temperature on the screen much lower than the average human temperature?
Thermal imaging processes an image based on the energy emitted from objects in the field of
view. This will include a person, hot air from a heater, a computer or a cool gust of wind from an
air conditioner. Unlike a thermometer –which measures absolute temperature –a thermal
imager will show the temperature in relative terms. As in –what is my temperature relative to
the person next to me. To do this we need to establish the baseline temperature, either with a
black body, or by using three healthy individuals as described in the setup instructions. Once
we’ve established that baseline, the temperature gradient can be measured very accurately.
4) Why does the temperature change when a person stands at different ranges camera? Since the
camera is aggregating all the energy it is receiving in the field of view, the temperature reading
will change. The optimal range for a 6.8-millimeter lens on the camera is 2 meters. It can be used
effectively up to 5 meters, but it’s important to make sure the temperature of a person is
measured at the exact distance that the baseline was established. If your setup is designed to read
temperatures of people at three meters, for example, make sure that it was calibrated during the
setup for people at that range.
5) Why can’t I hear the alert? Make sure the monitor you are using has speakers and that the alert
sound is enabled in the app. The sound is transmitted to the monitor through the HDMI cable.
6) Why does my ThermApp crash when I turn it on? Check that the SBC resolution setting matches
your monitor resolution. If not, adjust accordingly.
7) Why after some time does the temperature of the same individuals change? Although the
camera’s steady state takes about 40 minutes, it may take another hour or so to truly reach a
point where the temperature stops shifting. After an hour, it is recommended to check the
temperature and recalibrate the threshold accordingly. Also, since the ambient temperature
changes during the day, it is recommended to repeat the process once every eight hours.
8) Can the ThermApp be used outside? Yes. But you need to adjust the ambient temperature in
accordance with the outside temperature as it will probably not be 25 degrees, and you may need
to recalibrate the ambient temperature and the baseline as the day progresses and temperatures
change. Also, avoid a field of view which is looking at a street in which vehicles (which are hot
objects) could pass through it.
9) I’m not getting a temperature reading and the screen says “overflow”. This occurs if an object
in the screen surpasses 60°c (140°F), which is beyond our calibration range. Remove the object
and check again. If this error still occurs, reinstall the Therm-App app from an APK provided to
you by your account manager.

Therm-App MD User Manual
-------------------------------------------------------------------------------------------------------------------------------------------------------------------------
------------------------------------------------------------------------------------------------------------------------------------------------------------
Page 20 of 23
9Terms and Conditions
PLEASE READ THIS DOCUMENT CAREFULLY; IT CONTAINS IMPORTANT INFORMATION ABOUT COVERAGE
UNDER THIS LIMITED WARRANTY, CUSTOMER OBLIGATIONS AND OTHER IMPORTANT TERMS,
CONDITIONS, EXCLUSIONS AND DISCLAIMERS.
1. WHO IS ENTITLED TO WARRANTY. Any Product purchased from Opgal Optronic Industries Ltd. and its affiliates (“Opgal”) or from an
authorized reseller of Opgal, is eligible for the limited warranty coverage, subject to the terms and conditions set forth in this document.
Only you, the original purchaser of the Product, who purchased the Product from Opgal or its authorized reseller, are entitled to receive
the warranty specified in this document. Please note that this warranty is not an international warranty. The warranty will only be honored
in the country in which the authorized reseller or the Opgal entity from whom you purchased the Product, are located.
2. LIMITED WARRANTY. In accordance with the terms and conditions of and except as excluded or disclaimed in this document, Opgal
warrants that from the date specified on your invoice (the “Purchase Date”) through the end of the applicable Warranty Period (as defined
below), the Product will conform to Opgal’s published specifications at the Purchase Date and will be free from defects in materials and
workmanship. YOU'RE SOLE AND EXCLUSIVE REMEDY UNDER THIS LIMITED WARRANTY, AT OPGAL’S SOLE DISCRETION, IS
THE REPAIR OR REPLACEMENT OF A DEFECTIVE PRODUCT IN A MANNER, AND BY A SERVICE CENTER OR AUTHORIZED
RESELLER, AS AUTHORIZED BY OPGAL. IF THIS REMEDY IS ADJUDICATED TO BE INSUFFICIENT, OPGAL SHALL REFUND
YOUR PAID PURCHASE PRICE AND HAVE NO OTHER OBLIGATION OR LIABILITY TO YOU WHATSOEVER.
3. WARRANTY PERIOD. The Product applicable Warranty Period is one (1) year from the Purchase
Date (“Warranty Period”). Any Product that is repaired or replaced under warranty, is covered for nighty (90) days from the date of return
shipment by Opgal or for the remaining duration of the applicable Warranty Period, whichever is longer. If the Product is purchased in an
EU country, to the extent you are a Consumer, you have an additional year (according to the EU-Directive 1999/44) to claim for
deficiencies or malfunctioning of the Product, which were present at the time of purchase, but were not apparent then, as determined by
Opgal. In order to make this extended warranty effective, you must contact the authorized reseller from whom you purchased the Product
or Opgal local service center and notify them about the production fault immediately, and no later than 60 days after detecting the fault.
4. WARRANTY EXCLUSIONS AND DISCLAIMERS. OPGAL MAKES NO OTHER WARRANTY OF ANY KIND WITH RESPECT TO THE PRODUCT
OR THE DOCUMENTATION, EXPRESS OR IMPLIED, INCLUDING BUT NOT LIMITED TO THE IMPLIED WARRANTIES OF MERCHANTABILITY,
FITNESS FOR A PARTICULAR PURPOSE (EVEN IF YOU HAVE NOTIFIED US OF YOUR INTENDED USE FOR THE PRODUCT), AND NON-
INFRINGEMENT. ROUTINE PRODUCT MAINTENANCE, SOFTWARE UPDATES AND CALIBRATION ARE EXPRESSLY EXCLUDED FROM THIS
WARRANTY. OPGAL FURTHER EXPRESSLY DISCLAIMS ANY WARRANTY COVERAGE WHERE THE ALLEGED NONCONFORMITY IS DUE TO
NORMAL WEAR AND TEAR, ALTERATION, MODIFICATION, REPAIR, ATTEMPTED REPAIR, OPENNING OR ATTEMPTING TO OPEN,
IMPROPER USE, IMPROPER MAINTENANCE, NEGLECT, ABUSE, IMPROPER STORAGE, FAILURE TO FOLLOW ANY PRODUCT
INSTRUCTIONS, DAMAGE (WHETHER CAUSED BY ACCIDENT OR OTHERWISE), OR ANY OTHER IMPROPER CARE OR HANDLING OF THE
PRODUCT CAUSED BY ANYONE OTHER THAN OPGAL OR ON ITS BEHALF. THIS DOCUMENT CONTAINS THE ENTIRE WARRANTY
AGREEMENT BETWEEN YOU AND OPGAL AND SUPERSEDES ALL PRIOR WARRANTY NEGOTIATIONS, AGREEMENTS, PROMISES AND
UNDERSTANDINGS BETWEEN YOU AND OPGAL. THIS WARRANTY MAY NOT BE MODIFIED WITHOUT THE EXPRESS WRITTEN CONSENT
OF OPGAL. THIS WARRANTY DOES NOT HAVE THE EFFECT OF EXCLUDING OR LIMITING YOUR STATUTORY RIGHTS OR CONSUMER
GUARANTEES THAT CANNOT BE EXCLUDED OR LIMITED UNDER APPLICABLE STATUTE.
5. WARRANTY CLAIMS. To be eligible for warranty repair or replacement, you must notify Opgal within thirty (30) days of discovering of
any apparent defect in materials or workmanship. Before you may return a Product for warranty service or repair, you must first obtain a
returned material authorization (RMA) number from Opgal. To obtain the RMA number you must provide an original proof of purchase.
You are solely responsible for complying with all RMA instructions provided by Opgal including but not limited to adequately packaging
the Product for shipment to Opgal. Opgal will pay for returning to you, any Product that Opgal repairs or replaces under warranty. Opgal
reserves the right to determine, in its sole discretion, whether a returned Product is covered under warranty. If Opgal determines that any
returned Product is not covered under warranty or is otherwise excluded from warranty coverage, Opgal may charge you a reasonable
handling fee and return the Product to you, at your expense.
6. LICENSE GRANT. You have purchased a Product that includes Therm-App MD branded software modules owned or licensed by Opgal.
With respect to Therm-App MD mobile Apps owned or licensed by Opgal, Opgal grants you a non-exclusive license to use the Therm-
App MD branded software modules and the Therm-App MD branded mobile Apps (subject to the payment and usage terms applicable
to each Therm-App MD branded App), as well as associated media, user instructions, manuals, printed materials, and “online” or electronic
documentation (“Software” and “Documentation” respectively), only with the Product. Permitted use is your own use and not for resale.
IF YOU DO NOT AGREE TO THOSE LICENSE TERMS, DO NOT USE THE PRODUCT, COPY OR DOWNLOAD THE SOFTWARE. ANY USE OF
THE SOFTWARE, INCLUDING BUT NOT LIMITED TO USE WITH THE PRODUCT, WILL CONSTITUTE YOUR AGREEMENT TO THE LICENSE
TERMS SET FORTH IN THIS DOCUMENT. You may also use the Product with third party Therm-App MD branded software. Please note
that your use of such third-party software shall be governed by the third party’s license terms. OPGAL
MAKES NO REPRESENTATION OR WARRANTY WITH RESPECT TO SUCH THIRD-PARTY SOFTWARE.
Other manuals for MD
1
Table of contents
Other Therm-App Thermal Camera manuals
