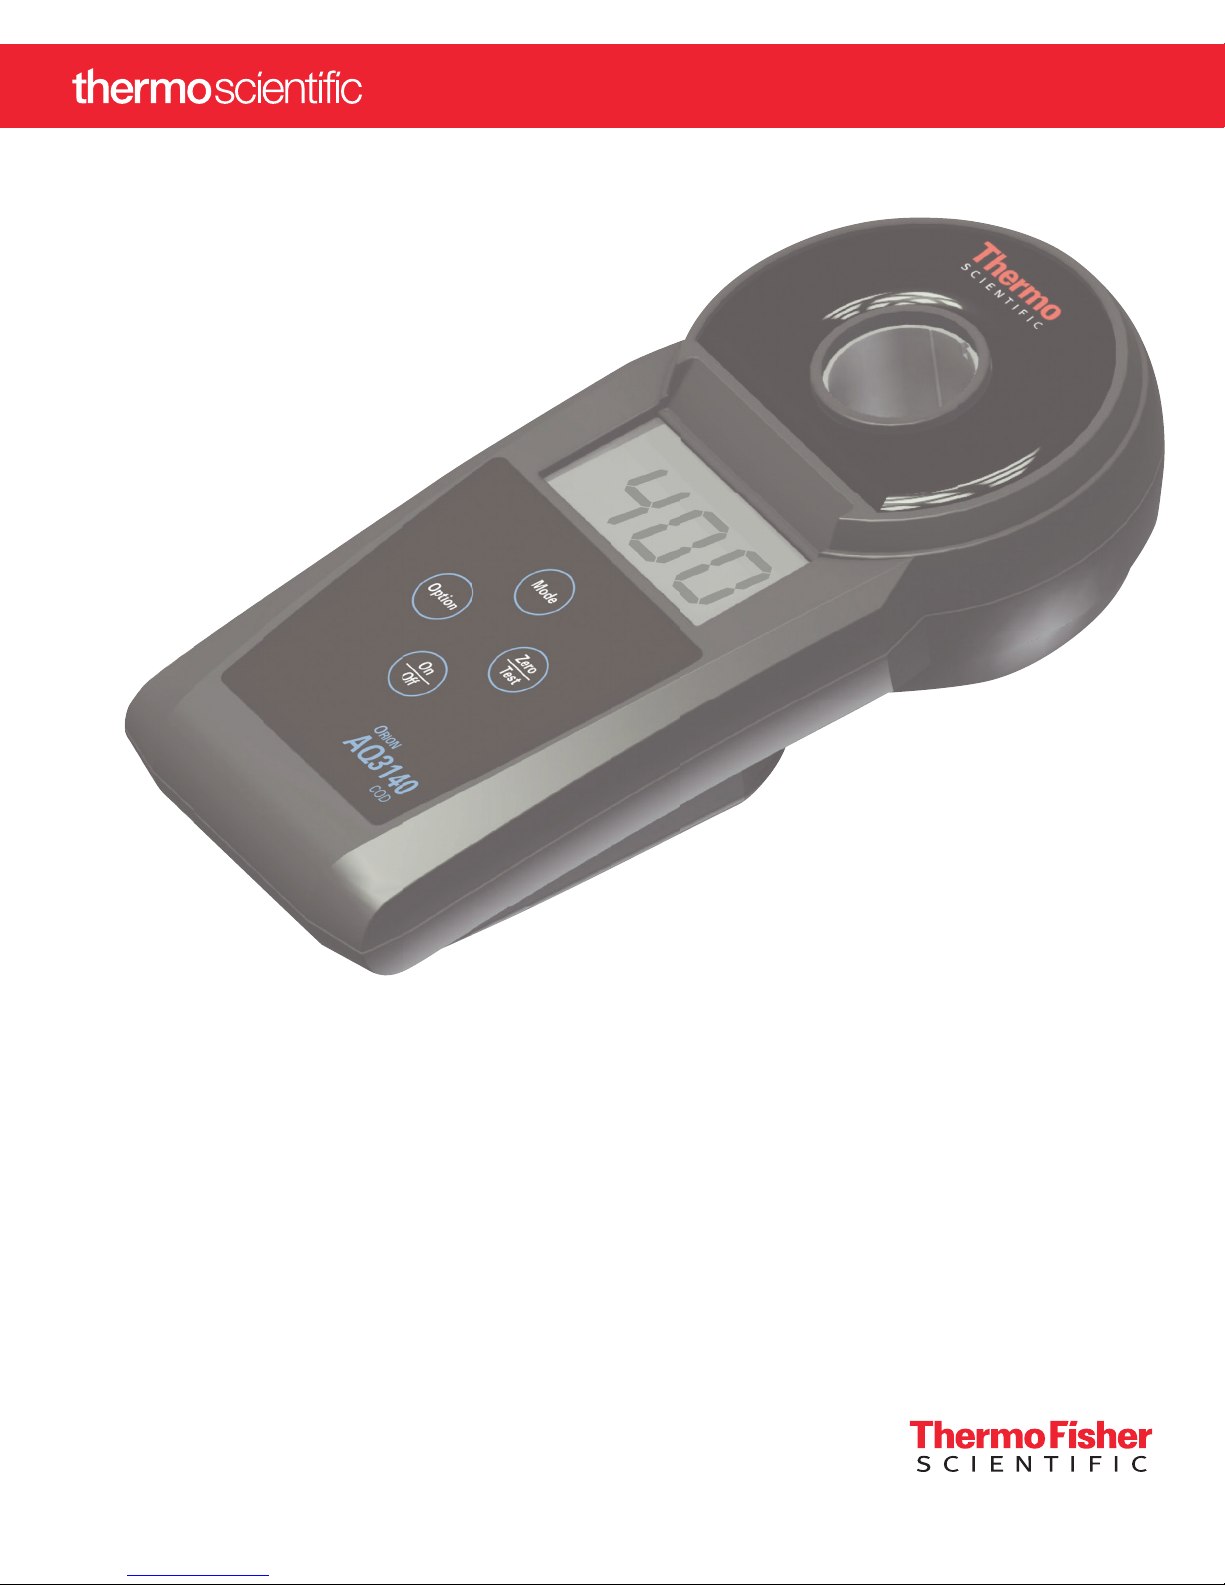
Version 1 02/2017 AQ3140 COD Colorimeter PROFORMA User Guide
8 9
Menu options
Menu Selections
Switch the unit o
Press the [MODE] key and hold.
Switch the unit on using the [ON/OFF] key.
Allow the 3 decimal points to be displayed before releasing the [MODE] key.
The [Option] key allows for selection of the following menu points:
diS recall stored data
dAtE setting the date and time
CAL user calibration
diS – Recall of Stored Data
After conrming the selection with the [MODE] key the photometer shows the last 16 data sets
in the following format (automatically proceeds every 3 seconds until result is displayed):
Number n xx (xx: 16...1)
Year YYYY (e.g. 2014)
Date mm.dd (monthmonth:dayday)
Time hh:mm (hourhour:minuteminute)
Test Method
Result x,xx
The [ZERO/TEST] key repeats the current data set.
The [MODE] key scrolls through all stored data sets.
Quit the menu by pressing [Option] key.
Setting Date and Time (24-hour-format)
After conrming the selection with the [MODE] key the value to be edited will be shown for 2 sec.
The setting starts with the year (YYYY) followed by the actual value to be edited. The same
applies for month (mm), day (dd), hour (hh) and minutes (mm). Set the minutes rst in steps of
10, press the [Option] key to continue setting the minutes in steps of 1.
Increase the value by pressing the [MODE] key.
Decrease the value by pressing [ZERO/TEST] key.
Proceed to the next value to be edited by pressing [Option] key.
After setting the minutes and pressing the [Option] key the display will show “IS SET” and the
instrument returns to the measurement mode.
On
Off
Mode
Option
Mode
Mode
Zero
Test
diS
Mode
SET
DATE
YYYY
(2 sec.)
Mode
Zero
Test
dAtE
Option
Option
CAL
METHOD
0.0.0
METHOD
METHOD
CAL
CAL – User Calibration
Note
:
user calibration (Display in calibration mode)
factory calibration (Display in calibration mode)
After conrming the selection with the [MODE] key the instrument will show CAL/"Method".
Scroll through methods using the [MODE] key.
Fill a clean vial with the standard up to the 10 ml mark, screw the cap on and place the vial in
the sample chamber making sure that the marks are aligned.
Press the [ZERO/TEST] key.
The method symbol ashes for approx. 8 seconds.
The display shows the following in alternating mode:
Perform calibration with a standard of known concentration (see "Operation").
Press the [ZERO/TEST] key.
The method symbol ashes for approx. 3 seconds.
The result is shown in the display, alternating with CAL.
If the reading corresponds with the value of the calibration standard (within the specied toler-
ance), exit calibration mode by pressing the [ON/OFF] key.
Changing the displayed value:
Pressing the [MODE] key once increases the displayed value by 1 digit.
Pressing the [ZERO/TEST] key once decreases the displayed value by 1 digit.
Press the corresponding key until the reading equals the value of the calibration standard.
By pressing the [ON/OFF] key, the new correction factor is calculated and stored in the user
calibration software.
Conrmation of calibration (3 seconds).
CAL
cAL
Zero
Test
Zero
Test
CAL
RESULT
+ x
CAL
Mode
On
Off
Zero
Test
: :
RESULT
Cal
CAL
Menu options - Calibration Mode
Note: The instrument calibration in the range MR is automatically taken also for HR.