manuals.online logo
Brands
  1. Home
  2. •
  3. Brands
  4. •
  5. Thermo Scientific
  6. •
  7. Measuring Instrument
  8. •
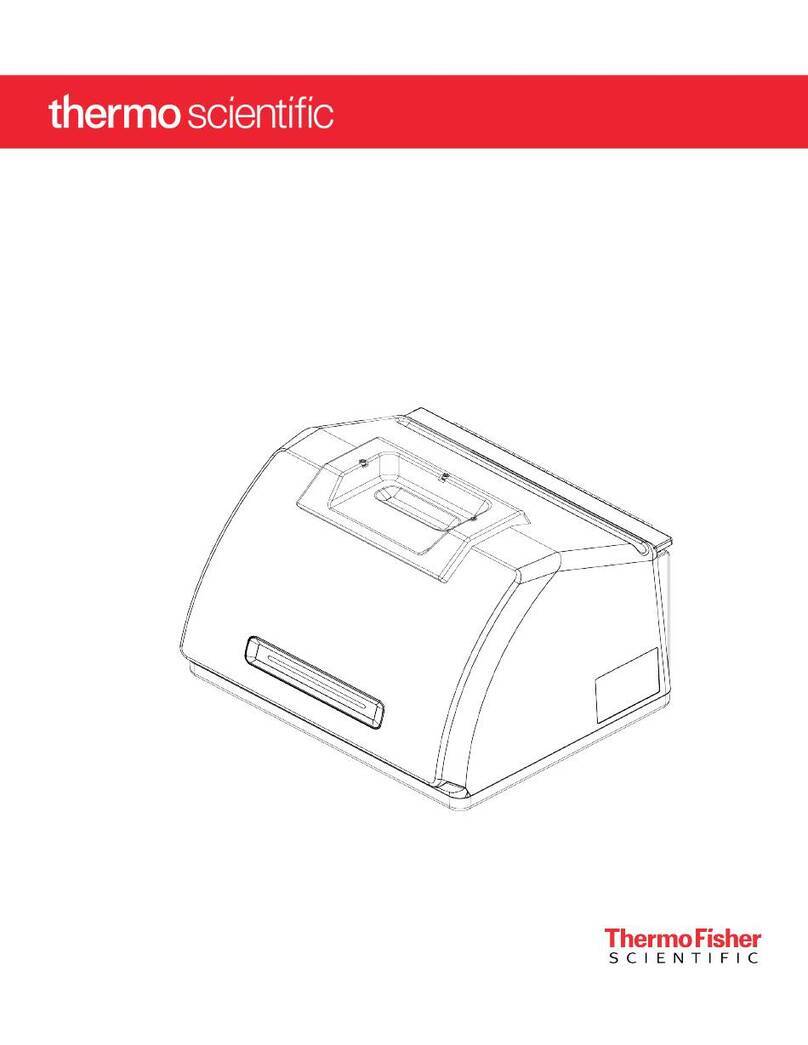
  9. Thermo Scientific NanoDrop 2000 User manual

Thermo Scientific NanoDrop 2000 User manual

INSTRUCTION
S
NanoDrop2000/2000c
Thermo Fisher Scientific - NanoDrop products Wilmington, Delaware USA 302-479-7707 www.nanodrop.com
Quick Start
1. Double click on the desktop NanoDrop™ 2000 software icon and select
the application of interest. Follow the prompts for instrument initializa-
tion.
2. Ensure Add to report is selected in the left pane to automatically in-
clude all measurements in the saved report.
3. Establish a Blank using the appropriate buffer. Pipette 1-2 ul of the
blanking buffer onto the bottom pedestal, lower the arm and click the
Blank button. The blank solution is generally the same buffer that the
molecule of interest is suspended or dissolved in.
−
For the NanoDrop 2000c model, select the Use cuvette box to make
measurements with a cuvette.
−
Insert the cuvette noting the direction of the light path indicated by
the etched arrow.
−
The arm must be down for all measurements-including measure-
ments made with cuvettes.
−
The optical path is directed 8.5 mm above the bottom of the cu-
vette. Refer to the manufacturer for volume recommendations.
4. Wipe away the blank and enter the sample ID in the appropriate field.
Pipette 1-2 ul of sample and hit Measure.
−
It is recommended that a fresh aliquot of sample be used for each measurement.
After a measurement:
−
Wipe both measurement pedestals using a dry, lint-free laboratory wipe and the instrument is ready for the next sample.
−
When using the cuvette option, remove the cuvette, rinse thoroughly and dry between samples.
Blanking Cycle
It is generally recommended that an aliquot of the blanking buffer be measured as if it were a sample. This will confirm that the in-
strument is working well and that any sample dried down from previous measurements is not a concern. To run a blanking cycle,
perform the following:
1. Load an aliquot of the blank onto the lower measurement pedestal and lower the sampling arm into the down position.
2. Click on the Blank button to store the blank reference.
3. Analyze a fresh replicate of the blank as though it were a sample by selecting Measure. The result should be a spectrum that
varies no more than 0.04 A (10 mm absorbance equivalent).
4. Wipe the blank from both measurement pedestal surfaces and repeat the process until the spectrum is within 0.04 A (10 mm
path).
Although it is not necessary to blank between each sample, it is recommended that a new blank be taken every 30 minutes when
measuring many samples.
For Technical Support contact us at 302-479-7707 or send an email to [email protected].
Pedestal measurement Cuvette measurement
Thermo Scientific NanoDrop 2000/2000c Spectrophotometers
Thermo Fisher Scientific - NanoDrop products Wilmington, Delaware USA 302-479-7707 www.nanodrop.com
S015- Rev. 3/09
INSTRUCTION
S
NanoDrop2000/2000c
The NanoDrop 2000/2000c soft-
ware interface is divided into a left
pane and a right pane. Task bars
and Action buttons are located in
the left pane while the right pane
acquisition pages display the sam-
ple spectra.
Task Bars
Home - displays the main menu with the available selection of applications.
Measure (specific application)- active application screen.
My Data -manages data archiving and retrieval.
Reports -exportable user configurable report associated with current data set.
Diagnostics - accesses the Intensity and Calibration checks.
Options - includes tabs for account management and report printing options.
Action Icons
Measure - initiates the measurement of a sample.
Print Screen - prints a copy of the spectrum and associated sample data to the default printer.
Blank - initiates the measurement of the buffer or carrier liquid in which the sample is suspended.
Re-Blank - establishes a new reference (blank) and recalculates the absorbance spectrum for the most recent sample and dis-
plays the revised spectrum on the screen.
Optional Selections
Add to Report - used to indicate sample data that should be added to the current report.
Overlay spectra - selection of this feature displays multiple spectra at a time.
Small sample volume -0.5 ul volume capability used for concentrated samples.
Nucleic acid and A280 applications only (examples >150 ng/ul dsDNA or >4.5 mg/ml BSA)
Use cuvette -select to enable cuvette measurements.
Menu Bar
File -used to open and close workbooks.
Help - electronic Help files. May be accessed directly from many software screens.
Sample data is stored in workbooks at user-specified locations. Workbooks may be accessed through the My Data task bar in
the left pane.
Software Features
Rev 3/09
T031‐TECHNICALBULLETIN
NanoDrop2000/2000c
Thermo Fisher Scientific - NanoDrop products Wilmington, Delaware USA Technical support: in[email protected] 302-479-7707 www.nanodrop.com
Cleaning and Reconditioning
Pedestal Cleaning
1. Apply 3-5 ul of dH
2
0 on to the bottom pedestal. Never use a squirt bottle
to apply de-ionized water or any other liquid to the surface of the
instrument.
2. Lower the upper pedestal arm to form a liquid column; let it sit for
approximately 2-3 minutes.
3. Wipe away the water from both the upper and lower pedestal with a dry,
lint-free lab wipe.
−
Between measurements: Wipe the sample from both the upper and lower pedestals with a clean, dry, lint-free lab wipe, to
prevent sample carryover and avoid residue buildup.
−
Between users: A final cleaning of both measurement surfaces with dH
2
0 is recommended after the last sample measurement.
−
Additional cleaning: Substitute 0.5M HCl for the dH
2
0 in the procedure above when proteins have dried on the pedestal.
−
Decontamination: Use a sanitizing solution, such as a 0.5% solution of sodium hypochlorite (1:10 dilution of common
commercial bleach solution, freshly prepared), to decontaminate the measurement pedestals. Follow with 3- 5 ul of dH20.
The use of detergents or isopropyl alcohol is not recommended as they may un-condition the pedestal measurement surfaces. If a
solution containing either is used, it is important to follow with 3- 5 ul of dH20.
Pedestal Reconditioning
Use the instrument pedestal reconditioning kit, PR-1, as a rapid means of reconditioning the pedestals when the surface properties
have been compromised and liquid columns break during measurement.
1.Open the vial containing PR-1 and use the applicator provided in the kit to remove a pin-head sized amount of the compound.
2. Apply a very thin, even layer of PR-1 to the surface of the upper and lower pedestals and wait 30 seconds for thee PR-1 to dry.
3. Fold a clean, dry laboratory wipe into quarters and remove the PR-1 by aggressively rubbing the surface of the upper and lower
pedestals until all compound residue is removed. The appearance of a black residue on the laboratory wipe is normal.
4. Use canned air to remove excess lint from the diaphragm.
Test the effectiveness of the re-conditioning by pipetting a 1ul sample of
dH
2
O (using a calibrated 2 ul pipettor) onto the lower measurement pedestal.
The figure on the left is a flat bead of water on an unconditioned pedestal. The
figure on the right is a1ul sample of dH
2
O on a properly conditioned pedestal.
Cuvette Cleaning
•
For routine, daily cleaning use a dry lab swab or lab wipe to wick away any spills within or around the cuvette holder assembly.
•
The cuvette holder assembly may be cleaned of excess dust using canned air.
•
DO NOT squirt any liquid into the block as the liquid will flow into the instrument. If liquid does get into the block, it is
best to use a lab wipe or a lab cotton swab to absorb the liquid.
•
Follow the recommendations of the cuvette manufacturer for the cleaning and maintenance of cuvettes.
•
Cuvettes with scratches in the optical path should not be used. Ensure all optical surfaces are free of lint and fingerprints prior
to insertion in the NanoDrop 2000c cuvette holder.
For Technical Support contact us at 302-479-7707 or send an email to [email protected].
Properly Conditioned
Pedestal-water “Beads up”
Un-conditioned Pedestal-
water “Flattens out”

This manual suits for next models

1

Other Thermo Scientific Measuring Instrument manuals

Thermo Scientific Nicolet iS5 LS User manual

Thermo Scientific

Thermo Scientific Nicolet iS5 LS User manual

Thermo Scientific Odalog L2 Series User manual

Thermo Scientific

Thermo Scientific Odalog L2 Series User manual

Thermo Scientific Nicolet Summit OA User manual

Thermo Scientific

Thermo Scientific Nicolet Summit OA User manual

Thermo Scientific HAAKE RotoVisco 1 User manual

Thermo Scientific

Thermo Scientific HAAKE RotoVisco 1 User manual

Thermo Scientific Orion Star A112 User manual

Thermo Scientific

Thermo Scientific Orion Star A112 User manual

Thermo Scientific EPD Mk2 User manual

Thermo Scientific

Thermo Scientific EPD Mk2 User manual

Thermo Scientific 43iQTL User manual

Thermo Scientific

Thermo Scientific 43iQTL User manual

Thermo Scientific RadEye GF User manual

Thermo Scientific

Thermo Scientific RadEye GF User manual

Thermo Scientific Orion 8030cX User manual

Thermo Scientific

Thermo Scientific Orion 8030cX User manual

Thermo Scientific Orion Star User manual

Thermo Scientific

Thermo Scientific Orion Star User manual

Thermo Scientific Orion Versa Star Pro User manual

Thermo Scientific

Thermo Scientific Orion Versa Star Pro User manual

Thermo Scientific Sarasota SG901 User manual

Thermo Scientific

Thermo Scientific Sarasota SG901 User manual

Thermo Scientific TruNarc User manual

Thermo Scientific

Thermo Scientific TruNarc User manual

Thermo Scientific G100 Series User manual

Thermo Scientific

Thermo Scientific G100 Series User manual

Thermo Scientific Star Series User manual

Thermo Scientific

Thermo Scientific Star Series User manual

Thermo Scientific 49iQ User manual

Thermo Scientific

Thermo Scientific 49iQ User manual

Thermo Scientific Orion 8010cX User manual

Thermo Scientific

Thermo Scientific Orion 8010cX User manual

Thermo Scientific Orion 2117HL User manual

Thermo Scientific

Thermo Scientific Orion 2117HL User manual

Thermo Scientific AutoPILOT PRO User manual

Thermo Scientific

Thermo Scientific AutoPILOT PRO User manual

Thermo Scientific TSQ 8000 Evo User manual

Thermo Scientific

Thermo Scientific TSQ 8000 Evo User manual

Thermo Scientific Evolution 300 User manual

Thermo Scientific

Thermo Scientific Evolution 300 User manual

Thermo Scientific Smart-Vue 2.0 User manual

Thermo Scientific

Thermo Scientific Smart-Vue 2.0 User manual

Thermo Scientific 43iQ User manual

Thermo Scientific

Thermo Scientific 43iQ User manual

Thermo Scientific 48i User manual

Thermo Scientific

Thermo Scientific 48i User manual

Popular Measuring Instrument manuals by other brands

CARLO GAVAZZI UDM 35 TF instruction manual

CARLO GAVAZZI

CARLO GAVAZZI UDM 35 TF instruction manual

Flomec QS200 Product owners manual

Flomec

Flomec QS200 Product owners manual

GDI N110 Series user manual

GDI

GDI N110 Series user manual

Digatron DT-43KL manual

Digatron

Digatron DT-43KL manual

GREER Company MicroGuard 510 Retrofit Calibration

GREER Company

GREER Company MicroGuard 510 Retrofit Calibration

Amprobe SM-10 user manual

Amprobe

Amprobe SM-10 user manual

GHM GREISINGER GCO 100 operating manual

GHM

GHM GREISINGER GCO 100 operating manual

Alish AM5H-A user manual

Alish

Alish AM5H-A user manual

Molecular Devices SpectraMax 340PC384 installation guide

Molecular Devices

Molecular Devices SpectraMax 340PC384 installation guide

A-CUBE USB-1 user manual

A-CUBE

A-CUBE USB-1 user manual

Video Clarity RTM-1RU System guide

Video Clarity

Video Clarity RTM-1RU System guide

Extech Instruments 407750 user guide

Extech Instruments

Extech Instruments 407750 user guide

Lascar DPM 342 quick start guide

Lascar

Lascar DPM 342 quick start guide

Wattcher WA1 Quick manual

Wattcher

Wattcher WA1 Quick manual

Orbitalum ORBmax operating instructions

Orbitalum

Orbitalum ORBmax operating instructions

Konica Minolta CM-36d instruction manual

Konica Minolta

Konica Minolta CM-36d instruction manual

Measure-Quip Mini Vane Thermo-Anemometer AMT-905C instruction manual

Measure-Quip

Measure-Quip Mini Vane Thermo-Anemometer AMT-905C instruction manual

Tektronix 4923 user manual

Tektronix

Tektronix 4923 user manual

manuals.online logo
manuals.online logoBrands
  • About & Mission
  • Contact us
  • Privacy Policy
  • Terms and Conditions

Copyright 2025 Manuals.Online. All Rights Reserved.