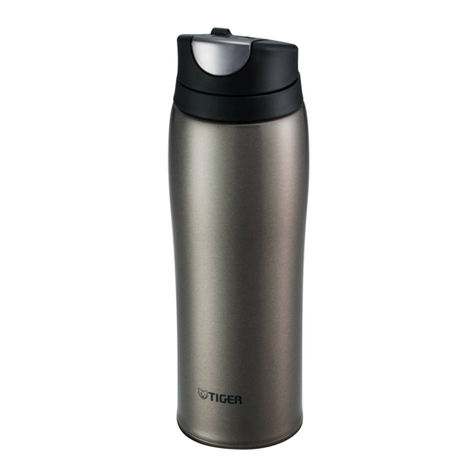
Tiger MCS-A050 User manual

Replacing and Purchasing Consumable Parts
Before Contacting Customer Service
The gasket and stopper are consumable parts. Check once a year for
damage/deterioration.
If they are heavily stained or loose, replace them.
For replacement parts, contact customer service or the shop where you
purchased this product.
The utmost measures have been taken to ensure the quality of this product.
However, should the product be defective, contact your dealer and provide
the following information.
1. Product name
2. Model number (bottom of the product)・Type of stopper
3. Description of trouble (As detailed as possible)
4. Purchase date
Feel free to send any questions or comments about this product to the
shop where you purchased it.
For the purpose of performance improvement, designs, specifications
and parts shown in this publication are subject to change without notice.
URL : https://tiger-corporation.hk/
For household use
Vacuum Insulated Bottle
*Make sure that all parts are present before use.
Thank you for purchasing this TIGER
Vacuum Insulated Bottle.
Please read these instructions carefully
before use and observe them during use.
Lid cap and lid body and stopper processed with an
antimicrobial substance to ensure a clean surface.
★
Instructions
MODEL
MCS-A
Lid cap
(Antibacterial
processed
★
)
Lid cap
gasket
Lid
body
(Antibacterial
processed
★
)
Body
Stopper
(Antibacterial processed
★
)
Suction
port
Straw Loop
Button
Spout
Stopper gasket
Cap unit
Brim
Protective sheet
(attached to the
outside bottom)
❶
Cold drinks only

Do not knock over, drop or expose
the product to excessive shocks.
There is a risk of damage to the product,
a reduction of its cold-retention ability,
rusting, peeling of its paint/printing/plating*,
or leakage of contents.
* Limited to products with processing such
as painting, printing and plating.
Do not disassemble or attempt to
repair the product by yourself.
There is a risk of failure or accident.
Do not put the product in a freezer.
Contents may leak or the product may be
damaged.
Do not store tea leaves or peeled fruit.
The contents may leak.
Do not store soups or beverages
containing salt in the product.
The product may become decayed, spoiled,
or rusted.
Do not use the product if you can
hear the sound of water from inside
the vacuum double-layer structure
(vacuum layer) of the body.
If water in the vacuum layer
seeps out, it may cause health
problems if ingested.
Do not leave the product in a bag for
a long time.
The storage conditions may change and
there is a risk of rust or odors.
Do not place the product in a bag if
its exterior is wet.
There is a risk of rust, odor, or soiling.
Do not use chlorine-based bleaches.
Causes of rust, paint/printing/plating
peeling*, and holes.
* Limited to products with processing such
as painting, printing and plating.
Do not scratch or rub the surface of
the body, resin parts, or seals with
nails or hard objects.
Causes of damage and peeling.
Do not pour the beverage into the
bottle while the cap unit is set.
The contents may leak or the product may
fall over, causing injuries. The product may
also be scratched or deformed.
Do not remove the caution sticker on
the base of the product.
If it is removed, there is a risk of diminished
cold-retention performance.
Do not carry together with a PC,
digital camera, or other electronic
device.
If the contents leak, the electronic device
may be damaged or malfunction.
Do not wave the product in the air
while holding the loop on the lid cap.
The product may hit and injure someone or
damage something.
Do not vibrate or create any impact
with the product while holding the
loop on the lid.
There is a risk of loosening the cap unit and
dropping the body.
Do not use the product in a moving
vehicle.
This may result in soiling of clothes or of the
interior of the vehicle. (Using the product
while you are driving is very dangerous, as
you may be distracted.)
Caution
This symbol indicates there
is a possibility of death or
serious injury.
This symbol indicates there
is a possibility of injury or
damage to property.
This symbol indicates a prohibited
action.
This symbol indicates an action that
must be taken or an instruction that
must be followed.
Warning
Keep out of reach of children.
Do not let children play
with the product.
There is a risk of
injuries.
Do not walk with the straw in your
mouth.
There is a risk of injuries if you fall.
Do not put dry ice or carbonated
beverages in the product.
The air pressure inside the product may
increase, causing the stopper to become
stuck or prone to shattering, or the parts to
be damaged.
Do not store milk, dairy products, or
certain fruit juices in the product.
The contents may decay or spoil.
Long-time spoilage can create gases that
raise the air pressure inside the product
due to decay or spoil, causing the stopper
to become stuck or prone to shattering, or
the parts to be damaged.
Do not place the product near stoves,
open flames, or other sources of
extreme heat.
There is a risk of burns or deformation or
discoloring of the product.
Do not heat the product in a
microwave oven.
There is a risk of injury or failure due to
sparks.
Do not touch the brim of the product
with a kettle spout.
The product may fall over, causing injuries,
or scratching and deformation to the
product.
Do not use the product for any
purpose other than keeping
beverages cold for drinking.
Do not put hot beverages in the
product.
Hot beverages may spill over from the
straw, and may in turn result in burns
and/or spill onto other materials. There is
a risk of burns if you drink hot beverages
through the straw.
Safety Precautions
Warning Caution
Caution
Be sure to follow all instructions.
All safety instructions described below are intended to protect the user and other individuals
from physical harm and household damage.
Safety instructions are classified and described according to the level of harm and damage
caused by improper use, as shown below.
Description of Symbols
Before the first use
(2) Pour hot water into the body and securely
close the cap unit.
(4) Discard the hot water, and then clean each part.
(3) Hold the body and gently shake it several times to
rinse the inside thoroughly.
(Do not shake it excessively. The hot water may
splash out, potentially causing burns.)
Cleaning
Discard the cold water after precooling.
To keep your beverage cool longer, first pour a small amount
of cold water into the body and let it sit for one or two minutes.
You may notice an unusual odor coming from the material of
the product.
In this case, clean the product by following the steps below.
(1) Check that the gaskets are attached.
Turn the cap unit to
remove it.
Check that the lid cap gasket is attached to
the lid cap, and the stopper, stopper gasket
and straw are attached to the lid body.
Cap unit
Body
How to Use
Be sure to set the cap unit in a proper
position.
Contents may leak and cause soiling.
Drink all of the beverage as soon as
possible.
If a beverage is left inside for a prolonged
period, gas may be produced by
decomposition, increasing the pressure
inside the body. This may prevent the lid
from opening or cause the contents to
spray out. There is also the danger that it
may damage the cap unit and cause it or
pieces of it to fly off.
Do not fill the product above the
maximum level shown below.
If the contents exceed the specified line,
they may leak or overflow.
Install only the parts intended for use
with the product.
If any other parts are installed, there is a risk
that the contents may leak, causing stains.
Be sure to clean the product
immediately after use, especially
after consuming sports drinks.
Rinse the inside of the product well, even if
you are going out, for example, and don’t
have time to wash it thoroughly. Mold, rust,
or holes may appear.
Keep the product in an upright
position at all times in your bag to
avoid leakage.
Contents may leak if the product is laid
horizontally.
Before using the can holder, check
its intensity.
If the holder is not strong enough, it may
come off and damaged. This may result
in soiling of clothes or of the interior of the
vehicle.
When using a commercially available
can holder, use the stationary type.
If suspension holder that is attached to
window or air conditioning outlet is used, it
may come off. This may result in soiling of
clothes or of the interior of the vehicle.
Check that the lid cap gasket and
stopper gasket are attached and that
there is no leakage of the beverage
before using the product.
There is a risk that the contents may leak,
causing stains.
Make sure that there is no residual
liquid in the straw before attaching
the cap unit.
If there is residual liquid, they may splash
from the straw when the lid is opened and
cause soiling.
Make sure that there is no residual
liquid in the body before removing
the cap unit.
If there is residual liquid in the body and
straw, they may splash from the straw
when the cap unit is removed and cause
soiling.
Caution
Maximum level
(slightly less
than full)
Beverage
Approx. 1cm
1/2inch
For can holder

Please insert them correctly.
Due to its structure, when the humidity is high, water droplets may
form on the cap unit.
Do not pull the straw gaskets.
If the gaskets are detached, fit them securely in the proper directions.
If you place the product in a bag, make sure it is
upright.
The contents may leak if you place it on its side.
If you place the product in a bag, make sure the button stays away
from any other items in the bag.
The lid cap may open.
Make sure the product does not suffer any
strong impact while carrying it.
The lid cap may open.
After drinking the beverage, keep the body
in an upright position and securely close
the lid cap.
When closing the lid cap tightly, press and hold
the top of the lid cap until you hear a click.
Caution
(1) Push the button to open the lid cap.
Brim
Body
Lid cap
Cap unit
Pour your cold beverage into the body.
Do not fill the product above the maximum
level as shown in the figure.
Do not insert large cubes of ice. Use
small cubes or crushed ice.
Place the body in an upright position
and turn the cap unit to close it.
Turn the cap unit as far as it will go to
securely close it.
Push the button to open the lid cap, and then drink the beverage.
(2)
Maximum level
(slightly less
than full)
Beverage
Approx. 1cm
1/2inch

If stains appear inside the main body
When red, rust-like spots or a substance that is rough to the touch
appears
Such stains can be caused by minerals in water, such as calcium,
magnesium, and iron. When cleaning these substances, please use
citric acid, which is available at supermarkets and drug stores.
1. Dilute the citric acid (approximately 10 g) with lukewarm water,
then pour it into the main body.
2. After 2 to 3 hours, wash the main body with a soft brush and then
thoroughly rinse it.
3. Fully dry the main body.
When an odor remains on the gasket
Depending on the beverage, the beverage odor may remain on the
gasket. In this case, leave the gasket in boiling water for approximately
30 minutes. If the odor still remains, please purchase a new gasket
(sold separately).
When the gasket becomes stained
Depending on the beverage, the beverage color may remain on the
gasket. There is no problem in using the gasket even if it becomes
stained. If you are concerned about stains, please purchase a new
gasket (sold separately).
Lid cap gasket
Cap unitBody (1)
(2)
Wash each part using a soft
sponge and detergent diluted
with water or lukewarm water,
and then thoroughly rinse it
with water. (Just rinse them
instead of immersing them.)
Wipe the water off with a dry
cloth and dry them thoroughly.
Caution
(Remove and clean)
How to Clean
Clean the product and dry it thoroughly on the same day after every use.
Use mild kitchen detergent (for table or cookware).
Use a soft sponge, cloth or other suitable cleaning supplies.
Clean the product thoroughly to prevent any odor.
Stopper gasket
(Remove and clean)
Do not immerse the body and lid cap when washing them. (Water
may enter.)
After washing the whole body, immediately use a dry cloth to wipe
off the moisture on its outer surface. Not wiping off all droplets could
leave water stains or cause rust and other marks.
Do not use thinners, cleansers, bleaches, chemical wipes, metallic
scrubbing brushes, or nylon scrubbing brushes.
Do not use a dishwasher or dish dryer, and do not wash with boiling
water.
Be sure to attach the spout, stopper, and gaskets.
Dry the parts completely after removing stains if the product has not
been used for a long time.

Model No. MCS-A050
Capacity 0.50 L / 16.9 oz
Cold retention (6 hours) Less than 8°C / 47°F
Size W 6.6 × D 7.0 × H 24.5 cm
W 2.60 × D 2.76 × H 9.65 inch
Weight 0.23 kg / 0.51 lbs
Specifications
indicates an approximate value.
Cold retention has been calculated under the condition of adding cold
water to the lower end of the stopper at 4°C±1°C / 39°F±2°F and
leaving it in an upright position at a room temperature of 20°C±2°C /
68°F±4°F for 6 hours.
Capacity is the actual volume of water that can be stored in the product
when the stopper is closed. This is not the “Maximum level” volume
described in “Safety Precautions”.
How to remove and attach the stopper gasket
Slowly remove the stopper gasket while
holding its edge.
When attaching the stopper gasket, make
sure to fit it completely in the proper direction.
Stopper
Stopper gasket
<About antibacterial processed>
MCS-A uses silver (Ag) antibacterial processing.
Testing laboratory : DAIWA CHEMICAL INDUSTRIES CO.,LTD.
EVALUATION TECHNICAL CENTER
Testing method : The material meets JIS Z 2801(ISO22196),
test for antimicrobial activity and efficacy
Subject area : Lid cap, lid body, stopper
Processing method : Kneading into plastic
Ingredient material : Ag inorganic antibacterial agent
Testing result : Antibacterial activity value 2.0 and more
How to remove and attach the gasket
Do not attach the gasket in the incorrect place or direction.
The contents may leak.
Caution
How to remove and attach the lid cap gasket
How to remove and attach the stopper
How to remove and attach the straw
How to remove How to attach
Lid cap gasket
Using a finger, press the outer
section of the lid cap gasket from the
outside of the lid cap, and remove it.
When attaching the lid cap gasket,
make sure to fit it completely in the
proper direction.
Hinge
Stopper
Slowly push the stopper on
the hinge side to remove it.
Pushing the stopper on the
front side does not remove
the stopper.
Fit in the stopper on the front
side first, and then the hinge
side completely.
Check that the stopper
is fixed in position.
Suction port
Slowly push the stopper so that
the straw is removed.
When attaching the
stopper, make sure to fit it
completely in the proper
direction.
Align the convex section
with the stopper hole.
Convex
section
Stopper hole
Stopper
(1) (2) (3)
Table of contents
Other Tiger Kitchen Appliance manuals

Tiger
Tiger CRL-A Series User manual

Tiger
Tiger LWU-A User manual

Tiger
Tiger M785 User manual

Tiger
Tiger CQD-B Series User manual

Tiger
Tiger NFH-G User manual

Tiger
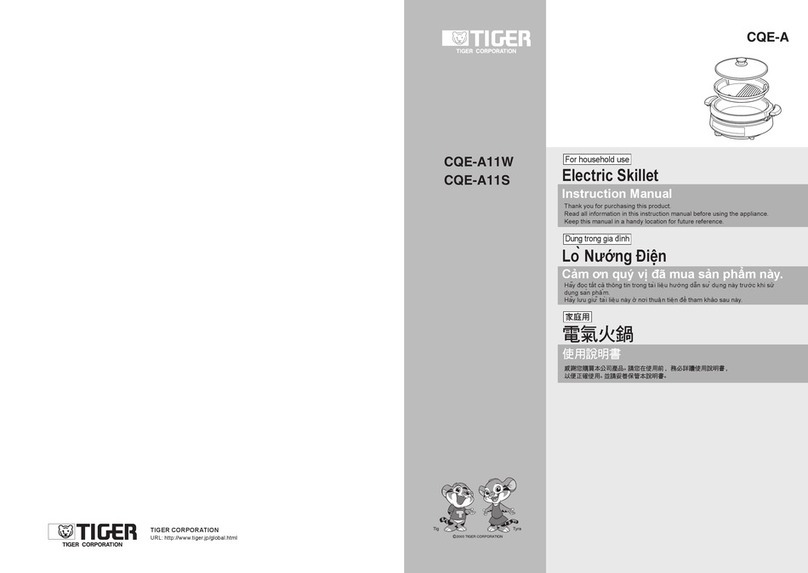
Tiger CQE-A11W User manual

Tiger
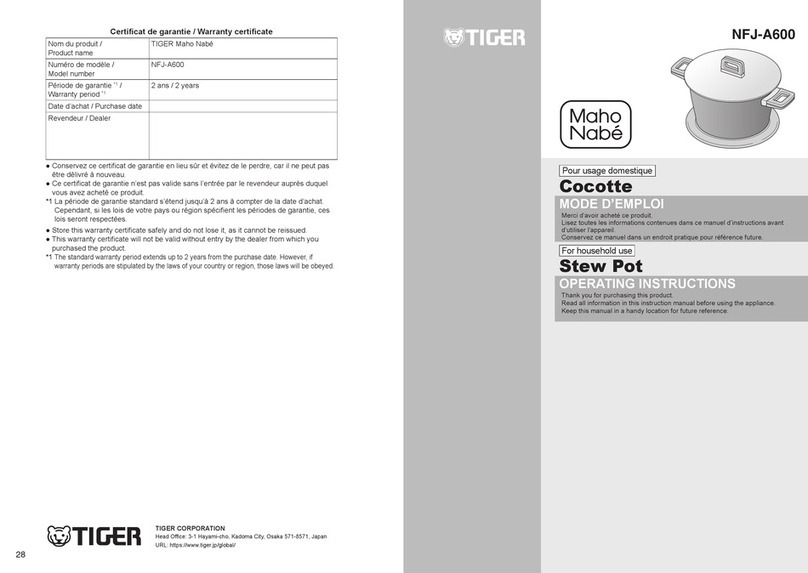
Tiger Maho Nabe User manual

Tiger
Tiger RFE-1100 User manual

Tiger
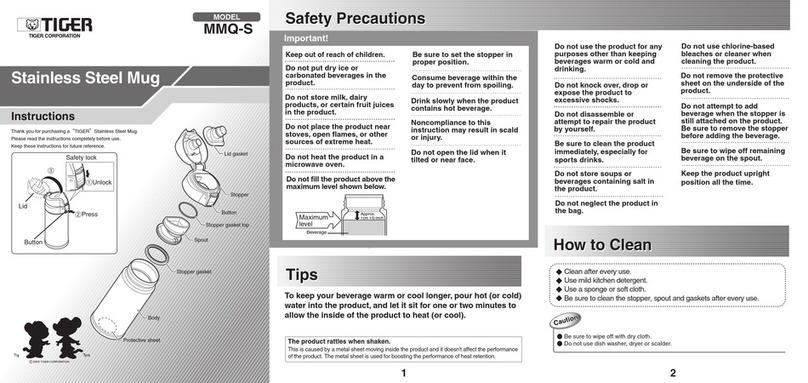
Tiger MMQ-S User manual

Tiger
Tiger CQE-A11U User manual