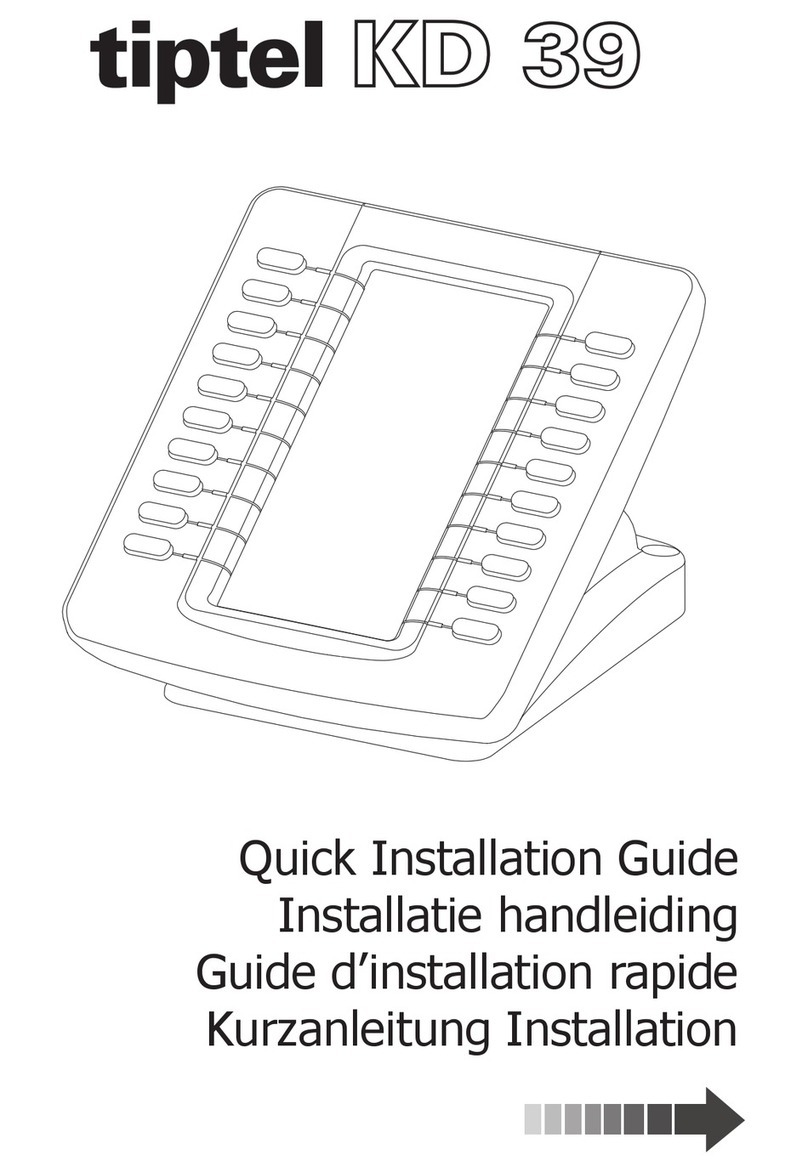
TIPTEL KM 27 User manual

Kurzanleitung (de)
Quick reference guide (en)
Guide rapide (fr)
Verkorte handleiding (nl)
Guida rapida (it)
tiptel KM 27
tiptel


3
Montage
Trennen Sie die Stromversorgung des Telefons durch Abziehen des Netzwerkkabels
(Stromversorgung über PoE) bzw. Abziehen des Steckernetzgerätes.
Legen Sie das Erweiterungsmodul KM 27 und das Telefon nebeneinander. Schieben
Sie dann die Lasche des Erweiterungsmoduls in die Aussparungen am Telefon und
schieben das Modul in Richtung Rückseite des Telefons um dieses einzurasten.

4
Anschluss des Verbindungskabels
Zur Verkabelung Telefon mit angestecktem Beistellmodul umdrehen. Verbindungs-
kabel am Telefon in Buchse AUX einstecken und durch Kabelkanal in Richtung Bei-
stellmodul verlegen. Verbindungskabel in Kehre [D] im rechten Winkel falten, hinter
den Rastnasen zur Buchse AUX1 führen und einstecken.
Anschluss weiterer Module
Am tiptel 3110, tiptel 3120 und tiptel 3130 können jeweils bis zu drei Erweiterungs-
module tiptel KM 27 betrieben werden.
Zum Anschluss eines weiteren Moduls schieben Sie dessen Befestigungslasche in
die entsprechende Aussparung des ersten Moduls und schieben dieses dann zum
Einrasten in Richtung Rückseite der Module.
Zur Verkabelung Telefon mit angesteckten Beistellmodulen umdrehen. Verbindungs-
kabel mittig mit Blick auf Kontakte des rechten Steckers aufnehmen. Verbindungska-
bel beginnend bei [B] durch den Kabelkanal in Richtung Beistellmodul 1 verlegen, in
der Kehre [C] im rechten Winkel falten, hinter den Rastnasen zur Buchse AUX2 füh-
ren und dort einstecken. Verbindungskabel bei [B] eine halbe Umdrehung wenden.
Die Kontakte des linken Steckers zeigen jetzt nach oben. Verbindungskabel begin-
nend bei [B] durch den Kabelkanal in Richtung Beistellmodul 2 verlegen, in der Keh-
re [A] im rechten Winkel falten, hinter den Rastnasen zur Buchse AUX1 führen und
dort einstecken.

5
Konfiguration der Funktionstasten
Stellen Sie die Stromversorgung des Telefons wieder her.
In der Web-Konfiguration des Telefons werden die angeschlossenen Module automa-
tisch erkannt und die Tasten des Moduls können dort mit Funktionen belegt werden.
Eine Beschreibung der Funktionalität der Web-Konfiguration des Telefons finden Sie
im Internet unter http://wiki.tiptel-info.de/de/.
Sicherheitshinweise, Garantie, CE-Erklärung
und Entsorgung
Das Beistellmodul darf nur am Telefon tiptel 3110, tiptel 3120 oder tiptel 3130 ange-
schlossen werden.
Bitte beachten Sie die in der Kurzanleitung des Telefons abgedruckten Sicherheits-
hinweise, die Angaben zu Gewährleistung und Garantie, zur CE-Erklärung und zur
Entsorgung. Diese gelten auch für das Beistellmodul tiptel KM 27.


Quick reference guide (en)
tiptel KM 27
tiptel


9
Assembly
Unplug any power supply of the phone by disconnecting the LAN cable (power sup-
ply via PoE) or disconnecting the AC adapter.
Position key module KM 27 and phone side by side. Then push the connecting link in
the slots at the side of the phone and finally push the module toward the rear side of
the phone in order to let it snap in.

10
Connecting the cable
To connect the cable turn phone and module upside down. Then connect the cable
to the AUX jack at the phone and place the cable in the cable channel pointing in the
module's direction. Connection cable to be folded in turn [D] in a 90 degrees angle,
to be placed underneath the hooks and then led to jack AUX1 for connecting it to
that jack.
Connecting additional modules
tiptel 3110, tiptel 3120, and tiptel 3130 support up to three key modules KM 27 each.
For connecting another module push its connecting link into the corresponding slot
of the first module and then push it toward the rear side of the module until it snaps
in.
To connect the cable turn phone and modules upside down. Pick up the connection
cable at its center while viewing at the pins of the right hand side connector. Install
connection cable starting at [B] through the cable channel toward key module 1, in
turn [C] fold it at a 90 degrees angle, underneath the hooks install it in direction of
jack AUX2 and connect it to that jack. At [B] turn-over the cable by one half turn. Now
the pins of the left hand side are facing toward you. Install connection cable starting
at [B] through the cable channel toward key module 2, in turn [C] fold it at a 90 de-
grees angle, underneath the hooks install it in direction of jack AUX1 and connect it
to that jack.

11
Configuring the function keys
Restore the phone's power supply.
In the phone's web interface, connected modules are displayed automatically and
you can assign functions to the keys of the modules.
Details on the web configuration of the phone please find at http://wiki.tiptel-
info.de/en/.
Safety notes, warranty, CE declaration of conformity
and disposal
The key module may only be connected to phones tiptel 3110, tiptel 3120, or
tiptel 3130.
Please follow the safety instructions of the phone's quick reference guide, information
on warranty, on the CE declaration of conformity and on disposal. All of these also
apply to key module KM 27.


Guide d’utilisation (fr)
tiptel KM 27
tiptel


15
Assemblage
Débranchez l’alimentation électrique du téléphone en débranchant le câble LAN
(alimentation via PoE) ou en débranchant l'alimentation secteur.
Positionnez le module de touches KM 27 à côté du téléphone.
Emboitez les pattes de connexion dans les fentes prévues à cet effet sur le câté du
téléphone et poussez le module vers l’arrière du téléphone afin de l’emboîter dans
celui-ci.

16
Connection des câbles
Pour connecter le câble, tournez le téléphone et le module à l'envers. Ensuite, con-
nectez le câble à la prise AUX du téléphone et placez le câble dans la fente en direc-
tion du module d’extension. Le câble de connexion doit être plié sur lui-même d’un
tour (90 degrés), pour être placé derrière les crochets, puis connecter à la prise
AUX1.
Connexion de modules supplémentaires
Les téléphones tiptel 3110, tiptel 3120, et tiptel 3130 peuvent accueillir jusqu’à 3 mo-
dules de touches KM 27 chacun.
Pour connecter un autre module de touches, refaites la même manipulation sur le
côté du module précédent.
Pour connecter le câble, tournez le téléphone et le module à l'envers. Ramenez le
câble de connexion au milieu du module puis faites le passer dans la fente (à
l’endroit [B]). En arrivant à l’endroit [C], pliez à un angle de 90 degrés puis passez
sous les crochets pour le connecter dans la prise AUX2. A l’endroit [B], tournez le
câble par un demi-tour. Puis à l’endroit [A], pliez à un angle de 90 degrés, en des-
sous des crochets pour le brancher sur la prise AUX1.

17
Configuration des touches de fonction
Rebranchez l’alimentation du téléphone.
Sur l’interface web du téléphone, les modules d’extension sont affichés automati-
quement et vous pouvez assigner des fonctions aux touches des modules.
Veuillez trouver l’aide pour la configuration du téléphone à l’adresse suivante :
http://wiki.tiptel-info.de/.
Consignes de sécurité, garantie, déclaration
de conformité CE et recyclage
Le module de touches KM 27 est conçu pour être connecté uniquement sur les télé-
phones tiptel 3110, tiptel 3120 ou tiptel 3130.
Veuillez vous référer aux instructions de sécurité, garantie, déclarations de conformi-
té CE et informations de recyclage du téléphone. Toutes ces instructions
s’appliquent également au modules de touches KM 27.


Verkorte handleiding (nl)
tiptel KM 27
tiptel

Table of contents
Languages:
Other TIPTEL Control Unit manuals
Popular Control Unit manuals by other brands

BEA
BEA PANTHER Series manual

Emerson
Emerson CROSBY STYLE HC ISOFLEX INSTALLATION, MAINTENANCE AND ADJUSTMENT INSTRUCTIONS

Gate
Gate Titan user guide

Hardy Process Solutions
Hardy Process Solutions HI 1756-FC user guide

Atlas Copco
Atlas Copco POWER FOCUS 6000 Product instructions

Fluke
Fluke 700PCK instruction sheet

Danfoss
Danfoss MCB140 Original operating instructions

Meinberg
Meinberg IMS-REL1000 Setup guide

Formula Air
Formula Air BADA-VEX Maintenance manual

Rockwell Automation
Rockwell Automation Micro800 2080-MEMBAK-RTC quick start guide

Epson
Epson RA8900SA/CE Applications manual

Audio Creative
Audio Creative DDDAC1794 manual